
1. Introduction
Thank you for choosing the byecold Infrared Ceiling Heater with LED Light. This product is designed for ceiling installation, offering an efficient, comfortable, and healthy heating system combined with adjustable lighting. Utilizing advanced infrared technology and built-in wireless temperature control, it can be operated remotely via an app or the included remote control. Its easy installation and space-saving design make it ideal for various rooms, especially those that are challenging to heat.
byecold, founded in 2013, is a high-tech enterprise specializing in the research, development, production, and sales of household heating products, including infrared heaters and thermostats. Our commitment to quality ensures all products undergo strict quality control before leaving the factory.
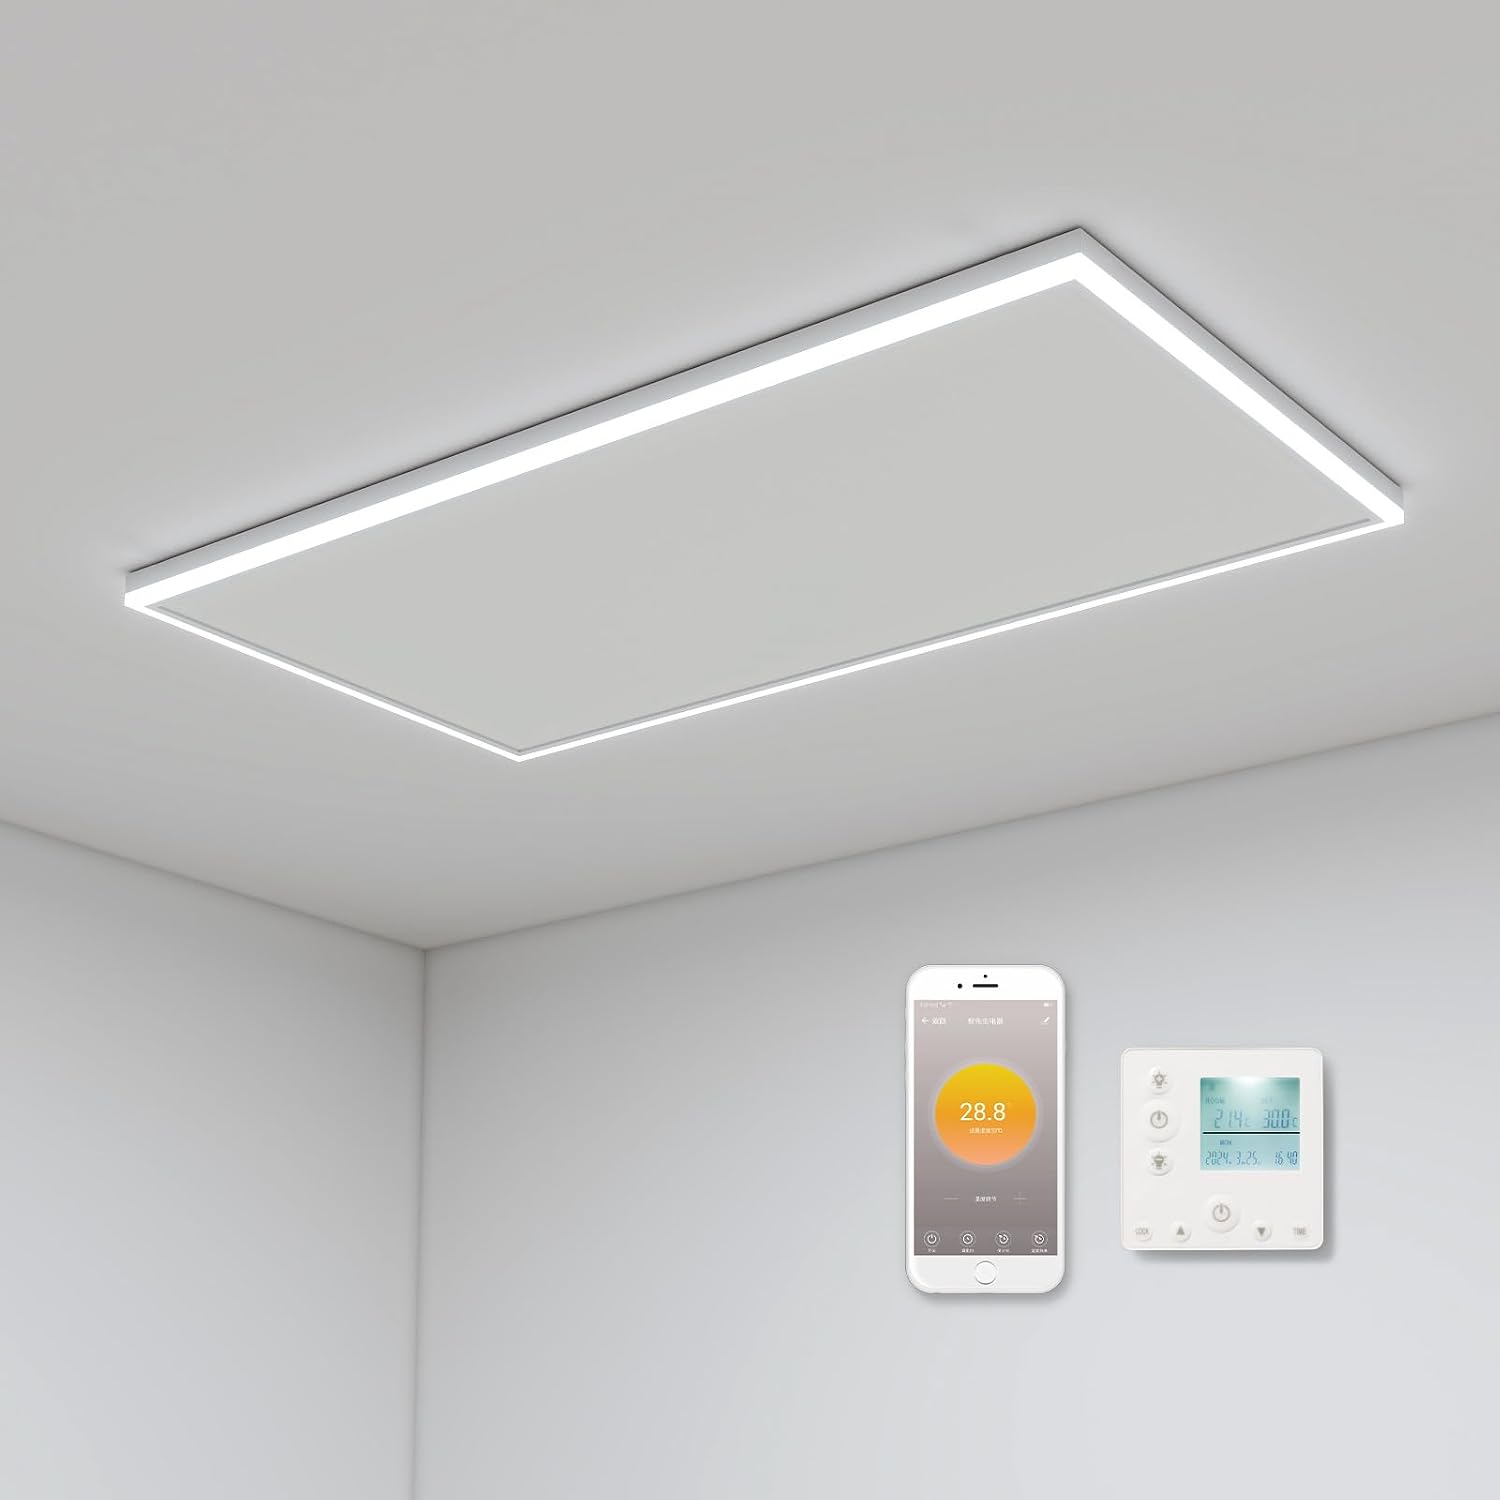
Image 1.1: The byecold Infrared Ceiling Heater installed on a ceiling, shown with its remote control and smartphone app interface.
2. Safety Information
Please read all safety instructions carefully before installation and use. Failure to follow these instructions may result in electric shock, fire, or serious injury.
- Electrical Safety: Ensure the power supply matches the heater's requirements. Do not overload electrical circuits. If hardwiring, ensure installation is performed by a qualified electrician.
- Placement: Install the heater securely on the ceiling, away from flammable materials, curtains, and other obstructions. Ensure adequate clearance around the unit for proper heat dissipation.
- Water and Moisture: The LED light is waterproof, but the main heating unit should be protected from direct water exposure. Do not install in areas where it may be submerged or exposed to excessive moisture.
- Overheating Protection: The heater is equipped with overheating protection. If the unit overheats, it will automatically shut off. If this occurs, disconnect power, allow it to cool, and check for any obstructions before restarting.
- Children and Pets: Keep children and pets away from the heater during operation. The surface can become hot.
- Maintenance: Always disconnect power before cleaning or performing any maintenance.
byecold adheres to stringent safety standards, and each product undergoes extreme environmental simulation tests to ensure reliability and user safety.
3. Package Contents
Please check the package for the following items:
- byecold Infrared Ceiling Heater with LED Light
- Wireless Remote Control
- Mounting Hardware (screws, anchors)
- User Manual
4. Specifications
| Feature | Detail |
|---|---|
| Model Number | 3H1206L-WTH |
| Power Output | 840 Watt |
| Dimensions (L x W x D) | 128 cm x 63 cm x 3.3 cm |
| Item Weight | 9 kg |
| Color | White |
| Mounting Type | Ceiling Mount |
| Heating Method | Infrared Radiation |
| Special Features | Wi-Fi Enabled, LED Lighting, Thermostat |
| Control | App Control, Remote Control |
| Usage Environment | Indoor (Home, Office) |

Image 4.1: Detailed dimensions of the byecold Infrared Ceiling Heater.
5. Setup & Installation
The byecold Infrared Ceiling Heater is designed for straightforward installation. It can be directly plugged into a power outlet or hardwired by removing the plug.
5.1 Mounting the Heater
- Choose Location: Select a suitable ceiling location, ensuring it is structurally sound and provides adequate clearance from walls and other objects. Consider the desired heating area.
- Mark Drilling Points: Use the provided mounting template or measure the heater's mounting points and mark them on the ceiling.
- Drill Holes: Drill holes at the marked points. Insert the appropriate anchors if necessary.
- Secure Bracket: Attach the mounting bracket (if applicable) to the ceiling using the provided screws.
- Attach Heater: Carefully lift the heater and attach it to the mounting bracket or directly to the ceiling using the remaining screws. Ensure it is securely fastened.
5.2 Electrical Connection
- Plug-in Installation: If using the plug, simply connect it to a standard electrical outlet.
- Hardwired Installation: If hardwiring, disconnect power at the circuit breaker. Remove the plug from the heater's cable. Connect the heater's wires to the appropriate household wiring (live, neutral, ground) according to local electrical codes. This should be done by a qualified professional.
Once installed, the heater is ready for operation via the remote control or the dedicated app.

Image 5.1: Examples of the byecold Infrared Ceiling Heater installed in various indoor environments.
6. Operating Instructions
The byecold Infrared Ceiling Heater offers flexible control options for both heating and lighting functions.
6.1 Powering On/Off
Ensure the heater is properly connected to a power source. The unit can be powered on or off using the remote control or the mobile app.
6.2 Using the Remote Control
The included remote control allows you to manage both the heating and LED lighting functions.
- Heating Function: Use the designated buttons on the remote to adjust the temperature settings and activate/deactivate the heating element. The built-in thermostat will maintain the desired temperature.
- LED Lighting: The remote control allows you to adjust the color temperature (cool white to warm white) and brightness of the integrated LED light.
6.3 Using the Mobile App
For advanced control and scheduling, download the byecold app (or compatible smart home app) on your smartphone.
- Download App: Search for the 'byecold' app in your device's app store and install it.
- Pair Device: Follow the in-app instructions to pair your heater with your smartphone via Wi-Fi.
- Control Heating: Once paired, you can set the desired temperature, schedule heating times, and monitor the room temperature remotely.
- Control LED Lighting: The app also provides control over the LED light's color temperature and brightness.
7. Infrared Heating Principle
This infrared heater operates on a principle similar to sunlight, providing a pleasant and natural warmth. Unlike traditional convection heaters that primarily warm the air, infrared heating directly warms objects and people in the room.
In an infrared-heated space, both individuals and objects absorb the radiant heat. This means the ambient air temperature may not rise rapidly, but the absorbed heat is then re-emitted, allowing occupants to feel a comfortable warmth. A significant advantage is that even after the heater is turned off, the room temperature does not drop immediately due to the retained heat in objects.
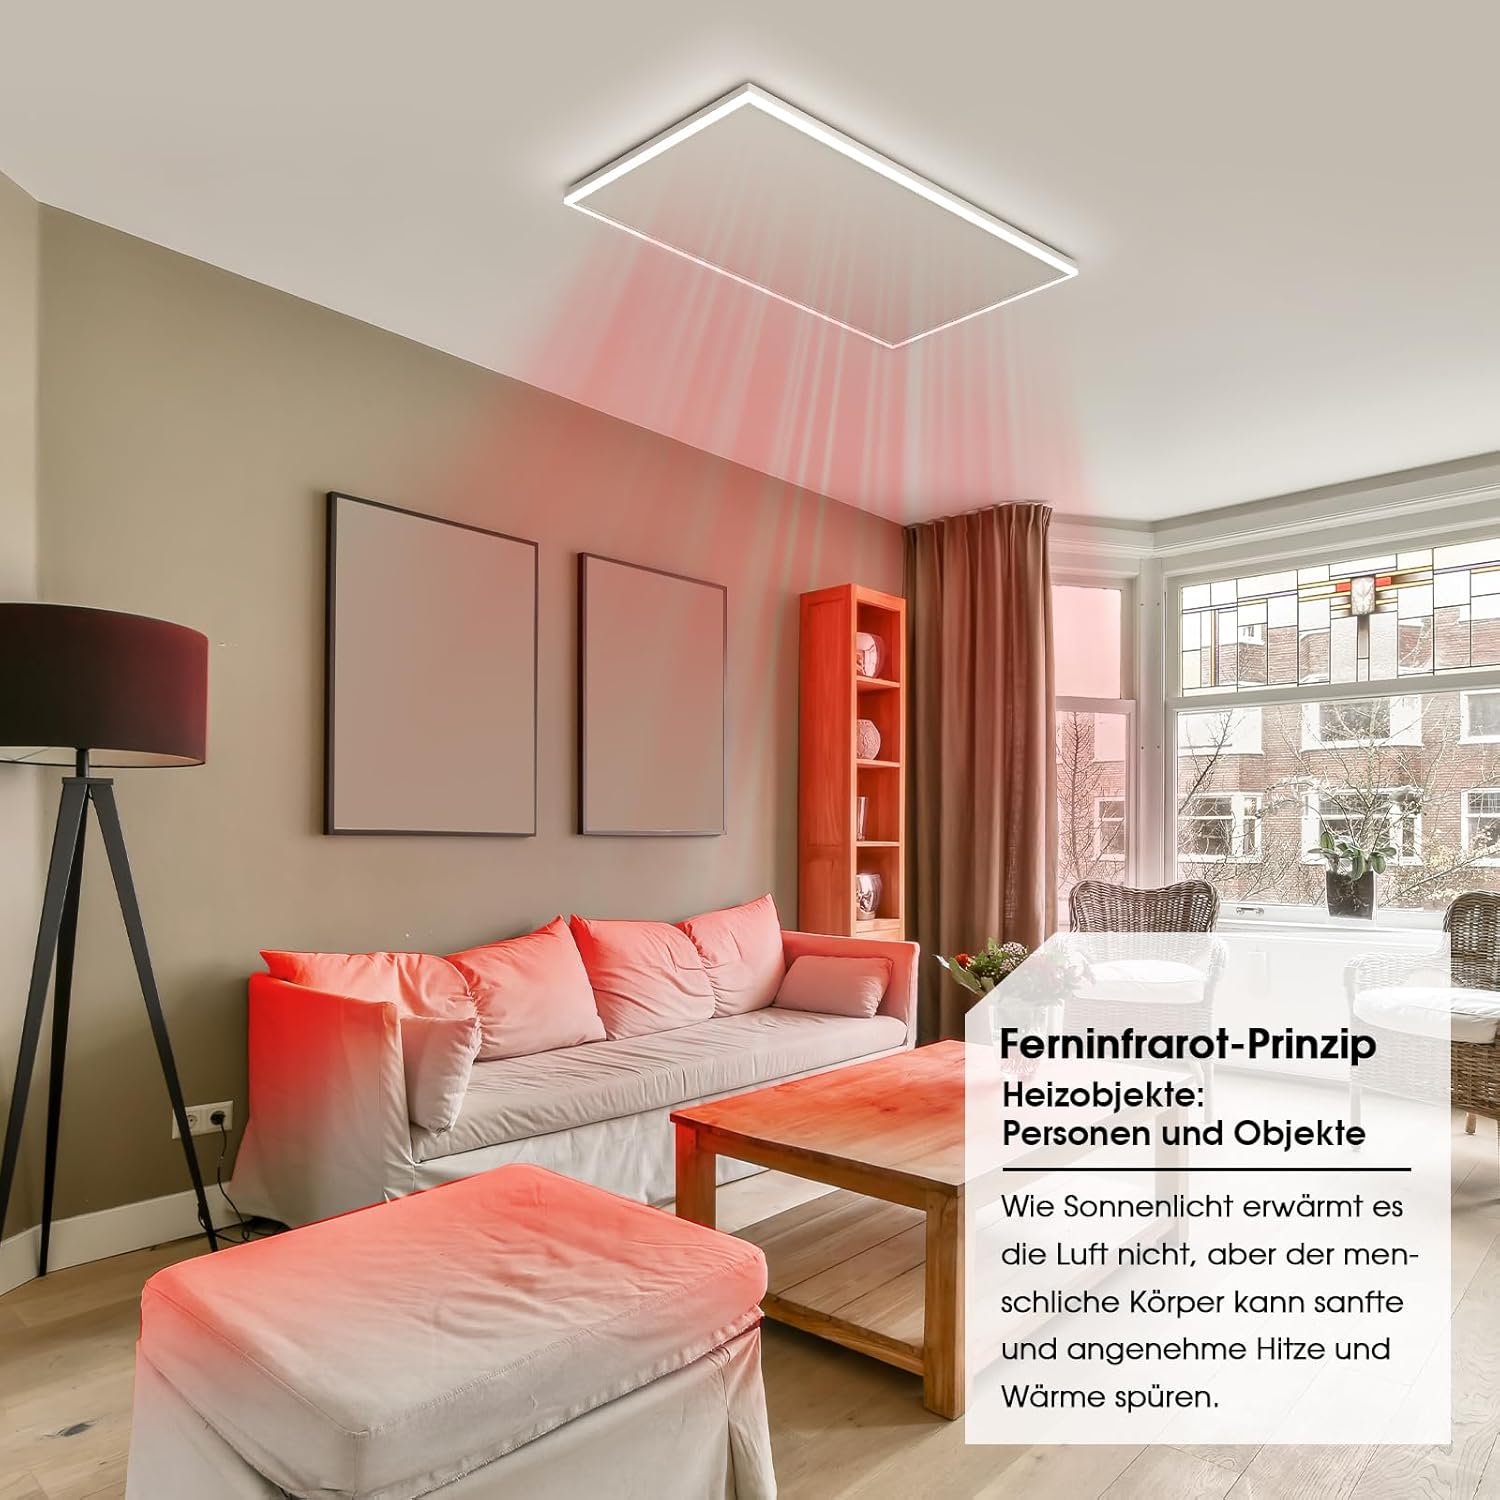
Image 7.1: Visual representation of infrared heat distribution, directly warming objects and surfaces.

Infrared Heating vs. Traditional Heating: Infrared heaters provide a more uniform and comfortable warmth by directly heating objects, similar to sunlight. Traditional heaters warm the air, which then rises, leading to uneven temperature distribution with warmer air near the ceiling and cooler air near the floor.
8. Maintenance
Regular maintenance ensures the longevity and efficient operation of your byecold Infrared Ceiling Heater.
- Cleaning: Before cleaning, always disconnect the heater from the power supply. Use a soft, dry cloth to wipe the surface of the heater. Do not use abrasive cleaners, solvents, or harsh chemicals, as these can damage the finish.
- Dust Removal: Periodically check for dust accumulation on the heater's surface and LED light. A soft brush or vacuum cleaner with a brush attachment can be used to gently remove dust.
- Inspection: Regularly inspect the power cord and plug for any signs of damage. If any damage is found, discontinue use and contact customer support.
9. Troubleshooting
If you encounter any issues with your byecold Infrared Ceiling Heater, please refer to the following common problems and solutions:
- Heater Not Turning On:
- Check if the power cord is securely plugged into a working outlet.
- Ensure the circuit breaker has not tripped.
- Verify that the remote control or app is functioning and sending commands correctly (check remote batteries).
- No Heat Output:
- Confirm the heater is powered on and the temperature setting is above the current room temperature.
- Check if the overheating protection has been activated. Disconnect power, allow to cool, and restart.
- LED Light Not Working:
- Ensure the heater is powered on.
- Use the remote control or app to check the light settings (brightness, color temperature).
- Remote Control Not Responding:
- Replace the batteries in the remote control.
- Ensure there are no obstructions between the remote and the heater.
- App Connectivity Issues:
- Ensure your Wi-Fi network is active and the heater is within range.
- Restart your router and the heater.
- Try re-pairing the device through the app.
If the problem persists after trying these steps, please contact byecold customer support.
10. Warranty & Support
byecold products are manufactured with high-quality materials and undergo rigorous testing. We offer a standard warranty against defects in materials and workmanship from the date of purchase. Please retain your proof of purchase for warranty claims.
For warranty service, technical support, or any questions regarding your byecold Infrared Ceiling Heater, please contact our customer service team. We have a dedicated team ready to provide a quick response to all product inquiries within 24 hours.
You can find more information and contact details on the official byecold store page: byecold Store on Amazon.