
1. Introduction
This manual provides detailed instructions for assembling, operating, and maintaining your CUTEROOM DIY Miniature House Kit, specifically the Corner Restaurant model. This kit is designed for enthusiasts aged 14 and older, offering a rewarding crafting experience that results in a detailed miniature display piece.

Image 1.1: Fully assembled Corner Restaurant miniature house kit.
2. Safety Information
- This product contains small parts and is not suitable for individuals under 14 years old due to choking hazards and the complexity of assembly.
- Exercise caution when using sharp tools such as craft knives during assembly. Always cut away from your body and use a protective cutting mat.
- Keep glues and paints out of reach of children and pets. Use in a well-ventilated area.
- Ensure proper disposal of batteries (not included) according to local regulations.
3. Package Contents
The CUTEROOM DIY Miniature House Kit (Corner Restaurant) includes the following components:
- Pre-cut wooden pieces for structural elements and furniture.
- Paper cutouts for decorative details, wallpaper, and books.
- Fabric pieces for upholstery and curtains.
- Miniature accessories (e.g., beads, wires, plastic elements).
- LED lighting components and wiring.
- Assembly tools (may vary, typically includes tweezers).
- Adhesives (glue).
- Detailed English instruction manual with pictures.

Image 3.1: Overview of product dimensions and included materials.
4. Assembly Instructions
Assembly of this miniature house kit requires patience and attention to detail. Follow the included English instruction manual carefully, as it provides step-by-step guidance with detailed pictures.
4.1 General Tips for Assembly
- Read the Entire Manual: Before starting, familiarize yourself with all steps and components.
- Organize Parts: Unpack all components and organize them according to the manual. Use small containers to prevent losing tiny pieces.
- Essential Tools: While some tools are included, consider having additional tools such as:
- Fine-tip tweezers (for handling small parts).
- Craft knife or hobby knife (for precise cutting and releasing wooden pieces from their frames).
- Cutting mat (to protect your work surface).
- Toothpicks (for applying small amounts of glue and cleaning excess).
- Quick-drying super glue (for added stability on structural elements).
- Magnifying glass (for very small details).
- Patience is Key: Do not rush the assembly process. Allow glue to dry completely between steps.
- Follow Grouping: The instructions often group assembly by room or specific decorative elements. Adhere to this order for optimal results.
4.2 Step-by-Step Assembly Overview
- Preparation: Carefully remove all wooden pieces from their sheets using a craft knife to avoid damage. Sort and label components as per the instruction manual.
- Structural Assembly: Begin by assembling the main walls, floors, and roof sections. Ensure all connections are secure and aligned.
- Furniture and Decor: Assemble individual furniture pieces and decorative elements. This often involves cutting, folding, and gluing paper and fabric components.
- Wiring LED Lights: Follow the wiring diagram in the manual to install the LED lights. Ensure all connections are correct before securing them.
- Interior Details: Place furniture and decor within the miniature rooms.
- Exterior Finishing: Attach any remaining exterior details, such as signs, plants, or railings.
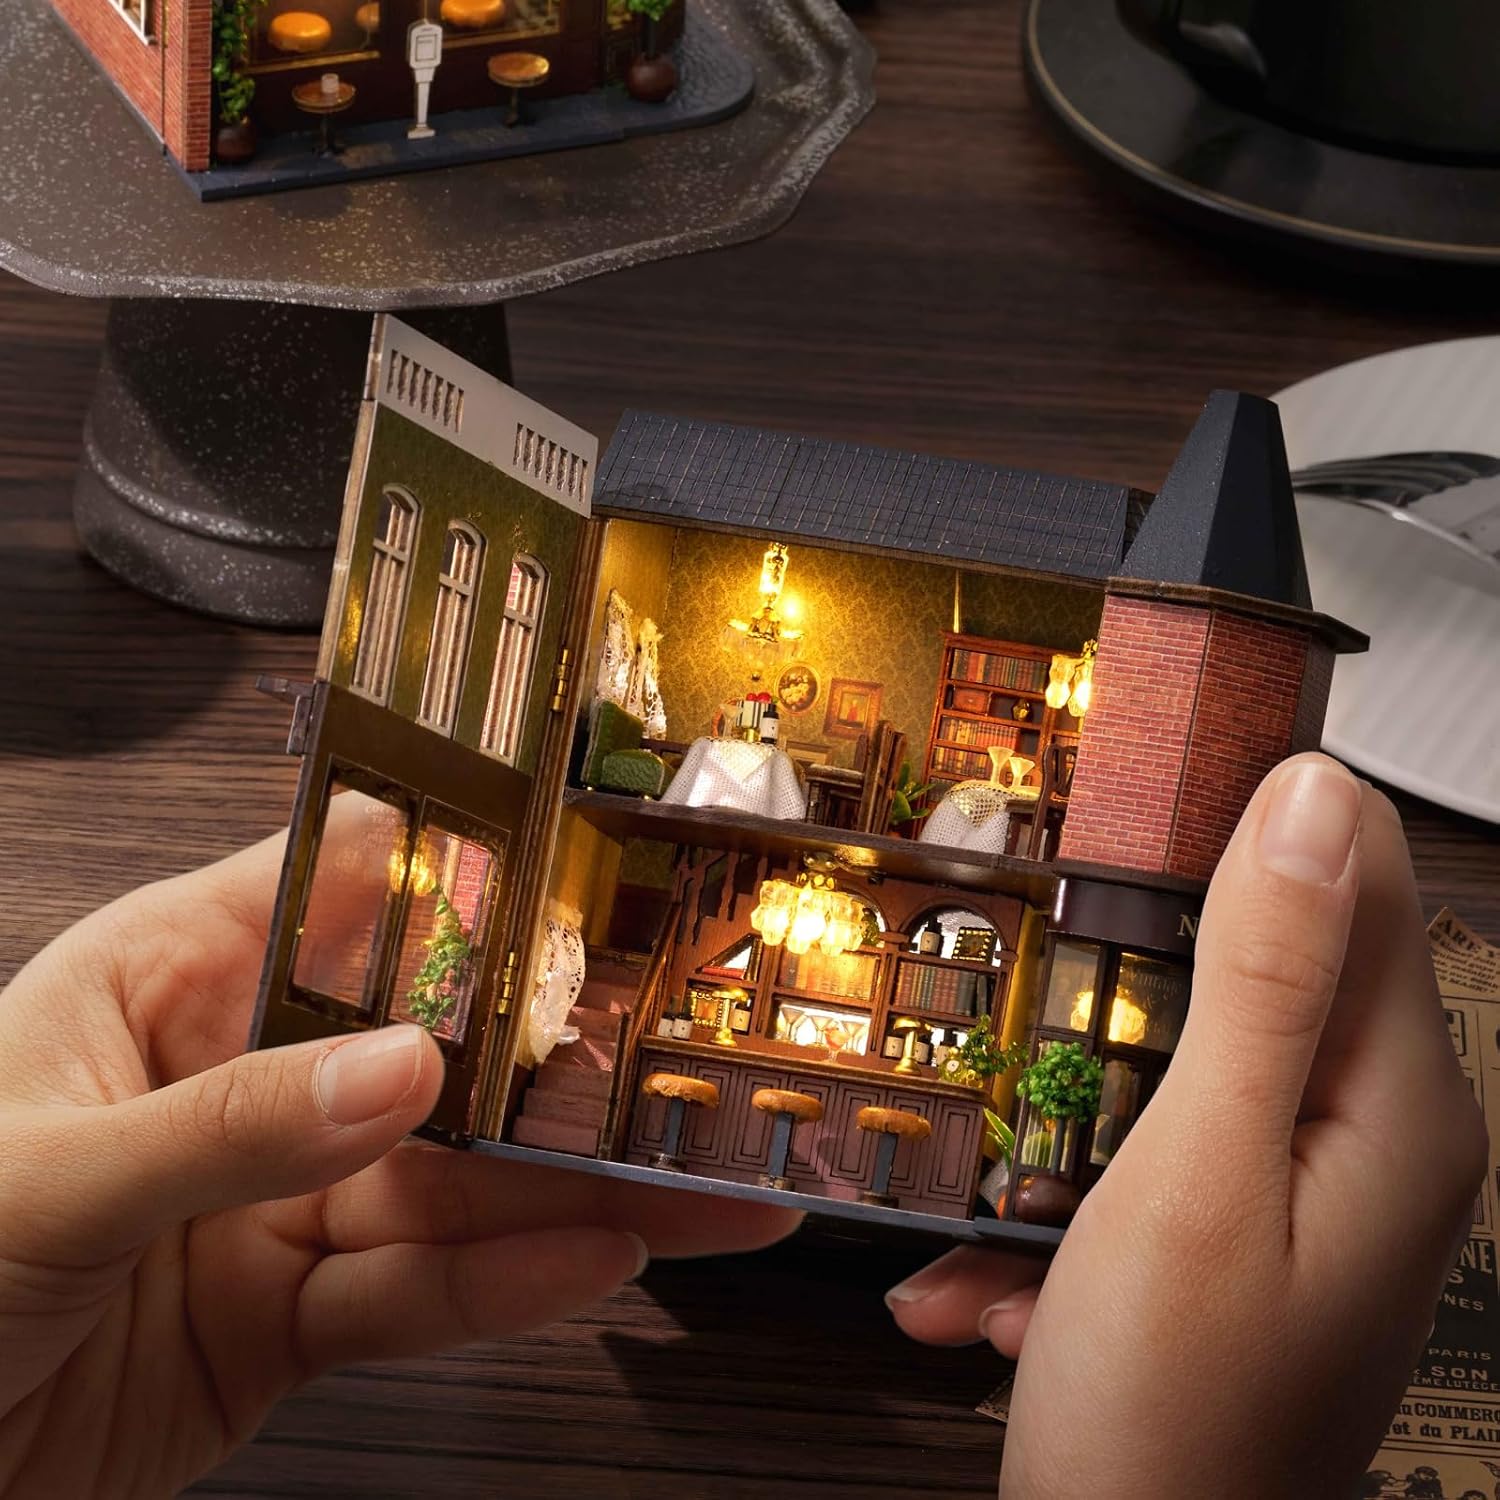
Image 4.1: Handling the miniature house during assembly.
Video 4.2: Official CUTEROOM DIY house kit overview. This video demonstrates various aspects of the miniature house kit, including assembly and finished details, providing a visual guide to the crafting process.
5. Operating Instructions (LED Lights)
Your miniature house kit includes LED lights to enhance its ambiance. To operate the lights:
- Battery Installation: The kit does not include batteries. Purchase the required battery type (refer to the manual for specifications, typically button cell batteries). Install the battery into the designated battery box, ensuring correct polarity.
- Power On/Off: Locate the small switch connected to the LED wiring. Flip the switch to the 'ON' position to illuminate the house. Flip to 'OFF' when not in use to conserve battery life.

Image 5.1: Detailed view of the illuminated interior, showcasing the LED lights.
6. Maintenance
To ensure the longevity and appearance of your miniature house:
- Dusting: Regularly dust the model with a soft brush or compressed air to prevent accumulation.
- Handling: Handle the assembled model with care, as small components can be delicate. Avoid dropping or applying excessive pressure.
- Storage: Store the model in a dry place away from direct sunlight and extreme temperatures to prevent warping or fading of materials.
- Battery Replacement: Replace batteries for the LED lights as needed.
7. Troubleshooting
- LED Lights Not Working:
- Check if the battery is installed correctly with the right polarity.
- Ensure the battery has sufficient charge.
- Verify all wiring connections are secure and undamaged.
- Confirm the power switch is in the 'ON' position.
- Pieces Not Fitting Properly:
- Double-check the instruction manual to ensure you are using the correct pieces for the step.
- Some pieces may require gentle sanding or trimming for a perfect fit.
- Ensure no excess glue is obstructing the fit.
- Fragile Components Breaking:
- Use a small amount of strong adhesive to reattach broken parts.
- Handle delicate parts with tweezers and minimal force.
8. Specifications
| Feature | Detail |
|---|---|
| Brand | CUTEROOM |
| Model Number | D016-US |
| Set Name | Corner Restaurant |
| Assembled Dimensions (L x W x H) | 7.1 x 7 x 2 inches (approx. 18 x 17.8 x 5 cm) |
| Material Type | Wood, Paper, Cloth, Plastic |
| Included Components | DIY House Kit, LED Lights |
| Recommended Age | 14+ years |
9. Warranty and Support
This product does not come with an explicit manufacturer's warranty statement in the provided information. For any issues, missing parts, or support inquiries, please contact CUTEROOM directly through their official channels or the retailer from whom the product was purchased. Keep your purchase receipt as proof of purchase.
