
1. Safety Instructions
Please read all safety instructions before using this appliance and retain for future reference. Failure to follow these instructions may result in electric shock, fire, or serious injury.
- Ensure the power supply voltage matches the rating label on the fan.
- Do not operate the fan with a damaged cord or plug.
- Keep fingers, pencils, or any other objects out of the fan grille when it is operating.
- Unplug the fan from the power outlet when not in use, when moving it from one location to another, and before cleaning.
- Do not use the fan in wet or damp locations such as bathrooms.
- Place the fan on a stable, flat surface to prevent it from tipping over.
- Do not cover the fan or restrict airflow.
- This appliance is not intended for use by persons (including children) with reduced physical, sensory or mental capabilities, or lack of experience and knowledge, unless they have been given supervision or instruction concerning use of the appliance by a person responsible for their safety.
2. Package Contents
Verify that all items are present in the package:
- Abolee FTS011R 36-inch Tower Fan
- Remote Control
- User Manual
3. Setup
The Abolee FTS011R Tower Fan requires minimal assembly.
- Unpack: Carefully remove all components from the packaging.
- Base Assembly: Attach the two halves of the fan base together. Align the fan body with the assembled base and secure it using the provided screws (if any, typically pre-attached or twist-lock).
- Placement: Place the fan on a firm, level surface. Ensure there is adequate space around the fan for optimal airflow and oscillation.
- Power Connection: Plug the power cord into a standard electrical outlet.
4. Product Overview
Familiarize yourself with the components of your Abolee Tower Fan.

Figure 1: Abolee FTS011R Tower Fan with remote control, illustrating its airflow and 75-degree oscillation capability.

Figure 2: Close-up view of the fan's intuitive control panel and the included remote control, highlighting various function buttons.
Control Panel & Remote Functions:
- Power Button: Turns the fan On/Off.
- Speed Adjustment (+/-): Increases or decreases fan speed (4 levels).
- Mode Button (M): Cycles through 4 modes: Normal, Natural, Sleep, and Auto.
- Oscillation Button: Activates or deactivates 90° oscillation.
- Timer Button: Sets the automatic shut-off timer (up to 12 hours).
- Mute Button (Remote Only): Silences button press sounds.
- Child Lock Button (Remote Only): Locks the control panel to prevent accidental changes.
5. Operating Instructions
5.1 Power On/Off
Press the Power button on the control panel or remote control to turn the fan on or off.
5.2 Adjusting Fan Speed
The fan offers 4 speed settings. Press the + or - buttons on the control panel or remote to adjust the fan speed. The current speed level (L1-L4) will be displayed.
5.3 Selecting Operating Mode
Press the Mode (M) button on the control panel or remote to cycle through the available modes:
- Normal Mode: Provides continuous airflow at the selected speed.
- Natural Mode: Simulates a natural breeze by varying fan speed.
- Sleep Mode: Operates at a lower, quieter speed with reduced display brightness for undisturbed sleep.
- Auto Mode: Adjusts fan speed automatically based on the ambient room temperature.

Figure 3: The Abolee FTS011R Tower Fan offers various modes for customized comfort, including AI, Natural, Sleep, and Normal settings.

Figure 4: Automatic Mode intelligently adjusts fan operation to maintain comfort, particularly useful for temperature regulation during sleep.
5.4 Activating Oscillation
Press the Oscillation button to start or stop the 90° oscillating movement of the fan, distributing airflow across a wider area.
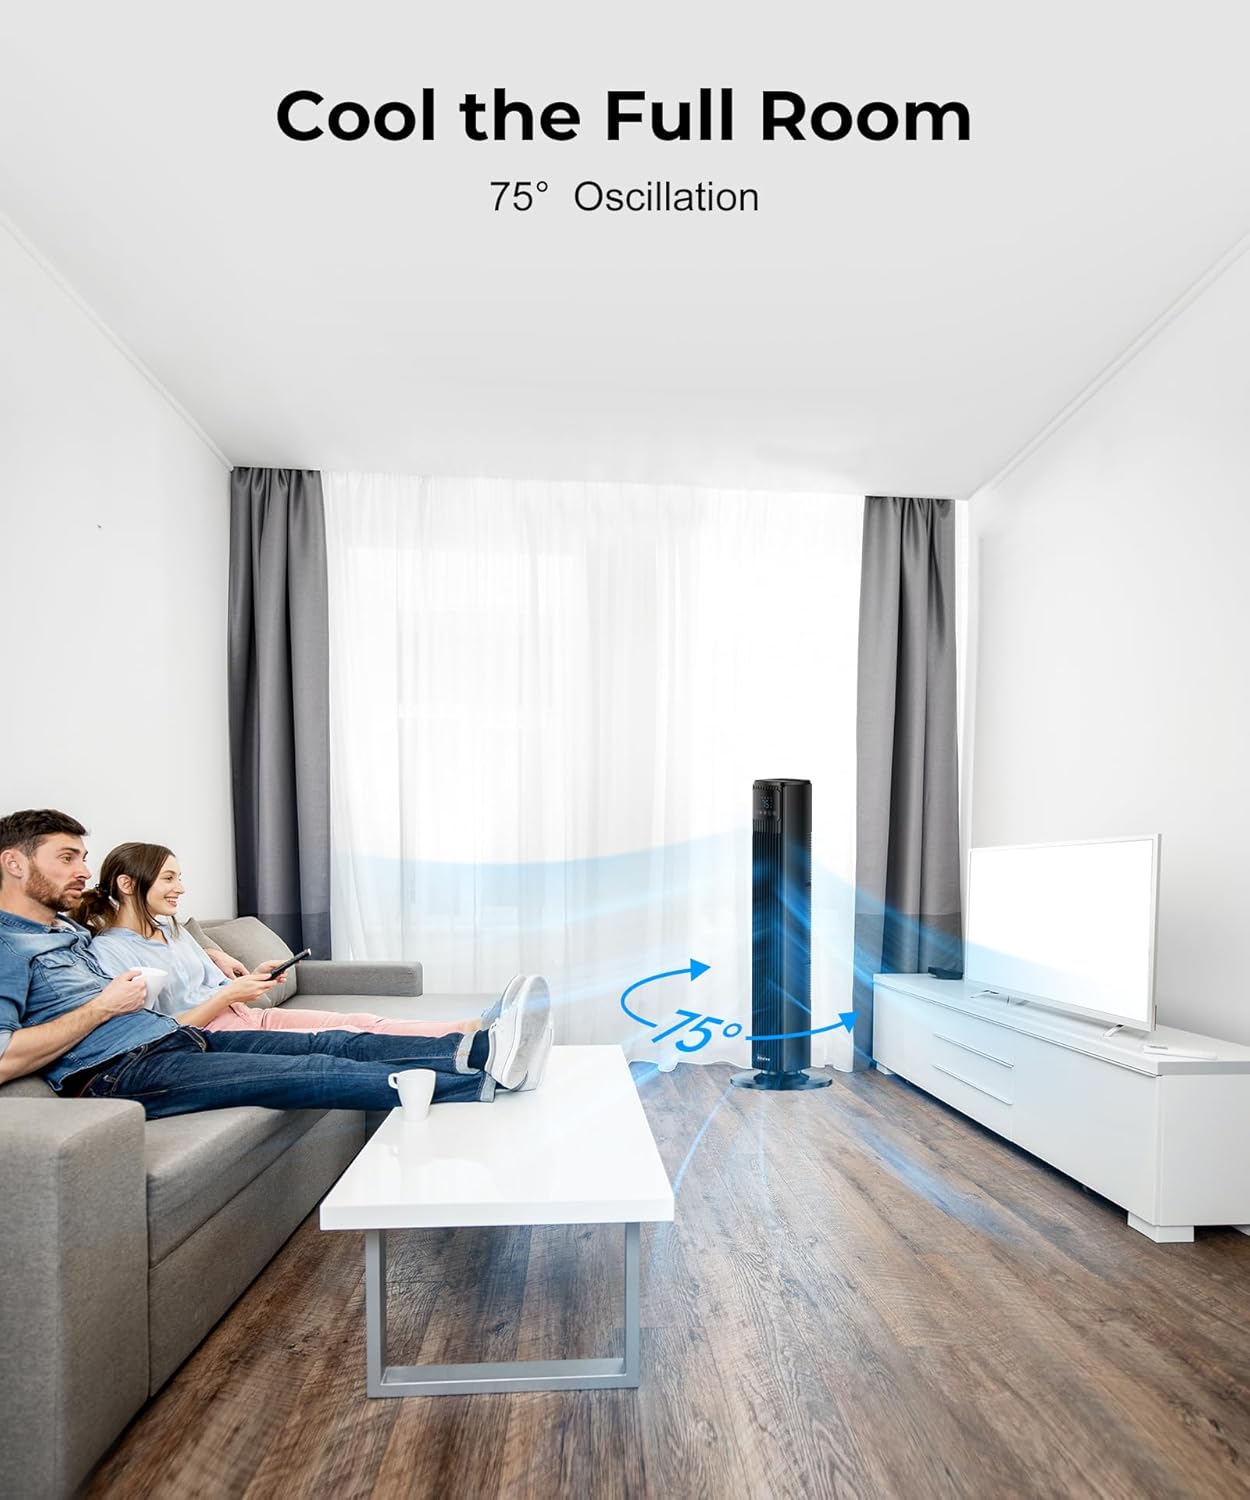
Figure 5: The fan's 75-degree oscillation ensures wide-area cooling, effectively circulating air throughout the room.
5.5 Setting the Timer
Press the Timer button to set the desired operating duration. Each press increases the timer setting by 1 hour, up to a maximum of 12 hours. The fan will automatically turn off once the set time has elapsed.
5.6 Remote Control Usage
The remote control provides convenient access to all fan functions from a distance. Ensure the remote is pointed towards the fan's display panel for optimal response. The remote also features a mute button to silence operational beeps and a child lock button to prevent unintended changes to settings.
6. Maintenance
Regular maintenance ensures optimal performance and longevity of your fan.
- Cleaning: Always unplug the fan before cleaning. Use a soft, damp cloth to wipe the exterior surfaces. Do not use abrasive cleaners or allow water to drip into the interior of the fan.
- Storage: When not in use for extended periods, store the fan in a cool, dry place, preferably in its original packaging.
7. Troubleshooting
If you encounter issues with your fan, refer to the following common problems and solutions:
| Problem | Possible Cause | Solution |
|---|---|---|
| Fan does not turn on | No power supply; Power cord not securely plugged in. | Check power outlet; Ensure power cord is fully inserted. |
| Weak airflow | Fan speed set too low; Air intake/outlet blocked. | Increase fan speed; Clear any obstructions from the fan. |
| Fan is noisy | Fan not on a stable surface; Internal obstruction. | Place fan on a flat, stable surface; Unplug and check for debris inside the fan. |
| Remote control not working | Batteries depleted; Obstruction between remote and fan; Remote out of range. | Replace remote batteries; Ensure clear line of sight; Move closer to the fan. |
8. Specifications
- Brand: Abolee
- Model: FTS011R
- Color: Black
- Product Dimensions: 12"D x 12"W x 36"H
- Number of Speeds: 4
- Number of Modes: 4 (Normal, Natural, Sleep, Auto)
- Oscillation: 90°
- Air Velocity: Up to 27 ft/s
- Timer: 12 Hours
- Noise Level (Sleep Mode): As low as 34dB
- Wattage: 3 watts
- Item Weight: 3 Pounds
- Control Method: Remote, Touch Panel
- UPC: 717023928265
9. Warranty and Support
For warranty information or technical support, please refer to the documentation included with your purchase or contact Abolee customer service. Keep your purchase receipt as proof of purchase.