
SZHY-LINK WB15X10278
WB15X10278 Microwave Oven Door Handle
User Manual
Brand: SZHY-LINK
Product Overview
This manual provides essential information for the installation, maintenance, and troubleshooting of the WB15X10278 Microwave Oven Door Handle. This replacement part is designed to restore the functionality and appearance of your microwave oven door.
The WB15X10278 microwave door handle support is a direct replacement for part numbers 261300714902, 3025557, AP5790517, and PS8754175. It is compatible with various GE and Hotpoint microwave models, including JNM3161RF1SS, JNM3161RF2SS, JNM3161RF3SS, JNM3161RF4SS, JVM3160RF1SS, JVM3160RF2SS, JVM3160RF3SS, JVM3160RF4SS, and JVM3160RF5SS.

Image: The WB15X10278 microwave oven door handle, shown in white, designed for replacement.

Image: The WB15X10278 microwave handle positioned alongside a compatible microwave oven, illustrating its intended use.

Image: A detailed view of the handle, emphasizing its construction from high-quality materials that meet or exceed OEM specifications, ensuring durability and a precise fit.
Safety Information
WARNING:
- Always disconnect the microwave oven from the electrical power supply before attempting any installation, repair, or maintenance. Failure to do so can result in serious injury or electrical shock.
- Wear appropriate personal protective equipment, such as gloves, to protect your hands during the replacement process.
- If you are unsure about any step of the installation process, it is recommended to consult a qualified appliance technician.
Installation Instructions
The WB15X10278 microwave door handle is designed for easy installation. Follow these steps carefully:
- Disconnect Power: Ensure the microwave oven is completely unplugged from the wall outlet before beginning.
- Remove Old Handle: Carefully remove the screws or fasteners securing the old microwave door handle support. Note how the old handle was attached to ensure correct reassembly.
- Install New Handle: Align the new WB15X10278 handle with the mounting points on the microwave door. Secure it in place using the appropriate screws or fasteners. Ensure the handle is firmly attached and does not wobble.
- Test Functionality: Once the new handle is securely installed, reconnect the microwave oven to the power supply. Open and close the door several times to ensure the handle operates smoothly and the door latches correctly.

Image: A technician demonstrating the ease of installation for the microwave door handle, emphasizing the importance of safety precautions.

Image: A visual representation highlighting the key features of the handle, including its strong and durable material, OEM standards compliance, long-lasting design, perfect fit, and ease of installation.
Operating the Handle
The WB15X10278 door handle functions as a standard microwave door handle. To open the microwave door, firmly grasp the handle and pull it outwards. To close the door, gently push it until it latches securely. Avoid excessive force when opening or closing the door, as this can cause premature wear or damage to the handle or door mechanism.
Maintenance
Regular maintenance helps prolong the life of your microwave door handle:
- Cleaning: Wipe the handle regularly with a soft, damp cloth and mild detergent. Avoid abrasive cleaners or solvents, as these can damage the finish.
- Inspection: Periodically check the handle for any signs of looseness, cracks, or damage. Ensure the mounting screws are tight. If any issues are observed, address them promptly to prevent further damage.
Troubleshooting
If you encounter issues with your WB15X10278 microwave door handle, consider the following:
- Handle is Loose: Check the mounting screws. If they are loose, tighten them carefully. Do not overtighten.
- Door Not Latching: Ensure the handle is installed correctly and not obstructing the door latch mechanism. If the issue persists, the problem may lie with the microwave's latch assembly, not the handle itself.
- Handle is Damaged: If the handle is cracked or broken, it will need to be replaced. This product is made from high-quality materials designed for durability, but extreme force or impact can cause damage.
For issues not resolved by these steps, please contact customer support.
Specifications
| Attribute | Detail |
|---|---|
| Part Number | WB15X10278 |
| Compatible Part Numbers | 261300714902, 3025557, AP5790517, PS8754175 |
| Material | Acrylonitrile Butadiene Styrene (ABS) |
| Color | White |
| Product Dimensions | 10.25 x 1.75 x 1.13 inches |
| Item Weight | 2.39 ounces |
| Manufacturer | SZHY-LINK |

Image: A diagram illustrating the key dimensions of the microwave oven door handle, including its length and width.
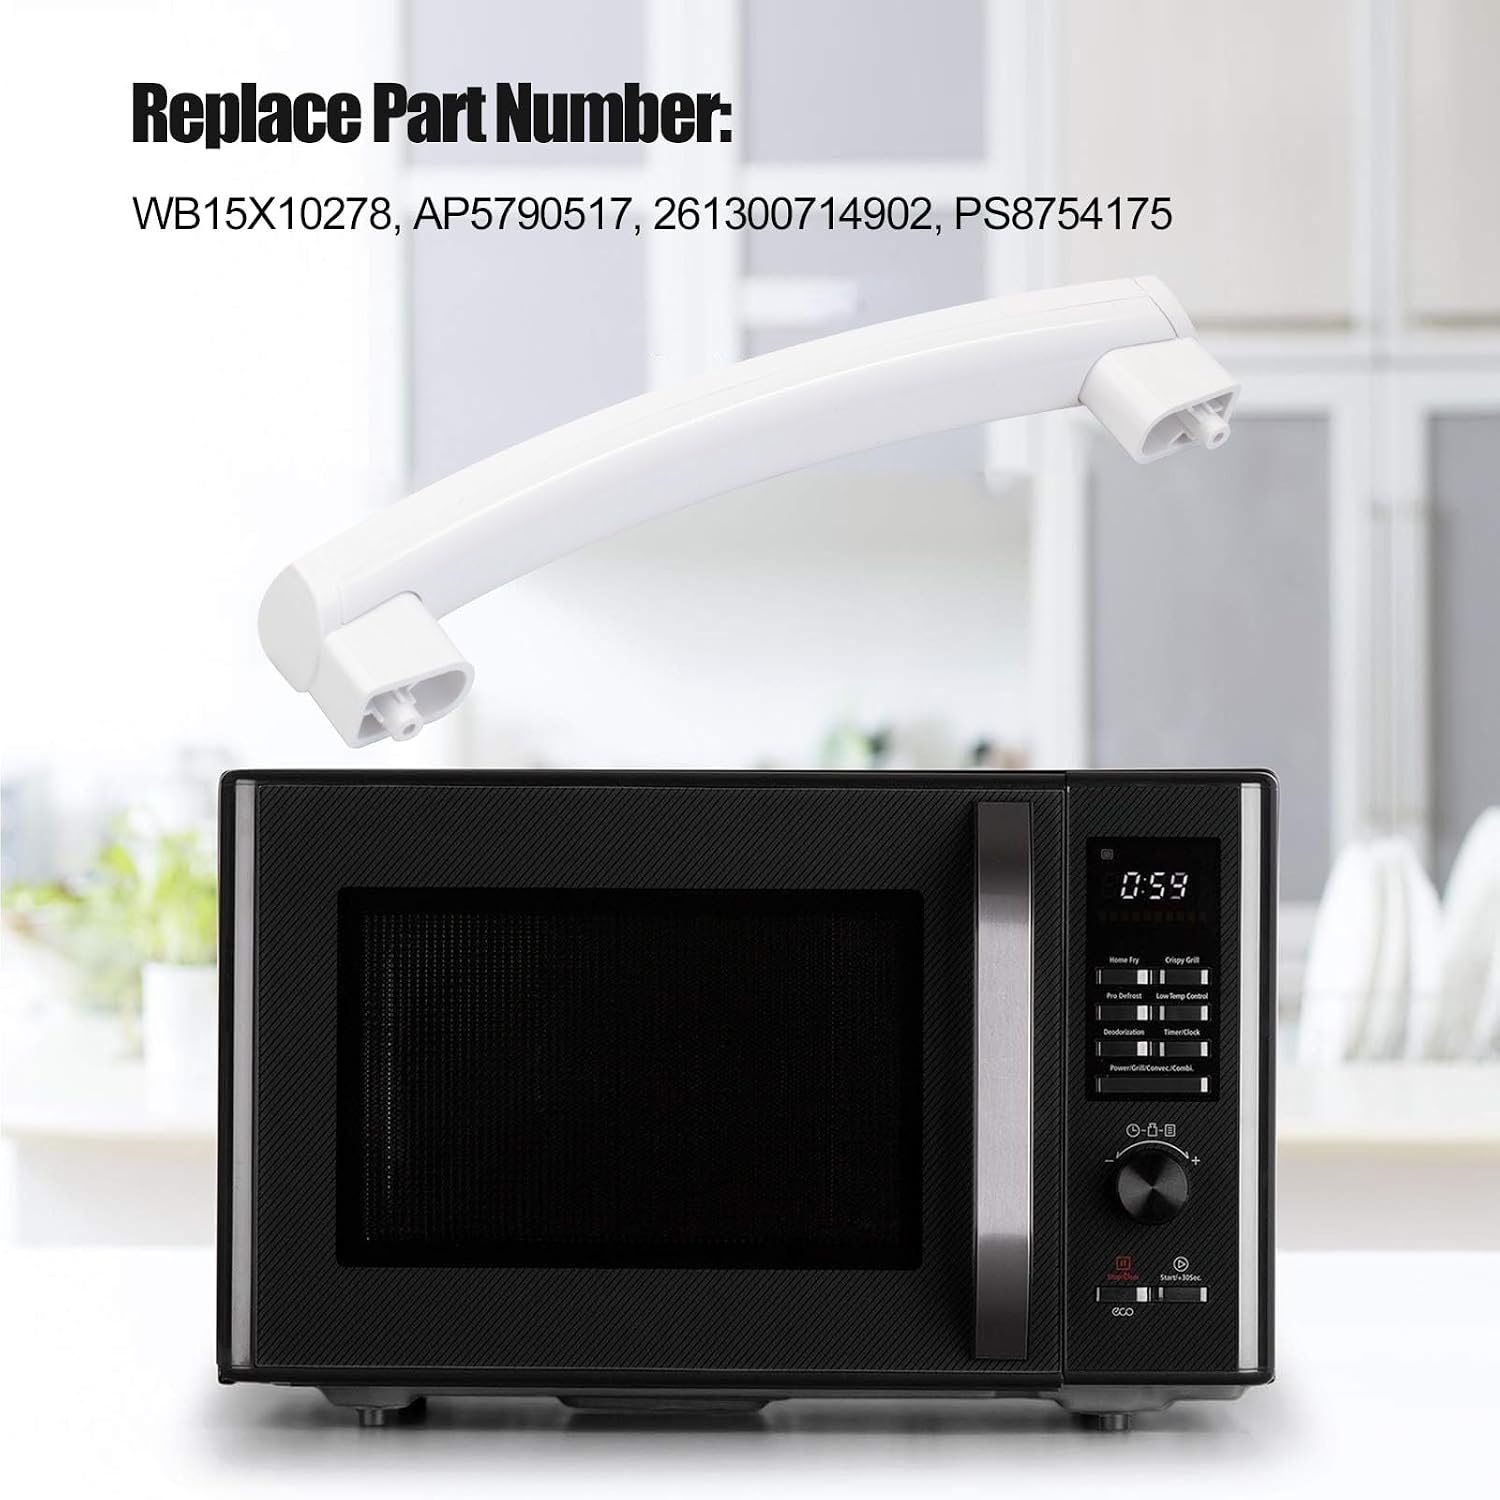
Image: The replacement handle displayed with a list of its compatible part numbers, including WB15X10278, AP5790517, 261300714902, and PS8754175.
Warranty and Support
While specific warranty details are not provided in this manual, SZHY-LINK is committed to customer satisfaction. If you have any questions, concerns, or require assistance with your WB15X10278 Microwave Oven Door Handle, please contact us through your Amazon buyer account. We aim to resolve any issues as quickly as possible.
For further support or to explore other quality replacement parts, you may visit the official SZHY-LINK store on Amazon:
Ask a question about this manual
Ask about setup, troubleshooting, compatibility, parts, safety, or missing instructions. Manuals+ will review the question and use this page’s manual context to help answer it.