
GODOX SK400II-V
Godox SK400II-V Studio Flash Monolight Instruction Manual
Model: SK400II-V
1. Introduction
This manual provides detailed instructions for the safe and effective use of your Godox SK400II-V Studio Flash Monolight. The SK400II-V is a versatile 400W studio strobe flash with a Bowens mount, designed for professional photography. It features a GN65 guide number, 5600K color temperature, and a 2.4G wireless system with an LED modeling lamp. Please read this manual thoroughly before operating the unit.
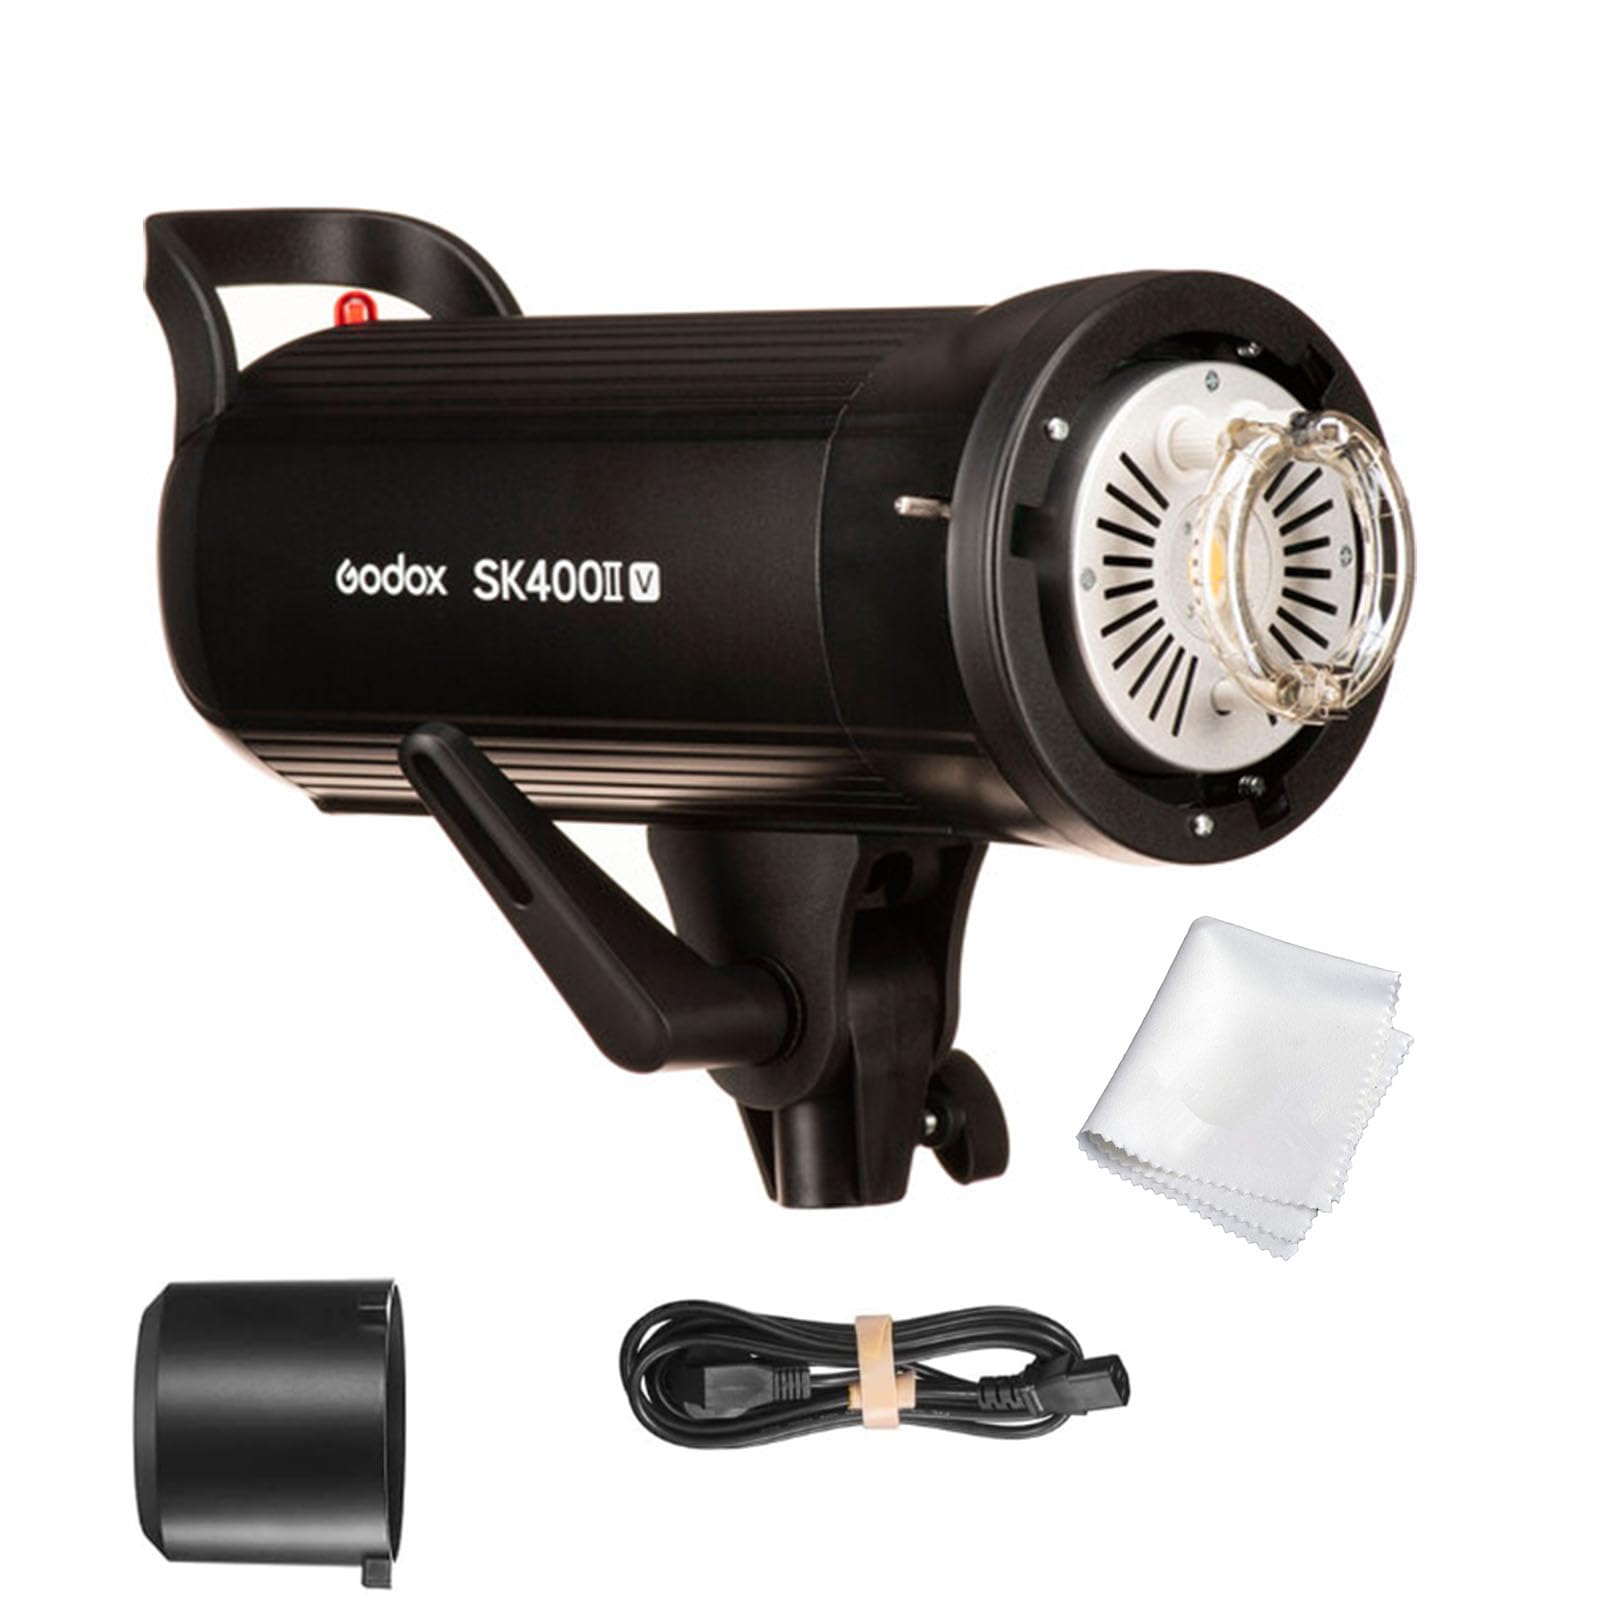
Image: An overview image of the Godox SK400II-V Studio Flash Monolight, showcasing its sleek black cylindrical body, the prominent flash tube, and the LED modeling lamp at the front, all supported by an adjustable mounting bracket.
2. Safety Information
- Do not disassemble or modify the unit. Repairs should only be performed by authorized service personnel.
- Keep the unit dry. Do not expose it to rain or moisture.
- Avoid direct eye exposure to the flash.
- Ensure the power supply voltage matches the unit's requirements before connecting.
- Keep out of reach of children.
- Unplug the unit from the power outlet when not in use or before cleaning.
3. What's in the Box
Upon opening the package, please verify that all the following items are included:
- Godox SK400II-V Studio Flash Monolight
- Power Cable
- Modeling Lamp (LED)
- Standard Reflector
- Instruction Manual

Image: This image displays the items typically included in the Godox SK400II-V product package: the main monolight unit, a coiled power cable, and a black standard reflector dish.
4. Product Features
4.1. New LED Modeling Lamp
The SK400II-V features a 10W LED modeling lamp. This allows you to preview your lighting setup before taking the shot. Being LED, it generates significantly less heat compared to traditional halogen lamps, making it safer for use with enclosed light modifiers such as snoots and Fresnel lenses.
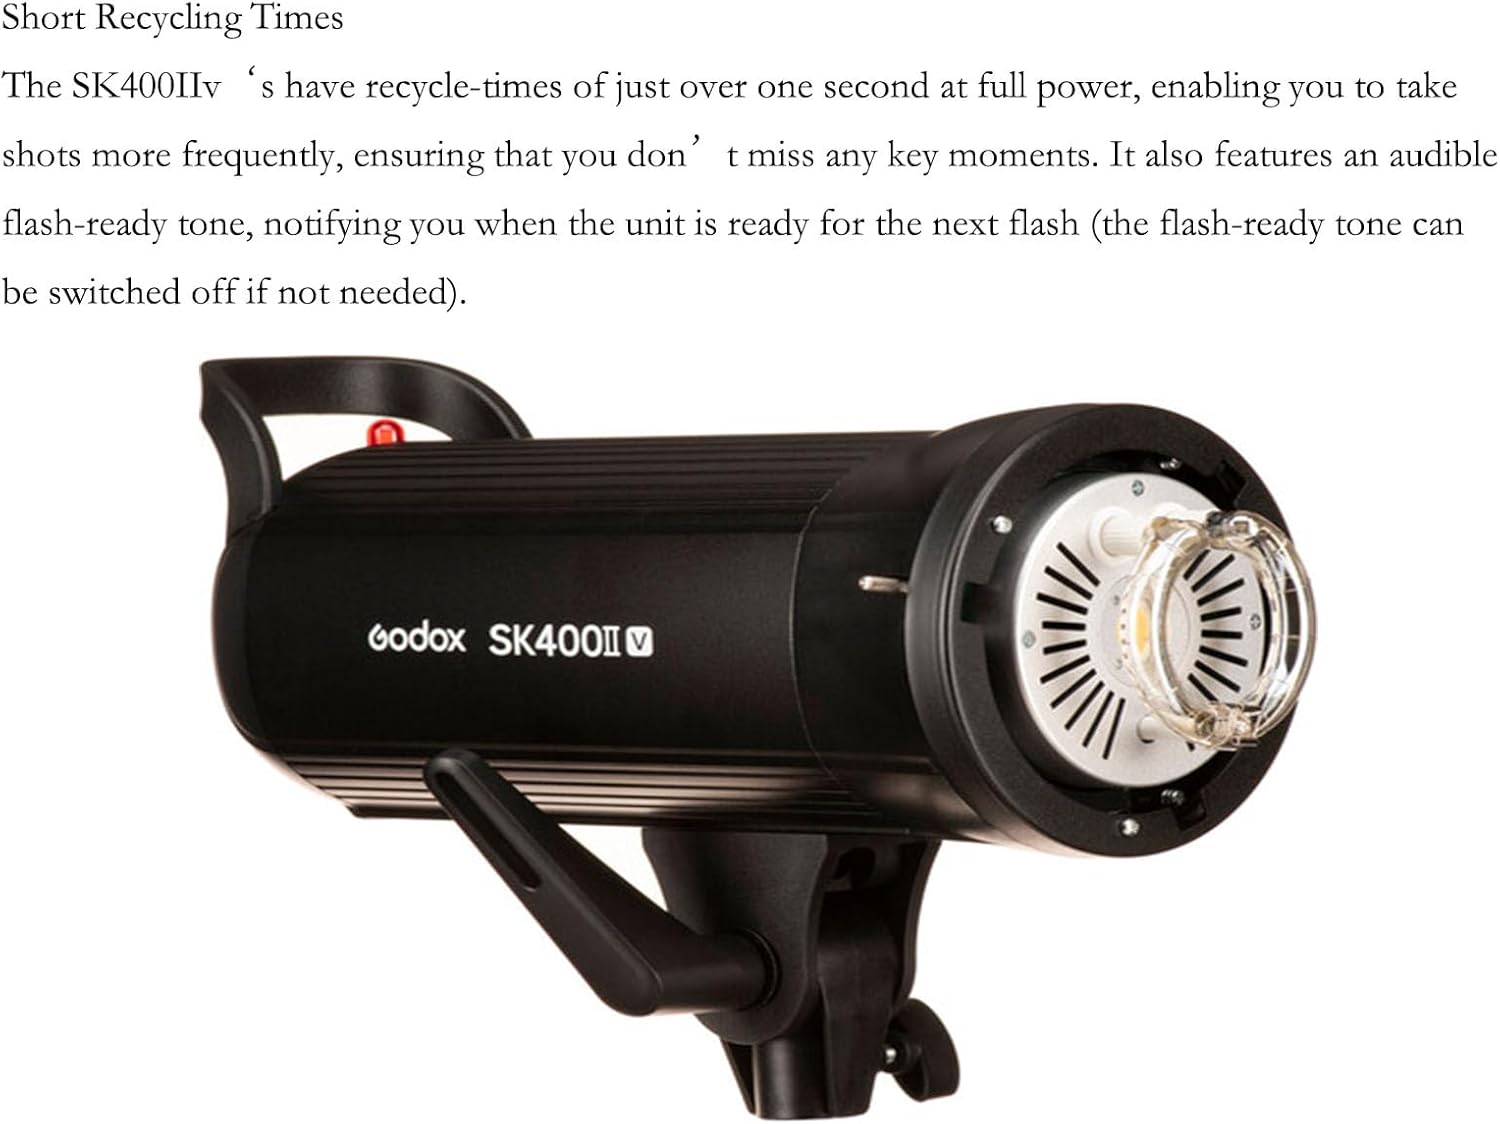
Image: A detailed close-up of the front of the Godox SK400II-V monolight, highlighting the central flash tube surrounded by the clear protective cover of the LED modeling lamp, and the Bowens mount interface.
4.2. Short Recycling Times
The SK400II-V boasts fast recycling times, typically just over one second at full power. This enables more frequent shooting, ensuring you capture critical moments. An audible flash-ready tone indicates when the unit is ready for the next flash, which can be disabled if not desired.

Image: A side profile view of the Godox SK400II-V monolight, illustrating its streamlined and compact body, which contributes to its efficient performance and quick recycling.
4.3. 5-Stop Power Range
The flash offers a 5-stop power range (1/1 to 1/16), adjustable in 1/10-stop increments. The 10W LED modeling lamp's brightness can be dimmed from 100% down to 5%.
4.4. Anti-Pre-Flash Function
An intelligent slave cell (Pre-flash detector system) allows the SK400II-V to ignore pre-flashes from other speedlights or TTL strobes, ensuring accurate synchronization.
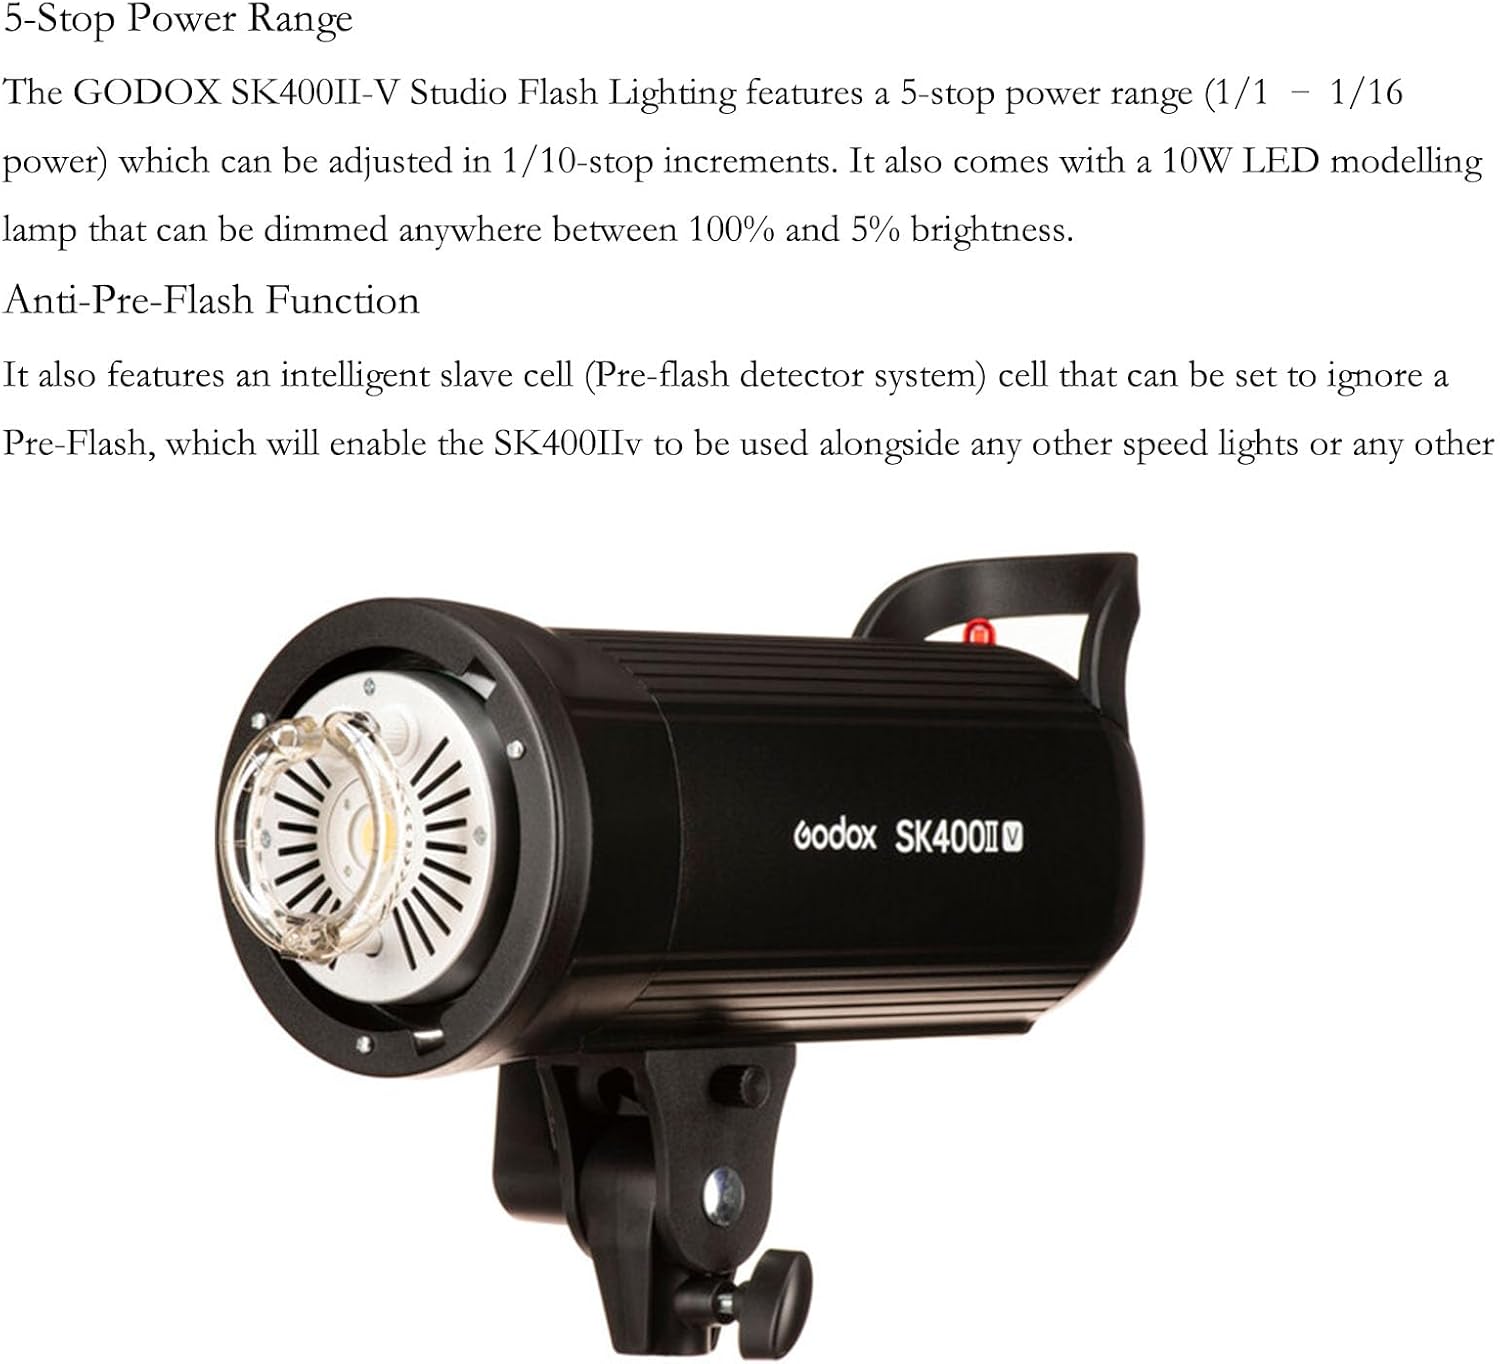
Image: This image presents the Godox SK400II-V monolight from a slightly elevated side angle, showcasing the flash head, the sturdy mounting bracket, and the overall construction designed for precise power control.
4.5. Large Back-Lit Digital Display
The unit features a large, user-friendly back-lit digital display, making settings easy to view and adjust even in low-light shooting conditions.

Image: The rear panel of the Godox SK400II-V monolight is visible, featuring a clear, back-lit LCD screen that shows operational settings. Below the screen are several control buttons and a rotary dial for adjustments.
4.6. 2.4G Wireless X System
With a built-in 2.4G wireless receiver, the SK400II-V is fully compatible with Godox X-series radio controllers (e.g., X1, X2, XPro, XT16). This enables wireless synchronous triggering and control of flash settings. The Godox Flash App can also be used with X2/XProII triggers for remote adjustments.

Image: A close-up of the rear panel of the SK400II-V monolight, showing the sync port and a USB port, which is used for connecting Godox X-series wireless receivers to enable remote control and triggering.
4.7. Bowens Mount
The SK400II-V features a standard Bowens S-Type bayonet mount, making it compatible with a wide range of light modifiers such as beauty dishes, softboxes, and reflectors.
Image: A detailed view of the front of the Godox SK400II-V monolight, specifically highlighting the Bowens S-Type bayonet mount, designed for quick and secure attachment of various light shaping tools.
4.8. Convenient Portability
Its compact and lightweight design ensures easy transport, making it suitable for both studio and on-location shoots. It can be easily mounted on light stands, allowing for flexible adjustment of lighting angles.

Image: The Godox SK400II-V monolight is shown mounted on a light stand, illustrating its relatively compact size and the flexibility of its mounting bracket for adjusting lighting angles, making it highly portable.
5. Setup
- Mounting: Attach the SK400II-V to a sturdy light stand using the integrated mounting bracket. Secure it firmly.
- Power Connection: Connect the power cable to the monolight's power input and then to a suitable AC power outlet. Ensure the voltage matches the unit's requirements (AC200-240V~50/60Hz or AC110-120V~60Hz).
- Modeling Lamp Installation: If not already installed, carefully insert the LED modeling lamp into its socket.
- Attaching Modifiers: Align your Bowens mount light modifier (e.g., softbox, reflector) with the monolight's front mount. Insert and twist clockwise until it locks securely.
6. Operating Instructions
6.1. Power On/Off
Flip the power switch located on the rear panel to turn the unit on or off.
6.2. Flash Power Adjustment
Use the rotary knob on the rear panel to adjust the flash output power from 1/1 to 1/16 in 0.1-stop increments. The current setting will be displayed on the LCD screen.
6.3. Modeling Lamp Control
Press the "MOD/OFF" button to cycle through modeling lamp modes: Proportional, Manual, and Off. In Manual mode, use the rotary knob to adjust brightness from 5% to 100%. The modeling lamp can also be set to automatically turn off during flash discharge.
6.4. Wireless Control (2.4G X System)
To use wireless control, ensure your Godox X-series trigger is set to the same channel and group as the SK400II-V. Press the "GR/CH" button to adjust the group and channel settings on the monolight. The unit will automatically detect signals from compatible triggers.
6.5. Slave Mode (S1/S2)
Press the "S1/S2" button to activate slave modes.
- S1 Mode: The flash will fire in response to a single flash from another unit.
- S2 Mode: The flash will ignore a pre-flash and fire on the second flash, suitable for use with cameras that emit a pre-flash for TTL metering.
6.6. Test Button / Flash Ready Tone
Press the "TEST" button to manually fire the flash. The "BUZZ" button toggles the audible flash-ready tone on or off.
7. Specifications
| Feature | Detail |
|---|---|
| Model | SK400II-V |
| Max Power | 400Ws |
| Guide Number (m ISO 100) | 65 |
| Color Temperature | 5600K ±200K |
| Operating Voltage | AC200-240V~50/60Hz or AC110-120V~60Hz |
| Power Output Control | OFF, 6.0~10.0 (1/16~1/1) |
| Modeling Lamp | 10W LED (replaces original 150W Halogen) |
| Modeling Lamp Level | 5%~100% |
| Recycle Time | 0.1~1.5s |
| Triggering Method | Sync cord, Optical triggering, Test button, Wireless control port |
| Flash Duration (t=0.1) | 1/2000s (at min power) - 1/800s |
| Mount Type | Bowens Mount |
| Connectivity Technology | Radio Frequency (2.4G Wireless X System) |
| Fuse | AC220V-240V~50Hz: 5A, AC110V-120V~60Hz: 8A |
8. Troubleshooting
- Flash not firing:
- Check power connection.
- Ensure the unit is powered on.
- Verify trigger settings (channel, group) match the monolight.
- Check if the flash tube is properly installed and not damaged.
- Modeling lamp not working:
- Check if the modeling lamp is set to "OFF" mode.
- Ensure the lamp is correctly seated in its socket.
- The lamp may need replacement if it's faulty.
- Inconsistent flash output:
- Allow sufficient recycle time between flashes.
- Check for stable power supply.
9. Maintenance
- Cleaning: Use a soft, dry cloth to clean the unit. For stubborn dirt, a slightly damp cloth can be used, followed by a dry one. Do not use harsh chemicals or abrasive cleaners.
- Storage: Store the monolight in a cool, dry place, away from direct sunlight and excessive humidity.
- Flash Tube/Modeling Lamp Replacement: If necessary, replace the flash tube or modeling lamp with genuine Godox parts. Always unplug the unit and allow it to cool before attempting replacement.
10. Warranty and Support
This Godox SK400II-V Studio Flash Monolight comes with a 1-year warranty from the date of purchase. For warranty claims, technical support, or service inquiries, please contact your authorized Godox dealer or visit the official Godox website for contact information.
Please retain your proof of purchase for warranty validation.
Related documentsSK400II-V


Ask a question about this manual
Ask about setup, troubleshooting, compatibility, parts, safety, or missing instructions. Manuals+ will review the question and use this page’s manual context to help answer it.