
1. Introduction
This manual provides essential information for the safe and efficient operation of your BELLA 10" x 20" Electric Griddle. Please read all instructions carefully before first use and retain this manual for future reference.
The BELLA Electric Griddle features a spacious cooking surface with EverGood™ Ceramic Nonstick Coating, a removable temperature probe for precise heat control, and a dishwasher-safe drip tray for easy cleaning. It is designed for preparing a variety of foods, from breakfast items to full meals.
2. Important Safeguards
When using electrical appliances, basic safety precautions should always be followed, including the following:
- Read all instructions before operating the appliance.
- Do not touch hot surfaces. Use handles or knobs.
- To protect against electrical shock, do not immerse the temperature probe, cord, or plug in water or other liquids. The griddle plate itself is immersible once the probe is removed.
- Close supervision is necessary when any appliance is used by or near children.
- Unplug from outlet when not in use and before cleaning. Allow to cool before putting on or taking off parts, and before cleaning the appliance.
- Do not operate any appliance with a damaged cord or plug, or after the appliance malfunctions or has been damaged in any manner. Contact customer support for assistance.
- The use of accessory attachments not recommended by the appliance manufacturer may cause injuries.
- Do not use outdoors.
- Do not let cord hang over edge of table or counter, or touch hot surfaces.
- Do not place on or near a hot gas or electric burner, or in a heated oven.
- Extreme caution must be used when moving an appliance containing hot oil or other hot liquids.
- Always attach plug to appliance first, then plug cord into the wall outlet. To disconnect, turn any control to “OFF”, then remove plug from wall outlet.
- Do not use appliance for other than intended household use.
3. Product Overview and Components
Familiarize yourself with the parts of your BELLA Electric Griddle:
- Griddle Plate: The main cooking surface with EverGood™ Ceramic Nonstick Coating.
- Removable Temperature Probe: Controls the griddle's heat settings.
- Cool-Touch Handles: For safe handling and transport.
- Removable Drip Tray: Collects excess fats and juices during cooking.
- Ledge Base with Backstop: Aids in easy flipping of food.
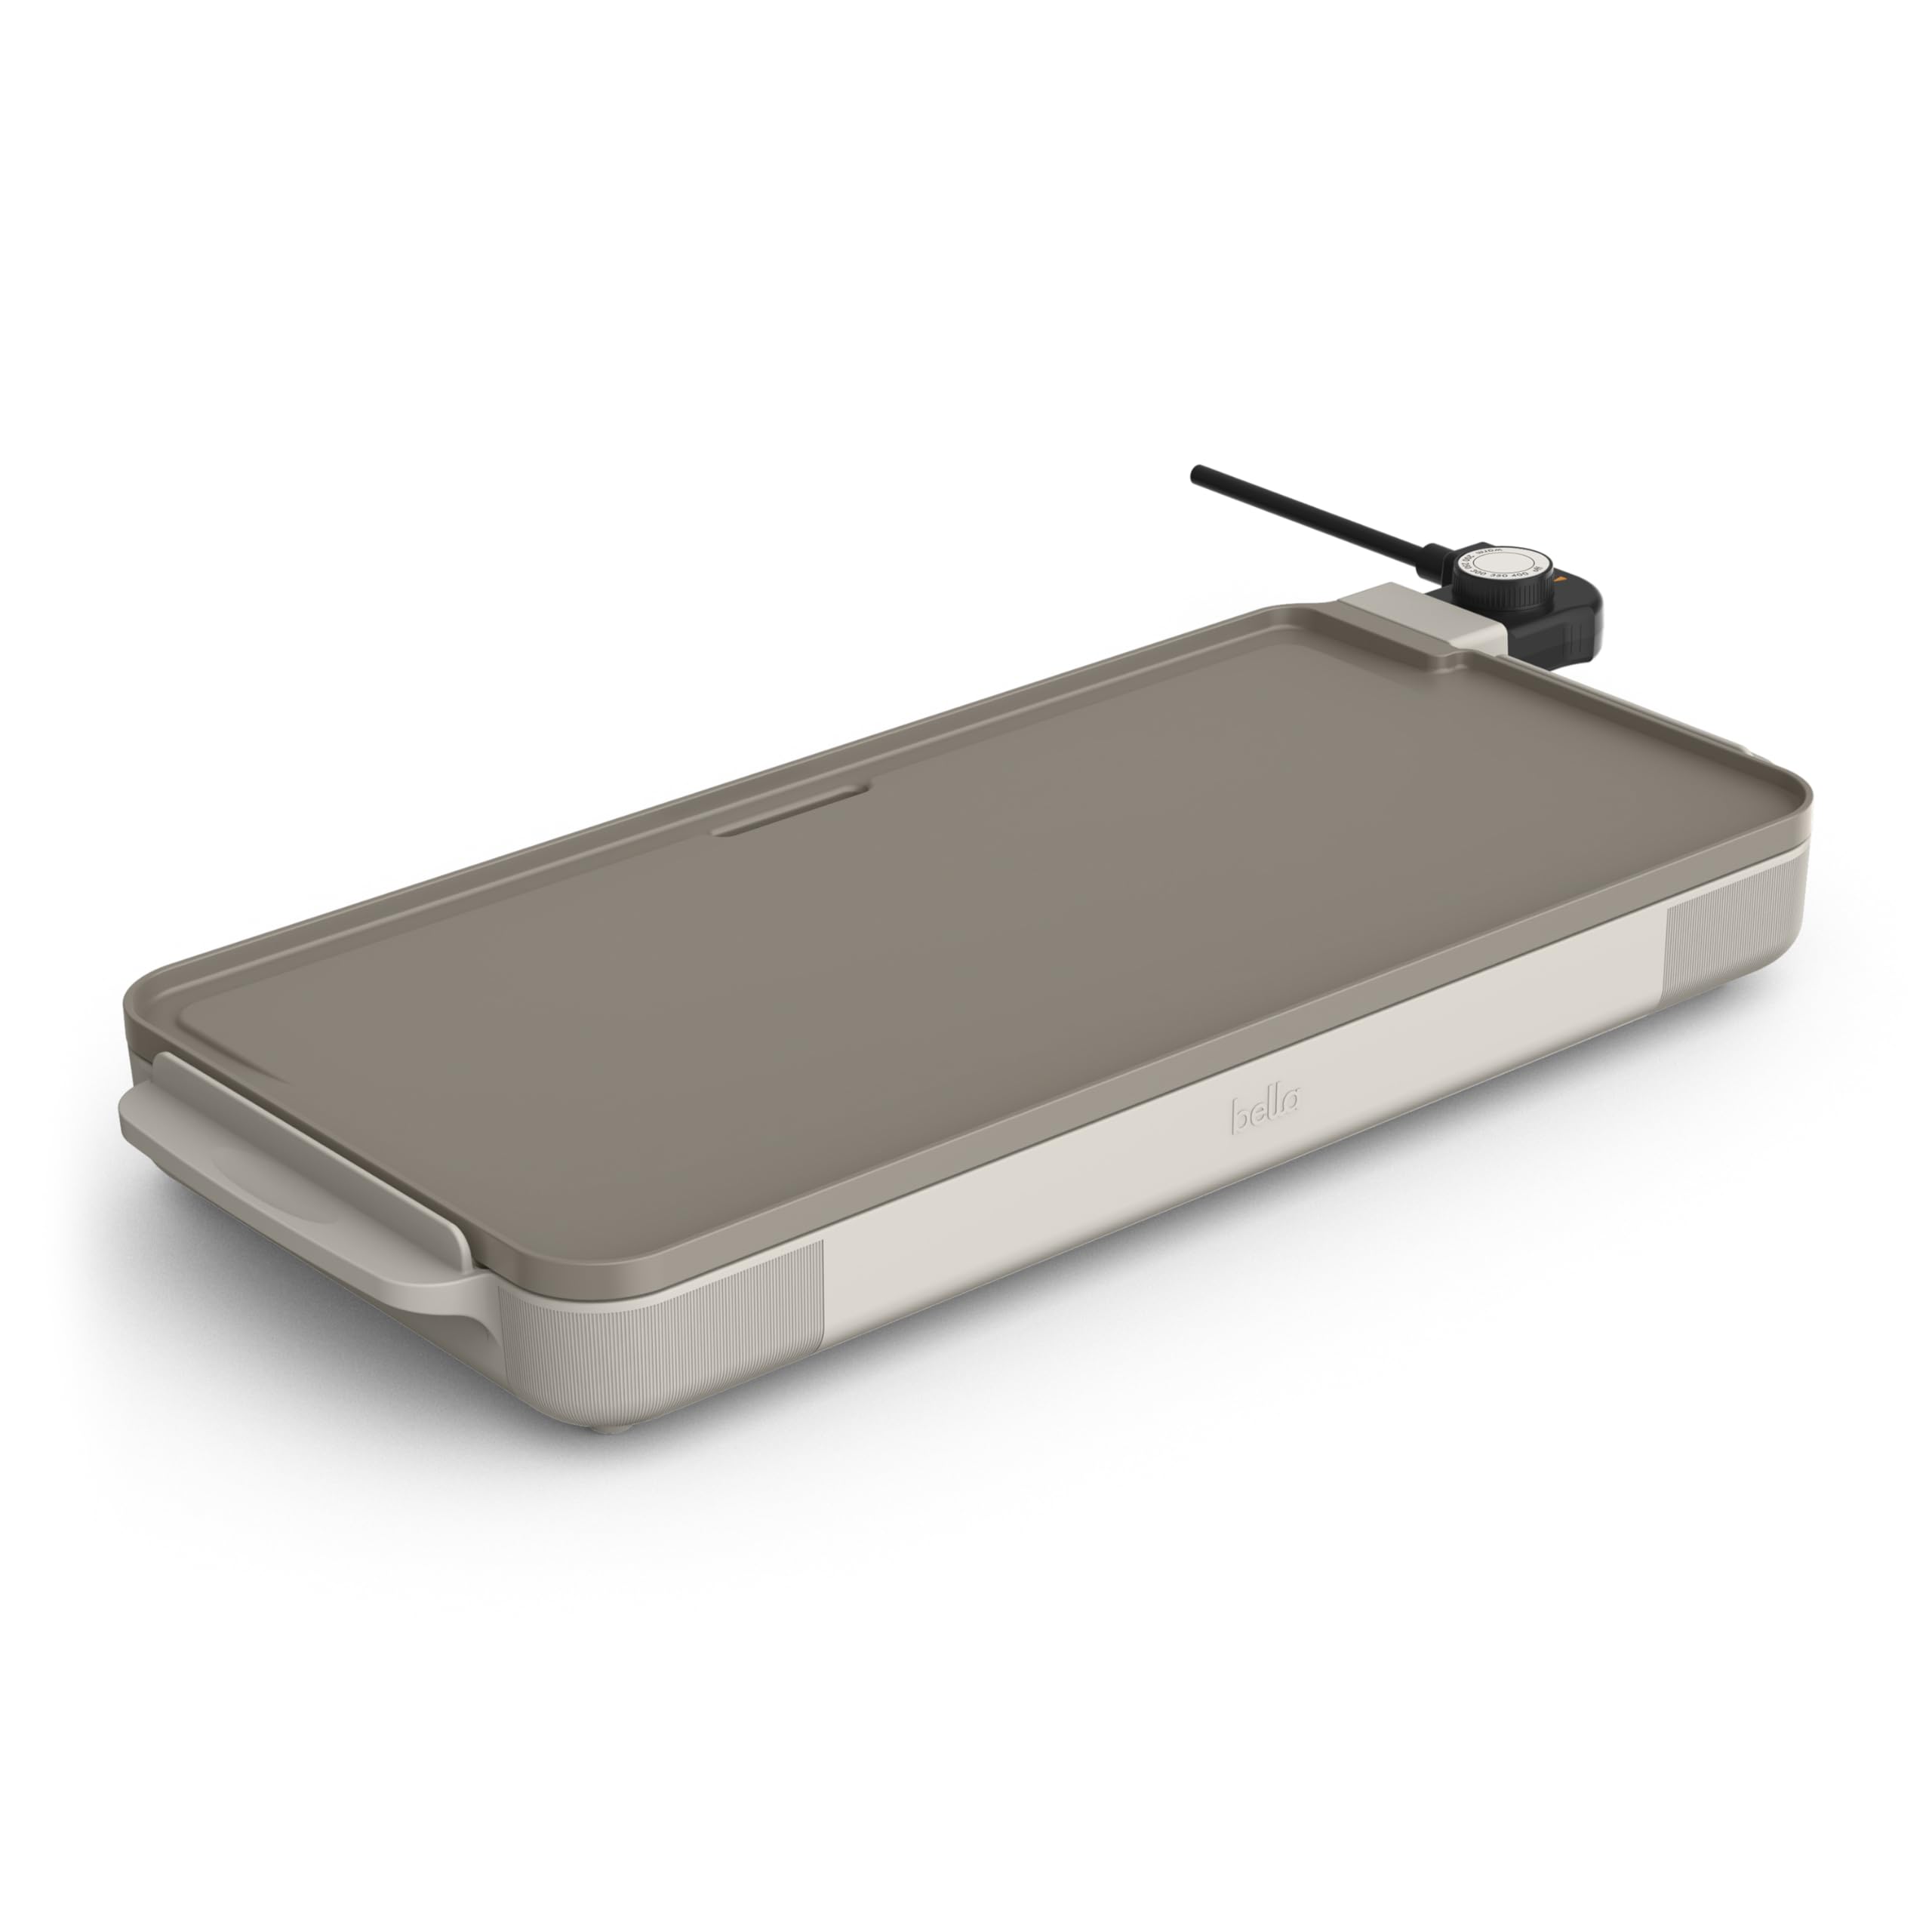
Figure 1: Overview of the BELLA Electric Griddle. This image shows the full griddle unit, including the cooking surface, cool-touch handles, and the attached temperature control probe.

Figure 2: Close-up of the removable temperature probe. The dial features settings from 'OFF' to 'WARM', '200', '250', '300', '350', and '400' degrees Fahrenheit, allowing precise temperature adjustment.
4. Before First Use
- Unpack the griddle and remove all packaging materials.
- Wash the griddle plate and drip tray in warm, soapy water. The griddle plate is fully immersible once the temperature probe is removed.
- Rinse thoroughly and dry completely.
- Wipe the exterior of the griddle base with a damp cloth. Do not immerse the base in water.
- Insert the drip tray into its designated slot beneath the griddle plate.
- Insert the removable temperature probe firmly into the receptacle on the side of the griddle. Ensure it is fully seated.
5. Operating Instructions
5.1 Connecting and Preheating
- Place the griddle on a stable, heat-resistant surface.
- Ensure the drip tray is correctly inserted.
- Plug the temperature probe into a standard 120V AC electrical outlet.
- Turn the temperature control dial to the desired cooking temperature (e.g., 350°F for pancakes). The indicator light will illuminate, signaling that the griddle is heating.
- Allow the griddle to preheat for approximately 5-10 minutes, or until the indicator light turns off, indicating the set temperature has been reached.
5.2 Cooking
- Lightly grease the nonstick surface with cooking oil or butter, if desired, before adding food.
- Place food directly onto the preheated griddle surface.
- Monitor food as it cooks. The built-in ledge and backstop assist in easy flipping.
- For keeping food warm, turn the temperature dial to the 'WARM' setting.
- After cooking, turn the temperature dial to 'OFF' and unplug the griddle.

Figure 3: The griddle in use, cooking eggs and pancakes. This image demonstrates the large cooking surface accommodating multiple food items simultaneously.

Figure 4: A hand pulling out the removable drip tray from the griddle. This tray collects excess grease and liquids, promoting healthier cooking and easier cleanup.
6. Cleaning and Maintenance
Proper cleaning and maintenance will extend the life of your griddle.
- Ensure the griddle is unplugged and completely cool before cleaning.
- Remove the temperature probe. Do not immerse the probe in water.
- Carefully remove the drip tray and empty its contents. The drip tray is dishwasher safe.
- The griddle plate can be fully immersed in warm, soapy water for cleaning. Use a soft sponge or cloth to clean the nonstick surface. Avoid abrasive cleaners or scouring pads that could damage the coating.
- For stubborn residue, allow the griddle to soak for a short period, then gently scrub.
- Rinse the griddle plate and drip tray thoroughly and dry completely before reassembling or storing.
- Wipe the exterior of the griddle base with a damp cloth. Do not immerse the base in water.
- Store the griddle in a dry place. The cord tie can be used for tangle-free storage.
7. Troubleshooting
If you encounter issues with your griddle, refer to the following common problems and solutions:
| Problem | Possible Cause | Solution |
|---|---|---|
| Griddle does not heat up. | Not plugged in; temperature probe not fully inserted; temperature dial set to 'OFF'. | Ensure power cord is securely plugged into a working outlet. Verify temperature probe is fully inserted. Turn temperature dial to a desired heat setting. |
| Food sticks to the surface. | Insufficient preheating; no oil/butter used; damaged nonstick coating. | Allow griddle to preheat fully. Apply a thin layer of cooking oil or butter before adding food. Avoid using metal utensils that can scratch the coating. |
| Uneven heating. | Griddle not fully preheated; food distributed unevenly. | Ensure griddle is fully preheated until the indicator light cycles off. Distribute food evenly across the surface. |
| Smoke or odor during first use. | Residual manufacturing oils burning off. | This is normal for first use. Ensure adequate ventilation. It should dissipate quickly. |
If the problem persists after attempting these solutions, please contact customer support.
8. Specifications
- Model Number: 35112-016A
- Product Dimensions: 3.34"D x 22.83"W x 11.41"H
- Cooking Surface: 10" x 20"
- Wattage: 1500 watts
- Voltage: 120 Volts
- Material: Ceramic, Plastic
- Special Feature: Non Stick Coating, Temperature Control
- Item Weight: 5.51 Pounds

Figure 5: Diagram illustrating the dimensions of the BELLA Electric Griddle: 22.83 inches in width, 11.41 inches in depth, and 3.34 inches in height.
9. Warranty and Support
9.1 Limited Warranty
This BELLA product is covered by a 2-year limited warranty from the date of purchase. This warranty covers defects in materials and workmanship under normal household use. It does not cover damage resulting from misuse, neglect, commercial use, accident, or unauthorized modification.
9.2 Customer Support
For warranty claims, technical assistance, or any questions regarding your BELLA Electric Griddle, please contact BELLA Customer Support. Contact information can typically be found on the manufacturer's website or on the product packaging.
Please have your model number (35112-016A) and proof of purchase available when contacting support.


