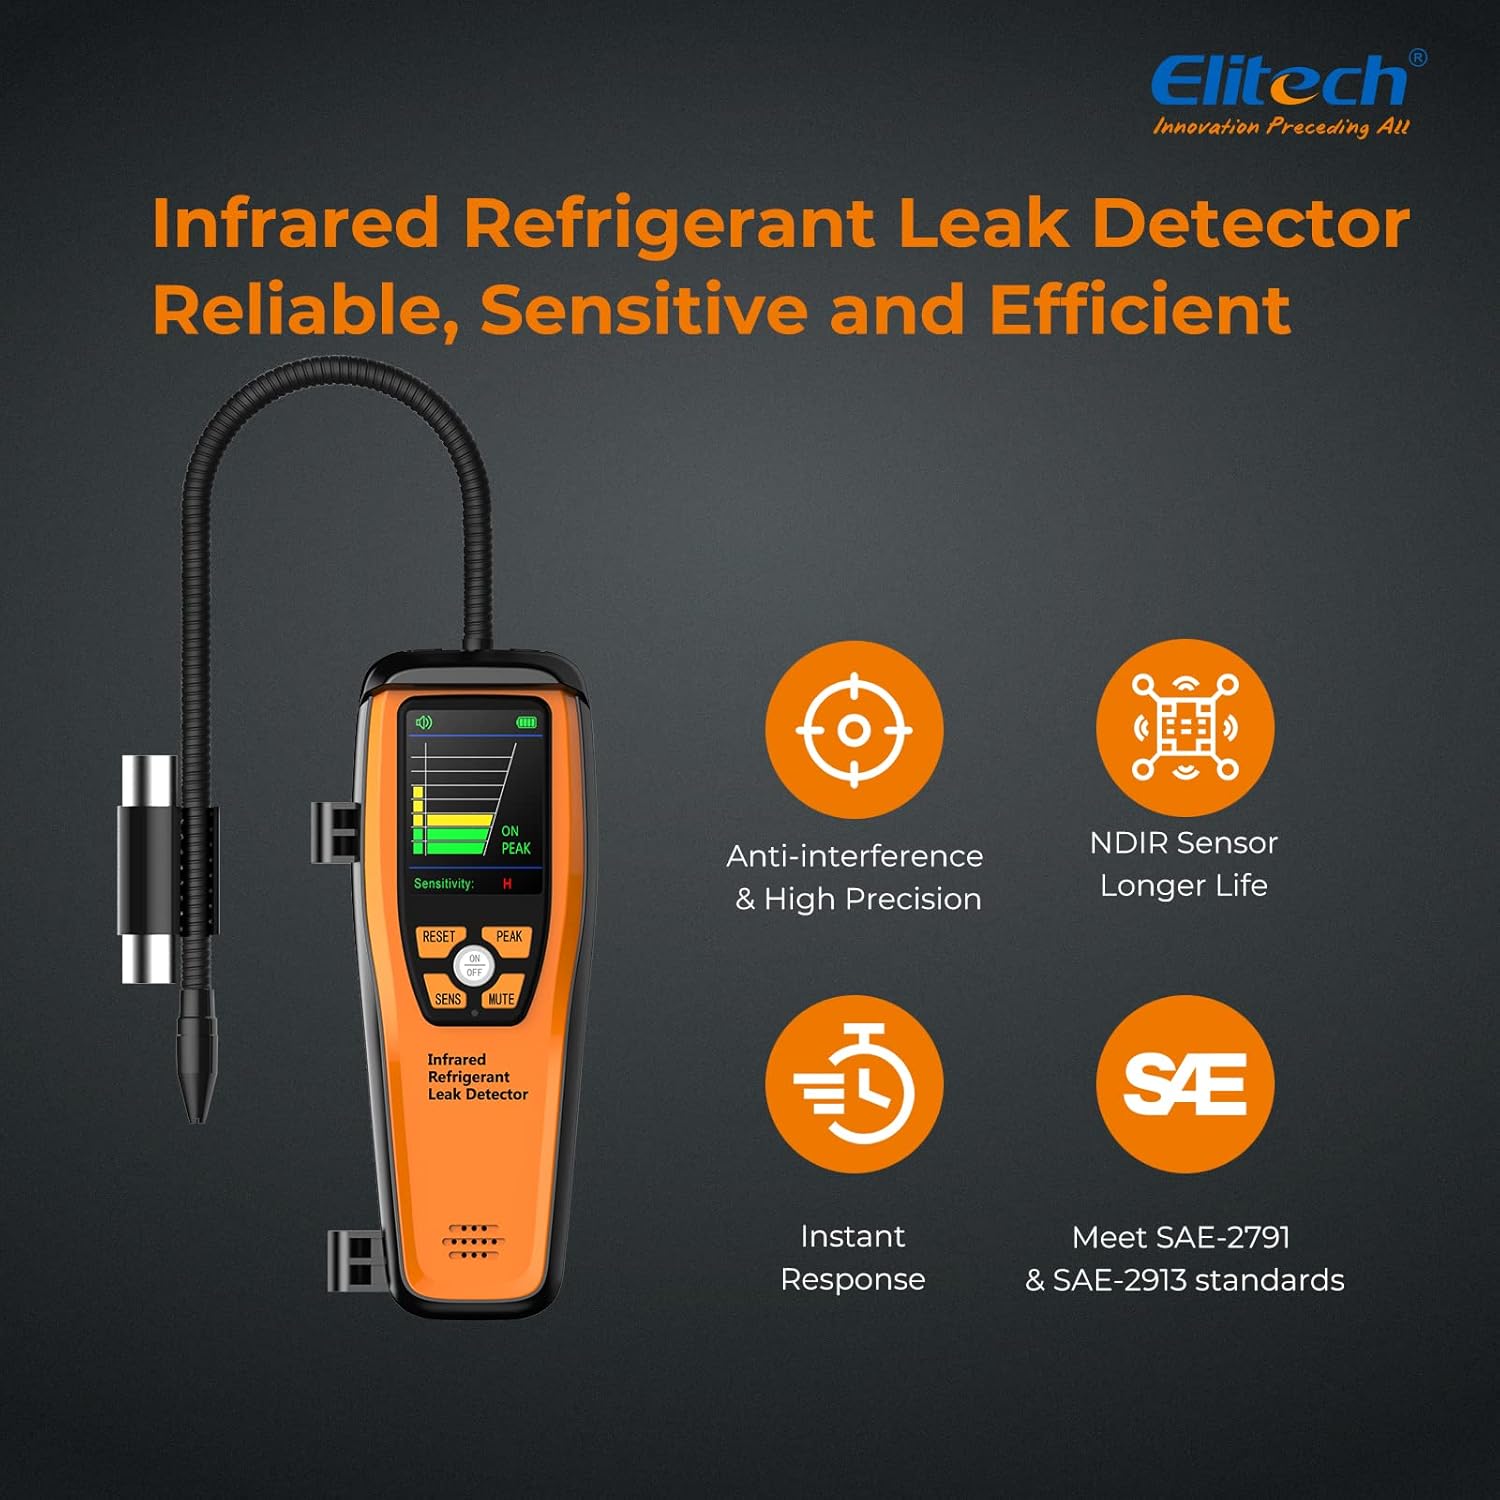
This user manual provides comprehensive instructions for the Elitech HVAC/R service kit, which includes the Elitech LMG-10W 2-Way Valve Manifold Gauge, the Elitech LMC-100A+ Refrigerant Scale, and the Elitech ILD-200 Infrared Refrigeration Leak Detector. This kit is designed for professional HVAC/R technicians to perform accurate refrigerant charging, recovery, and leak detection tasks.
Figure 1: Elitech HVAC/R Service Kit components.
Product Components
Elitech LMG-10W 2-Way Valve Manifold Gauge
The LMG-10W is a digital manifold gauge designed for precise measurement of pressure, temperature, and vacuum in HVAC/R systems. It features a clear display and robust construction for reliable performance.
APP Control: Seamless integration with the Elitech Tools App for remote monitoring and control.
Remote Firmware Upgrade: Allows for convenient updates to the device's software.
Accurate Tightness Test Results: Provides precise data for system integrity checks.
Instant Report Export: Generate and export reports for documentation.
Automatic Calculation: Calculates subcooling and superheat automatically.
Long Battery Life: Up to 200+ hours of operation.
Measuring Range: -14.5 to 800 psi.
Accuracy: ±0.5% FS.
Units: psi, kg/cm3, kPa, MPa, bar.
Working Temperature Range: 14~122°F / -10~50°C.
Figure 2: Elitech LMG-10W Digital Manifold Gauge with included accessories.
Figure 3: Key features and display of the Elitech LMG-10W.
Figure 4: Dimensions and detailed specifications of the Elitech LMG-10W.
Elitech LMC-100A+ Refrigerant Scale
The LMC-100A+ is a high-capacity electronic refrigerant charging and recovery scale, essential for accurate refrigerant handling.
Capacity: Up to 220lbs (100kg).
Accuracy: ±0.05% readings +10g.
Units: Kg/Lb/Oz.
Long Battery Life: Up to 40 hours.
Auto Shut-off: After 10 minutes of inactivity to conserve battery.
Figure 5: Elitech LMC-100A+ Refrigerant Scale within its carrying case.
Figure 6: Battery life and auto shut-off features of the Elitech LMC-100A+.
Figure 9: Dimensions and detailed specifications of the Elitech ILD-200.
Setup
Before operating the Elitech HVAC/R service kit, ensure all components are properly set up and charged.
Unpacking: Carefully remove all items from the packaging. Verify that all components listed in the packing list are present and undamaged.
Battery Installation/Charging:
LMG-10W: Ensure the manifold gauge is charged or has sufficient battery life. Refer to the individual LMG-10W manual for specific battery type and charging instructions.
LMC-100A+: Install batteries as per the scale's instructions.
ILD-200: Charge the leak detector using the provided charger until the battery indicator shows full.
App Installation (Optional but Recommended): Download the "Elitech Tools" app from your device's app store (iOS and Android). This app allows for integrated management of Elitech tools.
Initial Calibration/Zeroing:
LMG-10W: Power on the manifold gauge. Perform a zero calibration as instructed in its specific manual to ensure accurate pressure readings.
LMC-100A+: Place the scale on a flat, stable surface. Power it on and press the "Z/T" button to zero the scale before placing any refrigerant cylinders on it.
ILD-200: Allow the leak detector to warm up as per its instructions. Ensure it is in a clean air environment when powered on to establish a baseline.
Hose Connection (LMG-10W): Connect the appropriate refrigerant hoses to the LMG-10W manifold gauge and to the HVAC/R system service ports as required for your specific task (e.g., charging, recovery, evacuation).
Operating Instructions
This section provides general operating guidelines for using the Elitech HVAC/R service kit. Always refer to the specific manuals for each device for detailed operational procedures.
Refrigerant Charging/Recovery (Using LMG-10W and LMC-100A+)
Connect Hoses: Connect the LMG-10W to the HVAC/R system's high and low-pressure service ports using the appropriate hoses. Connect the center hose to the refrigerant cylinder or recovery machine.
Place Cylinder on Scale: Place the refrigerant cylinder on the LMC-100A+ scale. Ensure the scale is zeroed before placing the cylinder.
Monitor Readings: Use the LMG-10W to monitor system pressures and temperatures. The LMC-100A+ will display the refrigerant weight.
Charge/Recover: Open the manifold valves as required for charging or recovery. Monitor the LMC-100A+ to ensure the correct amount of refrigerant is transferred.
Disconnect: Once the process is complete, close all valves and carefully disconnect the hoses.
Leak Detection (Using ILD-200)
Power On: Turn on the ILD-200 leak detector. Allow it to warm up and self-calibrate in a clean air environment.
Adjust Sensitivity: Adjust the sensitivity setting (Low, Medium, High) based on the suspected leak size and environment. Start with a higher sensitivity for general scanning.
Scan System: Slowly move the probe tip around suspected leak areas (e.g., joints, fittings, valves, coils). The detector will alarm and indicate the presence of refrigerant.
Pinpoint Leak: Once a leak is detected, move the probe slowly back and forth to pinpoint the exact source. The alarm intensity will typically increase as you get closer to the leak.
Verify: After identifying a leak, ventilate the area and re-scan to confirm the leak location.
Maintenance
Proper maintenance ensures the longevity and accuracy of your Elitech HVAC/R service kit.
Cleaning:
Wipe down all devices with a soft, damp cloth after each use.
Do not use abrasive cleaners or solvents.
Keep the manifold gauge ports and scale platform free of debris.
Storage:
Store all components in their original carrying cases or a protective environment when not in use.
Store in a cool, dry place away from direct sunlight and extreme temperatures.
Battery Care:
For rechargeable devices (LMG-10W, ILD-200), charge regularly, especially before long periods of storage.
Remove batteries from the LMC-100A+ if storing for extended periods to prevent leakage.
Sensor/Probe Care (ILD-200):
Keep the sensor tip clean and free from contaminants.
Avoid exposing the sensor to excessive moisture or oil.
Hose Inspection (LMG-10W):
Regularly inspect refrigerant hoses for cracks, wear, or damage. Replace if necessary to prevent leaks.
Troubleshooting
This section addresses common issues you might encounter with your Elitech HVAC/R service kit.
Problem
Possible Cause
Solution
LMG-10W: Inaccurate pressure readings.
Needs zero calibration; sensor contamination; faulty hose connection.
Perform zero calibration. Clean sensor if accessible. Check hose connections for leaks or blockages.
LMG-10W: Display not turning on.
Low battery; power button issue.
Charge the device. Press and hold the power button firmly.
LMC-100A+: Inaccurate weight readings.
Scale not zeroed; unstable surface; battery low.
Zero the scale before use. Place on a flat, stable surface. Replace batteries.
LMC-100A+: Scale not turning on.
Dead batteries; incorrect battery installation.
Replace batteries. Ensure batteries are inserted with correct polarity.
ILD-200: No leak detection/false alarms.
Sensor contaminated; low sensitivity setting; strong air currents.
Clean sensor tip. Increase sensitivity. Shield the area from drafts.
ILD-200: Device not powering on.
Battery depleted; power button issue.
Charge the device fully. Press and hold the power button.
Specifications
Detailed specifications for each component of the Elitech HVAC/R service kit.
Standards: Meets EN14624, SAE-162, SAE-2791, and SAE-2913 standards
Dimensions: Approximately 3.3 x 7.9 x 1.5 inches (main body), Probe overall length 15.5 inches
Weight: Approximately 0.93 lbs
Warranty and Support
Elitech provides dedicated customer support for its products.
For technical questions, troubleshooting assistance, or warranty inquiries, please contact Elitech's US-based customer service team. They are available 24/7 via email or phone.
Refer to the Elitech official website or product packaging for the most current contact information.
Ask a question about this manual
Ask about setup, troubleshooting, compatibility, parts, safety, or missing instructions. Manuals+ will review the question and use this page’s manual context to help answer it.