
1. Introduction
Thank you for choosing the RAINPOINT Smart Wi-Fi Irrigation Computer. This device is designed to automate your garden watering, providing convenience and efficiency through smart app control. It features a durable brass inlet, multiple irrigation modes, and a rain delay function to optimize water usage. Please read this manual carefully before installation and operation to ensure proper use and longevity of your device.
2. Safety Information
- Do not immerse the device in water. It is IP54 rated for outdoor use, meaning it is protected against dust and splashing water, but not full submersion.
- Operate the device within the specified temperature range of 37°F to 122°F (3°C to 50°C). Protect from freezing temperatures to prevent damage.
- Use only 4 AA alkaline batteries. Do not mix old and new batteries, or different types of batteries.
- Ensure all connections are tight to prevent leaks.
- Keep out of reach of children.
3. Package Contents
Verify that all items are present in your package:
- RAINPOINT Smart Wi-Fi Irrigation Computer (Timer WIFI)
- Quick Start Guide
- Full User Manual
- Teflon Tape
- Spare Gaskets and Filter
- Quick Connector
4. Product Overview
The RAINPOINT Smart Wi-Fi Irrigation Computer connects to your garden faucet and allows you to control watering schedules via a smartphone app. It features a robust brass inlet for secure connection and a built-in filter to prevent debris from entering. The device communicates with a smart hub (sold separately or included in some kits) via Bluetooth 5.0, which then connects to your home's 2.4 GHz Wi-Fi network for remote access.

Figure 4.1: RAINPOINT Smart Wi-Fi Irrigation Computer connected to a garden faucet.

Figure 4.2: Detailed view of the brass inlet, integrated metallic filter, and side battery compartment for easy access.
5. Setup
5.1. Battery Installation
- Locate the battery compartment on the side of the device.
- Open the compartment and insert 4 new AA alkaline batteries, ensuring correct polarity.
- Close the battery compartment securely to maintain water resistance.
5.2. Physical Installation
- Ensure your garden faucet is turned off.
- Apply Teflon tape to the threads of your faucet for a watertight seal.
- Screw the RAINPOINT irrigation computer onto the faucet's outlet. Hand-tighten firmly.
- Connect your garden hose to the outlet of the irrigation computer.
- Slowly turn on the faucet to check for leaks. If leaks occur, tighten connections or reapply Teflon tape.
5.3. App Download and Device Pairing
- Download the "RainPoint Smart" app from your smartphone's app store (iOS or Android).
- Register or log in to your RainPoint account.
- Ensure your smart hub (if applicable) is powered on and connected to your 2.4 GHz Wi-Fi network.
- In the app, follow the on-screen instructions to add a new device. Select the irrigation computer model.
- The app will guide you through the Bluetooth pairing process with the smart hub, and then connect the irrigation computer to the hub.
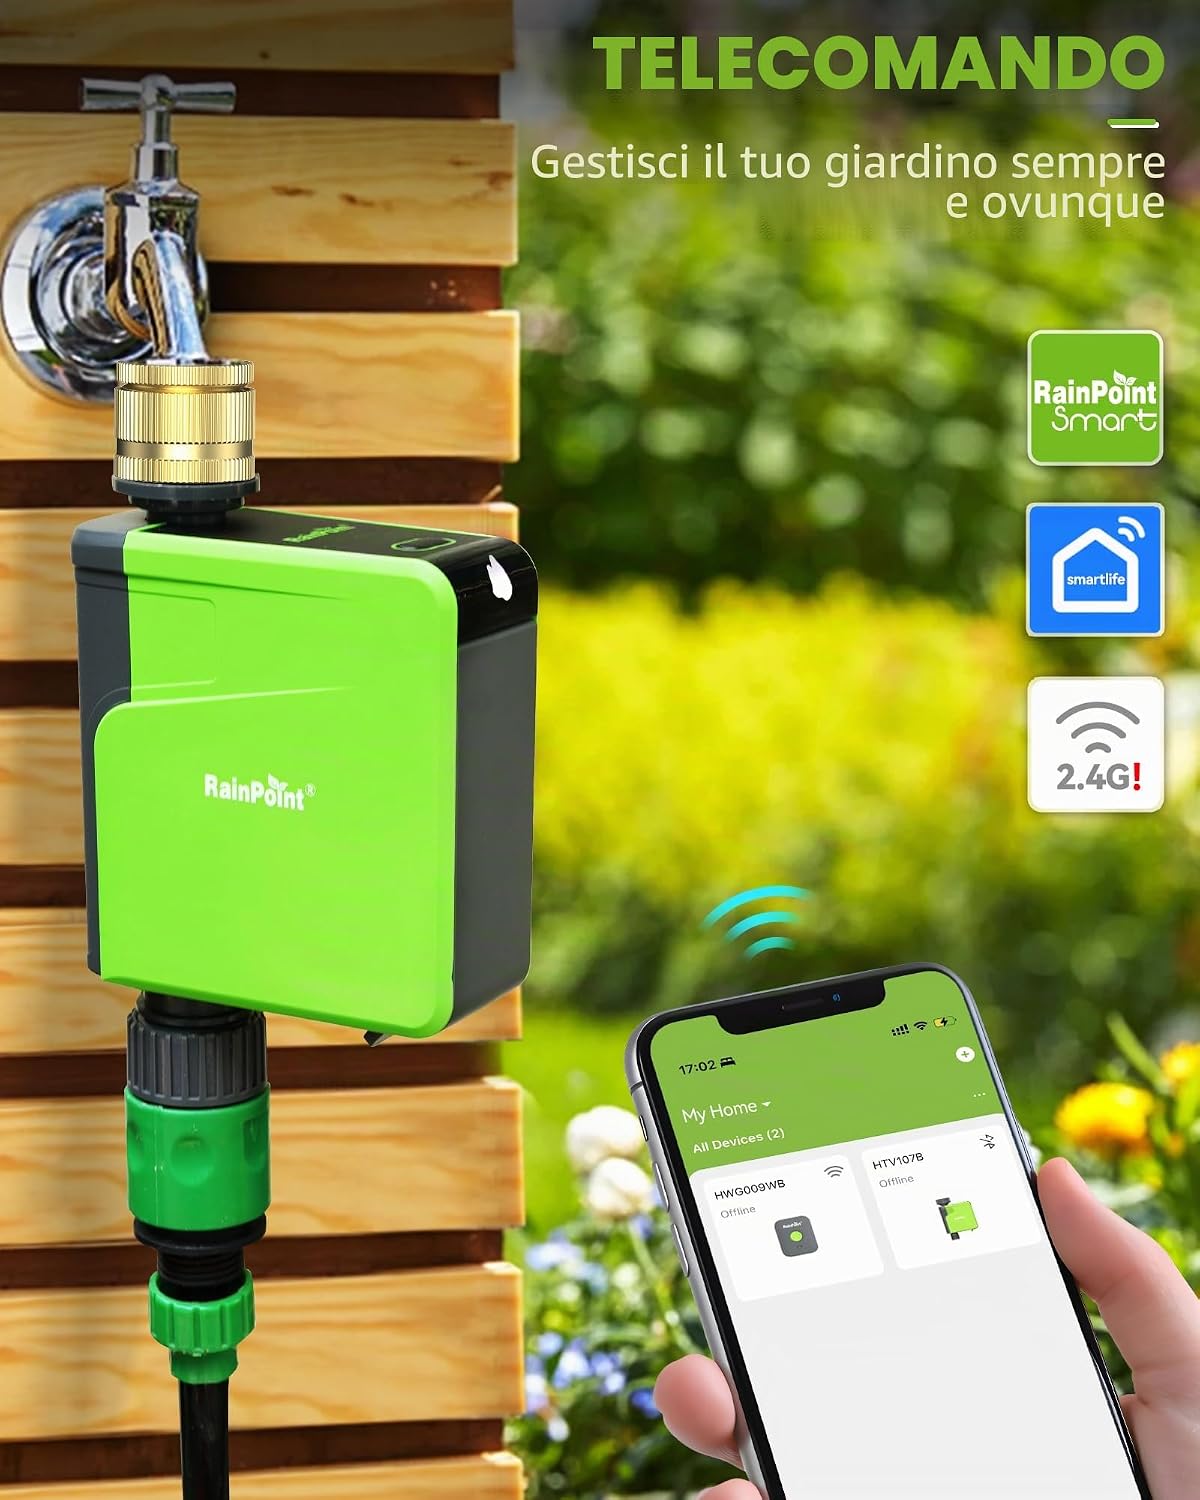
Figure 5.1: The irrigation computer installed and connected to the RainPoint Smart app on a smartphone.
6. Operating the Device
6.1. App Control and Scheduling
The RainPoint Smart app allows comprehensive control over your irrigation schedules.
- Creating Schedules: You can create up to six separate irrigation programs. For each program, set the start time, duration, and specific days of the week for watering.
- Multiple Irrigation Modes: Choose between continuous irrigation for a set period or interval irrigation, which waters for a short duration, pauses, and repeats. This is ideal for deep watering or specific plant needs.

Figure 6.1: The RainPoint app displaying various irrigation schedules, allowing for personalized garden care.

Figure 6.2: Illustration of continuous irrigation mode, showing short watering bursts followed by intervals, compared to a single long watering period.
6.2. Manual Irrigation
You can manually start or stop watering at any time, overriding the programmed schedule.
- Via App: Use the manual control option in the RainPoint Smart app to set a specific duration for immediate watering.
- Via Device: Press the button on the irrigation computer to initiate or stop manual watering. The duration for manual watering can be preset in the app.

Figure 6.3: Manual irrigation can be activated directly from the device or through the app.
6.3. Rain Delay Function
To conserve water and prevent overwatering, you can activate the rain delay function.
- In the RainPoint Smart app, select the rain delay option.
- Choose to pause your irrigation schedule for 24, 48, or 72 hours. The schedule will automatically resume after the selected delay period.

Figure 6.4: The app interface for setting a rain delay, allowing you to pause watering for a specified duration.
6.4. Smart Alerts and Notifications
The app provides timely notifications to keep you informed about your irrigation system's status.
- Receive alerts for irrigation start and end times.
- Get notifications when the device's battery level is low, prompting you to replace batteries.

Figure 6.5: Example of smart notifications from the RainPoint app, keeping you updated on watering activities and device status.
6.5. Voice Control (with compatible devices)
If integrated with compatible smart home systems like Alexa or Google Assistant, you can control basic functions using voice commands.

Figure 6.6: Voice control integration allows for hands-free operation of your irrigation timer.
7. Maintenance
7.1. Cleaning the Filter
Periodically check and clean the metallic filter located at the brass inlet to prevent blockages and ensure optimal water flow.
- Turn off the faucet and detach the irrigation computer.
- Remove the filter screen from the inlet.
- Rinse the filter under running water to remove any debris. Use a soft brush if necessary.
- Reinsert the clean filter and reattach the irrigation computer to the faucet.
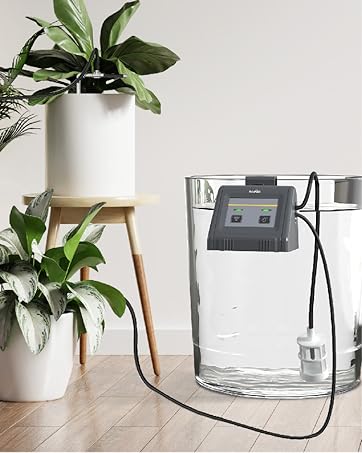
Figure 7.1: Regularly clean the integrated filter to maintain optimal performance.
7.2. Battery Replacement
Replace batteries when the app indicates a low battery level or if the device stops responding. Always use 4 new AA alkaline batteries.
7.3. Winterization
Before the first frost, detach the irrigation computer from the faucet. Drain any remaining water and store the device indoors in a dry, frost-free location. This prevents damage from freezing water.
8. Troubleshooting
| Problem | Possible Cause | Solution |
|---|---|---|
| Device not connecting to app | Low batteries, hub not connected, incorrect pairing process, Wi-Fi interference. | Replace batteries. Ensure smart hub is powered and connected to 2.4 GHz Wi-Fi. Re-attempt pairing following app instructions. Move hub closer to router or device. |
| No water flow | Faucet off, clogged filter, low water pressure, device malfunction. | Ensure faucet is fully open. Clean the filter (see Section 7.1). Check water pressure. If problem persists, contact support. |
| Water leakage | Loose connection, worn gasket, damaged unit. | Tighten all connections. Replace worn gaskets with spares provided. If unit is damaged, contact support. |
| Scheduled irrigation not starting | Rain delay active, incorrect schedule settings, low batteries, device not connected. | Check if rain delay is active in the app. Verify schedule settings (start time, duration, days). Replace batteries. Check device connectivity in the app. |
9. Specifications
- Brand: RAINPOINT
- Model: Timer WIFI
- Material: Brass (inlet)
- Connectivity: Bluetooth 5.0 (device to hub), Wi-Fi 2.4 GHz (hub to router)
- Waterproof Rating: IP54
- Operating Temperature: 37°F to 122°F (3°C to 50°C)
- Power Source: 4 x AA Alkaline Batteries (not included)
- Product Dimensions: 15.2P x 6l x 17H cm (approximately 6 x 2.4 x 6.7 inches)
- Item Weight: 580 Grams (approximately 1.28 lbs)
- Number of Irrigation Programs: Up to 6
10. Warranty and Support
RAINPOINT products typically come with a 2-year warranty from the date of purchase, covering manufacturing defects. For warranty claims, technical assistance, or any questions not covered in this manual, please contact RAINPOINT customer support. Refer to the contact information provided in your product packaging or visit the official RAINPOINT website for support details.
When contacting support, please have your product model (Timer WIFI) and purchase information readily available.