
1. Product Overview
The ID-COOLING SE-214-XT PLUS is a high-performance CPU air cooler designed to provide efficient heat dissipation for your desktop processor. It features a single tower heatsink with four direct-contact heat pipes and two 120mm PWM fans configured in a push-pull arrangement, ensuring optimal airflow and cooling performance while maintaining low noise levels. Its compact 150mm height ensures broad compatibility with various PC chassis, and its design prevents interference with RAM modules and PCIe slots.

Figure 1: ID-COOLING SE-214-XT PLUS CPU Cooler, front view.
2. Package Contents
Please verify that all components listed below are present in the package before proceeding with installation.
- 1 x SE-214-XT PLUS Heatsink (Single Tower with 4 Heat Pipes)
- 2 x 120mm PWM Fans
- 1 x Installation Guide
- 1 x Mounting Hardware Kit (for Intel and AMD sockets)
- 1 x Thermal Paste Packet
Figure 2: Included mounting hardware and thermal paste.
3. Specifications
| Feature | Specification |
|---|---|
| Overall Dimensions | 124mm (L) x 98mm (W) x 150mm (H) |
| Fan Dimensions | 120mm x 120mm x 25mm |
| Weight (Heatsink & Fan) | 650g |
| Rated Voltage | 12VDC |
| Operating Voltage | 10.8V ~ 13.2VDC |
| Starting Voltage | 7VDC |
| Rated Current | 0.2A |
| Power Input | 2.4W |
| Fan Speed | 700-1800 ±10% RPM (PWM controlled) |
| Max. Air Flow | 76.16 CFM |
| Noise Level | 15.2 ~ 35.2 dB(A) Max. |
| Bearing Type | Hydraulic Bearing |
| Material | Aluminum (fins), Copper (heat pipes/base) |

Figure 3: Detailed dimensions of the CPU cooler.
4. Compatibility
The ID-COOLING SE-214-XT PLUS CPU Cooler is compatible with a wide range of Intel and AMD CPU sockets:
- Intel Sockets: LGA1700, LGA1851, LGA1200, LGA1150, LGA1151, LGA1155, LGA1156
- AMD Sockets: AM5, AM4
Its 150mm height and non-interference design ensure compatibility with most standard PC cases and memory modules.
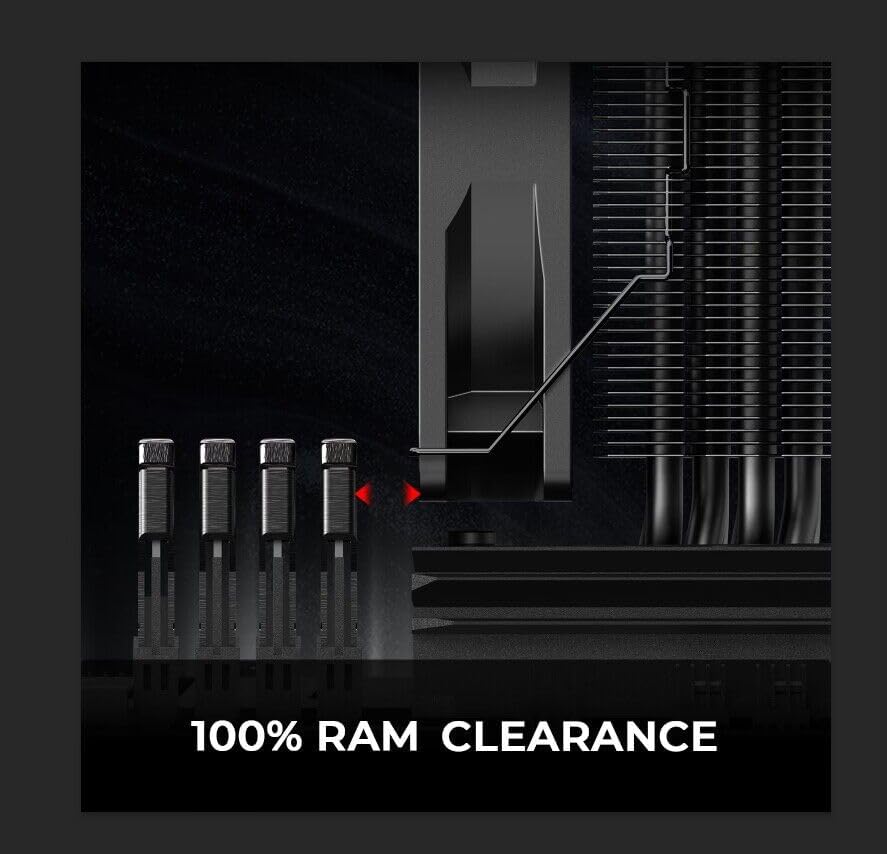
Figure 4: Design ensures 100% RAM clearance.
5. Setup and Installation
The installation process for the SE-214-XT PLUS is designed to be straightforward. Please follow the steps carefully according to your CPU socket type (Intel or AMD).
General Installation Steps:
- Preparation: Ensure your system is powered off and disconnected from the power source. Remove any existing CPU cooler and clean the CPU surface thoroughly with an alcohol wipe (not included) to remove old thermal paste residue.
- Mounting Bracket Installation:
- For Intel sockets, attach the appropriate backplate to the motherboard from the rear, aligning the holes. Secure the standoffs from the front side of the motherboard.
- For AMD sockets, utilize the motherboard's original backplate. Secure the appropriate standoffs onto the existing mounting points.
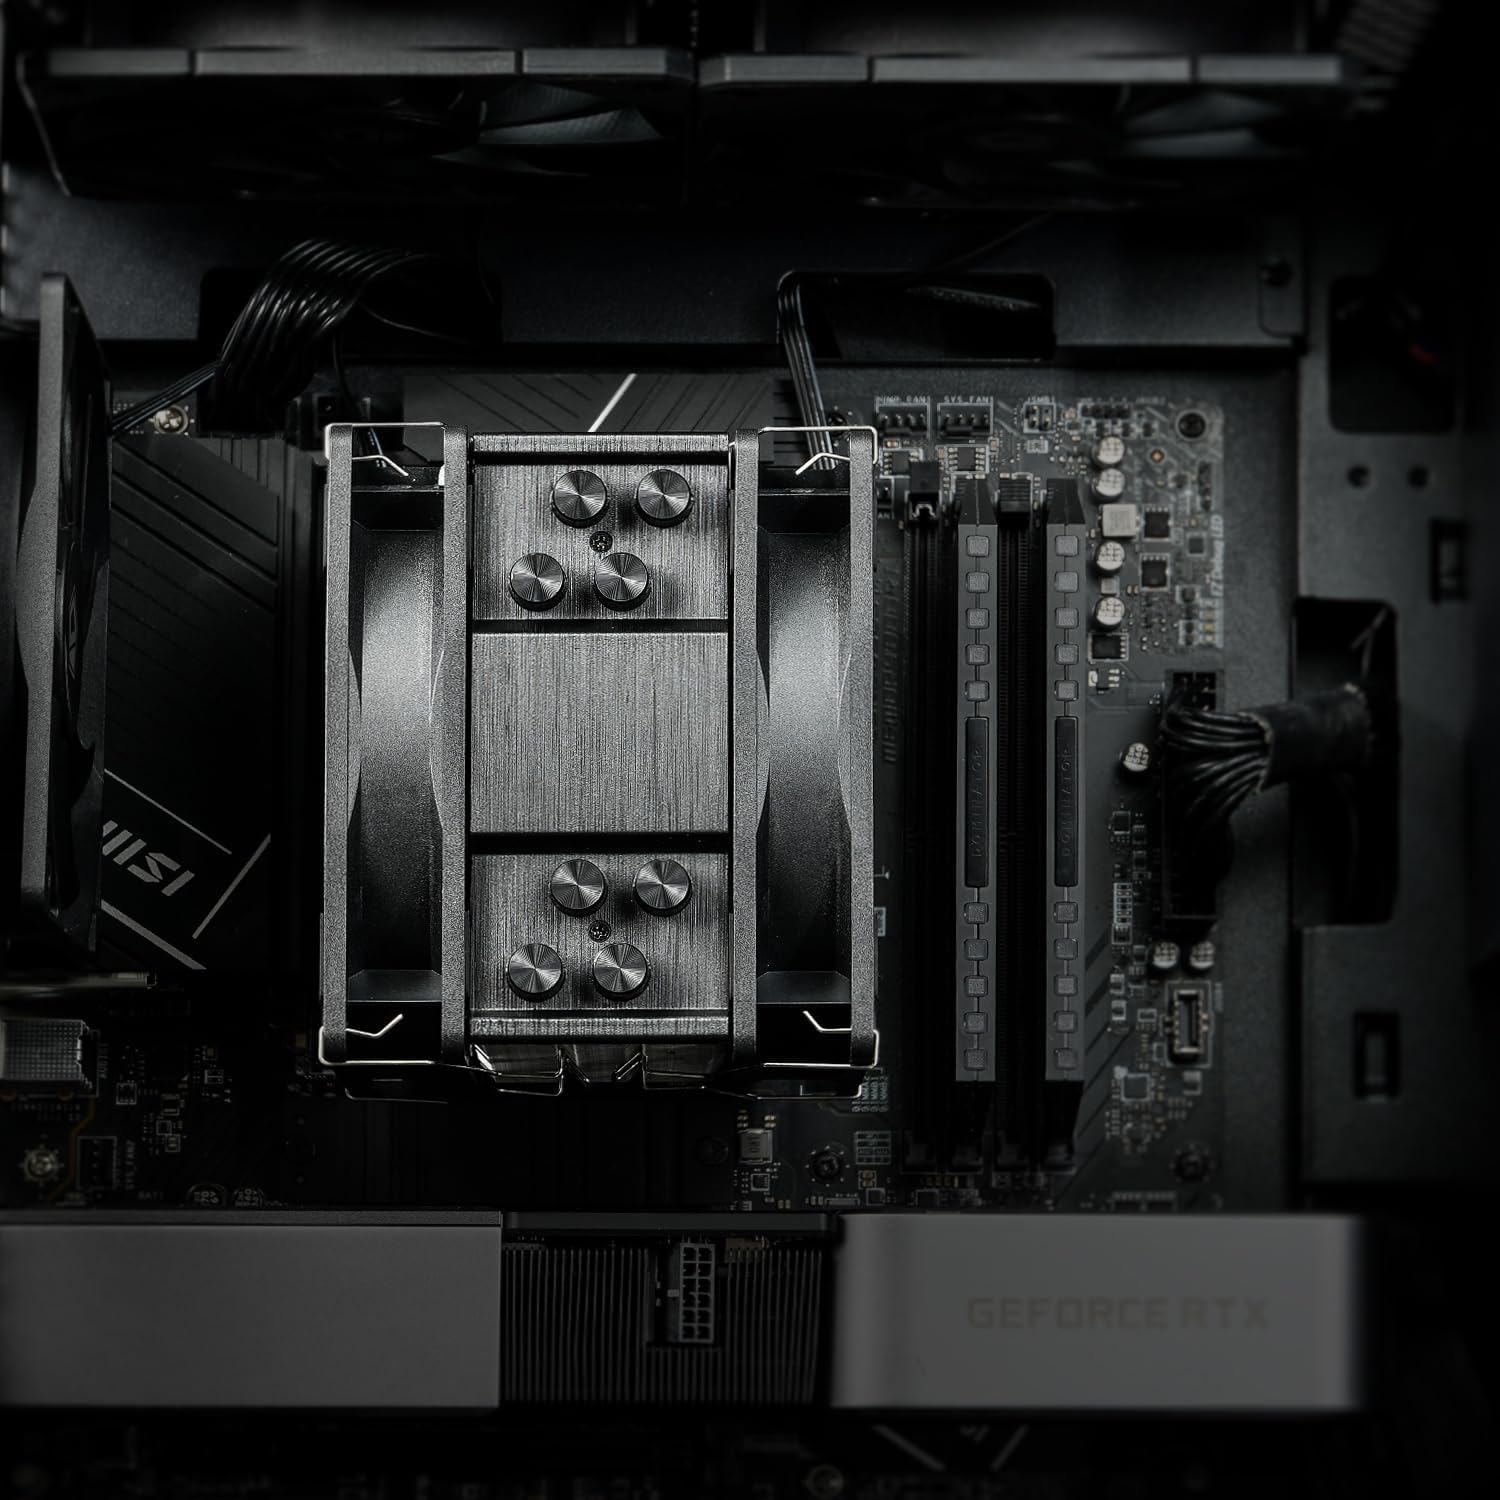
Figure 5: Installation is designed to be hassle-free for both Intel and AMD platforms.
- Thermal Paste Application: Apply a small, pea-sized amount of the included thermal paste onto the center of your CPU's integrated heat spreader (IHS). Do not spread it manually; the pressure from the heatsink will distribute it evenly.
- Heatsink Mounting: Carefully place the heatsink onto the CPU, aligning the mounting holes with the standoffs. Secure the heatsink using the provided screws, tightening them in a diagonal pattern until snug.
- Fan Attachment: Attach the two 120mm PWM fans to the heatsink using the included metal clips. Ensure the fans are oriented correctly for optimal airflow (push-pull configuration, as shown in Figure 6).
- Cable Connection: Connect the 4-pin PWM fan cables to the CPU_FAN header(s) on your motherboard. If your motherboard supports ARGB, connect the 3-pin ARGB cable to the appropriate ARGB header (e.g., ASUS AURA, MSI MYSTIC LIGHT, GIGABYTE FUSION, ASROCK POLYCHROME).

Figure 6: The dual 120mm fans operate in a push-pull configuration for enhanced cooling.
6. Operating Instructions
Once installed, the ID-COOLING SE-214-XT PLUS operates automatically. The PWM (Pulse Width Modulation) function of the fans allows your motherboard to dynamically control fan speed based on CPU temperature, ensuring efficient cooling when needed and quiet operation during lighter loads.
- For optimal performance, ensure proper airflow within your PC case.
- Monitor CPU temperatures using system monitoring software to confirm effective cooling.
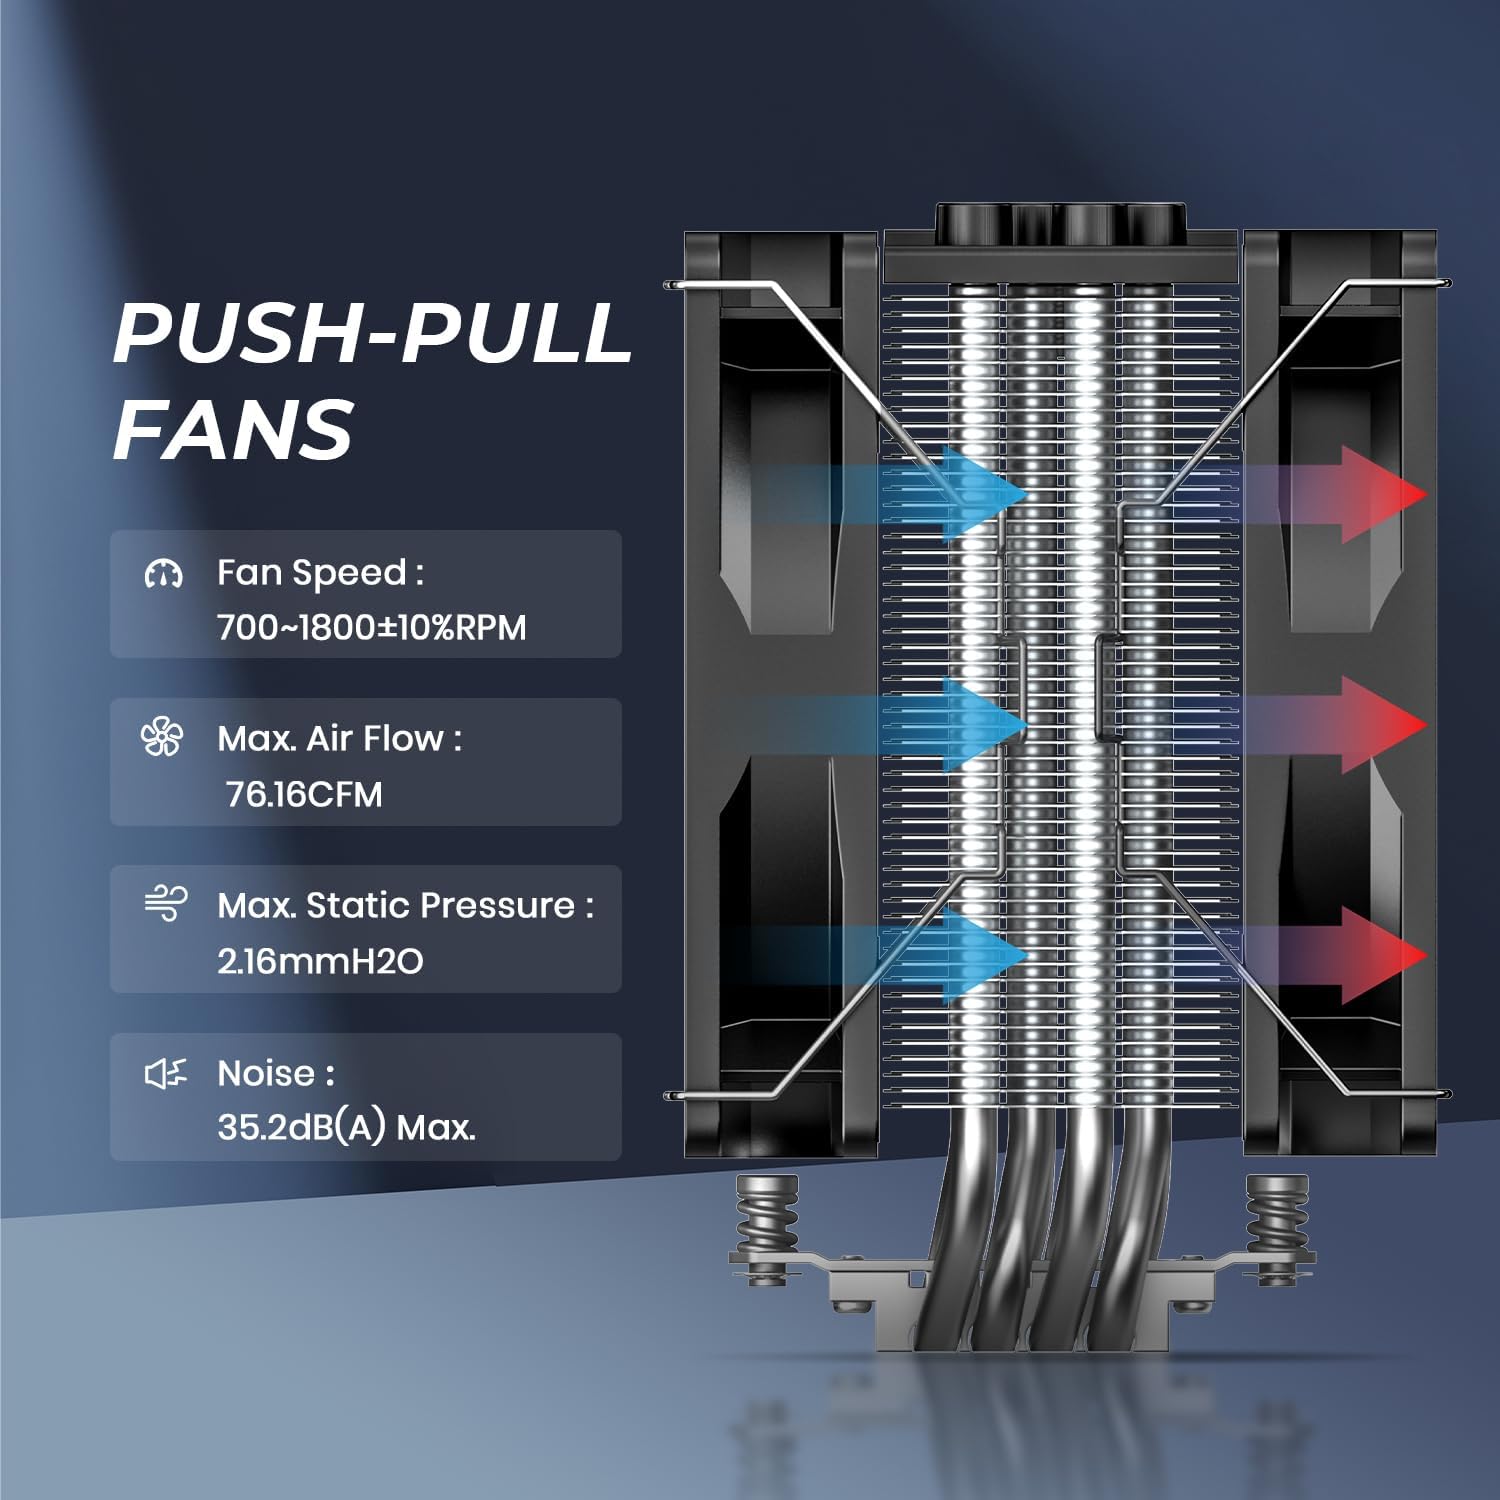
Figure 7: Illustration of heat dissipation through the heatsink and fans.
7. Maintenance
Regular maintenance helps ensure the longevity and optimal performance of your CPU cooler.
- Dust Cleaning: Periodically clean dust from the heatsink fins and fan blades using compressed air or a soft brush. Accumulation of dust can impede airflow and reduce cooling efficiency.
- Thermal Paste: While not frequently required, if you remove the cooler for any reason, it is recommended to clean off the old thermal paste and apply new thermal paste before re-installation.
8. Troubleshooting
If you encounter issues with your CPU cooler, consider the following common troubleshooting steps:
- High Temperatures:
- Verify that the heatsink is securely mounted and making full contact with the CPU.
- Ensure sufficient thermal paste was applied and spread correctly upon installation.
- Check that both 120mm fans are spinning correctly and are connected to the CPU_FAN headers on the motherboard.
- Confirm adequate airflow within your PC case (e.g., proper intake/exhaust fan setup).
- Fan Noise:
- Ensure no cables are obstructing the fan blades.
- Check if the fans are securely attached to the heatsink.
- Verify fan speed settings in your motherboard's BIOS/UEFI or fan control software.
- ARGB Lighting Issues:
- Ensure the 3-pin ARGB cable is correctly connected to a compatible ARGB header on your motherboard.
- Check your motherboard's ARGB software for lighting control and settings.
9. Warranty and Support
For warranty information or technical support, please contact ID-COOLING directly. It is recommended to retain your proof of purchase for any warranty claims.
- Website: www.idcooling.com
- Support Email: support@idcooling.com
ID-COOLING is committed to providing reliable products and customer support. For further assistance, please refer to the official website or contact the support team.