
1. Important Safety Instructions
Always observe the following safety precautions when operating the SCHEPPACH BC-CD60-X Cordless Brushless Impact Drill Driver to prevent electric shock, fire, and serious injury.
- Work Area Safety: Keep the work area clean and well-lit. Cluttered or dark areas invite accidents. Do not operate power tools in explosive atmospheres, such as in the presence of flammable liquids, gases, or dust.
- Electrical Safety: Avoid body contact with earthed or grounded surfaces such as pipes, radiators, ranges, and refrigerators. There is an increased risk of electric shock if your body is earthed or grounded.
- Personal Safety: Always wear eye protection. Use hearing protection when operating impact drills. Wear a dust mask if operations create dust. Dress properly; avoid loose clothing or jewelry. Keep hair, clothing, and gloves away from moving parts.
- Power Tool Use and Care: Do not force the power tool. Use the correct power tool for your application. Do not use the power tool if the switch does not turn it on and off. Disconnect the battery pack from the power tool before making any adjustments, changing accessories, or storing power tools.
- Battery Tool Use and Care: Recharge only with the charger specified by the manufacturer. Use power tools only with specifically designated battery packs. When the battery pack is not in use, keep it away from other metal objects.
- Service: Have your power tool serviced by a qualified repair person using only identical replacement parts. This will ensure that the safety of the power tool is maintained.
2. Product Overview and Components
Familiarize yourself with the main components of your SCHEPPACH BC-CD60-X drill driver.
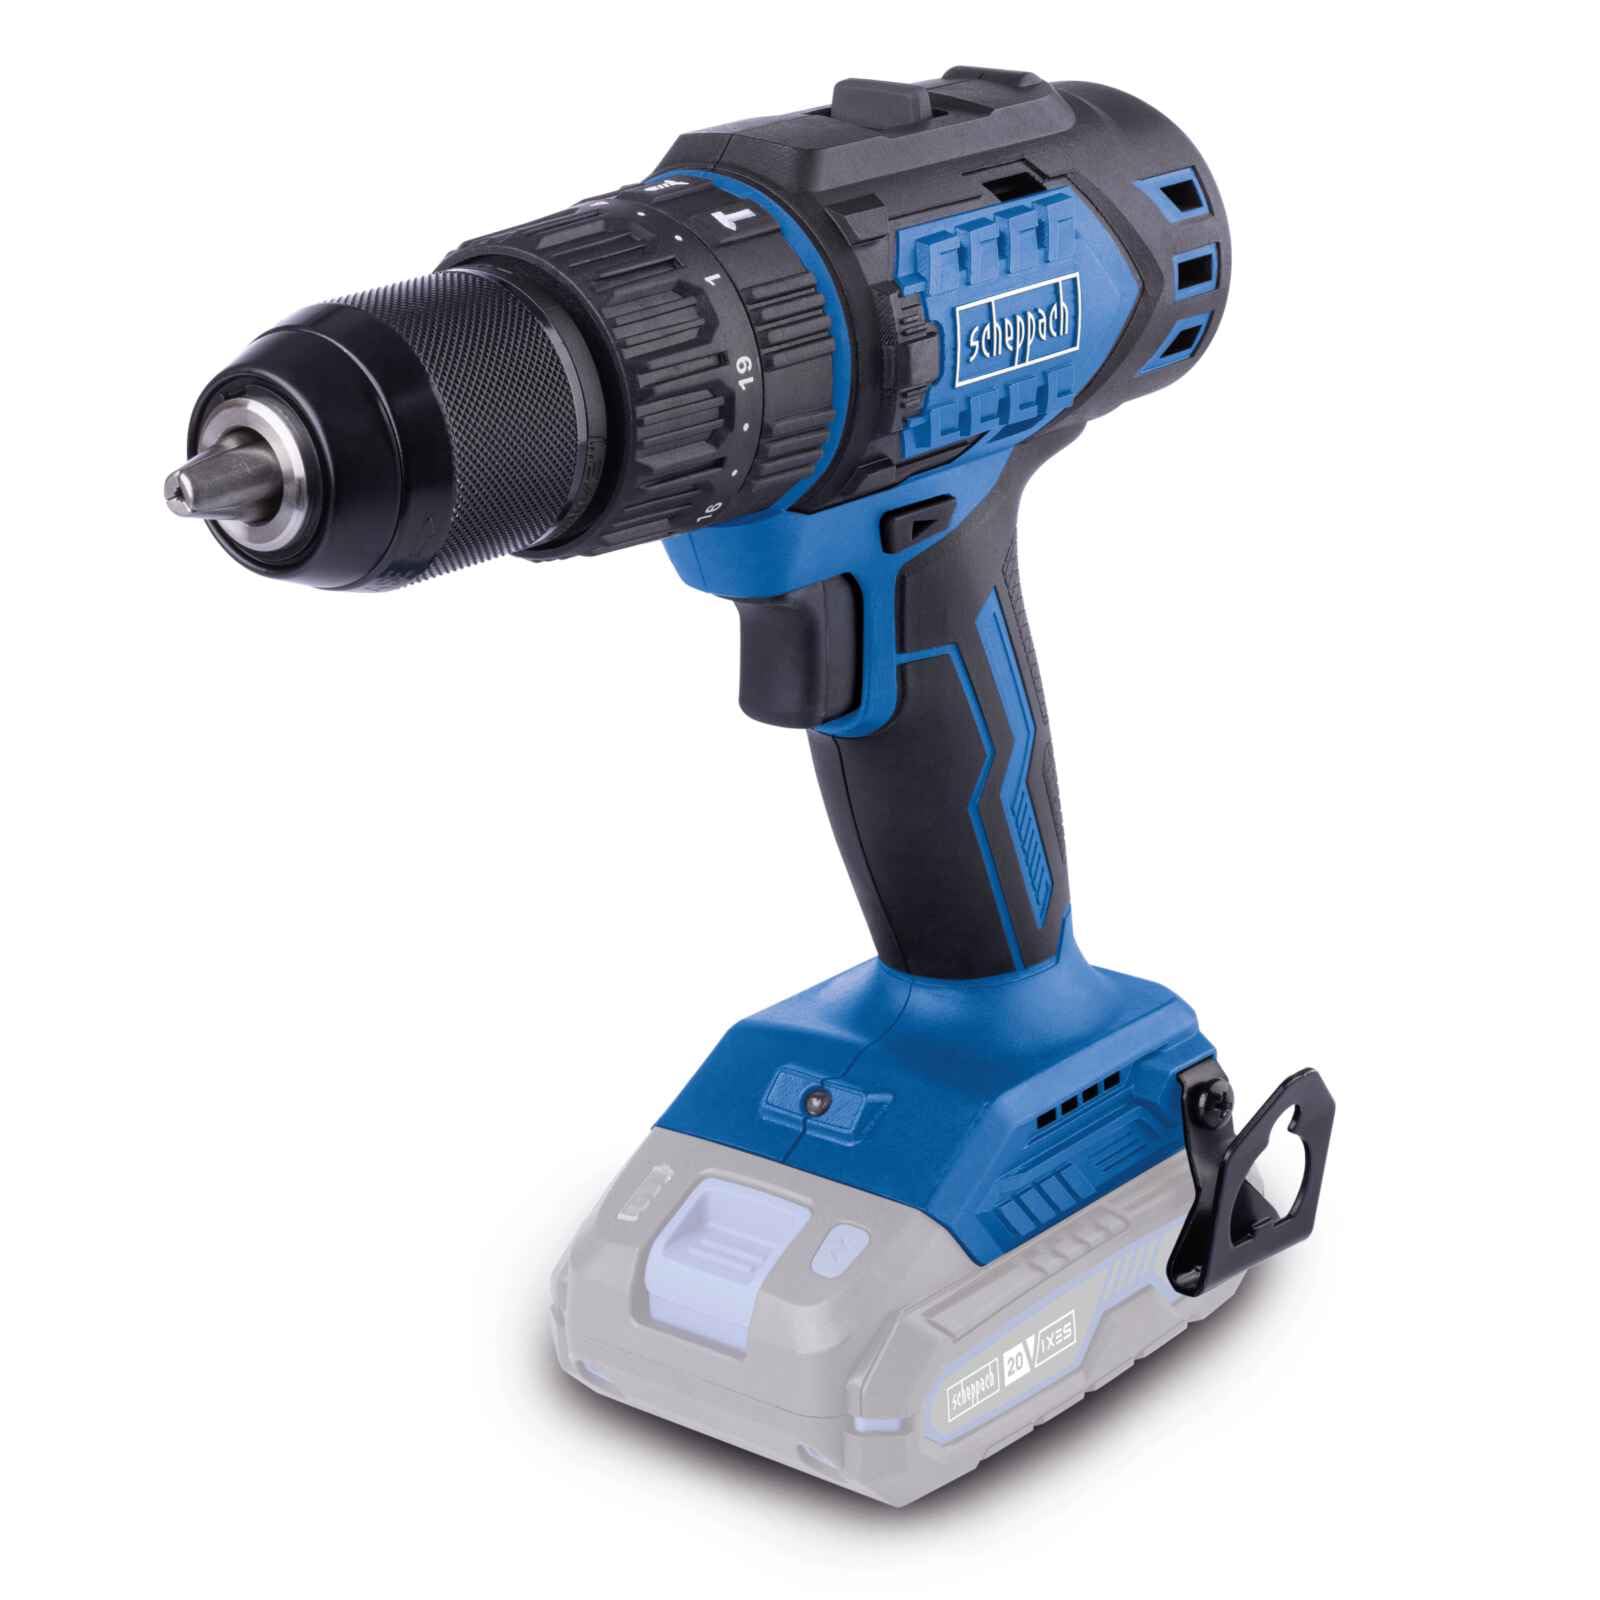
Image: The SCHEPPACH BC-CD60-X Cordless Brushless Impact Drill Driver, showcasing its compact design and key features.
The drill driver is designed for versatility, offering modes for screwing, drilling, and impact drilling.

Image: Demonstrates the drill driver's three primary functions: screwing into wood, drilling into metal, and impact drilling into a wall.
3. Setup and Assembly
3.1 Battery Installation (Battery and Charger Not Included)
This tool is part of the SCHEPPACH 20V IXES battery platform. Ensure you use a compatible 20V IXES battery and charger.
- Align the battery pack with the receptacle at the base of the tool.
- Slide the battery pack into place until it clicks securely.
- To remove, press the battery release button and slide the battery out.

Image: Illustrates the performance difference between 2.0 Ah and 4.0 Ah batteries for screwing into softwood and drilling into brick. Performance may vary based on external conditions.
3.2 Chuck and Bit Installation
The drill driver features a 13mm keyless chuck for quick and easy bit changes.
- To open the chuck, rotate the chuck sleeve counter-clockwise until the jaws are wide enough for your bit.
- Insert the drill bit or screwdriver bit fully into the chuck.
- Rotate the chuck sleeve clockwise to tighten the jaws firmly around the bit. Ensure the bit is centered and secure.

Image: Shows the top selector switch for quick, tool-free switching between drilling, screwing, and impact drilling functions.
4. Operating Instructions
4.1 Power On/Off and Speed Control
The tool's speed is continuously adjustable via the trigger switch.
- To start the tool, press the trigger switch.
- To increase speed, press the trigger further. To decrease speed, release the trigger slightly.
- To stop the tool, fully release the trigger switch.

Image: A user holding the drill, demonstrating the continuously adjustable speed control through the trigger switch.
4.2 Gear Selection
The drill driver has two mechanical speed gears:
- Gear 1 (Low Speed, High Torque): Ideal for screwdriving and drilling large diameter holes. (0-450 min⁻¹)
- Gear 2 (High Speed, Low Torque): Suitable for drilling small diameter holes and faster operations. (0-1600 min⁻¹)
To change gears, slide the gear selector switch located on top of the tool. Ensure the tool is stopped before changing gears to prevent damage.
4.3 Torque and Mode Selection
The torque collar allows you to select the appropriate torque setting for screwdriving or switch to drilling/impact drilling modes.
- Torque Settings (1-19): Rotate the torque collar to select one of 19 torque stages. Lower numbers are for smaller screws or softer materials; higher numbers are for larger screws or harder materials. This prevents over-tightening and stripping screws.
- Drilling Mode (Drill Bit Symbol): For general drilling tasks without torque limitation.
- Impact Drilling Mode (Hammer Symbol): For drilling into masonry or concrete, utilizing the impact function.
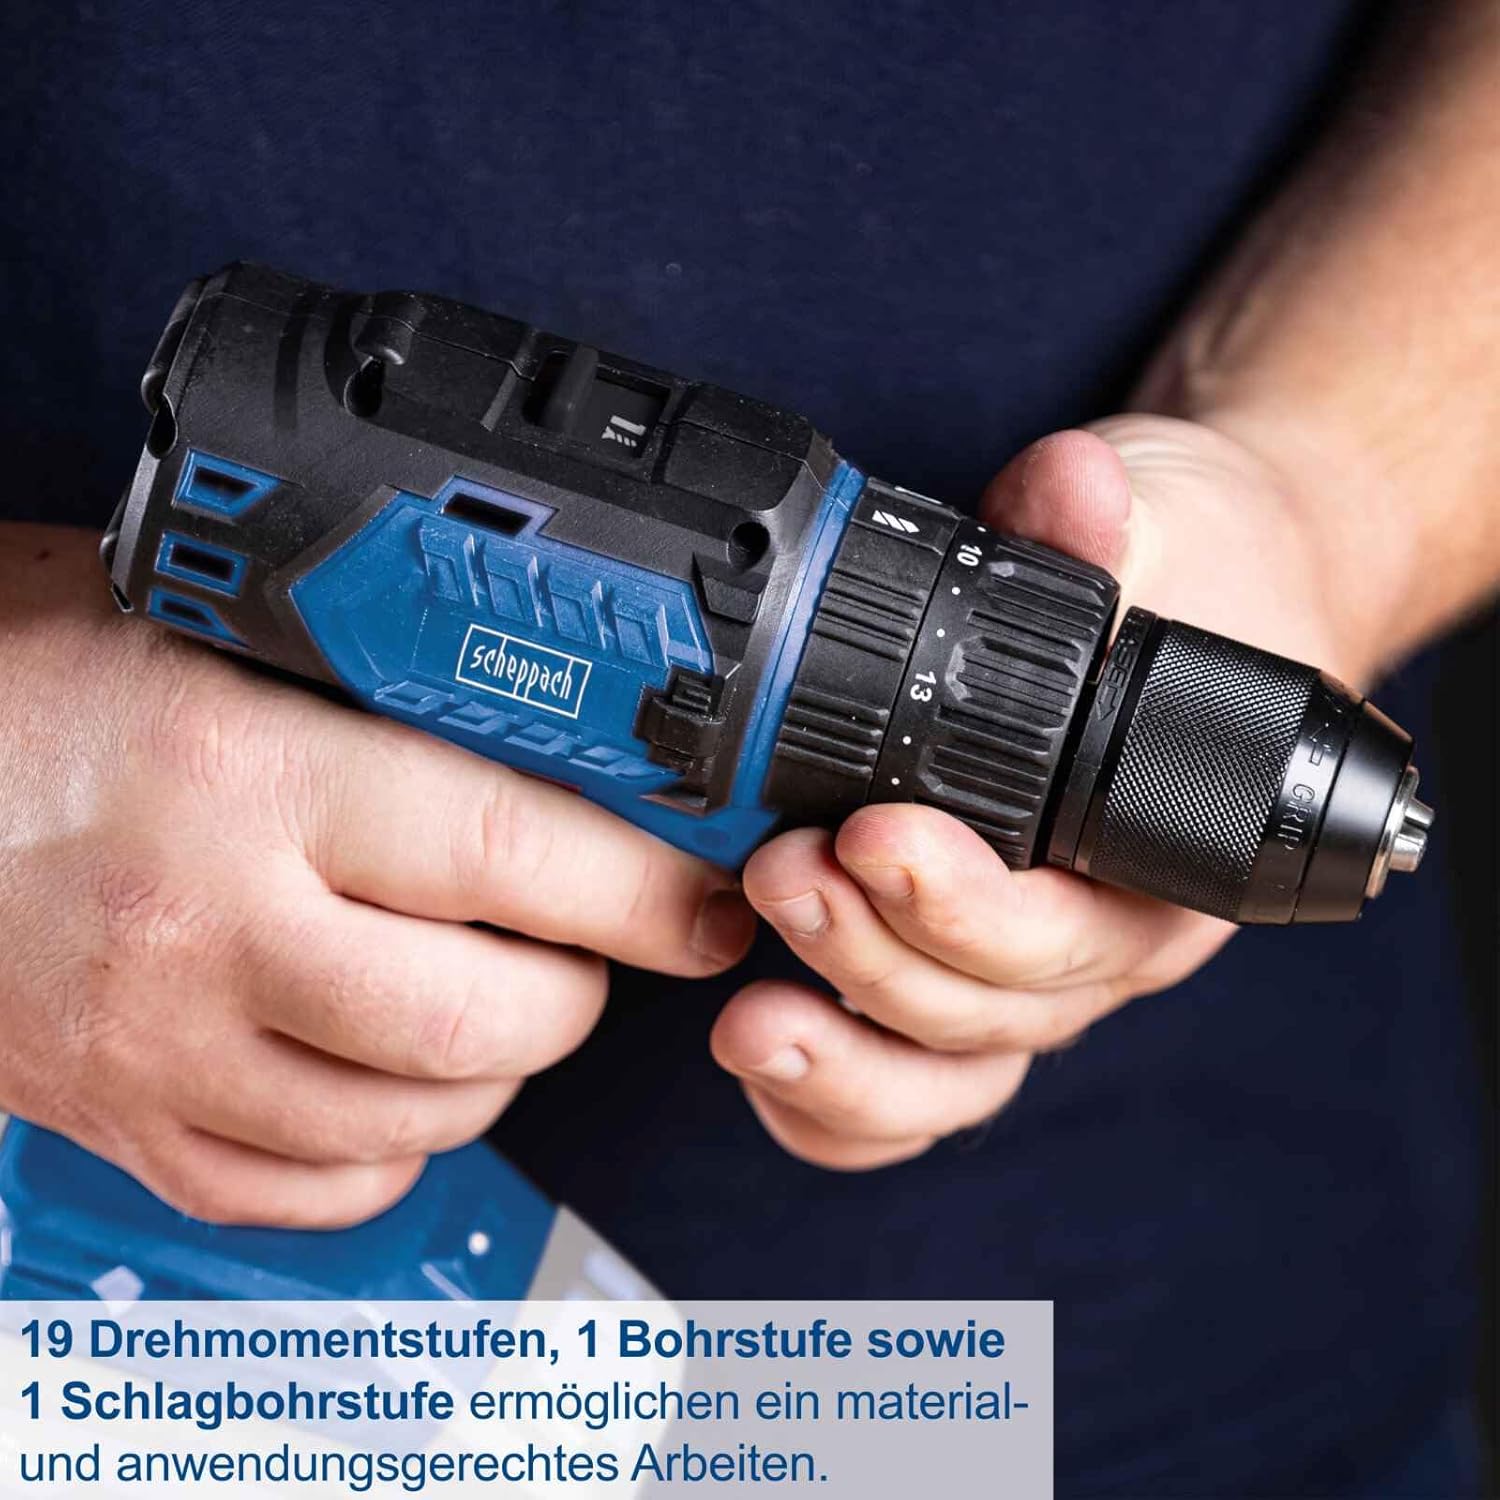
Image: Close-up of the drill driver's chuck and torque collar, highlighting the 19 torque stages, 1 drill stage, and 1 impact drill stage for precise work.
4.4 Forward/Reverse Rotation
The forward/reverse switch is located above the trigger. Push it to the left for forward rotation (screwing in, drilling) and to the right for reverse rotation (removing screws, backing out bits).
4.5 Belt Clip
The integrated belt clip allows for convenient carrying of the tool, especially useful when working at heights or on a ladder.

Image: A user demonstrating the practical belt clip, showing how the drill driver can be securely attached to a belt for easy access.
5. Maintenance
Regular maintenance ensures the longevity and optimal performance of your tool.
- Cleaning: Keep the ventilation slots of the tool clean to prevent overheating. Use a soft, damp cloth to wipe down the tool. Do not use harsh chemicals or abrasive cleaners.
- Chuck Maintenance: Periodically clean the chuck jaws to ensure proper grip on bits.
- Storage: Store the tool and battery in a dry, cool place, away from direct sunlight and moisture. Ensure the battery is partially charged before long-term storage.
- Inspection: Regularly inspect the tool for any signs of damage, loose screws, or worn parts. Do not use a damaged tool.
6. Troubleshooting
If you encounter issues with your drill driver, refer to the following common problems and solutions:
| Problem | Possible Cause | Solution |
|---|---|---|
| Tool does not start | Battery not charged or improperly installed | Charge the battery. Ensure the battery is fully inserted and clicked into place. |
| Loss of power during operation | Battery charge is low | Recharge the battery. |
| Bit slips in chuck | Chuck not tightened sufficiently or jaws are dirty | Tighten the chuck firmly. Clean chuck jaws if necessary. |
| Overheating | Blocked ventilation slots or continuous heavy use | Clean ventilation slots. Allow the tool to cool down. Reduce load. |
7. Specifications
Key technical data for the SCHEPPACH BC-CD60-X Cordless Brushless Impact Drill Driver.

Image: Visual representation of key specifications including 60 Nm torque, 1.5-13mm chuck, two speed ranges, and 20V battery system.
- Model: BC-CD60-X
- Manufacturer Model Number: 5909237900
- Brand: Scheppach
- Power Source: Battery Powered (20V IXES system)
- Voltage: 20V
- Maximum Torque: 60 Newton-meters (Nm)
- Chuck Size: 1.5 - 13 mm
- No-Load Speed (Gear 1): 0 - 450 min⁻¹
- No-Load Speed (Gear 2): 0 - 1600 min⁻¹
- Number of Speed Settings: 2
- Torque Settings: 19 + 1 (Drill) + 1 (Impact Drill)
- Weight: 1.74 Kilograms
- Dimensions (L x W x H): 23 x 22 x 10 cm
- Color: Blue
- Country of Origin: China
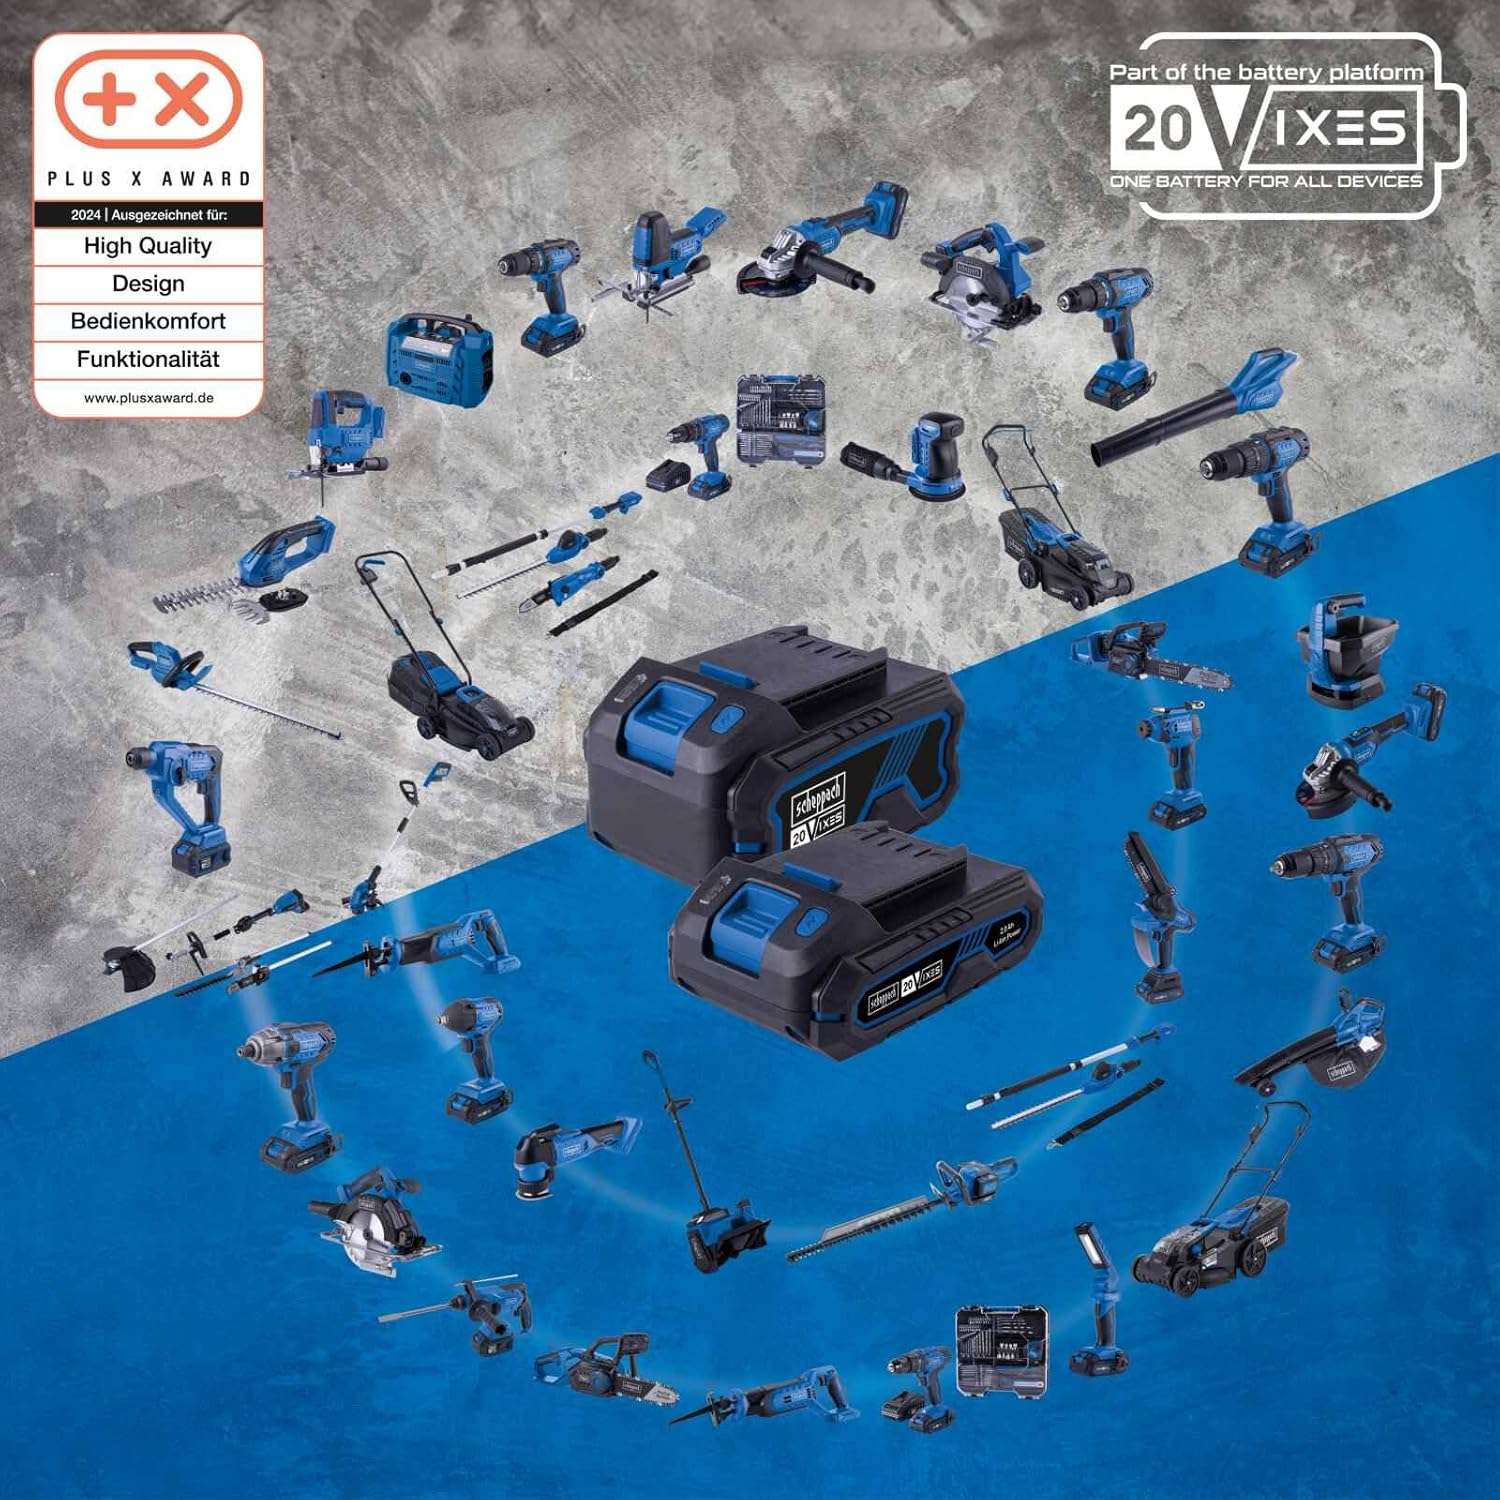
Image: Overview of the SCHEPPACH 20V IXES battery platform, showing various compatible tools that share the same battery system.
8. Warranty and Support
8.1 Warranty Information
Specific warranty terms and conditions for the SCHEPPACH BC-CD60-X may vary by region and retailer. Please refer to the warranty documentation provided with your purchase or contact your point of sale for detailed information regarding warranty coverage and duration.
8.2 Customer Support
For technical assistance, spare parts, or service inquiries, please contact SCHEPPACH customer support or your authorized dealer. When contacting support, please have your model number (BC-CD60-X) and serial number (if applicable) ready.
Information regarding spare parts availability is not provided in the product specifications. Please inquire directly with SCHEPPACH or your retailer for spare parts.


