
1. Introduction
The XTUGA MD44 is a versatile 4-channel stereo audio interface designed for high-quality music production and computer recording. It offers 24-bit/192kHz audio resolution, ensuring clear and detailed sound capture. Equipped with +48V phantom power, it supports a wide range of condenser microphones. This interface is compatible with Windows, Mac, iOS, and Android operating systems, making it suitable for various recording environments, from home studios to on-the-go setups.
2. Product Overview
Familiarize yourself with the various inputs, outputs, and controls on your XTUGA MD44 audio interface.

Figure 2.1: Front and Rear Panel Layout of the XTUGA MD44 Audio Interface with numbered components for identification.
Front Panel Controls:
- Gain 1-4 Knobs: Adjusts the input level for each of the four channels.
- SIG (Signal) Indicators: Lights up when an input signal is detected.
- +48V Indicators: Lights up when phantom power is active for the respective channel pair.
- 1L, 2R, 3L, 4R Inputs: Combination XLR/TRS inputs for microphones and instruments.
- 1-2 / 3-4 Switches: High impedance switching for instrument inputs.
- MIX Knob: Blends the input signal (INPUT) with the playback signal from the computer (DAW) for monitoring.
- MON (Monitor) Button: Toggles direct monitoring on/off.
- LOOPBACK Button: Activates the loopback function for recording computer audio.
- FX Knob: Adjusts the level of the built-in effects.
- MAIN OUT Knob: Controls the overall output volume to your studio monitors.
- Headphone Jack: 6.35mm (1/4 inch) stereo output for headphones.
- Headphone Volume Knob: Adjusts the volume for the headphone output.
Rear Panel Connections:
- USB Power (5V DC) Input: For additional power when connecting to mobile devices or if USB power from the computer is insufficient.
- PC USB Port: USB Type-C port for connecting to a computer (Windows/Mac).
- Mobile USB Port: USB Type-C port for connecting to mobile devices (iOS/Android).
- ACCOMP Jack: Auxiliary input for external audio sources.
- LINE OUT (L/R): Balanced TRS outputs for connecting to studio monitors.
- MONITOR OUT (L/R): Additional balanced TRS outputs for monitoring.
- CH3-4 +48V Switch: Activates phantom power for input channels 3 and 4.
- CH1-2 +48V Switch: Activates phantom power for input channels 1 and 2.
3. Setup
3.1 Connecting to a Computer or Mobile Device
Use the provided USB Type-C cable to connect the XTUGA MD44 to your computer (PC USB port) or mobile device (Mobile USB port). For mobile devices or if additional power is needed, connect a 5V DC power adapter to the USB Power input.
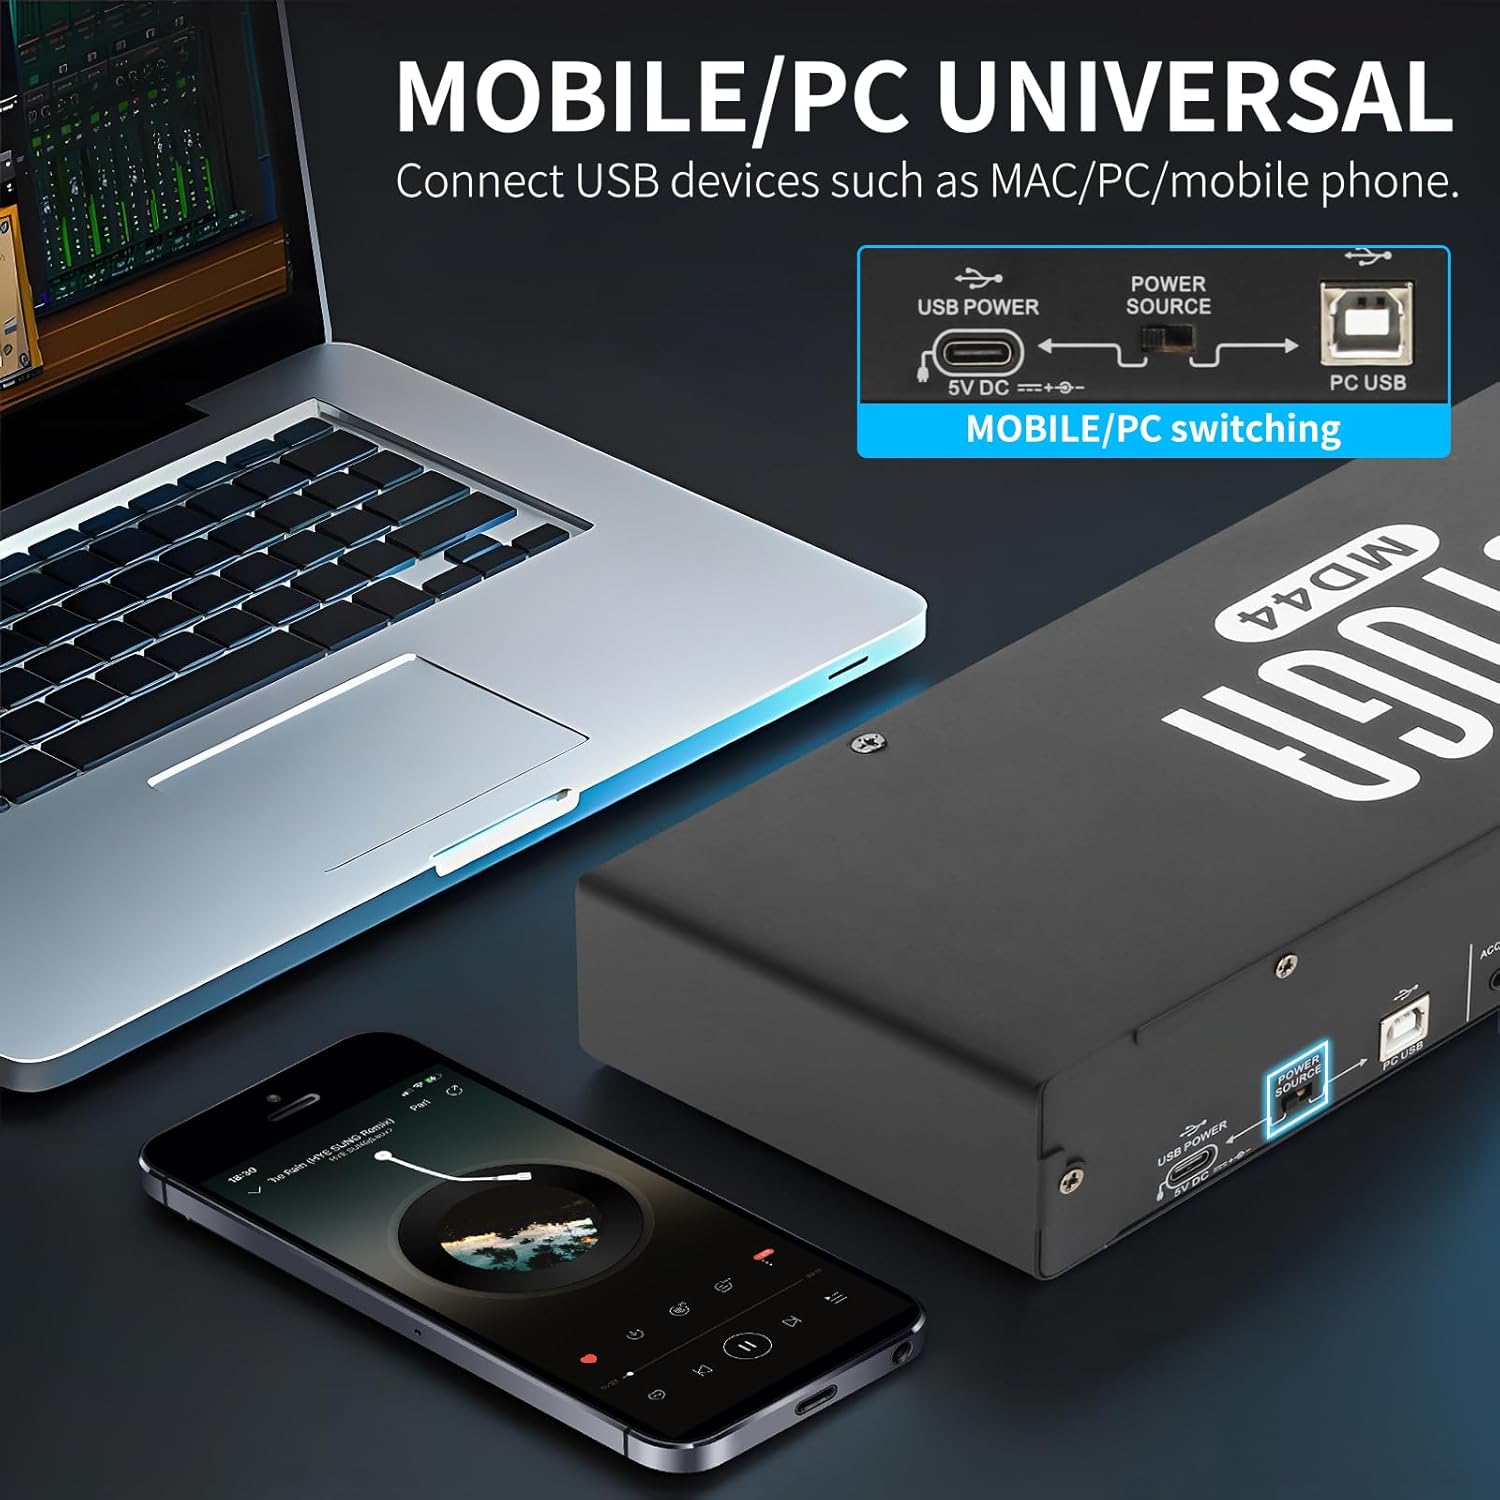
Figure 3.1: The XTUGA MD44 connected to both a mobile phone and a PC, illustrating its universal compatibility and power options.
3.2 Driver Installation
The XTUGA MD44 is a class-compliant device. No proprietary drivers are required for Windows or Mac operating systems. Simply connect the device, and your system should recognize it automatically. For mobile devices, ensure your recording application supports external audio interfaces.
3.3 Connecting Microphones and Instruments
Connect your microphones (XLR) or instruments (1/4-inch TRS/TS) to the combination inputs (1L, 2R, 3L, 4R) on the front panel. For instruments like electric guitars or basses, engage the high impedance switch (1-2 or 3-4) for optimal signal quality.

Figure 3.2: XTUGA MD44 Audio Interface connected to a laptop, demonstrating a typical recording setup.
3.4 Connecting Monitors and Headphones
Connect your studio monitors to the LINE OUT (L/R) or MONITOR OUT (L/R) jacks on the rear panel. Plug your headphones into the headphone jack on the front panel.
4. Operating Instructions
4.1 Adjusting Input Gain
Use the individual Gain 1-4 knobs to set the input level for each connected microphone or instrument. Adjust the gain until the SIG indicator lights up consistently but does not clip (turn red) during the loudest parts of your performance. This ensures a strong signal without distortion.

Figure 4.1: Front panel of the XTUGA MD44 highlighting independent gain controls for each input channel.
4.2 Activating +48V Phantom Power
For condenser microphones, activate phantom power using the CH1-2 +48V and CH3-4 +48V switches on the rear panel. Ensure phantom power is only enabled for microphones that require it. Dynamic microphones and ribbon microphones typically do not require phantom power and can be damaged if it is applied incorrectly.
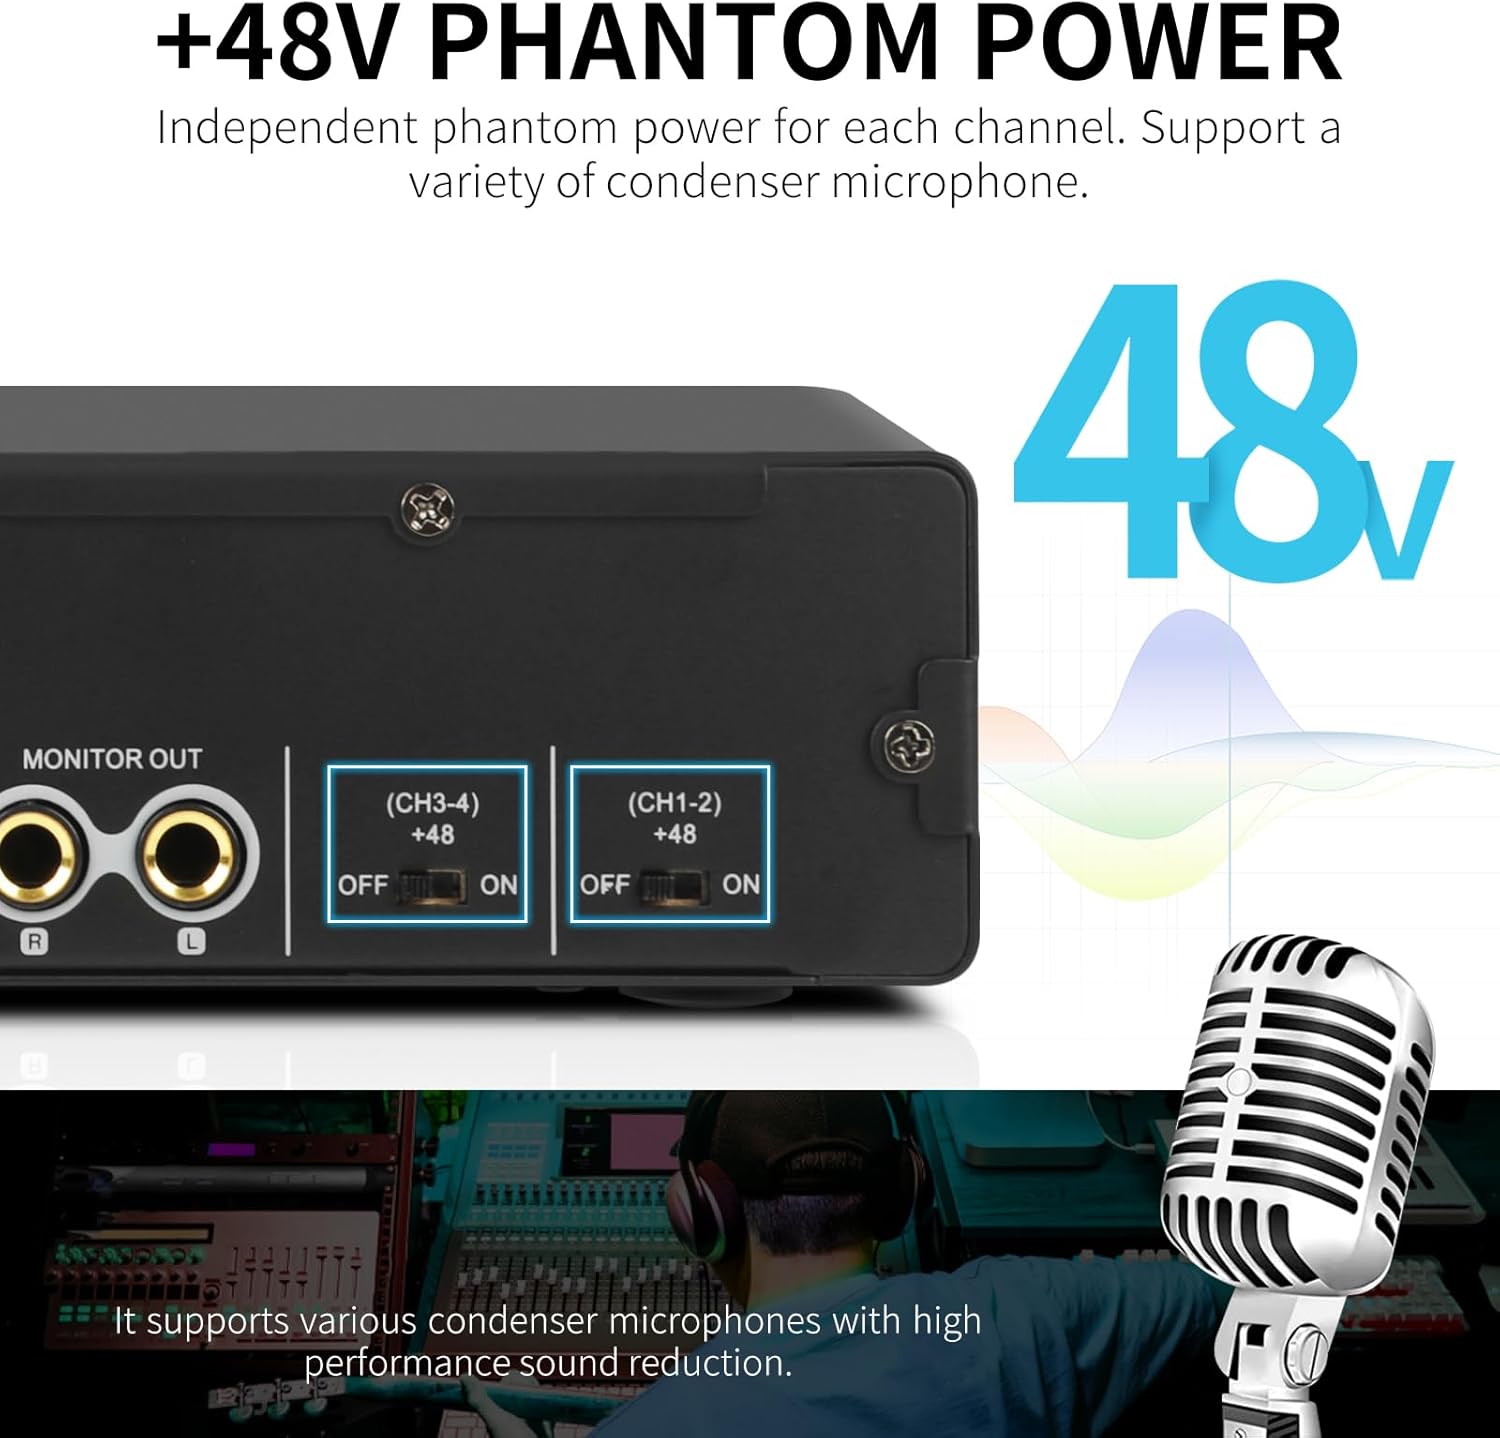
Figure 4.2: Rear panel view of the XTUGA MD44 showing the +48V phantom power switches for channels 1-2 and 3-4.
4.3 Mono/Stereo Input Switching
The MD44 allows for flexible input configuration. While the device has four physical inputs, it typically presents two stereo channels or four mono channels to your Digital Audio Workstation (DAW). The specific behavior may vary depending on your DAW and operating system. Refer to your DAW's documentation for configuring multi-channel input.
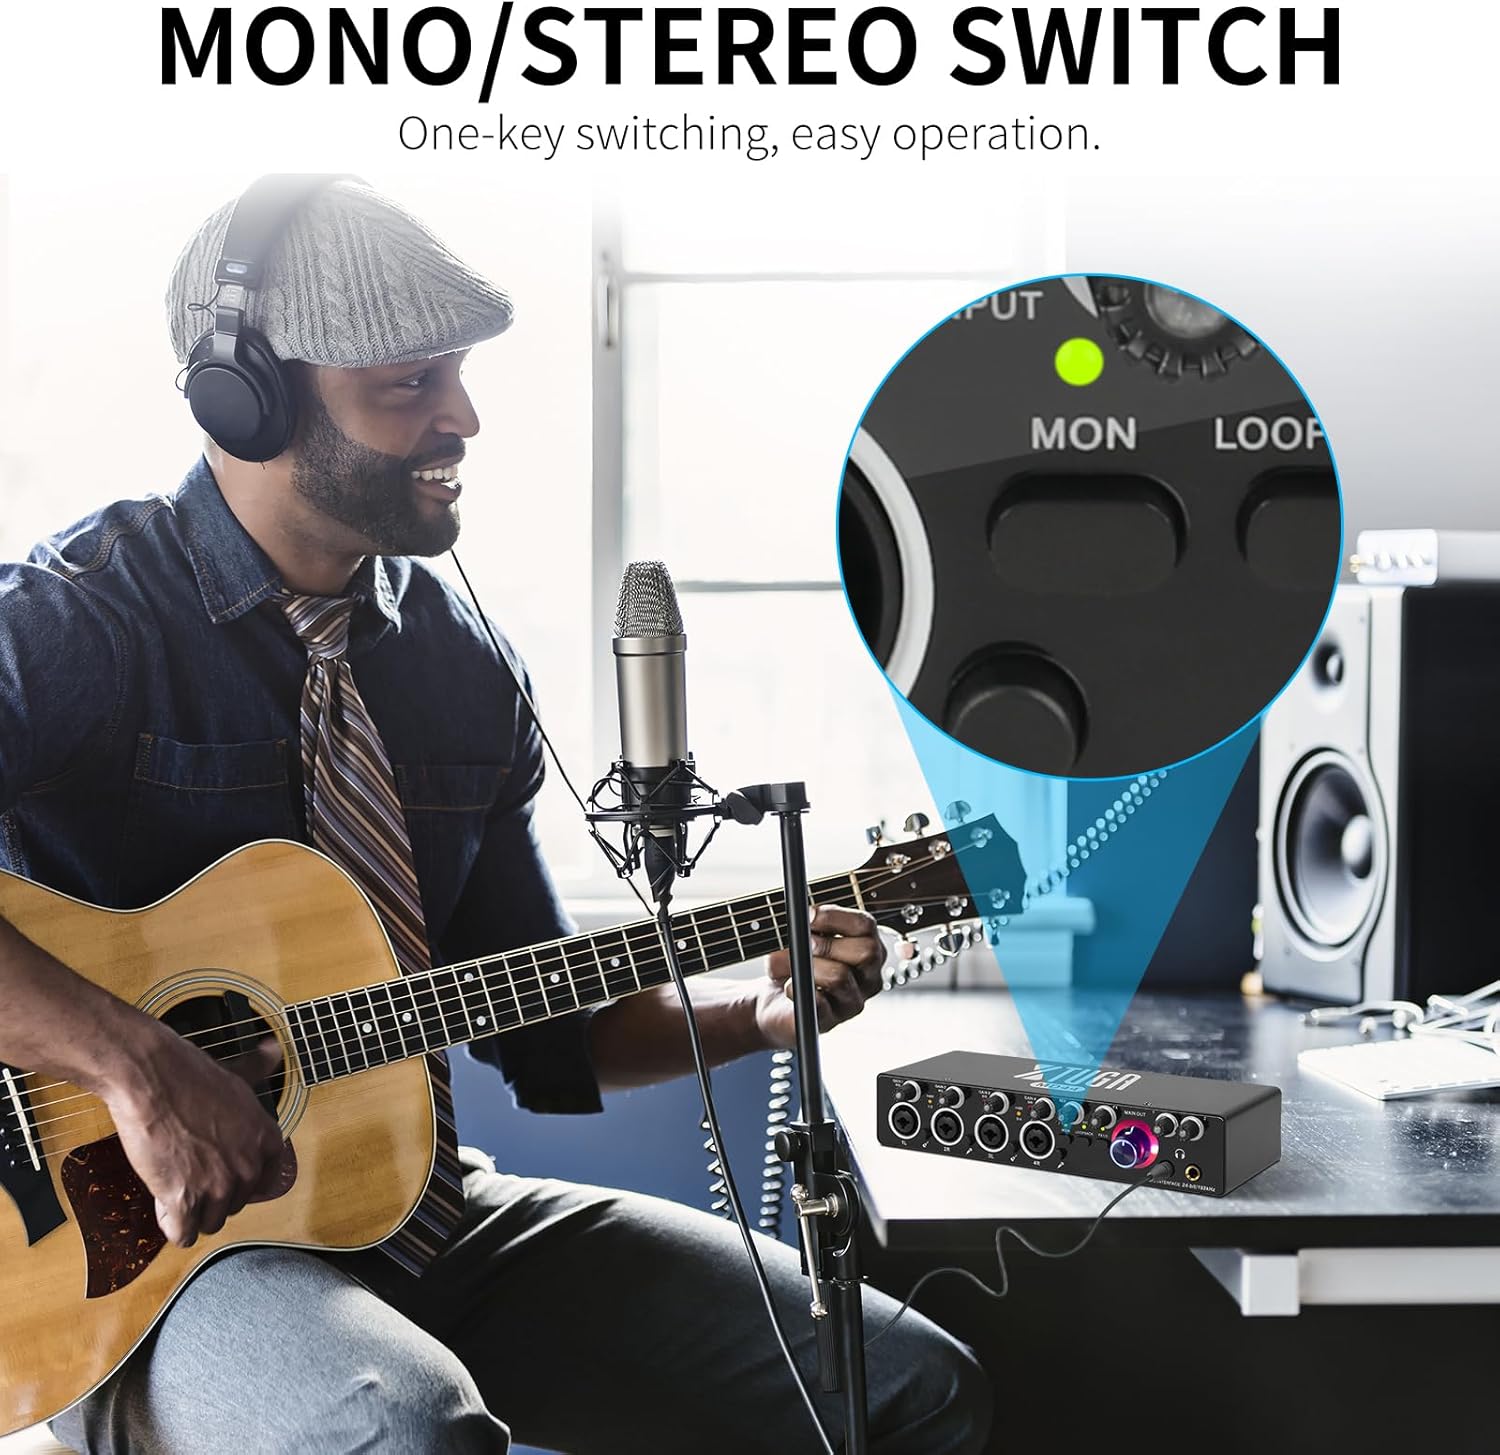
Figure 4.3: Close-up of the XTUGA MD44 showing the Mono/Stereo switch for input channels.
4.4 Real-Time Monitoring
Engage the MON (Monitor) button for direct, latency-free monitoring of your input signals. Use the MIX knob to balance the direct input signal with the playback from your computer (DAW). Adjust the Headphone Volume knob for comfortable listening.

Figure 4.4: A user monitoring audio in real-time through headphones connected to the XTUGA MD44, ensuring latency-free performance.
4.5 FX Adjustment
The FX knob controls the level of the built-in effects. Rotate the knob to apply effects to your input signal. Note that the specific type of effect may be fixed or limited. If you experience crackling, reduce the FX level.
4.6 Loopback Function
Press the LOOPBACK button to enable the loopback function. This allows you to record audio playing on your computer directly into your DAW, useful for live streaming or podcasting with background music.
5. Maintenance
To ensure the longevity and optimal performance of your XTUGA MD44:
- Cleaning: Use a soft, dry cloth to clean the exterior of the device. Avoid using liquid cleaners or solvents, as they may damage the finish or internal components.
- Storage: Store the interface in a cool, dry place away from direct sunlight and extreme temperatures. When not in use, disconnect all cables to prevent strain on the ports.
- Handling: Handle the device with care. Avoid dropping it or subjecting it to strong impacts.
6. Troubleshooting
If you encounter issues with your XTUGA MD44, refer to the following common problems and solutions:
- No Sound Output:
- Check all cable connections (USB, monitors, headphones).
- Ensure the MAIN OUT and Headphone Volume knobs are turned up.
- Verify that the MD44 is selected as the audio output device in your computer's sound settings and your DAW.
- Confirm that the MIX knob is not fully turned to INPUT if you expect to hear DAW playback.
- No Input Signal:
- Check microphone/instrument connections.
- Increase the corresponding Gain knob.
- For condenser microphones, ensure +48V phantom power is enabled for the correct channel pair.
- If using an instrument, ensure the high impedance switch (1-2 or 3-4) is engaged.
- Verify the MD44 is selected as the audio input device in your computer's sound settings and your DAW.
- Distorted Sound:
- Reduce the input Gain knobs if the SIG indicator is clipping (red).
- Check for faulty cables.
- Ensure the sample rate and buffer size settings in your DAW match the interface capabilities (24-bit/192kHz).
- Gain Knob Does Not Completely Cut Signal:
- Some analog gain stages may not achieve a complete signal cut at their lowest setting. For complete muting, use the mute function within your DAW or disconnect the input.
- Limited FX Functionality / Crackling with FX:
- The built-in effects may have limited adjustability. If crackling occurs, reduce the FX knob level. For advanced effects, use plugins within your DAW.
- Sound from PC to Interface is Inverted:
- This can sometimes occur with certain system configurations. Check your DAW's stereo imaging or phase settings. If the issue persists, ensure your operating system's audio drivers are up to date.
7. Specifications
| Feature | Specification |
|---|---|
| Model Number | MD44 |
| Audio Resolution | 24-bit / 192kHz |
| Inputs | 4 x Combination XLR/TRS (Mic/Line/Instrument) |
| Phantom Power | +48V (switchable for CH1-2 and CH3-4) |
| Outputs | 2 x TRS Line Out (L/R), 2 x TRS Monitor Out (L/R), 1 x Headphone Out |
| Connectivity | USB Type-C (PC), USB Type-C (Mobile), 5V DC Power Input |
| Compatible Operating Systems | Windows, Mac, iOS, Android |
| Supported Software | Pro Tools, Ableton Live Lite, Reaper, Ableton, other DAWs |
| Dimensions (approx.) | 38.61 x 16.69 x 8.2 cm |
| Weight (approx.) | 1.19 kg |
8. Warranty and Support
For warranty information and technical support, please refer to the official XTUGA website or contact your retailer. Keep your purchase receipt as proof of purchase for any warranty claims.