
Wpond 13*20
Wpond 13x20ft Heavy Duty Carport Instruction Manual
Model: 13*20
1. Introduction
This manual provides detailed instructions for the assembly, operation, maintenance, and troubleshooting of your Wpond 13x20ft Heavy Duty Carport. Please read all instructions carefully before assembly and use to ensure safe and efficient operation.
The Wpond Heavy Duty Carport is designed to provide robust protection for vehicles and serve as a versatile shelter for various outdoor activities. It features a durable three-layer PE fabric that is UV resistant, waterproof, fade-resistant, and tear-resistant, offering protection against sun, wind, rain, dust, hail, and snow. The sturdy galvanized tube steel framework, high-strength connectors, and anchoring kit ensure stability and security.

Image 1.1: Wpond Heavy Duty Carport highlighting UV, Rain, and Snow resistance.

Image 1.2: Close-up of the carport's heavy-duty Oxford fabric, art-welded joints for stability, thickened base plate, 1.5-inch diameter rust-resistant frame, and strong grip components.
2. Safety Information
WARNING: Failure to follow these safety instructions may result in injury or damage to the product.
- Always secure the carport to the ground using the provided anchoring kit to prevent it from being blown away by strong winds.
- Do not use the carport in winds exceeding 35 mph.
- Ensure all connections are tight and secure before and during use.
- Regularly inspect the carport for any signs of wear, damage, or loose components.
- Keep children and pets away from the assembly area during installation.
- Avoid placing heat sources or open flames near the carport fabric.
3. Package Contents
Before beginning assembly, ensure all parts listed below are present. If any parts are missing or damaged, please contact customer support.
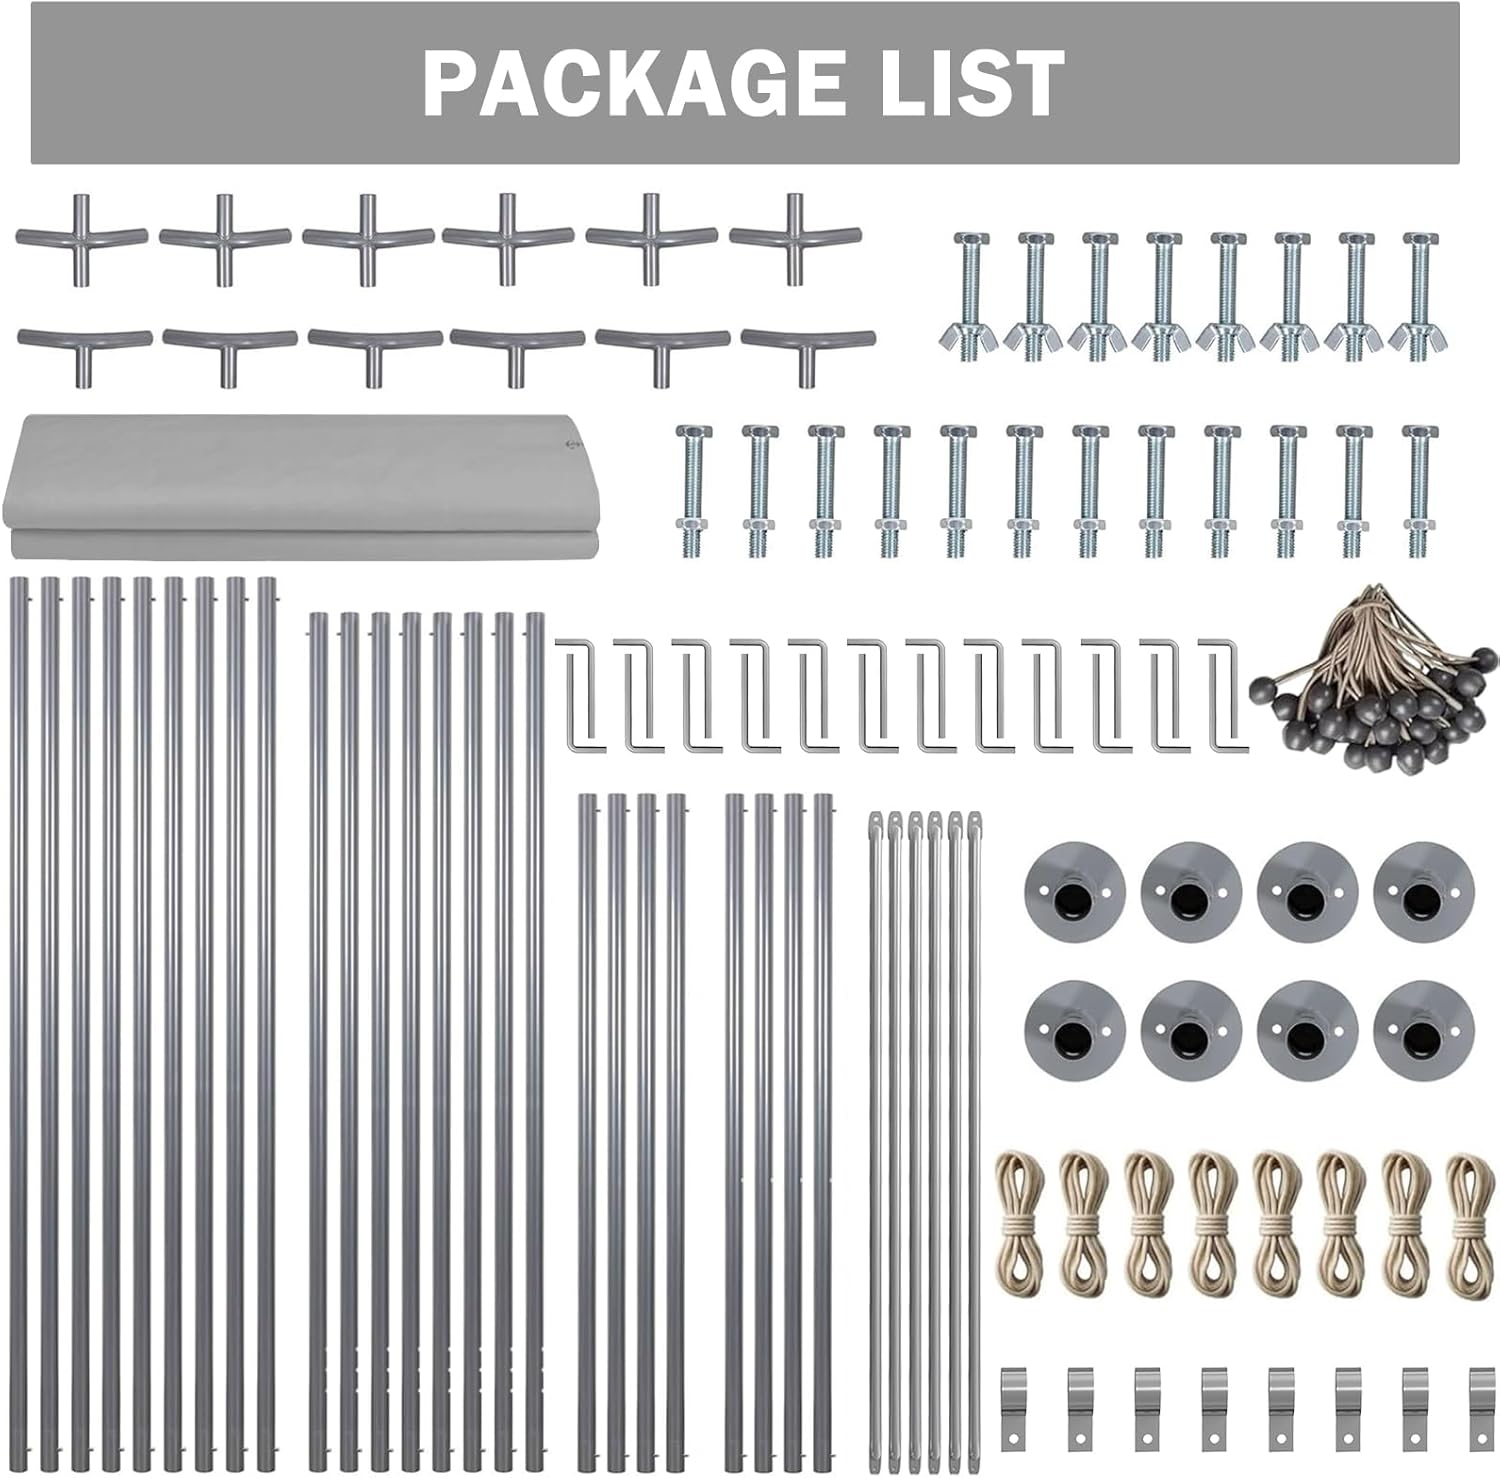
Image 3.1: Visual representation of all components included in the package, such as poles, connectors, tarp, ropes, and ground anchors.
The package typically includes:
- Galvanized Steel Poles (various lengths and types for roof and legs)
- High-Strength Connectors (for assembling the frame)
- Three-Layer PE Fabric Canopy Cover
- PE Fabric Leg Skirts
- Windproof Ropes
- Ground Anchoring Kit (stakes/screws)
- Assembly Gloves
- Instruction Manual
4. Setup Instructions
Assembly typically requires two or more adults and can be completed in approximately half an hour. Follow these steps for quick and hassle-free setup.

Image 4.1: Visual guide to the four main assembly steps: assembling the roof frame, putting on the canopy cover, placing the roof cover on the frame, and reinforcing with windproof ropes.
4.1. Lay Out Components
Unpack all components and lay them out on a flat, clear surface. Organize poles and connectors according to their labels (if any) to simplify the assembly process.
4.2. Assemble the Roof Frame
Connect the roof poles using the appropriate connectors. Ensure all connections are secure. The curved connectors are typically used for the roof's peak, while straight connectors are for horizontal beams.
Video 4.2.1: Detailed installation guide for a Quictent carport, demonstrating frame assembly.
Video 4.2.2: Installation steps for a carport canopy, showing how to connect frame components.
4.3. Attach the Canopy Cover
Carefully drape the PE fabric canopy cover over the assembled roof frame. Ensure it is centered and evenly distributed. Secure the canopy to the frame using the provided bungee cords or ties, looping them through the grommets and around the frame poles.
4.4. Install Support Legs
Attach the vertical support poles to the roof frame. Ensure each leg is properly inserted into its corresponding connector. Once all legs are attached, carefully lift the entire structure into an upright position.
4.5. Anchoring the Carport
Secure the carport to the ground using the provided anchoring kit. Drive the ground stakes or screws through the base plates of each leg and into the ground. Attach the windproof ropes to the designated points on the canopy and secure them to the ground using additional stakes, ensuring proper tension for stability.
Video 4.5.1: Overview of an adjustable height heavy-duty carport, demonstrating its structure and anchoring.
5. Operating Instructions
Your Wpond Heavy Duty Carport is designed for versatile use. It can function as a portable garage, storage shed, or a shelter for various outdoor events.
5.1. Vehicle Protection
Park your car, truck, or boat under the carport to protect it from sun, rain, snow, and other elements. The spacious design accommodates various vehicle sizes.

Image 5.1.1: A car parked under the carport, illustrating its protective features against various weather conditions.
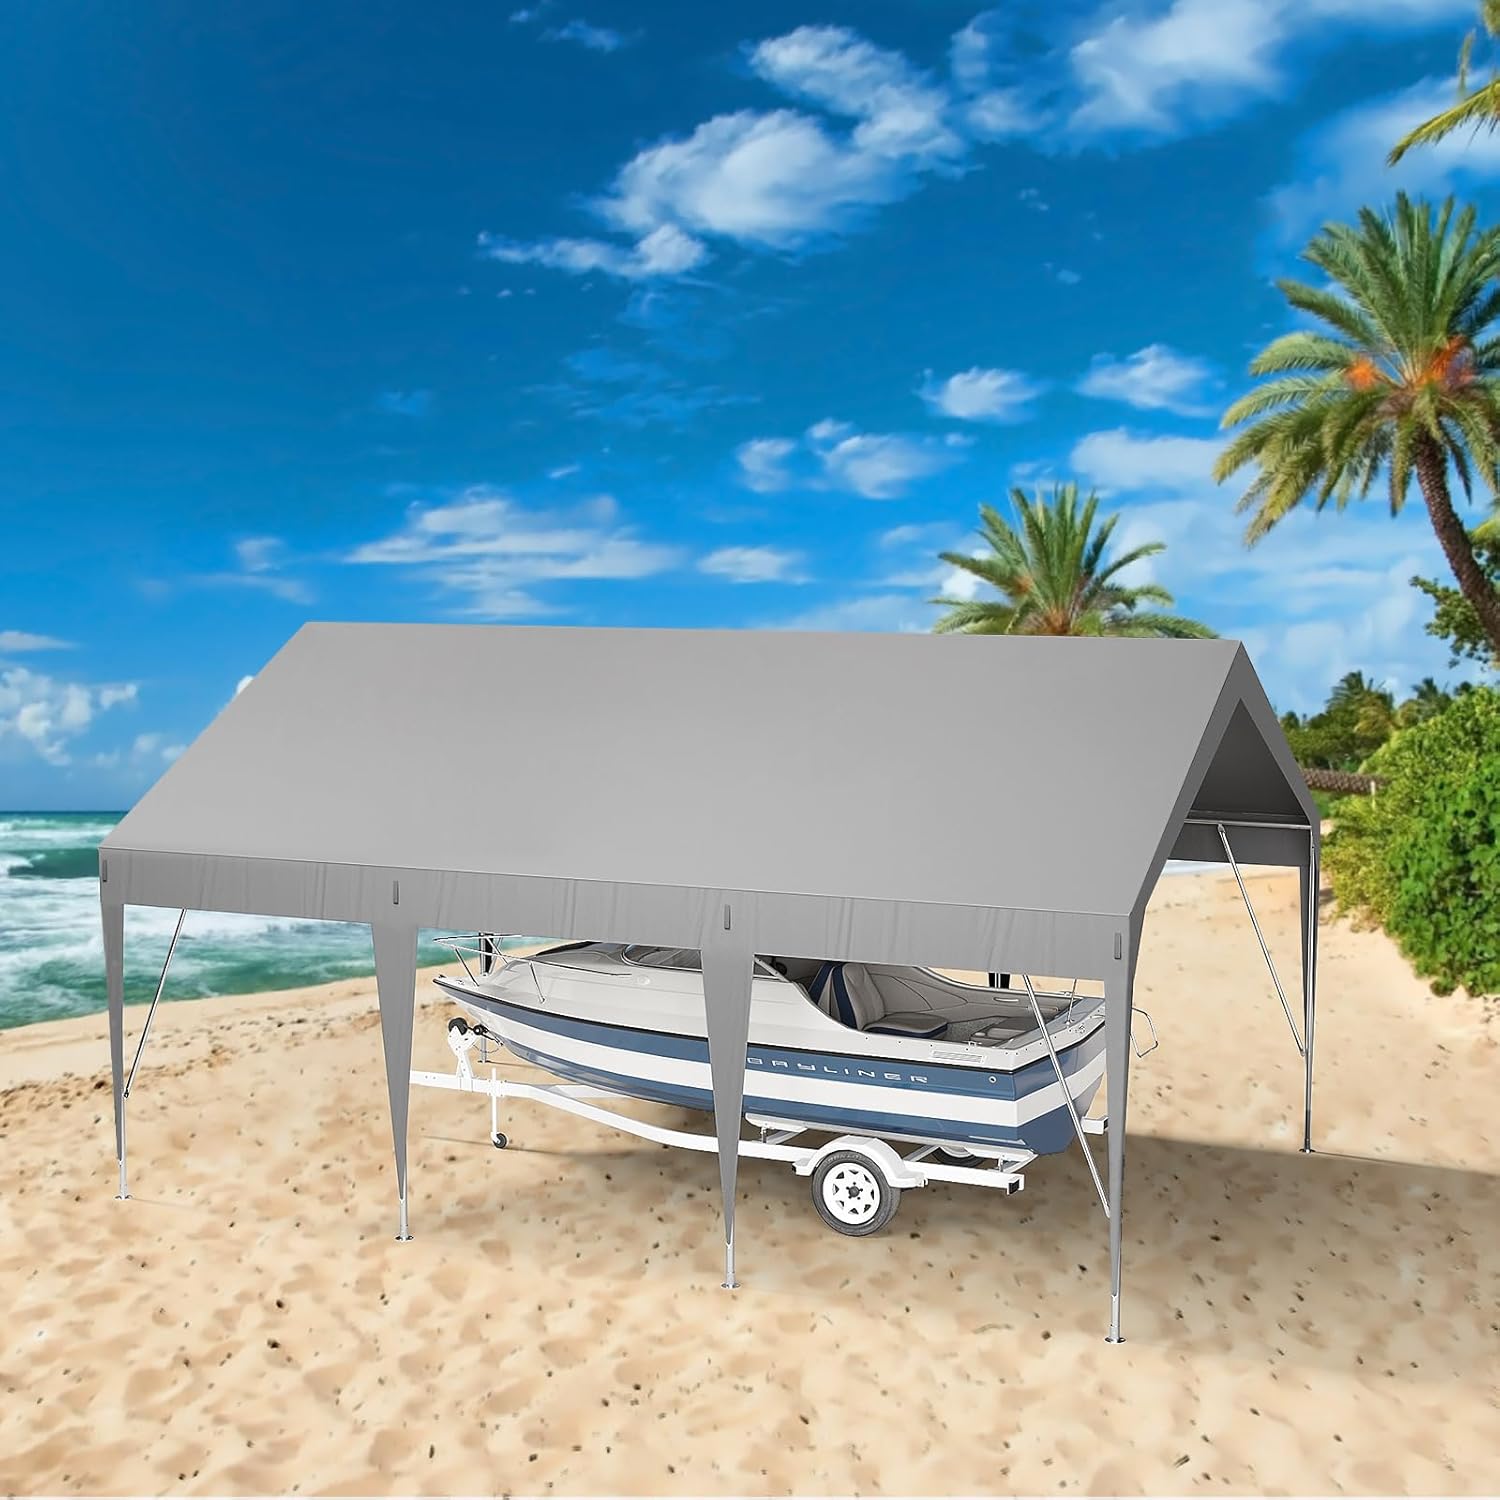
Image 5.1.2: A boat stored under the carport on a beach, demonstrating its use for marine vehicle protection.
5.2. Event Shelter
Utilize the carport for commercial events, parties, weddings, birthdays, camping trips, and gatherings to provide shade and rain protection or create additional seating areas.

Image 5.2.1: Multiple application scenarios for the carport, showcasing its adaptability for different needs.
6. Maintenance
Proper maintenance will extend the lifespan of your carport.
- Cleaning: Clean the canopy fabric periodically with mild soap and water. Avoid harsh chemicals or abrasive cleaners that could damage the material.
- Inspection: Regularly check all frame connections, bolts, and anchoring points for tightness and security. Inspect the fabric for any tears, holes, or signs of wear. Address any issues promptly to prevent further damage.
- Snow Removal: In areas with heavy snowfall, regularly remove accumulated snow from the canopy to prevent structural collapse due to excessive weight.
- Storage: If disassembling for storage, clean and dry all components thoroughly before packing. Store the canopy fabric in a cool, dry place away from direct sunlight and pests.
7. Troubleshooting
Here are solutions to common issues you might encounter:
- Carport Instability: Ensure all ground anchors are firmly secured and windproof ropes are properly tensioned. Check that all frame connections are tight.
- Water Accumulation on Canopy: Verify that the canopy is properly stretched and tensioned over the frame to allow water to run off. Adjust tension if necessary.
- Difficulty Assembling Poles: Ensure you are using the correct poles and connectors as indicated in the manual. Sometimes a slight rotation or gentle force is needed to align holes.
- Tears in Fabric: Small tears can often be repaired with a waterproof repair kit designed for tarpaulins. For large tears, consider replacing the canopy cover.
8. Specifications
| Feature | Detail |
|---|---|
| Brand | Wpond |
| Model Number | 13*20 |
| Product Dimensions | 240"L x 156"W x 122.4"H (20'L x 13'W x 10.2'H) |
| Material | Alloy Steel (Frame), Polyethylene (Canopy) |
| Frame Material | Alloy Steel |
| Canopy Fabric | Three-layer PE fabric |
| Water Resistance Level | Waterproof |
| UV Protection | UV Protection |
| Item Weight | 121.2 pounds |
| Assembly Required | Yes |
| Color | Gray |
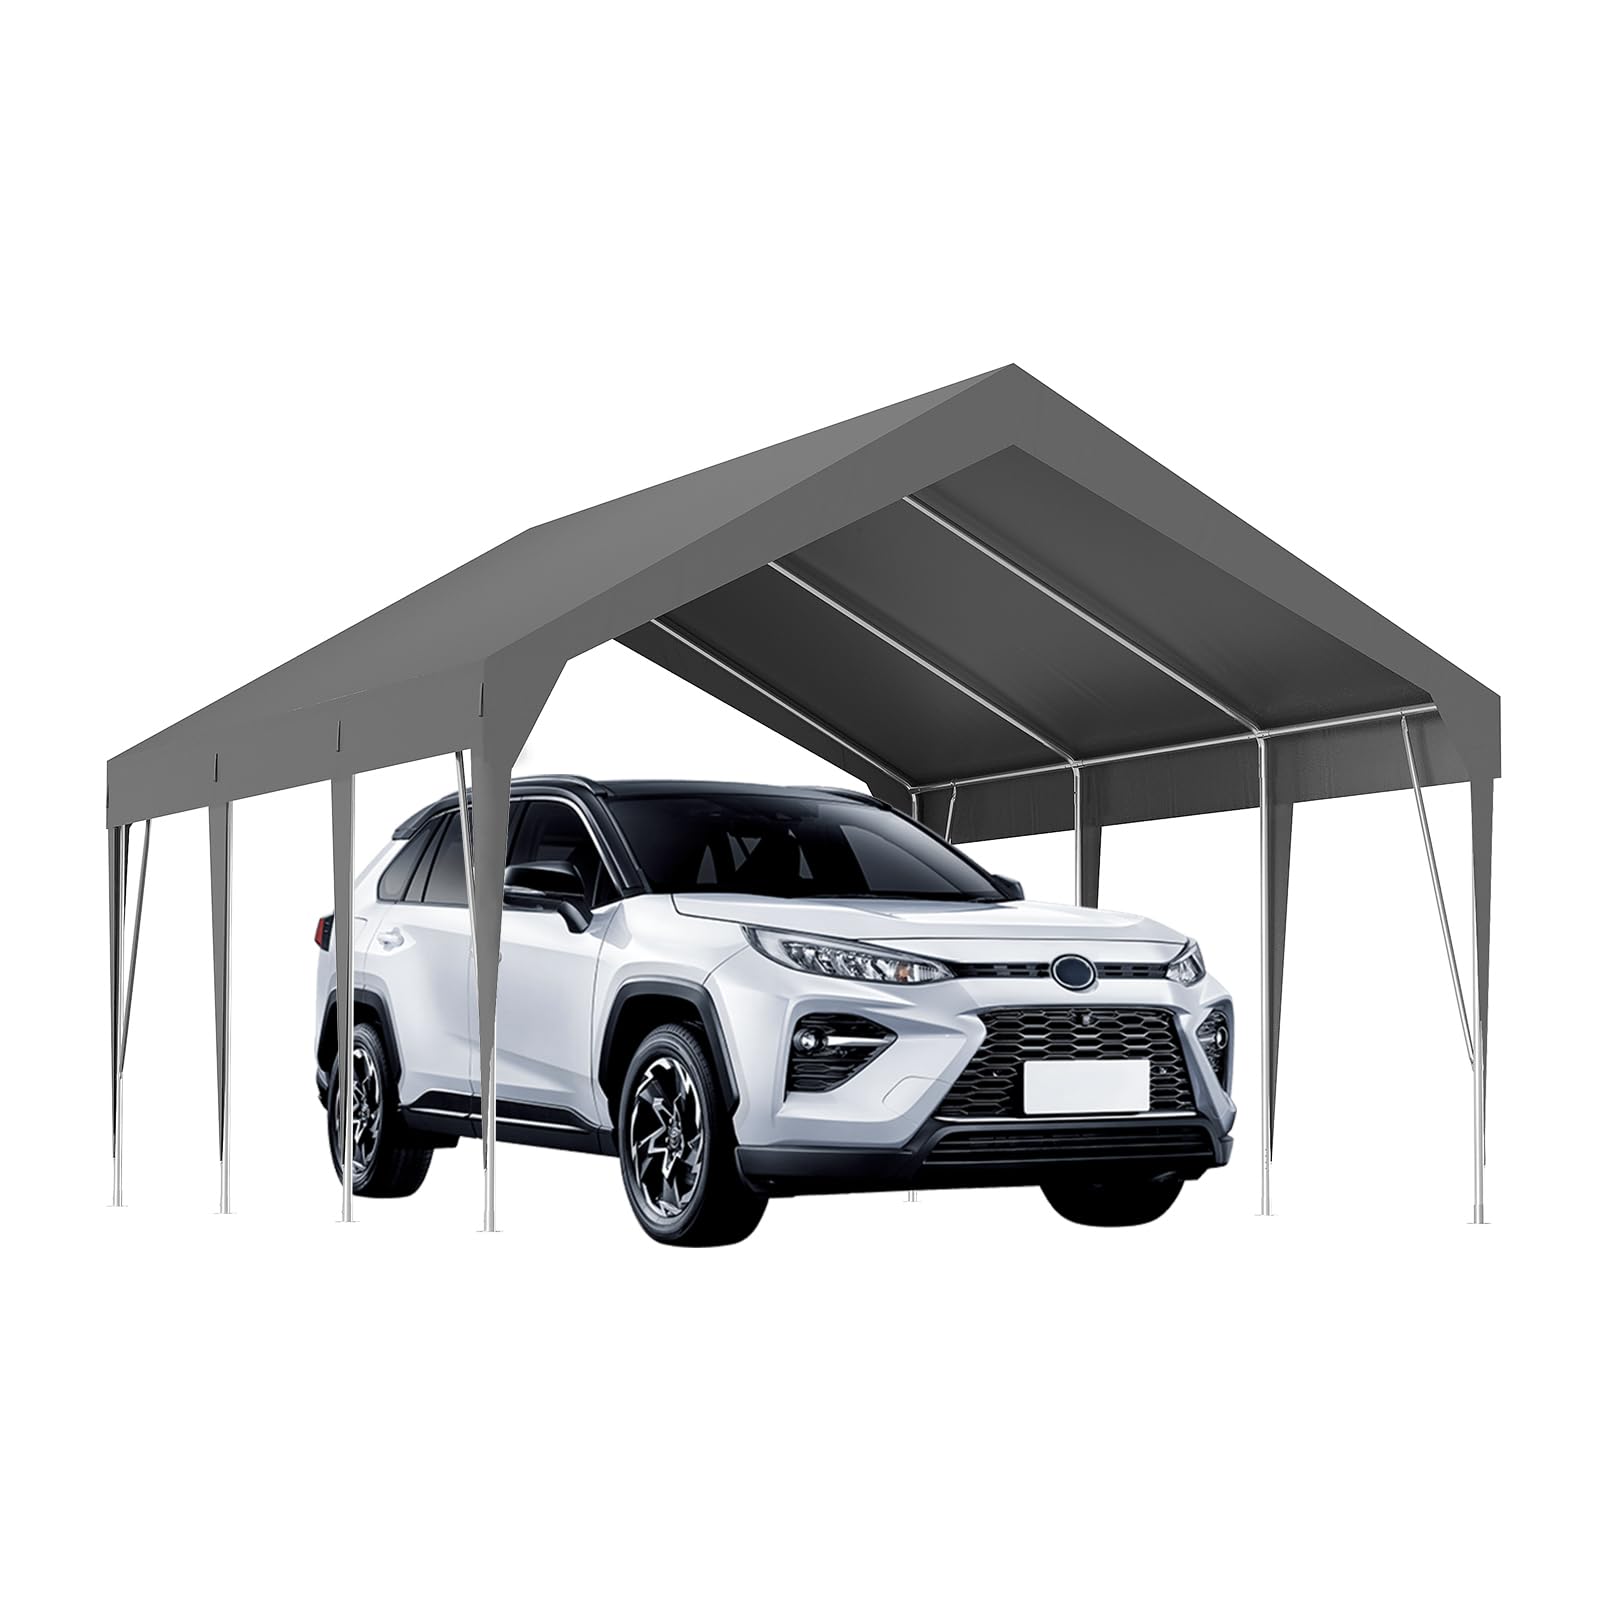
Image 8.1: Product dimensions for the 13x20ft carport, showing height, width, and length.
9. Warranty and Support
For warranty information, technical support, or to order replacement parts, please contact Wpond customer service through your original purchase channel. Please have your model number and purchase date available when contacting support.
Ask a question about this manual
Ask about setup, troubleshooting, compatibility, parts, safety, or missing instructions. Manuals+ will review the question and use this page’s manual context to help answer it.