
1. Introduction
Thank you for choosing the Huepar Pro ZK04CG 4D Green Laser Level. This professional-grade self-leveling laser tool is designed for high-precision alignment tasks in construction, renovation, and DIY projects. It features four 360-degree green laser lines, a long-lasting 8000mAh Li-ion battery, and versatile mounting options to ensure accuracy and efficiency in various working conditions.
Please read this instruction manual thoroughly before using the device to ensure safe and optimal operation. Keep this manual for future reference.
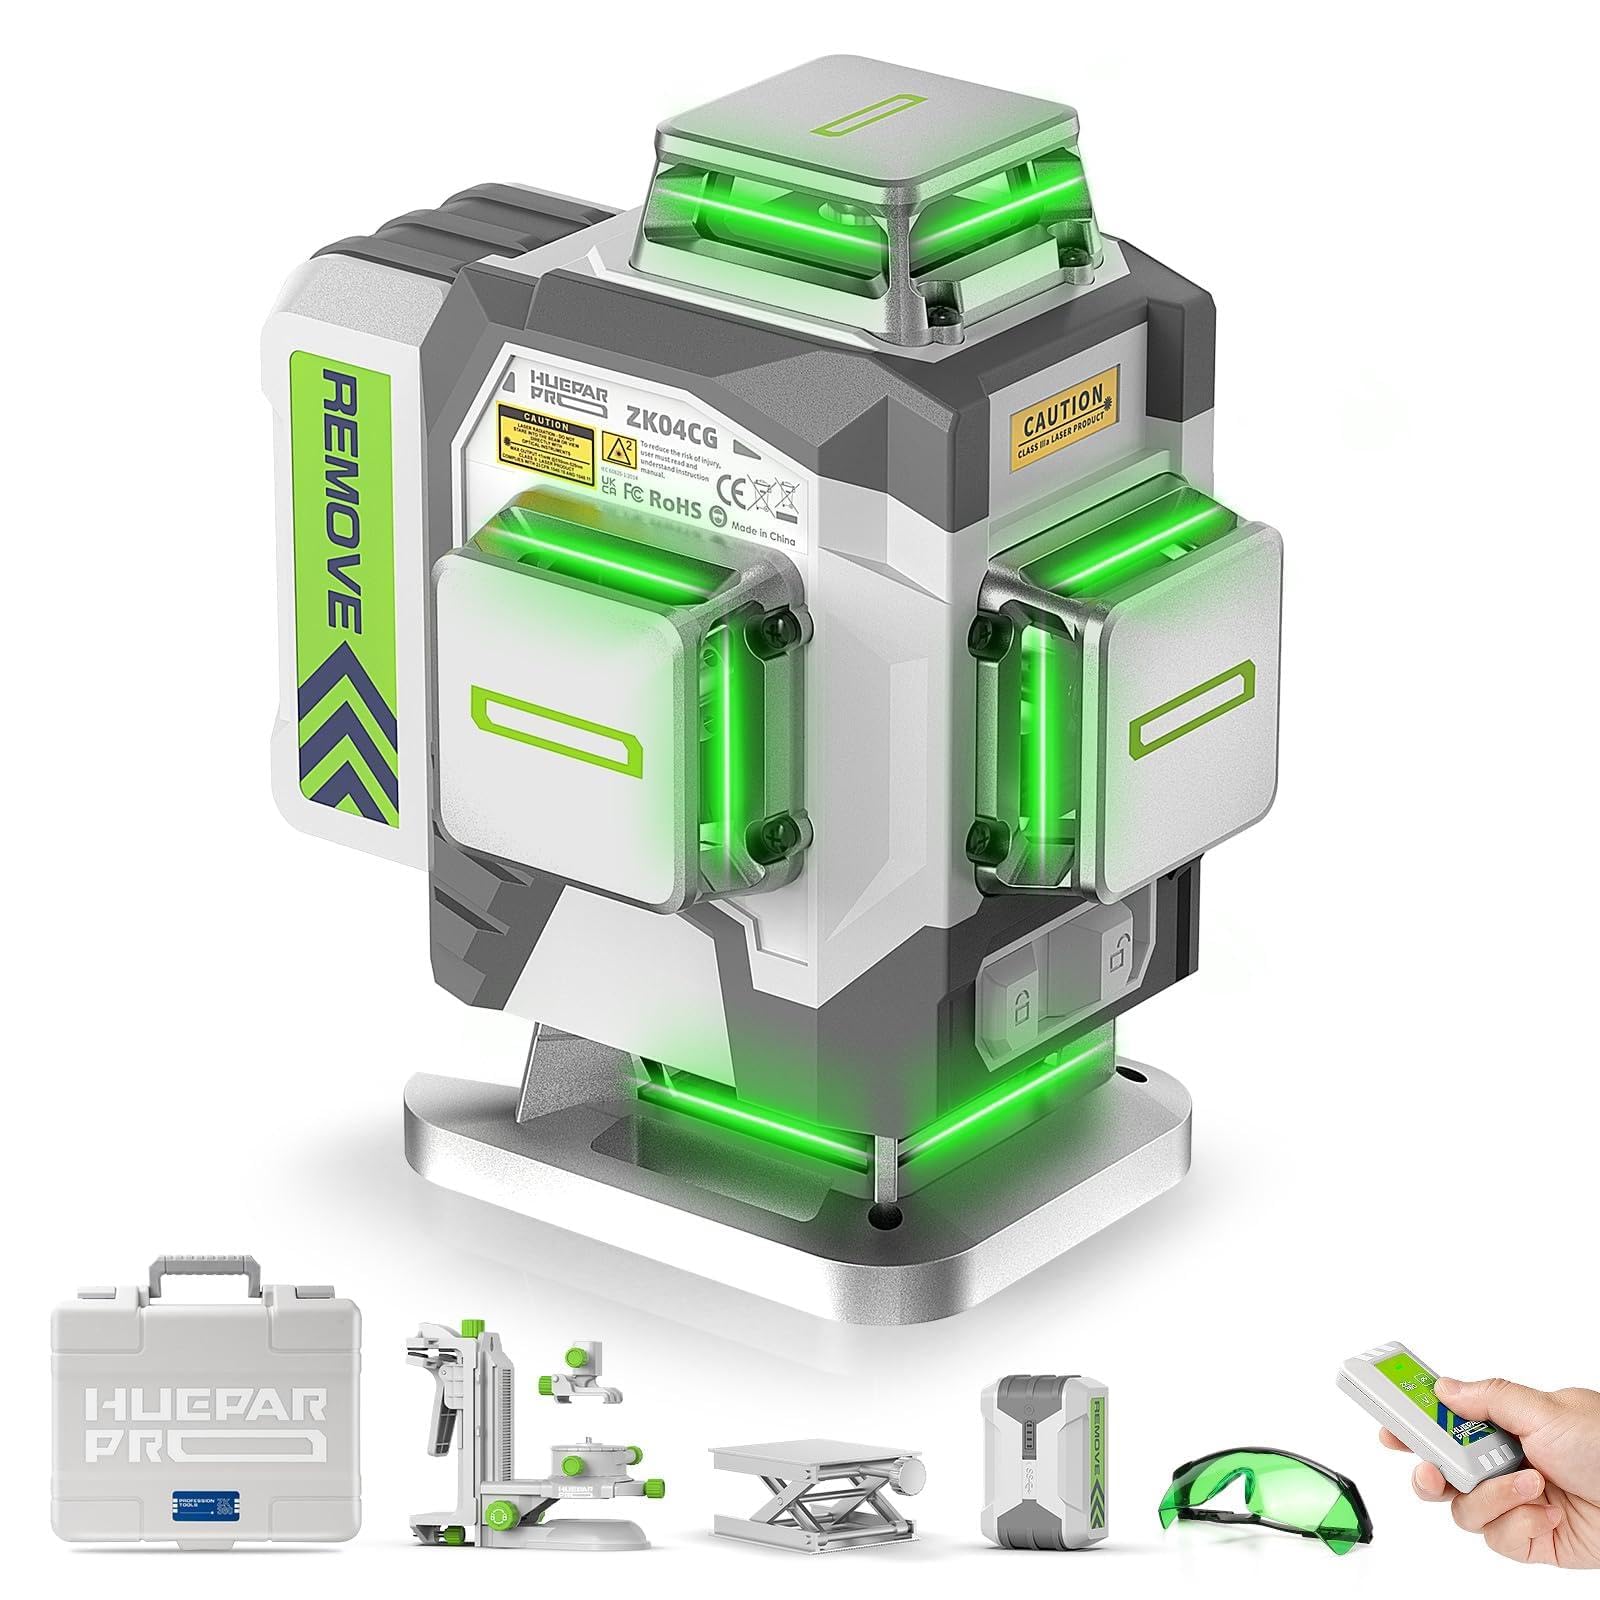
Image: The Huepar Pro ZK04CG 4D Green Laser Level and its included accessories.
2. Safety Information
This device is a Class 2 laser product (IEC/EN60825-1/2014), with a power output of <1 mW. Adhere to the following safety guidelines to prevent injury:
- DO NOT stare directly into the laser beam.
- DO NOT point the laser beam at people or animals.
- DO NOT direct the laser beam at reflective surfaces, as reflected beams can also cause eye injury.
- DO NOT allow children to operate the laser level.
- Use the device only for its intended purpose.
- Avoid disassembling the device; repairs should only be performed by authorized personnel.
- Ensure the work area is clear of obstacles and potential hazards.
3. Package Contents
The Huepar Pro ZK04CG package typically includes the following items:
- Huepar Pro ZK04CG 4D Green Laser Level Unit
- Remote Control
- 8000mAh Rechargeable Li-ion Battery
- Hard Carry Case
- Multi-functional Magnetic Stand
- Lifting Base
- Green Laser Target Plate
- Type-C Charging Cable
- Power Adapter
- User Manual
Note: A tripod is not included. For optimal stability and leveling, it is recommended to purchase a compatible tripod separately.

Image: The durable hard carry case for safe transport and storage.
4. Setup
4.1 Battery Installation and Charging
- Open the battery compartment on the laser level.
- Insert the 8000mAh Li-ion battery, ensuring correct polarity.
- Close the battery compartment securely.
- To charge, connect the Type-C charging cable to the laser level and a power adapter. The battery can also be charged separately using its dedicated Type-C port.
- The battery features a micro-USB port, allowing it to function as a power bank for other small devices.
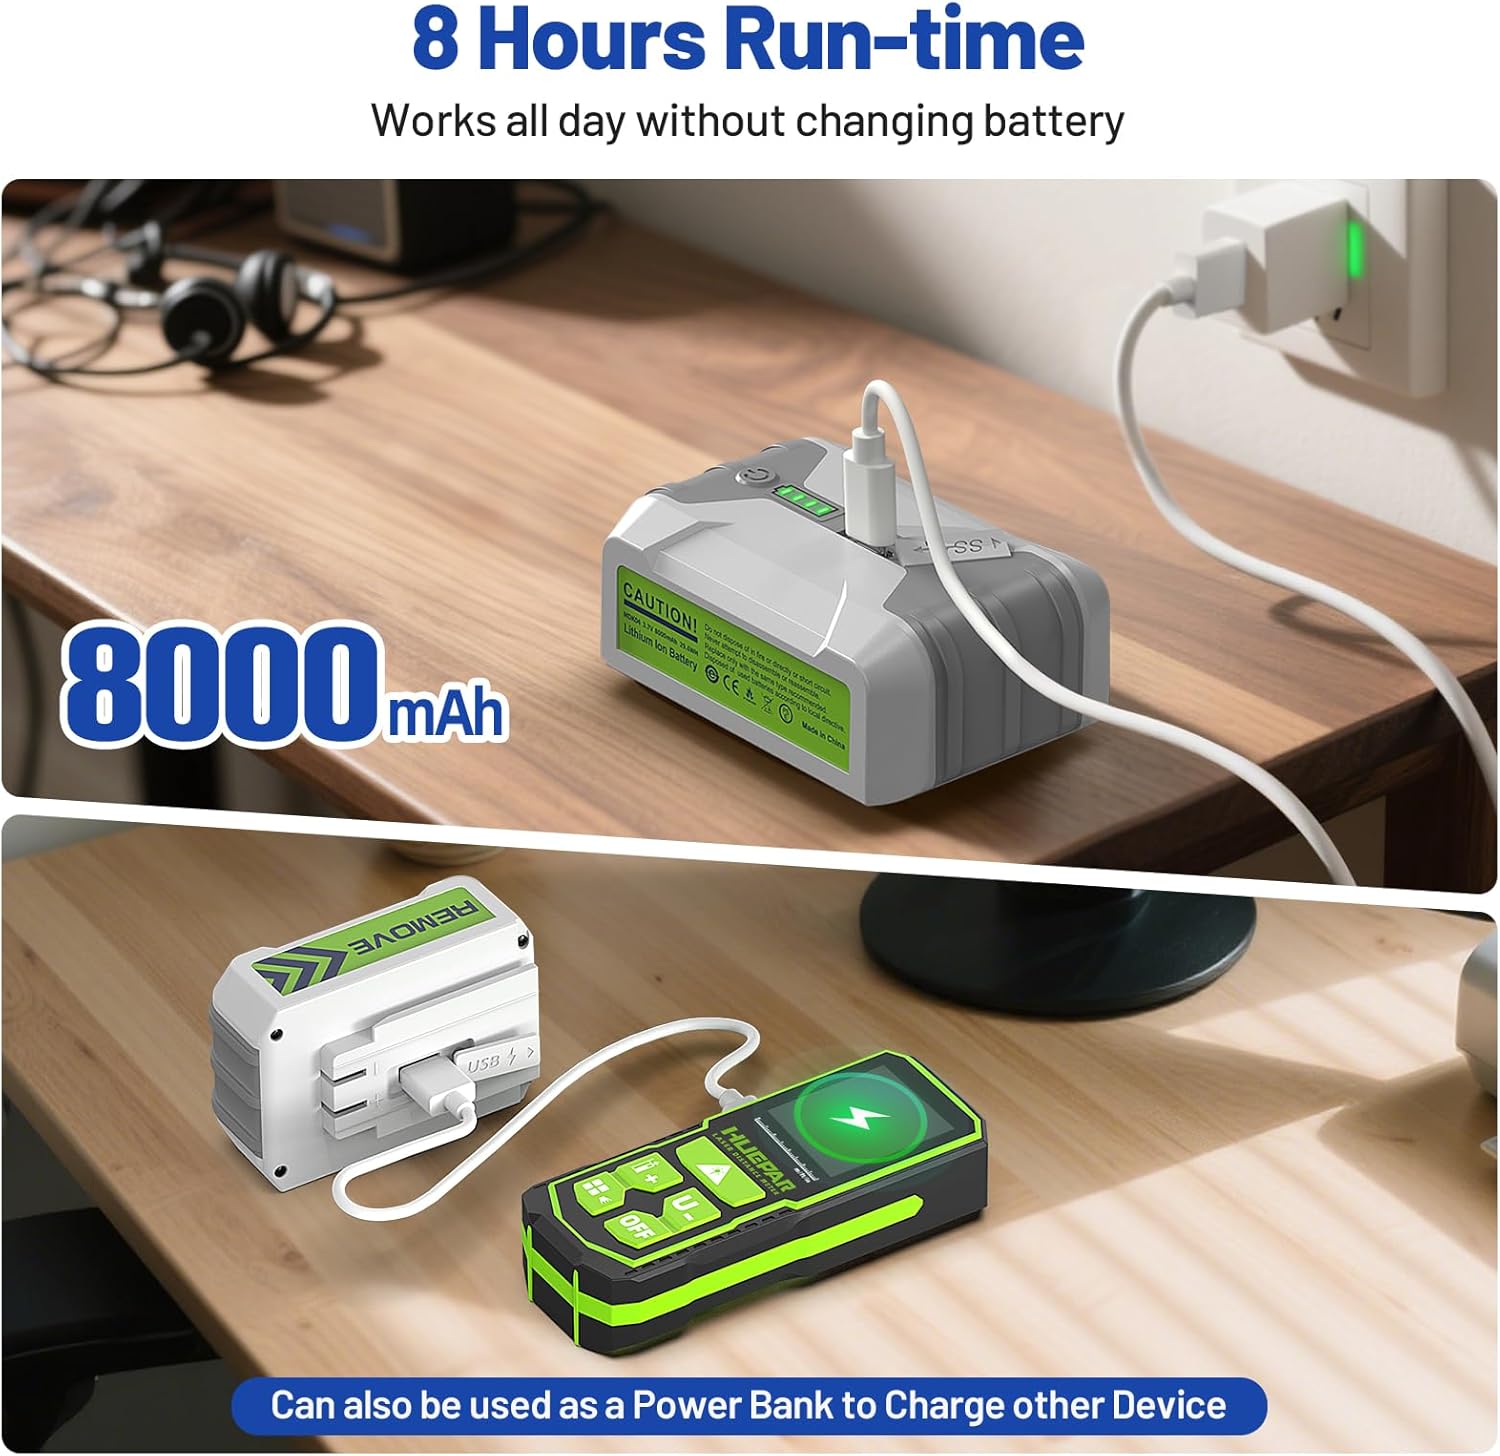
Image: The 8000mAh Li-ion battery charging and its power bank functionality.
4.2 Mounting the Laser Level
The ZK04CG offers various mounting options:
- Magnetic Stand: Attach the magnetic stand to metal surfaces for secure positioning. The stand allows for fine adjustments in height and rotation.
- Lifting Base: Use the lifting base to adjust the height of the horizontal laser line, particularly useful for floor tiling or low-level applications. It can raise the laser from 2.5 cm to 8 cm.
- Tripod/Pole Mount: The device has 1/4"-20 and 5/8"-11 threaded mounts for compatibility with standard tripods or pole mounts (not included).

Image: Examples of the multi-functional magnetic stand and lifting base in use.

Image: The 1/4"-20 mounting thread and various mounting accessories.
5. Operating Instructions
5.1 Powering On/Off
To power on the device, slide the pendulum lock switch to the unlocked position. The laser lines will activate. To power off, slide the pendulum lock switch to the locked position.
5.2 Operating Modes
The ZK04CG features three primary operating modes:
- Self-Leveling Mode: When the pendulum is unlocked, the laser tool will automatically self-level within a range of ±3°. If the device is tilted beyond this range, the laser lines will flash rapidly and an audible alarm will sound, indicating it is out of level.
- Manual Mode: To use the laser at any angle, lock the pendulum by sliding the switch to the locked position. The laser lines will remain active but will not self-level. The lines will flash every 5 seconds to remind you that it is in manual mode.
- Pulse Mode: Activate pulse mode to extend the working range of the laser up to 60m (200ft) when used with a Huepar laser receiver (not included). This mode is particularly useful in bright light conditions or outdoors.

Image: Visual representation of Manual, Pulse, and Self-leveling modes.
5.3 Laser Line Selection
The ZK04CG projects four 360-degree laser lines (two horizontal, two vertical). You can select individual lines or combinations using the 'H' (Horizontal) and 'V' (Vertical) buttons on the control panel or the remote control.

Image: Various combinations of 360-degree laser lines for all-round calibration.
5.4 Remote Control Operation
The included remote control allows you to activate/deactivate pulse mode and switch between laser lines from a distance of up to 10 meters (32.8 feet).
Pairing the Remote Control:
- Turn on the laser level.
- Press and hold the 'H' button on both the laser level and the remote control simultaneously for 3 seconds. The devices will pair, and the remote will be ready for use.

Image: Instructions for matching the remote control with the laser level.
5.5 Video Guides
Video: How to use the Huepar W04CG laser level (similar to ZK04CG). This video demonstrates basic operation and features.
Video: Huepar S04CG Laser Level - Pulse Mode. This video explains how to activate and utilize the pulse mode for extended range.
Video: Huepar S04CG Laser Level - Lifting Base. This video demonstrates the functionality of the lifting base for precise height adjustments.
6. Maintenance
6.1 Cleaning
Regularly clean the laser level with a soft, damp cloth. Do not use abrasive cleaners or solvents. Keep the laser emission windows clean to ensure optimal beam clarity.
6.2 Storage
When not in use, store the laser level in its hard carry case in a dry, cool place, away from direct sunlight and extreme temperatures. Ensure the pendulum is locked before storage to prevent damage.
6.3 IP54 Rating
The Huepar Pro ZK04CG has an IP54 rating, meaning it is protected against dust ingress and splashing water from any direction. While it offers good protection, it is not waterproof and should not be submerged in water. Avoid exposing it to heavy rain or excessive moisture.

Image: The IP54 rating ensures resistance to dust and splashing water.
7. Troubleshooting
| Problem | Possible Cause | Solution |
|---|---|---|
| Laser not turning on | Battery low or not installed correctly; Pendulum locked. | Charge or reinstall battery; Unlock the pendulum switch. |
| Laser lines flickering/unstable | Device is not level (in self-leveling mode); Vibrations in the work area. | Ensure device is within ±3° tilt range; Place on a stable surface. |
| Laser not self-leveling | Pendulum is locked; Device is tilted beyond ±3° range. | Unlock the pendulum; Adjust device position to be within the self-leveling range. |
| Reduced laser visibility | Bright ambient light; Long working distance. | Activate pulse mode and use with a laser receiver; Work in lower light conditions; Use the green target plate. |
| Remote control not working | Remote battery low; Not paired correctly. | Replace remote battery; Re-pair the remote control as per section 5.4. |
8. Specifications
| Feature | Detail |
|---|---|
| Laser Class | Class 2 (IEC/EN60825-1/2014), <1mW |
| Laser Lines | Two 360° Horizontal, Two 360° Vertical |
| Horizontal/Vertical Accuracy | ±2mm at 10m |
| Laser Wavelength | 505-520nm Green Laser |
| Self-Leveling/Compensation Range | ±3° |
| Power Supply | 8000mAh Li-ion Battery (5V/2A) |
| Operating Time | Approx. 8 hours with all laser beams on |
| Mounting Thread | 1/4"-20 and 5/8"-11 |
| IP Rating | IP54 (Dust and Splash Water Resistant) |
| Material | Metal |
| Operating Mode | Automatic |
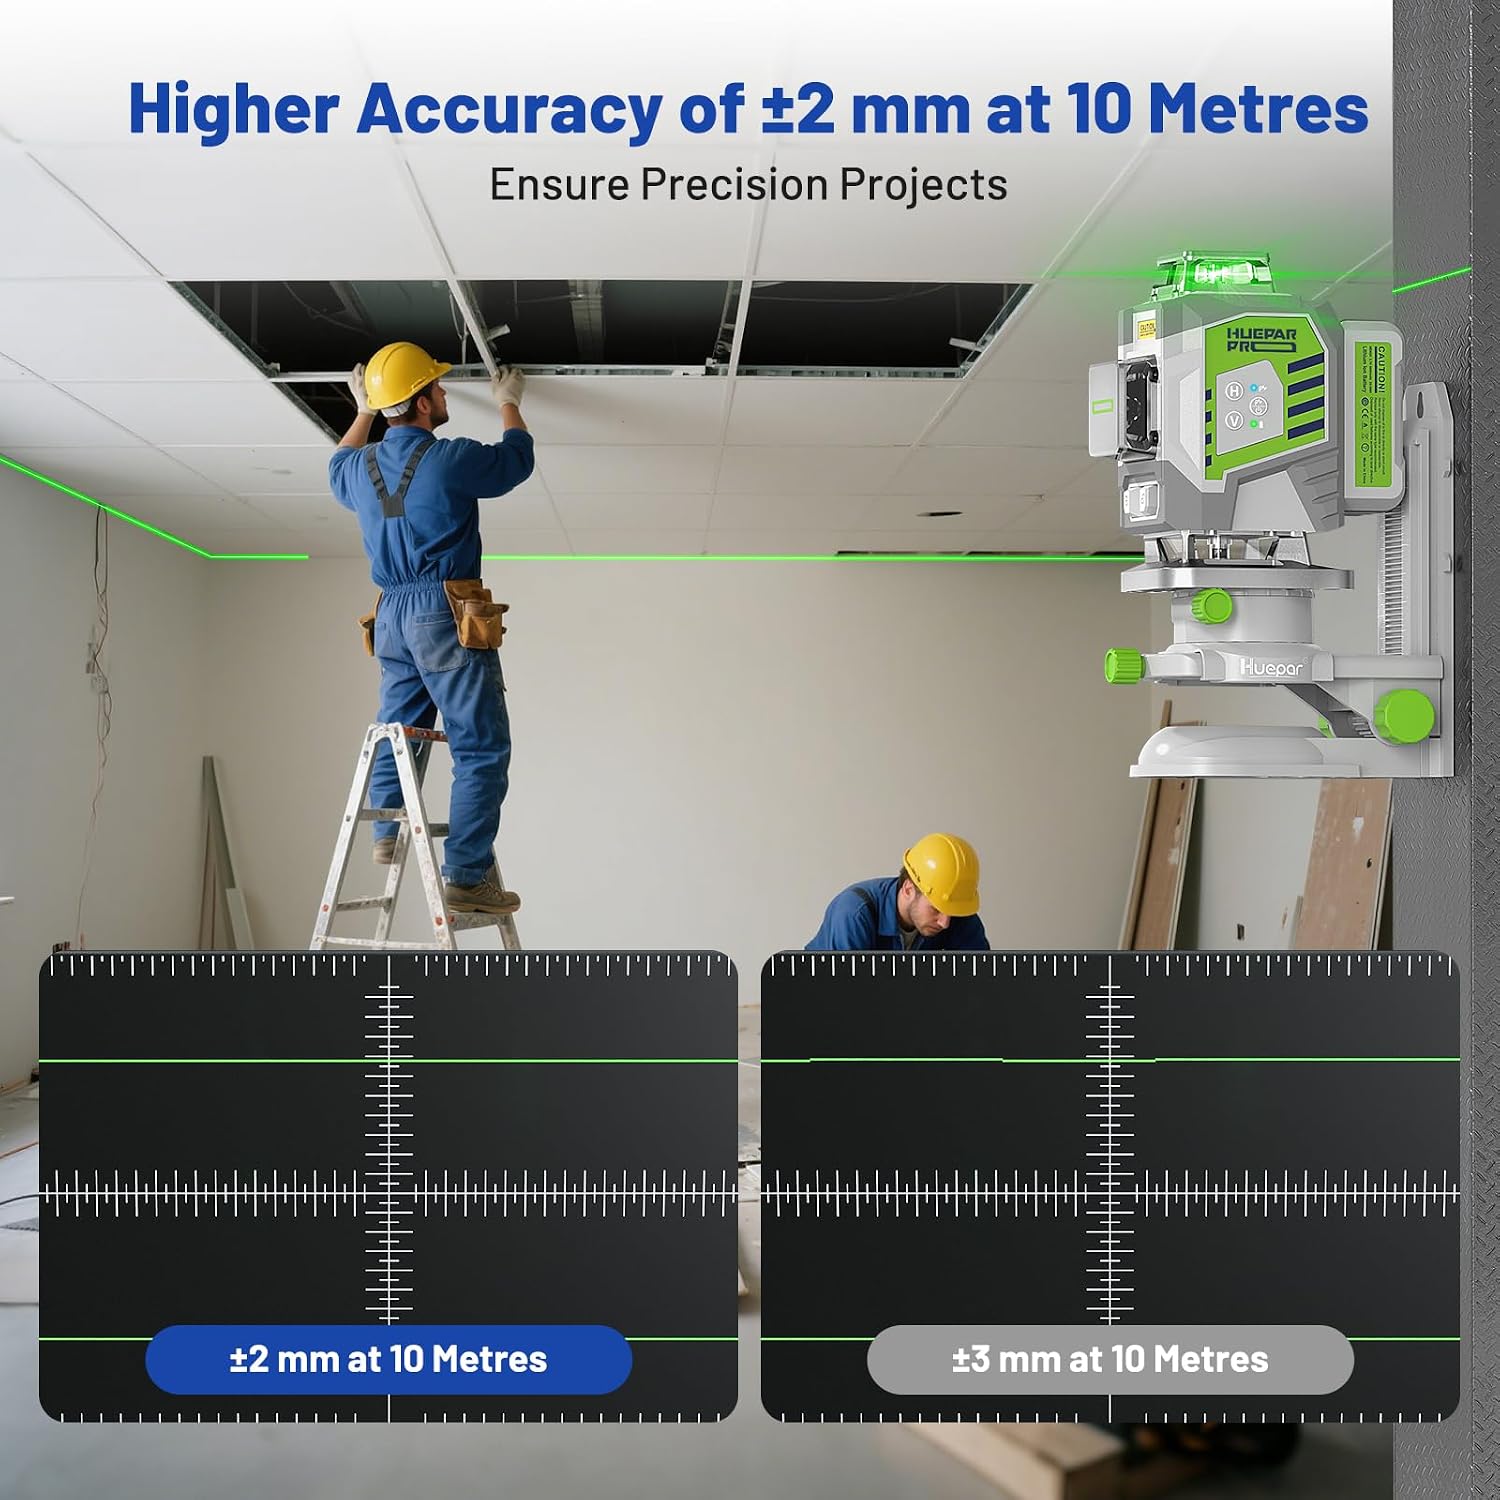
Image: High precision of ±2mm at 10 meters for accurate projects.
9. Warranty & Support
Huepar Pro offers comprehensive support for its products:
- Warranty: 3 to 5 years assistance for each Huepar Pro tool.
- Technical Support: Lifetime technical assistance for installation and troubleshooting.
- Response Time: Customer service aims to respond within 12 hours.
For assistance, please contact:
- Email: cs@hueparpro.com
- WhatsApp: +16267029700

Image: Huepar Pro customer support details.


