
Kidde 20SDR
Kidde Smoke Detector User Manual
Brand: Kidde | Model: 20SDR
Introduction
Experience the next level of fire safety with the Kidde Smoke Detector, AA Battery Powered, LED Warning Light Indicators, model 20SDR. This smoke detector has enhanced sensing technology that reduces false alarms often caused by cooking and sends fast alerts that help give your family more time to get out safely. This alarm offers a modern 5-inch design ideal for all living spaces such as living rooms, hallways, kitchens, & bedrooms. Comprehensively tested and designed to the latest UL standard for safety and reliability, the 5-inch smoke alarm is powered by 2 replaceable AA alkaline batteries (included) for continual detection even during outages. Batteries should be replaced every 6 months or when the alarm sounds a low battery chirp. In addition, it’s self-testing and easy to install with the included twist-and-click mounting bracket. This Kidde smoke alarm is equipped with end-of-life notifications that will beep to remind you it’s time to replace it at the of its 10-year lifespan. Meets requirements of 9th Edition UL 217 and FCC. Does not meet requirements for CSFM.
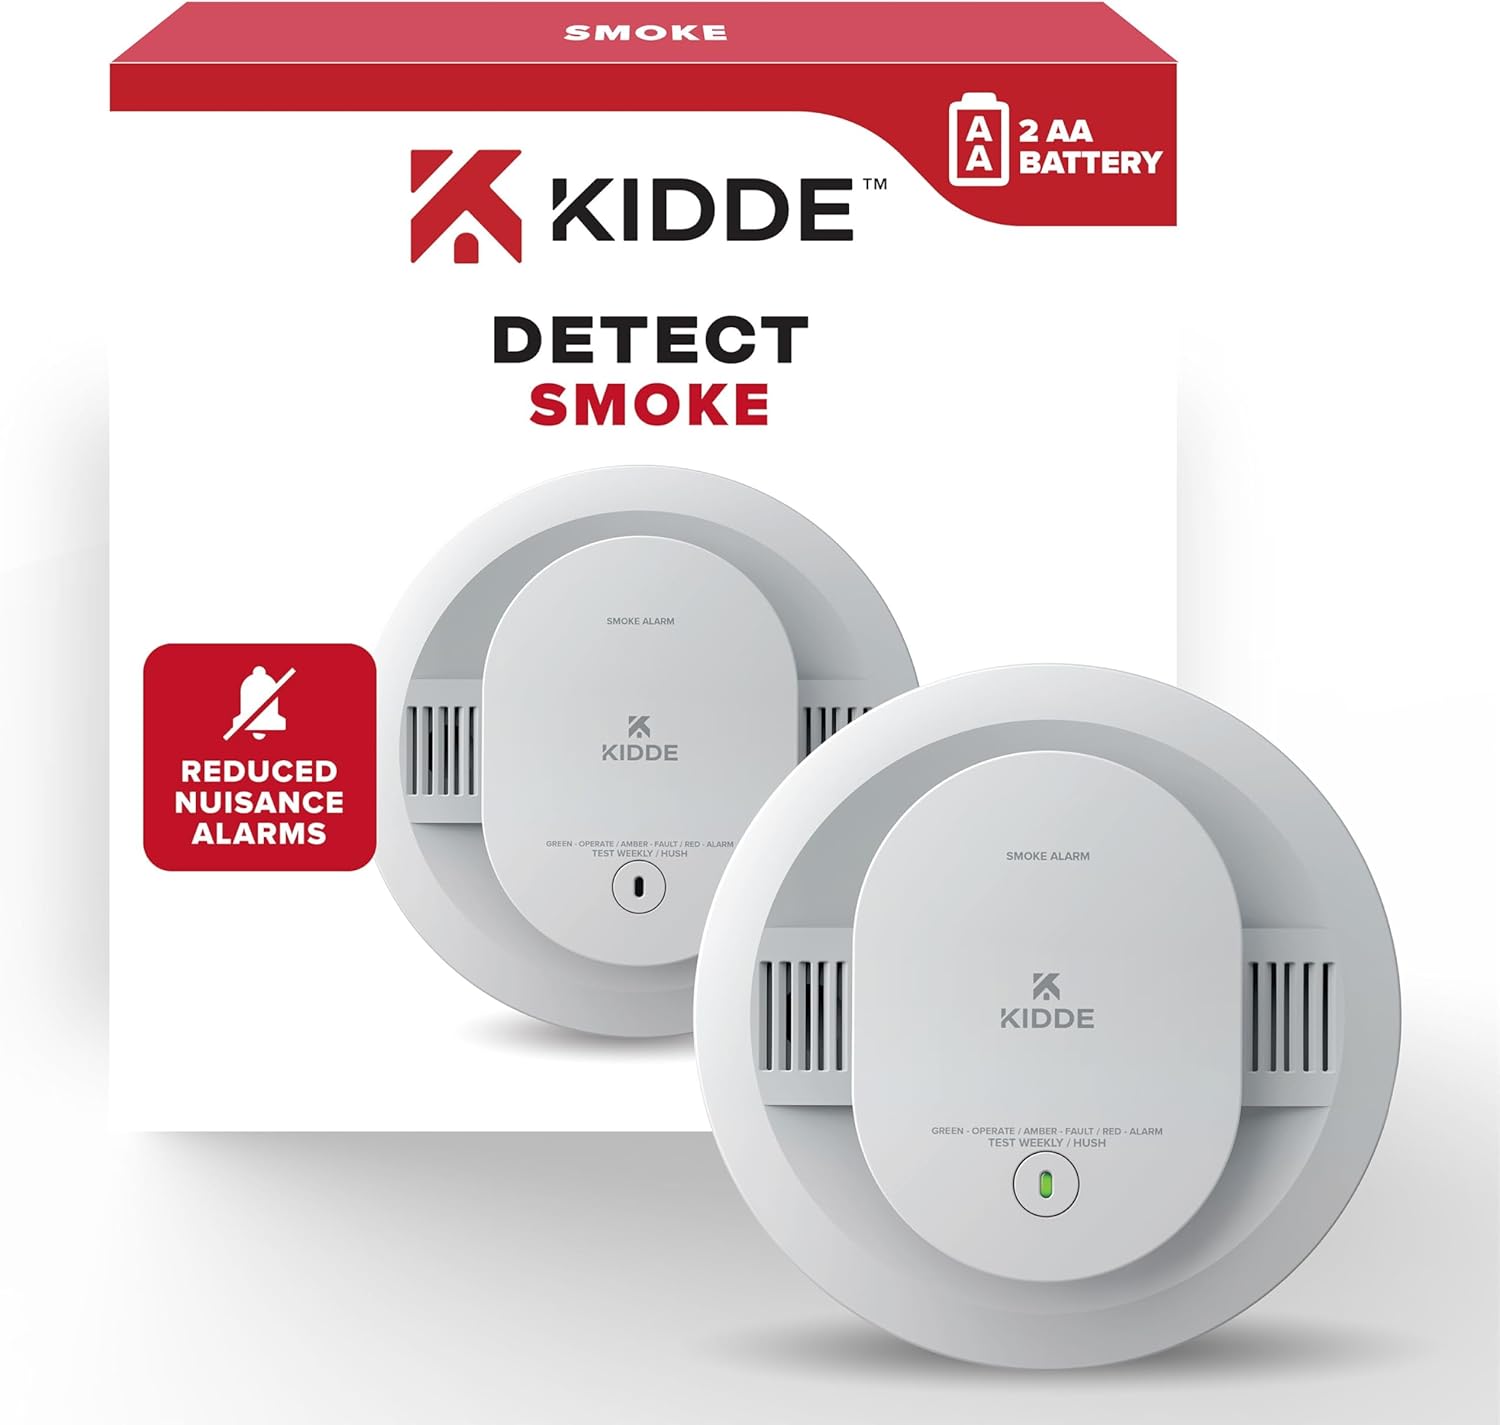
Image: Kidde Smoke Detector, Model 20SDR, shown with its retail packaging.
Setup and Installation
The Kidde Smoke Detector is designed for easy installation. Follow these steps to set up your new smoke alarm:
- Unboxing and Initial Setup: Unbox your Kidde alarm and mounting bracket. Before beginning installation, it's a good idea to mark the current date on your alarm so you know when it's time to replace it. Replacement date should always be 10 years from the current date.
- Battery Activation: The alarm operates on 2-AA alkaline batteries (included). Ensure the battery door is closed and pull the tab to activate before installation. You'll hear a beep to confirm activation. If you don't hear the beep, remove batteries and reinstall them.
- Mounting the Bracket: All Kidde alarms come with a mounting bracket. Simply mount the bracket onto the ceiling using the provided screws. Ensure the mounting screws are positioned in the small ends of the keyholes before tightening. Make sure not to over-tighten.
- Attaching the Alarm: Twist and click the 5-inch smoke alarm into the bracket by rotating clockwise until secure.
Video: Kidde Detector Installation Video. This video provides a step-by-step guide on how to install your Kidde smoke detector, covering both hardwired and battery-operated models.

Image: The underside of the Kidde smoke detector showing the AA battery compartment with two AA batteries inserted. The label indicates it's battery powered.

Image: A person on a step ladder installing the Kidde smoke detector onto a ceiling, demonstrating the simple twist-and-click mounting process.

Image: A diagram illustrating the modern 5-inch design of the Kidde smoke detector, with dimensions of 5 inches in width and 2 inches in height, ideal for various living spaces.
Operating Instructions
Your Kidde Smoke Detector is designed for reliable and continuous operation. Here's how it functions:
- Smoke Detection: The alarm sounds a loud 85-decibel alarm when smoke is detected - 3 long beeps with a red LED light flashing in time, repeating.
- Enhanced Sensing Technology: This detector features enhanced sensing technology that reduces false alarms often caused by cooking, ensuring more accurate alerts.
- LED Notifications: Three LED notifications indicate the alarm status: green for normal operation, amber for operating error, and red for smoke detected.
- Test & Hush Button: The integrated test & hush button makes it easy to test the smoke detector and silence false alarms, should they occur.
Video: Kidde Smoke Detector, AA Battery Powered, LED Warning Lights. This video highlights the key features and operational indicators of the smoke detector.

Image: A kitchen counter with a toaster emitting smoke, illustrating the detector's ability to reduce nuisance alarms often caused by cooking.

Image: Three visual representations of the LED notifications: Red for smoke detected, Amber for fault/error, and Green for powered on/normal operation.
Maintenance
Proper maintenance ensures the longevity and effectiveness of your Kidde Smoke Detector:
- Battery Replacement: Batteries should be replaced every 6 months. A low battery chirp alerts you when batteries need replacing.
- Self-Testing Alarm: Internal components ensure the alarm is always operating as expected. This is not a substitute for a manual push test; perform a button test once per week to verify alarm operation.

Image: A family relaxing in a living room with a Kidde smoke detector visible on the ceiling, emphasizing the importance of regular self-testing to ensure proper operation.
Troubleshooting
If you encounter issues with your Kidde Smoke Detector, consider the following:
- False Alarms: The enhanced sensing technology is designed to reduce false alarms often caused by cooking. If false alarms persist, ensure the detector is not placed too close to cooking appliances or areas with high humidity.
- Low Battery Chirp: If you hear a low battery chirp, replace the 2-AA alkaline batteries immediately.
- Alarm Not Operating: Ensure the dust cover (if applicable) has been removed. The alarm will not operate until the dust cover has been removed. Also, verify that batteries are correctly installed and activated.
Product Specifications
| Feature | Detail |
|---|---|
| Brand | Kidde |
| Model Number | 20SDR |
| Power Source | Battery Powered (2 AA batteries included) |
| Sensor Type | Photoelectric |
| Alarm Type | Smoke Detector |
| Alarm Decibel | 85-decibel |
| Product Dimensions | 1.88"D x 5"W x 5"H |
| Item Weight | 0.57 Pounds (9.1 ounces) |
| Operating Humidity | Up to 95% relative humidity (RH), non-condensing |
| Upper Temperature Rating | 100 Degrees Fahrenheit |
| Certifications | Meets 9th Edition UL 217 and FCC standards |
Warranty and Support
Your Kidde Smoke Detector comes with a 10-year limited warranty. The warranty begins when the alarm is powered on. If that date is unknown, it should be assumed that alarms should be replaced after 10 years from the manufacturing date.
For detailed information, troubleshooting, or support, please refer to the official User Guide (PDF) provided with your product or visit the Kidde Store on Amazon.

Image: A family in a kitchen with a Kidde smoke detector visible on the ceiling, accompanied by a '10-Year Limited Warranty' seal, highlighting the product's long-term reliability.

Image: A diagram of a two-story house illustrating recommended placements for various safety devices, including smoke alarms, in different rooms like bedrooms, living rooms, and kitchens.
Related documents20SDR


Ask a question about this manual
Ask about setup, troubleshooting, compatibility, parts, safety, or missing instructions. Manuals+ will review the question and use this page’s manual context to help answer it.