
VEVOR 8015FL
VEVOR Shower Tower System Model 8015FL User Manual
Model: 8015FL | Brand: VEVOR
1. Introduction
This manual provides instructions for the installation, operation, and maintenance of your VEVOR Shower Tower System Model 8015FL. Please read this manual thoroughly before installation and use to ensure proper function and safety. Keep this manual for future reference.
2. Safety Information
- Ensure all water connections are properly sealed to prevent leaks.
- Do not use abrasive cleaners or harsh chemicals on the stainless steel finish.
- Verify that the wall structure can support the weight of the shower panel and water.
- Always turn off the main water supply before beginning installation or maintenance.
- Avoid using multiple shower modes simultaneously for optimal water pressure and performance.
3. Package Contents
Verify that all components are present before beginning installation:
- Shower Panel System (Main Unit)
- Handheld Shower Head with Hose
- Mounting Hardware (Screws, anchors)
- Brass Mixing Valve (Integrated)
- PVC Double Explosion-Proof Pipe
- 304 Stainless Steel Braided Connecting Hose
- User Manual
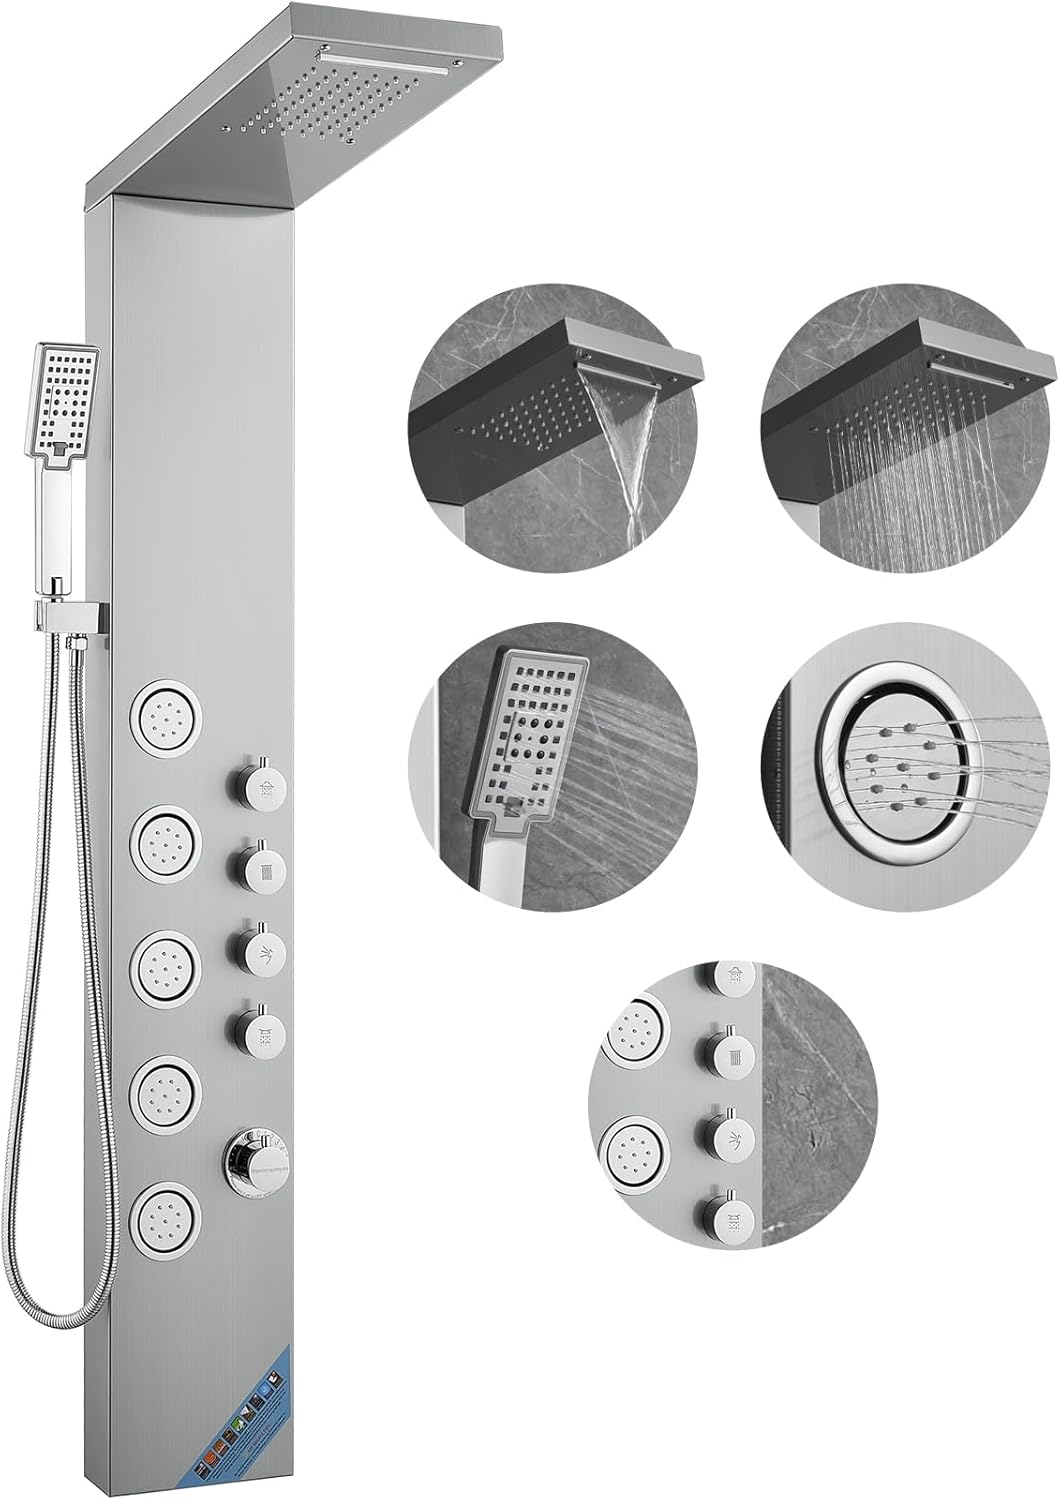
Image: Complete VEVOR Shower Tower System, showing the main panel, overhead shower, handheld shower, and control knobs.
4. Product Features
The VEVOR Shower Tower System Model 8015FL offers multiple functions for a customized showering experience:
- 4-in-1 Shower Modes: Includes Rainfall, Waterfall, Body Massage Jets, and a Handheld Shower Head.
- Dual Top Spray: Choose between a wide Rainfall spray or a cascading Waterfall mode from the 18.1-inch (460 mm) overhead shower.
- Adjustable Body Massage Jets: Five angle-adjustable jets provide targeted water streams.
- 3-Setting Handheld Shower: A versatile handheld shower head with multiple spray patterns.
- Anti-Clog Silicone Nozzles: Easy to clean and maintain, preventing mineral buildup.
- Durable Construction: Made from 304 stainless steel, resistant to fingerprints, rust, and corrosion.
- Knob Control: Simple and intuitive knobs for selecting shower modes and adjusting water temperature.
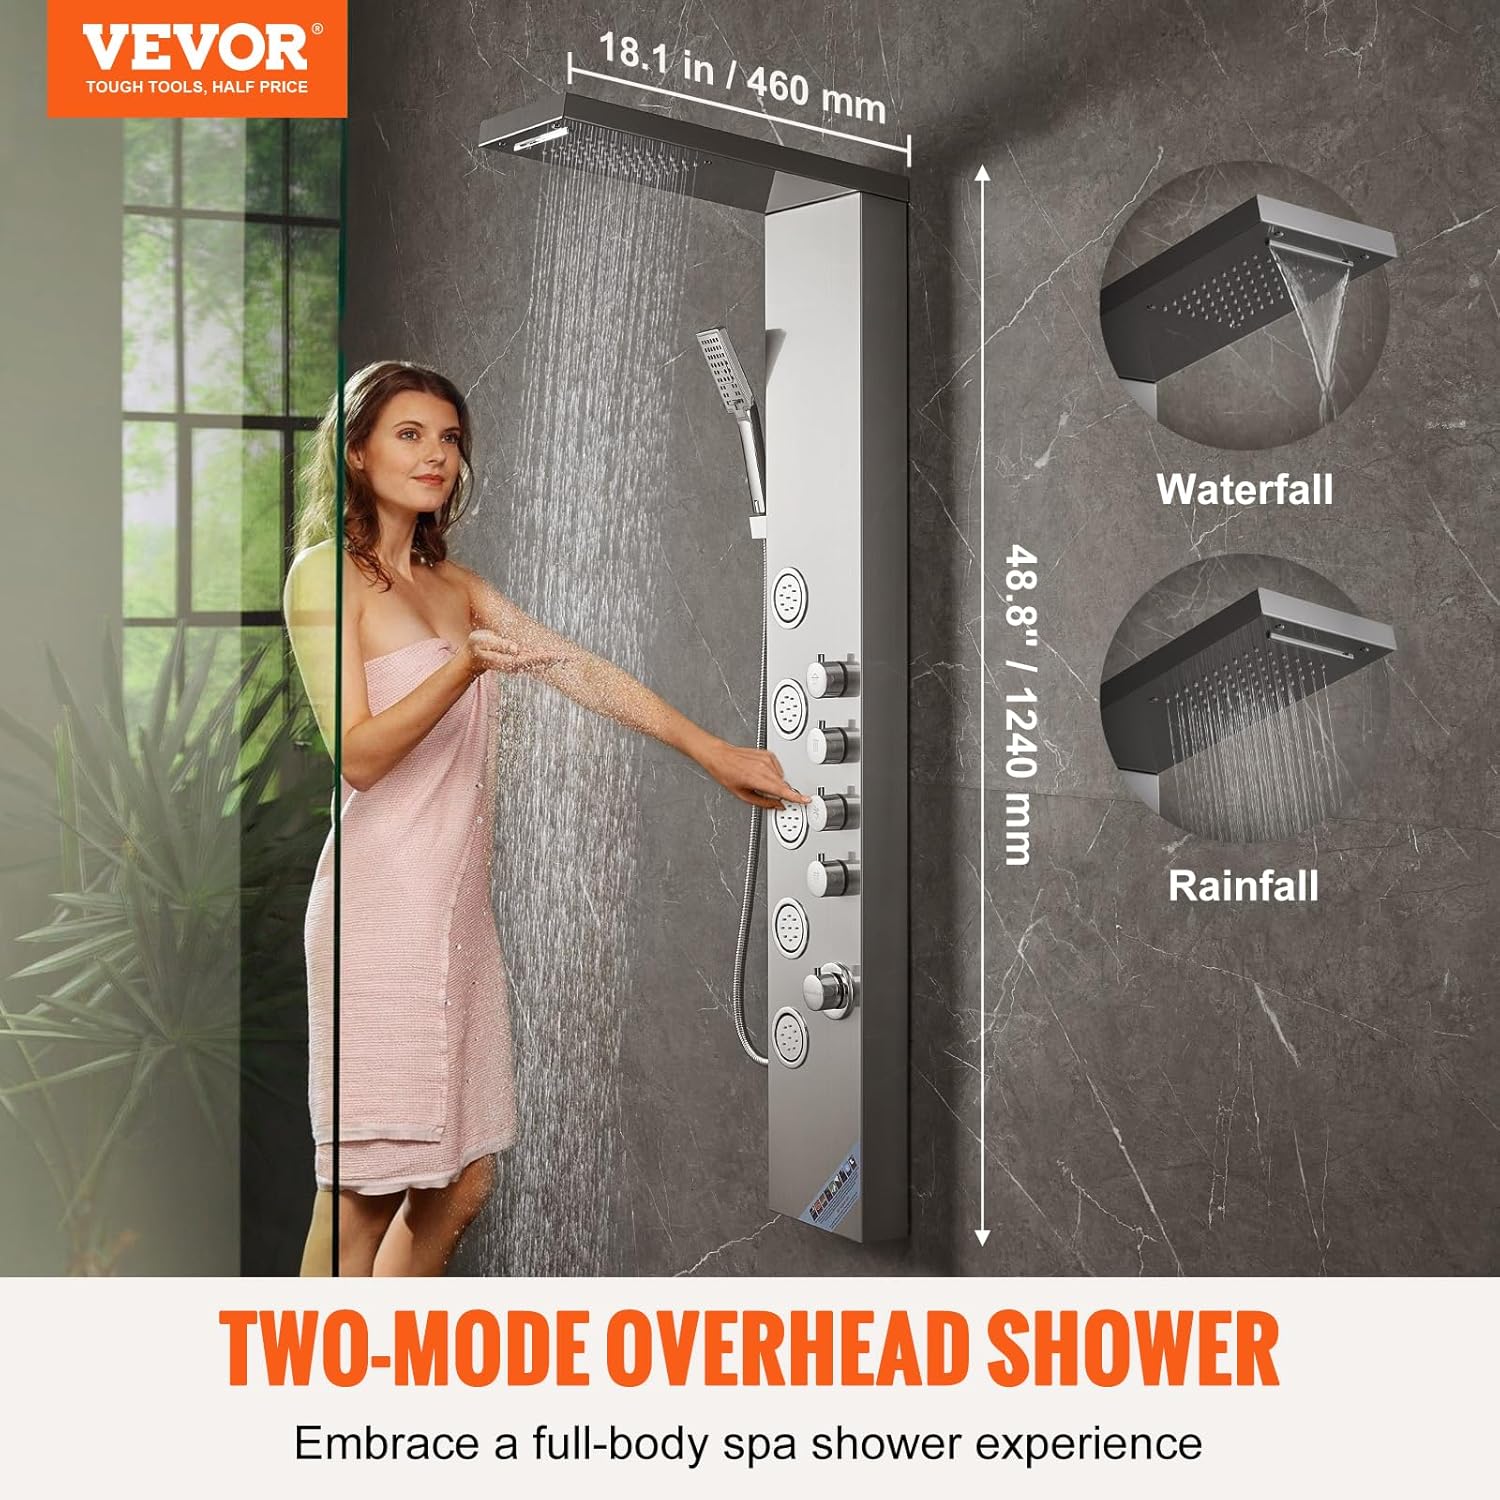
Image: Overhead shower displaying both rainfall and waterfall modes, with dimensions (18.1 inches / 460 mm width, 48.8 inches / 1240 mm height).

Image: Close-up of the 3-setting handheld shower and five angle-adjustable body massage jets.

Image: Handheld shower head demonstrating anti-clog silicone nozzles, with a finger pointing to a nozzle for cleaning.

Image: Detail of the 304 stainless steel panel, highlighting its material and finish.
5. Setup and Installation
The VEVOR Shower Tower System is designed for wall-mounted installation. Professional installation is recommended. Ensure you have the necessary tools and plumbing knowledge before proceeding.
5.1 Pre-Installation Checklist
- Confirm existing hot and cold water supply lines are accessible.
- Ensure the wall surface is clean, dry, and structurally sound.
- Gather necessary tools: drill, level, measuring tape, wrench, sealant tape.
- Turn off the main water supply to the installation area.
5.2 Installation Steps
- Mark Mounting Points: Position the shower panel against the wall at the desired height. Use a level to ensure it is straight. Mark the locations for the mounting brackets/screws. Refer to the installation diagram for recommended heights and spacing.
- Drill Holes: Drill pilot holes at the marked locations. Insert wall anchors if required for your wall type.
- Mount Brackets: Secure the mounting brackets to the wall using the provided screws.
- Connect Water Lines: Connect the hot and cold water supply lines to the corresponding inlets on the back of the shower panel. Use sealant tape on all threaded connections to prevent leaks. The system uses G 1/2" interface for connections.
- Hang Shower Panel: Carefully hang the shower panel onto the mounted brackets, ensuring it is securely seated.
- Test for Leaks: Turn on the main water supply slowly and check all connections for leaks. Tighten any leaking connections as needed.

Image: Diagram illustrating wall-mounted installation, including product dimensions (52.9 inches / 1345 mm height, 7.9 inches / 200 mm width, 18.1 inches / 460 mm depth) and recommended hot/cold water inlet pipe positions.
6. Operating Instructions
The VEVOR Shower Tower System features intuitive knob controls for selecting shower modes and adjusting water temperature.
6.1 Mode Selection
The shower panel has dedicated knobs for each shower function. Rotate the desired knob to activate the corresponding mode:
- Rainfall Switch: Activates the overhead rainfall shower.
- Waterfall Switch: Activates the overhead waterfall shower.
- Handshower Switch: Activates the handheld shower.
- Massage Jets Switch: Activates the body massage jets.
Note: For optimal water pressure and performance, it is recommended to use only one shower mode at a time.
6.2 Temperature and Flow Control
- Mixer Switch: The main mixer knob controls the water temperature. Rotate it to adjust between hot and cold water.
- Flow Control: The mixer switch also controls the overall water flow.
- Handheld Shower Gear Adjustment: The handheld shower head may have its own settings for spray patterns.

Image: Diagram detailing the function of each control knob: Rainfall Switch, Waterfall Switch, Handshower Switch, Massage Jets Switch, and the main Switch and Mixer switch for temperature and flow. Also shows the handheld shower gear adjustment.
7. Maintenance
Regular maintenance ensures the longevity and optimal performance of your VEVOR Shower Tower System.
- Cleaning the Panel: Wipe the stainless steel panel with a soft cloth and mild soap or a non-abrasive stainless steel cleaner. Avoid harsh chemicals or abrasive sponges, which can damage the finish.
- Cleaning Nozzles: The silicone nozzles on the overhead shower, massage jets, and handheld shower are designed to be anti-clog. If mineral buildup occurs, gently rub the silicone nozzles with your finger to dislodge any deposits.
- Hose Inspection: Periodically inspect the handheld shower hose for any signs of wear, kinks, or leaks. Replace if necessary.
- Leak Checks: Regularly check all connections for any signs of leaks. Address any leaks promptly to prevent water damage.
8. Troubleshooting
| Problem | Possible Cause | Solution |
|---|---|---|
| Low Water Pressure |
|
|
| Water Leaks from Connections |
|
|
| No Water Flow |
|
|
9. Specifications
| Brand | VEVOR |
| Model Number | 8015FL |
| Material | 304 Stainless Steel (Panel), Kirsite (Handle Material) |
| Finish Type | Brushed |
| Color | Silver |
| Mounting Type | Wall Mount |
| Product Dimensions (L x W x H) | 52.9 x 7.9 x 18.1 inches (1345 x 200 x 460 mm) |
| Item Weight | 13.6 pounds (6.16 kg) |
| Head Size | 18.1 inches (460 mm) |
| Number of Handles | 5 (Control Knobs) |
| Connection Thread Size | G 1/2" |
10. Warranty and Support
For warranty information or technical support, please refer to the official VEVOR website or contact VEVOR customer service directly. Keep your purchase receipt as proof of purchase.
Website: www.vevor.com
Related documents8015FL


Ask a question about this manual
Ask about setup, troubleshooting, compatibility, parts, safety, or missing instructions. Manuals+ will review the question and use this page’s manual context to help answer it.