
1. Important Safety Instructions
Please read all instructions carefully before using your new Merax Retro Refrigerator Freezer Combination. Keep this manual for future reference.
- Electrical Safety: Ensure the appliance is connected to a properly grounded outlet. Do not use extension cords. Disconnect power before cleaning or maintenance.
- Ventilation: Allow adequate space around the refrigerator for proper ventilation to prevent overheating.
- Refrigerant: This appliance uses R600a refrigerant. Handle with care and ensure proper disposal according to local regulations. Do not damage the refrigerant circuit.
- Child Safety: Keep packaging materials out of reach of children. Supervise children to ensure they do not play with the appliance.
- Flammable Materials: Do not store explosive substances or highly flammable materials inside the appliance.
2. Setup and Installation
2.1 Unpacking
Carefully remove all packaging materials, including foam and adhesive tape. Inspect the appliance for any damage during transit. Report any damage to your retailer immediately.
2.2 Placement
Place the refrigerator on a firm, level surface. Ensure there is sufficient space (at least 10 cm) around the back and sides for proper air circulation. Avoid direct sunlight or heat sources.

Image: Adjustable leveling feet. These feet ensure stable positioning on uneven surfaces.
Leveling: Use the adjustable leveling feet at the bottom of the appliance to ensure it is perfectly level. This helps reduce vibration and noise.
2.3 Initial Cleaning
Before first use, clean the interior and exterior of the refrigerator with a soft cloth and a mild detergent solution. Wipe dry thoroughly.
2.4 Power Connection
Plug the appliance into a dedicated, grounded 230V AC outlet. Allow the refrigerator to stand for at least 2-4 hours before plugging it in to allow the refrigerant to settle.
2.5 Door Reversal
The door hinge direction is reversible. Refer to the detailed instructions in the full manual for steps on how to reverse the door swing if needed.
3. Operating Instructions
3.1 Temperature Control
The refrigerator features a mechanical temperature control with seven settings. Turn the dial inside the refrigerator compartment to adjust the cooling intensity. Setting '1' is the warmest, and '7' is the coldest. A medium setting (e.g., '3' or '4') is generally recommended for normal use.
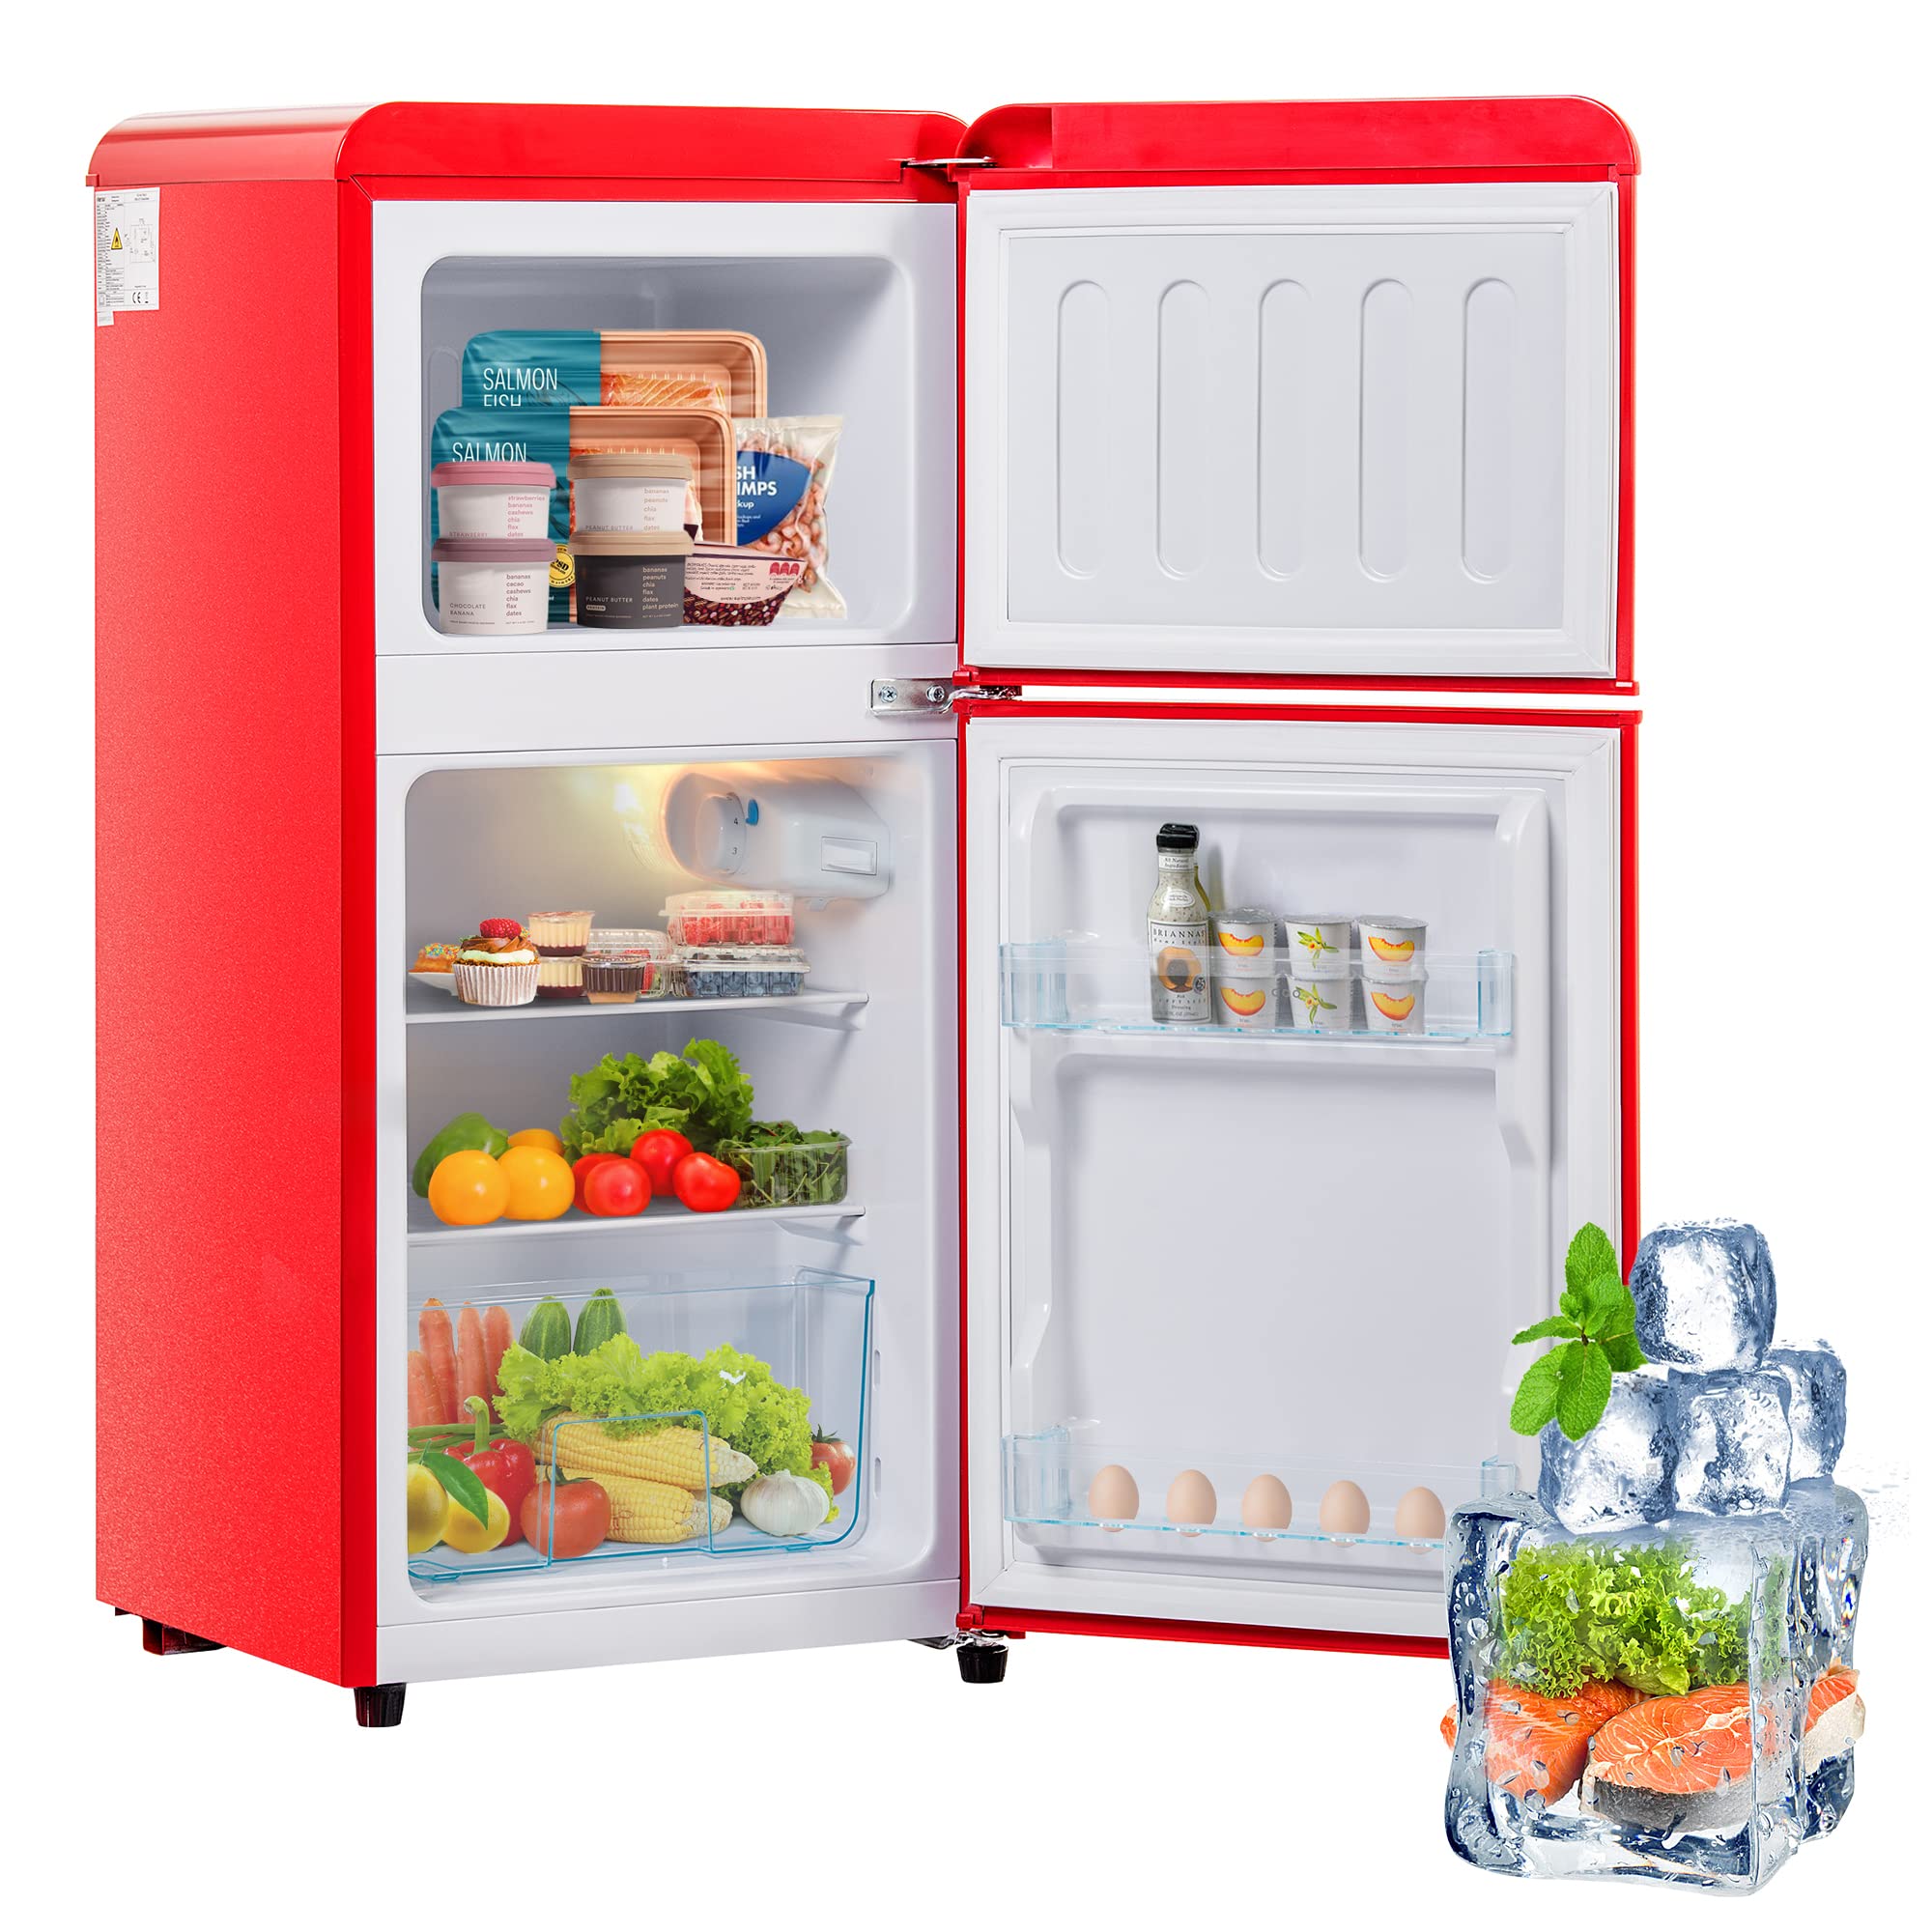
Image: Interior view with temperature control. The dial allows for precise temperature adjustment.
3.2 Flexible Interior Layout
The refrigerator compartment (38 liters) includes two adjustable shelves, allowing you to customize the storage space for various food items and beverages. The door also features compartments for eggs, bottles, and smaller items.

Image: Organized door storage. Dedicated compartments for eggs and bottles optimize space.

Image: Crisper drawer. Designed to keep fruits and vegetables fresh longer.
3.3 Freezer Compartment
The top compartment is a 22-liter freezer, suitable for storing frozen foods. It is rated as a 4-star freezer, indicating its capability for long-term storage of pre-frozen foods and freezing fresh foods.

Image: Freezer compartment. Provides 22 liters of space for frozen goods.

Image: Total capacity view. The 60-liter total volume (38L fridge, 22L freezer) offers ample storage.
4. Maintenance and Cleaning
4.1 Cleaning the Interior
Regularly clean the interior with a solution of mild detergent and warm water. Avoid abrasive cleaners or harsh chemicals. Remove shelves and drawers for thorough cleaning. Ensure the appliance is unplugged before cleaning.
4.2 Cleaning the Exterior
Wipe the exterior surfaces with a soft, damp cloth. For stubborn stains, use a mild detergent. Do not use abrasive pads or cleaners that could scratch the finish.
4.3 Defrosting
This appliance features an electric defrosting system. However, manual defrosting of the freezer compartment may still be necessary if ice buildup becomes excessive. To defrost, unplug the appliance, remove all food, and allow the ice to melt naturally. Do not use sharp objects to remove ice.
4.4 Power Saving Tips
- Do not place hot food directly into the refrigerator.
- Avoid opening the doors too frequently or for extended periods.
- Ensure the door seals are clean and intact.
- Place the appliance in a cool, well-ventilated area away from direct heat sources.
5. Troubleshooting
If you encounter any issues with your refrigerator, please refer to the following common problems and solutions before contacting customer service.
| Problem | Possible Cause | Solution |
|---|---|---|
| Refrigerator does not operate. | No power, plug loose, circuit breaker tripped. | Check power supply, ensure plug is secure, reset circuit breaker. |
| Temperature is not cold enough. | Temperature setting too high, door opened frequently, poor ventilation. | Adjust temperature control to a colder setting, minimize door openings, ensure adequate ventilation. |
| Excessive noise. | Appliance not level, items vibrating inside. | Adjust leveling feet, ensure items inside are stable. |
| Water on floor. | Drain hole blocked, drip tray overflowing. | Clear drain hole, empty and clean drip tray. |
6. Specifications
Below are the key technical specifications for your Merax Retro Refrigerator Freezer Combination.

Image: Product dimensions diagram. All measurements are in centimeters.
| Feature | Specification |
|---|---|
| Brand | Merax |
| Model Name | Frigorifero retrò |
| Product Dimensions (D x W x H) | 42D x 45.5W x 86.8H cm |
| Total Capacity | 60 Liters |
| Refrigerator Net Capacity | 38 Liters |
| Freezer Capacity | 22 Liters |
| Number of Doors | 2 |
| Configuration | Side-by-Side |
| Color | Red |
| Installation Type | Freestanding |
| Defrost System | Electric Defrosting |
| Voltage | 230V AC |
| Refrigerant | R600a |
| Adjustable Temperature Control | Yes |
| Door Hinge Reversibility | Yes |
| Energy Efficiency Class | F |
| Annual Energy Consumption | 172 kWh/annum |
| Noise Level | 45 dB |

Image: Energy Label. Provides details on energy efficiency and capacity. For more information, visit eprel.ec.europa.eu/qr/1360715.
7. Warranty and Support
This Merax appliance comes with a standard manufacturer's warranty. For detailed warranty information, please refer to the warranty card included with your product or contact your retailer.
For technical support, spare parts, or service inquiries, please contact Merax customer service through the contact information provided on the official Merax website or your purchase documentation.