1. Introduction
Thank you for choosing the Otovoda B-T51 2K Front Dash Cam. This manual provides essential information for the proper setup, operation, and maintenance of your device. Please read it thoroughly before use to ensure optimal performance and safety.
2. Package Contents
Verify that all items listed below are included in your package:
- 1 x Otovoda B-T51 2K Front Dash Cam
- 1 x Car Charger (11.5ft)
- 1 x 64GB MicroSD Card
- 1 x User Manual
- 1 x Operation Video Card
- 1 x Easy Pry Tool
- 1 x Spare 3M Adhesive Pad
- 1 x Pin (for reset/card removal)
- 2 x Electrostatic Stickers

3. Product Overview
The Otovoda B-T51 is a compact and powerful dash camera designed for clear road recording. It features a 3-inch display and a 170-degree wide-angle lens.
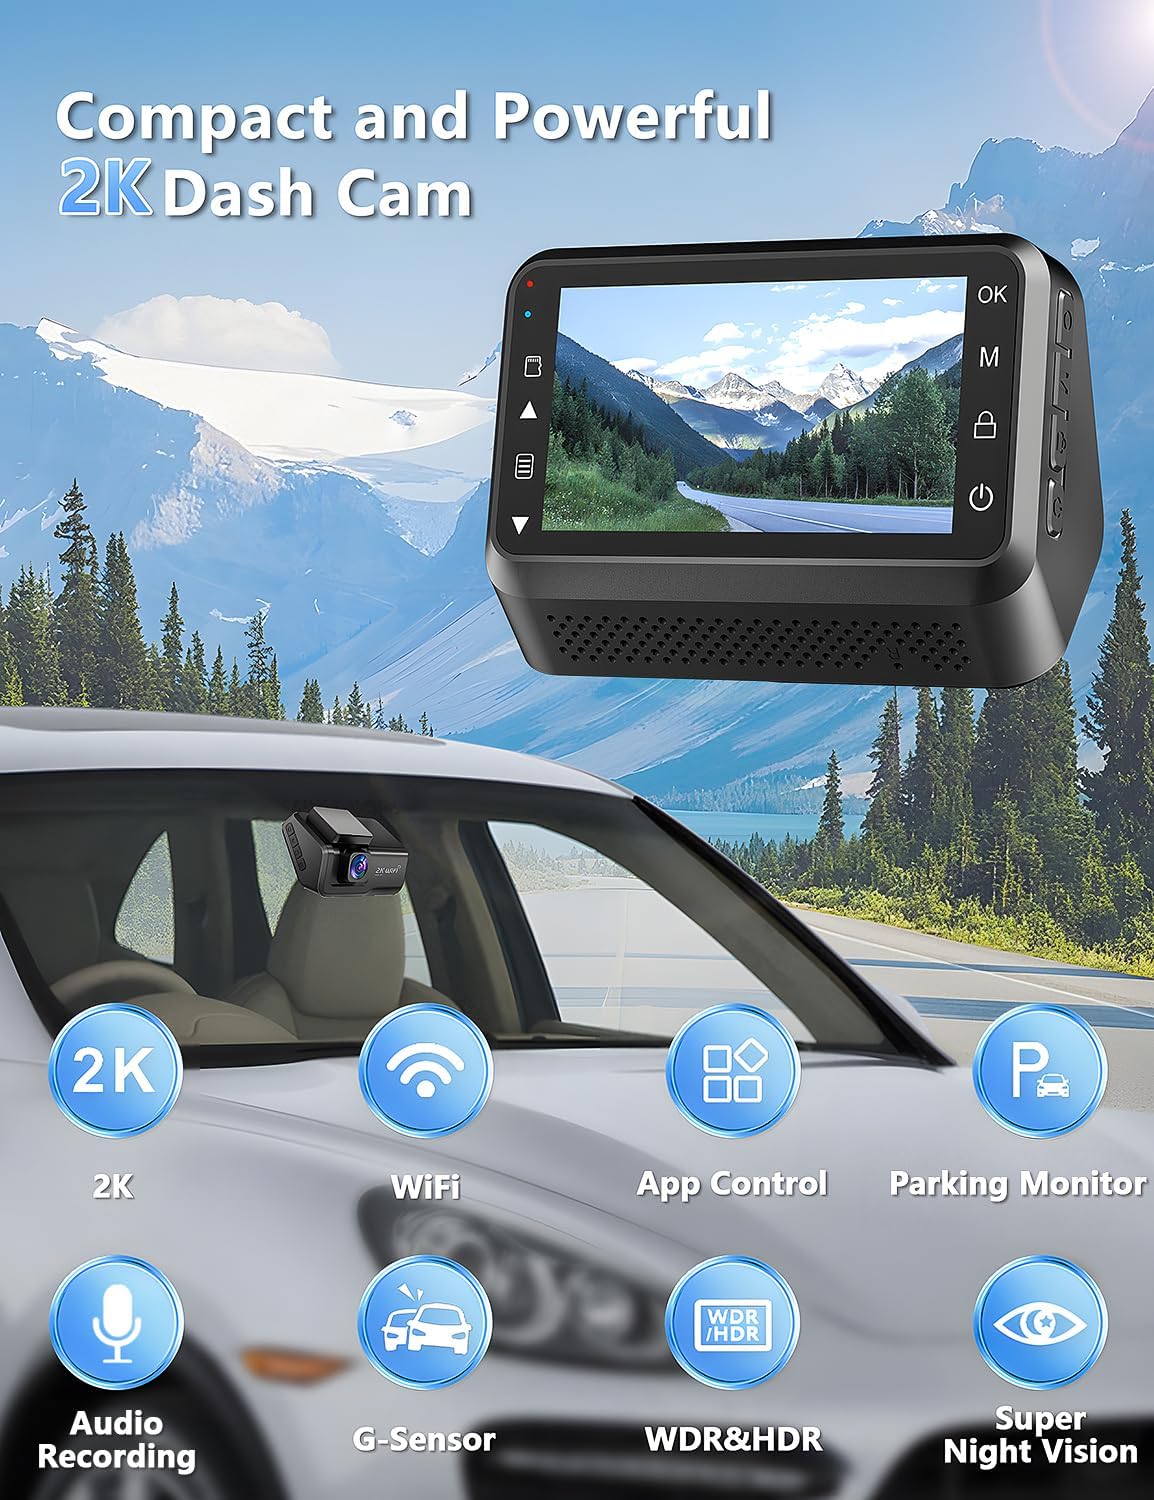
Key Components:
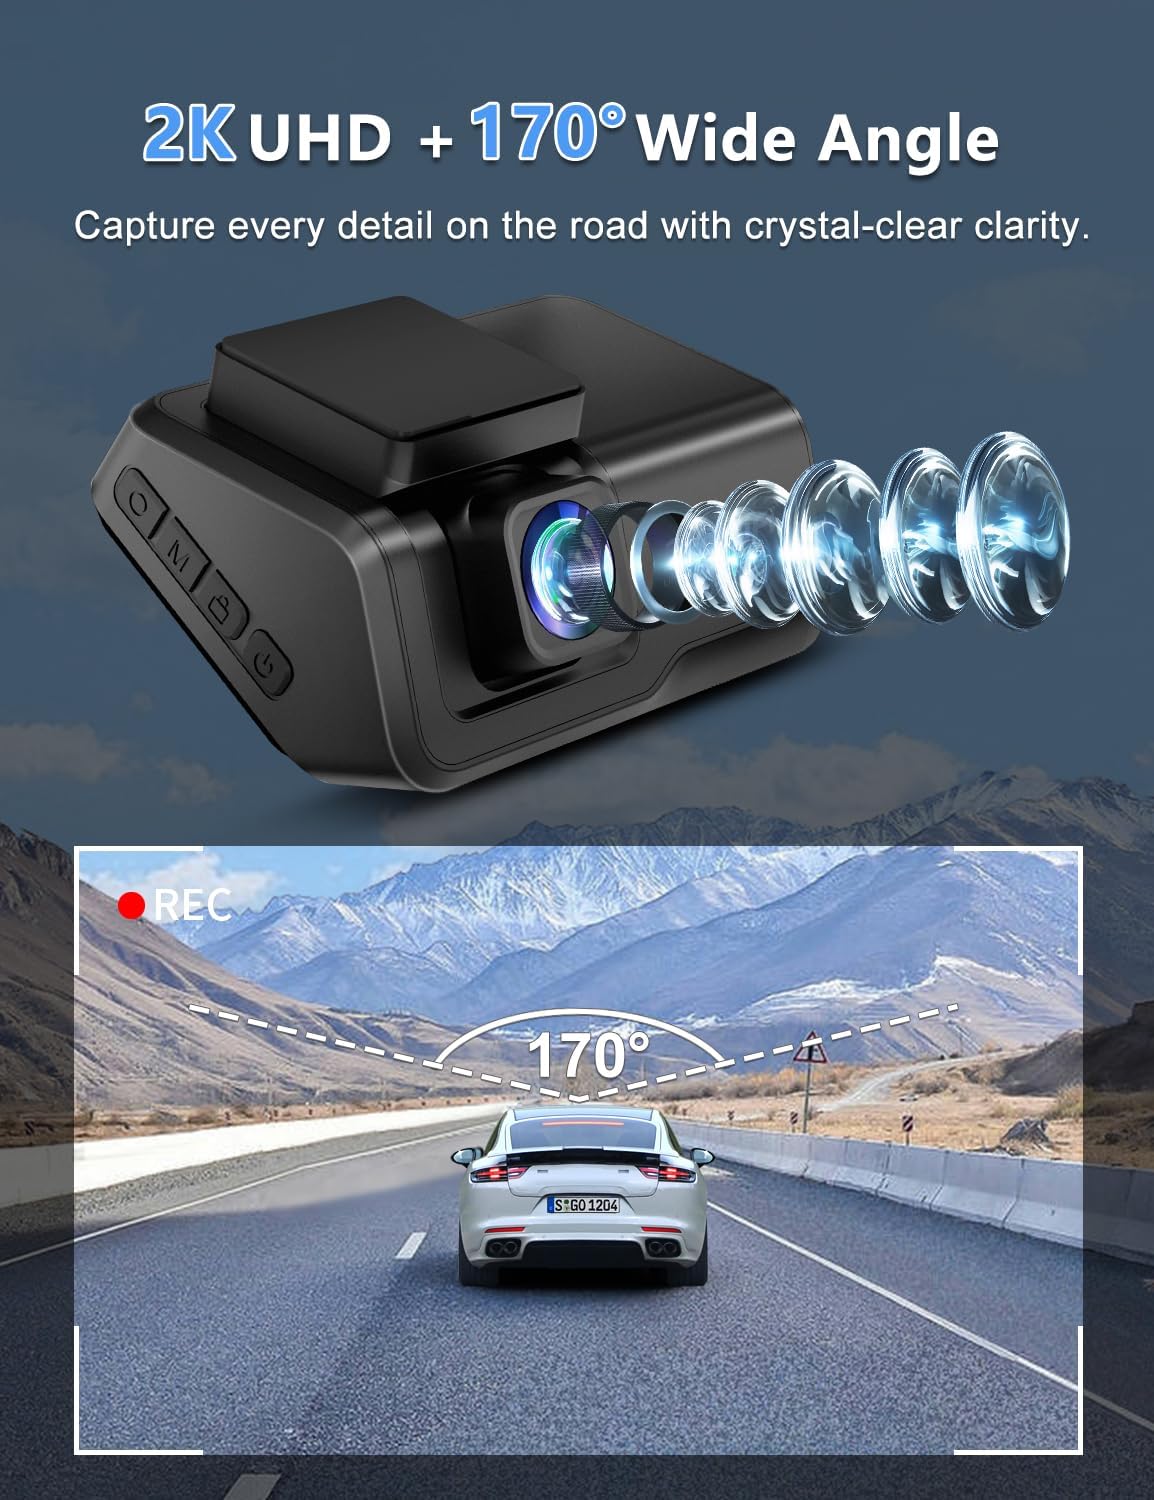
- Lens: 2K resolution, 170° wide-angle, F1.8 large aperture, 6-layer glass.
- Display: 3-inch LED screen for real-time viewing and settings.
- Control Buttons: Located on the side for menu navigation and function control.
- MicroSD Card Slot: Supports up to 256GB, 64GB card included.
- Type-C Port: For power connection.
- Mount: Adhesive pad for windshield mounting.
4. Setup & Installation
Follow these steps to install your dash cam:
- Prepare the Windshield: Clean the area on your car's windshield where you intend to mount the dash cam. Ensure it is free of dust and grease.
- Apply Electrostatic Sticker: Apply one of the provided electrostatic stickers to the cleaned area. This helps in stable mounting and easy removal without leaving residue.
- Attach Adhesive Pad: Peel off the protective film from the 3M adhesive pad on the dash cam mount and firmly press it onto the electrostatic sticker.
- Connect Power: Connect the Type-C power cable from the car charger to the dash cam. Route the cable neatly along the windshield and dashboard edges using the easy pry tool to tuck it away. Plug the car charger into your vehicle's cigarette lighter socket.
- Insert MicroSD Card: Insert the provided 64GB MicroSD card into the card slot on the dash cam. Ensure it clicks into place.

5. Basic Operation
Power On/Off:
- The dash cam will automatically power on and begin recording when your vehicle's ignition is turned on.
- It will automatically power off when the ignition is turned off.
- To manually power on/off, press and hold the power button located on the device.
Recording:
- Recording starts automatically when the device powers on.
- The 2K front camera captures video at a 170° wide-angle, ensuring comprehensive road coverage.
- Audio recording is also supported.
6. Advanced Features
WiFi and App Control:
Connect your dash cam to the exclusive Viidure APP (available for Android and iOS devices) via WiFi for real-time preview, smooth video downloads, easy editing, and sharing to social media platforms.

Super Night Vision:
Equipped with an F1.8 large aperture, WDR (Wide Dynamic Range), and a 6-layer glass lens, the dash cam captures clear and sharp footage in low-light conditions, ensuring detailed number plates and road signs are visible day and night.

24-Hour Parking Monitor:
When your car is parked, this function automatically activates upon detecting motion or impact, locking the video to provide continuous protection against potential threats. Note: This feature requires a hardwire kit (ASIN: B0CP4WYYSX), which is not included.

G-Sensor and Loop Recording:
- G-Sensor: Automatically detects sudden shakes or collisions and locks the current video footage to prevent it from being overwritten, securing critical evidence.
- Loop Recording: Ensures continuous recording by automatically overwriting the oldest unlocked files when the memory card is full.

7. Maintenance
- Clean the Lens: Regularly clean the camera lens with a soft, lint-free cloth to ensure clear video quality.
- Format MicroSD Card: It is recommended to format the MicroSD card periodically (e.g., once a month) to maintain optimal recording performance and prevent data corruption. Back up any important files before formatting.
- Operating Temperature: The dash cam is designed to operate in temperatures from -30℃ to 80℃ (-22℉ to 176℉). Avoid exposing the device to extreme temperatures outside this range for prolonged periods.

8. Troubleshooting
If you encounter any issues with your Otovoda B-T51 Dash Cam, please refer to the following common solutions:
- Device not powering on: Ensure the car charger is properly connected to both the dash cam and the vehicle's power outlet. Check if the vehicle's ignition is on.
- Recording issues: Verify that the MicroSD card is correctly inserted and formatted. If the card is full, loop recording should overwrite old files, but ensure no critical files are locked. Try formatting the card.
- WiFi connection problems: Ensure the dash cam's WiFi is enabled and your smartphone is within range. Re-enter the WiFi password if necessary.
- Poor video quality: Clean the camera lens. Check the recording resolution settings in the app.
- Parking monitor not working: Confirm that the optional hardwire kit is correctly installed and connected, as this feature requires constant power.
9. Specifications
| Feature | Specification |
|---|---|
| Brand | Otovoda |
| Model | B-T51 |
| Video Capture Resolution | 2K |
| Viewing Angle | 170 Degrees |
| Display Size | 3 Inches |
| Connectivity Technology | Wi-Fi |
| Included Memory Card Size | 64 GB (supports up to 256GB) |
| Special Features | 2-Year Warranty, Built-in WiFi, Built-in Microphone, App Control, Type-C Port, Compact Design, WDR, HDR, Super Night Vision, Loop Recording, G-sensor, Parking Monitor |
| Operating Temperature | -30℃ to 80℃ (-22℉ to 176℉) |
| Product Dimensions | 3.8 x 8.2 x 5.3 cm; 315 g |
10. Warranty & Support
Your Otovoda B-T51 Dash Cam comes with an extendable 2-Year Repair Warranty and a Full Refund within 30 days of purchase. For any questions, missing accessories, or technical support, please contact us. We provide technical support and aim to respond within 24 hours, ensuring 100% satisfaction.
After Service Email Address: dashcam@bestservices.vip


