
warmiplanet WICF21
warmiplanet 62 Inch Indoor Ceiling Fan User Manual
Model: WICF21
1. Introduction
Thank you for choosing the warmiplanet 62 Inch Indoor Ceiling Fan. This modern ceiling fan is designed to provide optimal air circulation and versatile lighting for your indoor spaces. Equipped with an energy-efficient DC motor, it offers quiet operation and a reversible function for year-round comfort. The integrated LED light provides 3 color temperatures and dimmable brightness, all controllable via a convenient remote.
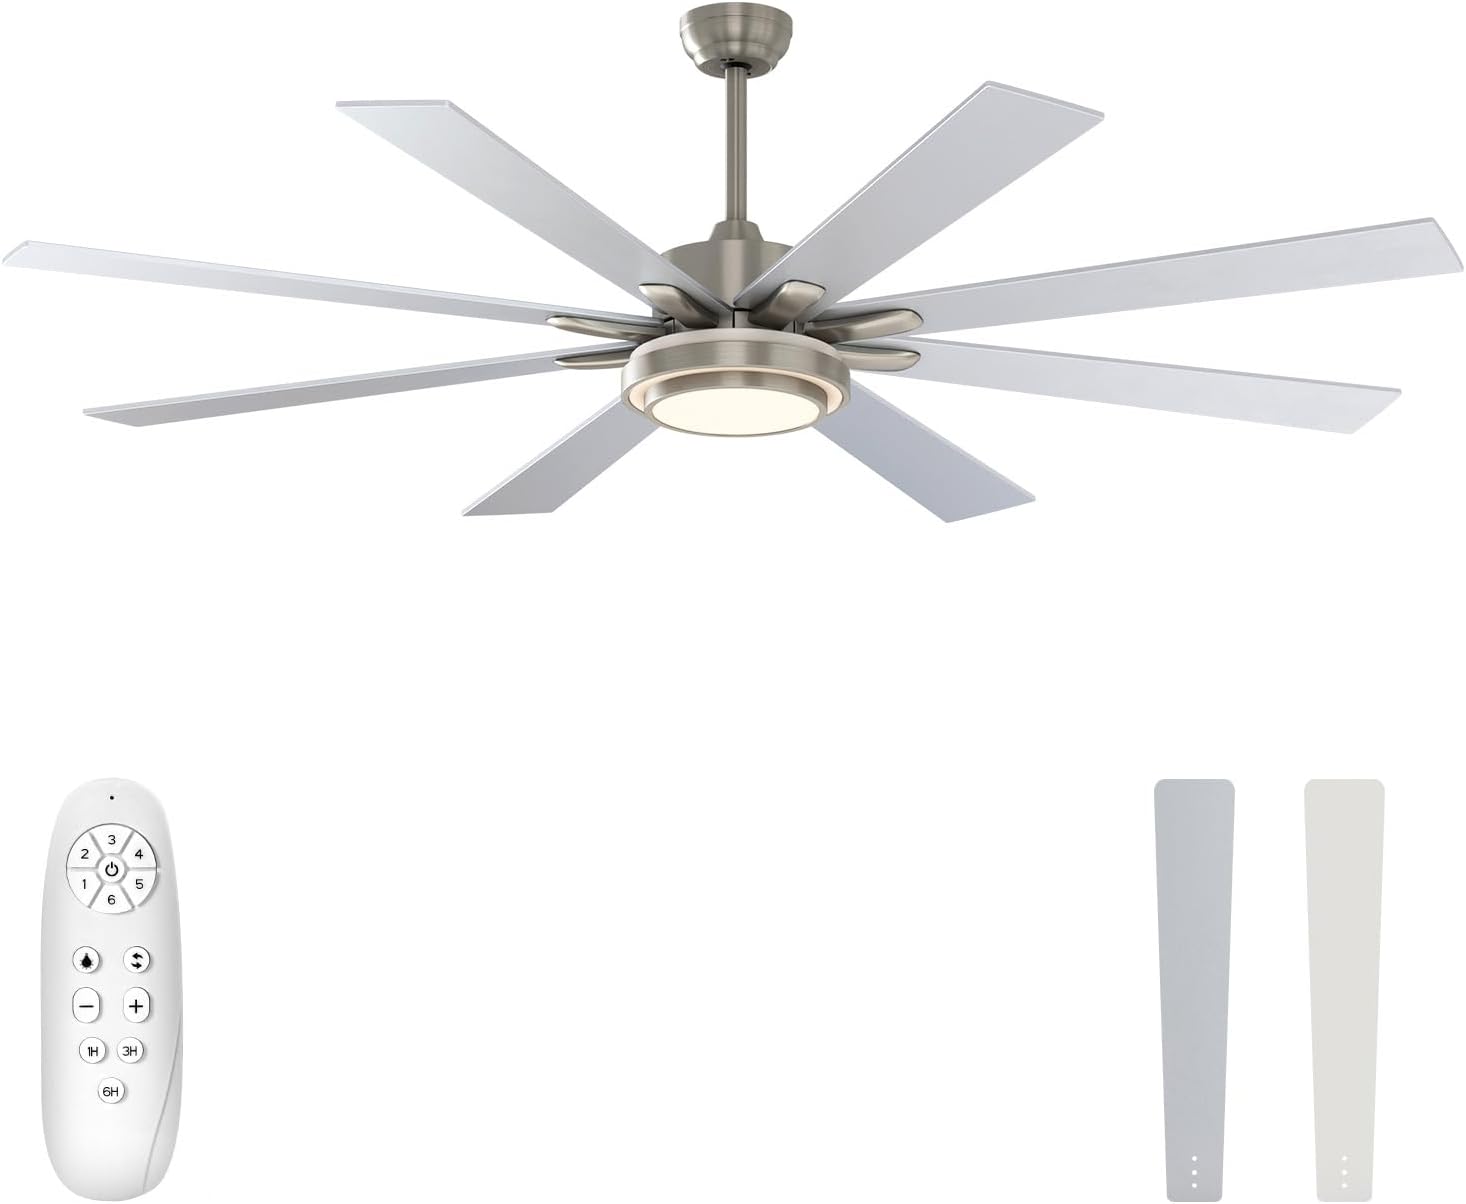
Figure 1: warmiplanet 62 Inch Indoor Ceiling Fan with included remote control and reversible blades.
2. Important Safety Information
Please read and understand all instructions before beginning installation. Failure to follow these instructions could result in electric shock, fire, or personal injury.
- Electrical Safety: Always disconnect power at the main circuit breaker before installation or servicing. Ensure all electrical connections comply with local codes and ordinances.
- Mounting: The fan must be mounted to a structurally sound ceiling joist or outlet box capable of supporting the fan's weight (approximately 25 lbs).
- Blade Clearance: Ensure there is at least 7 feet (2.1 meters) of clearance from the bottom edge of the fan blades to the floor.
- Professional Installation: If you are unsure about wiring or installation, consult a qualified electrician.
- Remote Control: Keep the remote control away from water and extreme temperatures.
3. Package Contents (Bill of Materials)
Verify that all parts are included in your package before beginning installation:
- Up Canopy
- Down Rod
- Blades (8 pieces)
- Motor
- Light Plate
- Hanging Bracket
- Down Canopy
- Hardware Fitting (screws, washers, etc.)
- Remote Control
- Light Cover
- Blade Holder (8 pieces)
Video 1: This installation video provides a visual guide to the package contents and step-by-step assembly. The 'Bill of Materials' section starts at 0:02 in the video.
4. Product Specifications
| Feature | Specification |
|---|---|
| Brand | warmiplanet |
| Model Name | WICF21 |
| Color | Nickel-8 Blades |
| Electric Fan Design | Ceiling Fan |
| Power Source | DC |
| Style | Modern |
| Product Dimensions | 62"D x 62"W x 22.5"H |
| Room Type | Indoor |
| Special Feature | Remote Control |
| Recommended Uses | Air Circulation |
| Wattage | 38.00 Watts |
| Number of Blades | 8 |
| Air Flow Capacity | 5673 Cubic Feet Per Minute (CFM) |
| Speed Settings | 6 RPM |
| Voltage | 120 Volts |
| Item Weight | 25 Pounds |
| Light Type | LED (24-watt, dimmable, 3 color temperatures) |
| Blade Material | Wood |
5. Installation Guide
Follow these steps carefully for proper installation. Refer to the installation video for visual guidance.
Video 2: Official warmiplanet 62-72 inch ceiling fan installation video. This video provides detailed visual instructions for each installation step.
5.1. Determine Your Ceiling Type
The installation method for the hanging bracket varies based on your ceiling material:
- For Concrete Ceiling: Install the hanging bracket to the octagon box using two machine screws and iron washers.
- For Wooden Ceiling: Install the hanging bracket to the wooden ceiling with two wood screws and iron washers.
5.2. Install the Hanging Bracket (Step 1 in Video)
- Install the hanging bracket to the octagon box with 2 machine screws and iron washers.
- Loosen the two opposite screws on the hanging bracket.
5.3. Prepare the Downrod (Step 2 in Video)
- Loosen the two screws on the Coupler.
- Pull out the R-pin from the rod.
- Disassemble the downrod.
5.4. Assemble Downrod to Motor (Step 3 in Video)
- Install the up canopy and down canopy to the downrod.
- Remove the screw on the extension steel wire.
- Feed the wires through the downrod.
- Insert the cross-pin and fix it with the R-pin.
- Tighten the two screws on the coupler.
- Cover the coupler with the down canopy.
5.5. Feed Wires Through Hemisphere (Step 4 in Video)
- Feed the wires from the motor through the hemisphere.
- Insert the small rod to the downrod and push the hemisphere upward so that the small rod falls into the groove of the hemisphere.
- Tighten the screw on the hemisphere.
5.6. Wiring Connections (Step 5 in Video)
- Connect the terminal from the motor to the receiver.
- Hang the fan to the hanging bracket and make the bulge on the hanging bracket align with the notch on the hemisphere.
- Put the receiver into the hanging bracket. Connect the wires on the other side of the receiver to the home circuit (ensure power is off at the breaker).
- Rotate the up canopy and tighten the two screws.
5.7. Install Blades (Step 6 in Video)
- Remove the screws on the motor used to install the blade.
- Install the blade to the blade holder.
- Install the blades to the motor, tightening the screws securely.
5.8. Install Light Plate and Cover (Step 7 in Video)
- Remove the screws used to install the light plate.
- Connect the light power cord.
- Install the light plate.
- Rotate the light cover until it is fixed.
6. Operation
Your warmiplanet ceiling fan comes with a multi-functional remote control for easy operation of all features.

Figure 2: Multi-functional Remote Control.
6.1. Fan Speed Control
The fan features 6 adjustable speeds. Use the numbered buttons (1-6) on the remote to select your desired airflow. Speed 1 is the lowest, and Speed 6 provides maximum air circulation.

Figure 3: The fan offers 6 speeds, providing up to 5673 CFM of air volume for superior wind.
6.2. LED Light Functions
The integrated 24-watt LED light offers dimmable brightness and 3 color temperature options:
- Color Temperature: Cycle through 3000K (Warm White), 4000K (Natural Light), and 6000K (Cool White) using the light button on the remote.
- Dimmable: Adjust the brightness from 10% to 100% using the '+' and '-' buttons on the remote.
- Memory Function: The fan and light retain their last used speed and color settings when turned off and on again.

Figure 4: The LED light offers 3 color temperatures (3000K, 4000K, 6000K) and is 10-100% dimmable.
6.3. Reversible DC Motor
The fan's reversible DC motor allows for year-round use:
- Summer Mode (Counter-Clockwise Updraft): Creates a downward airflow that produces a cooling effect.
- Winter Mode (Clockwise Downdraft): Creates an upward airflow that circulates warm air trapped near the ceiling, helping to save on heating costs.
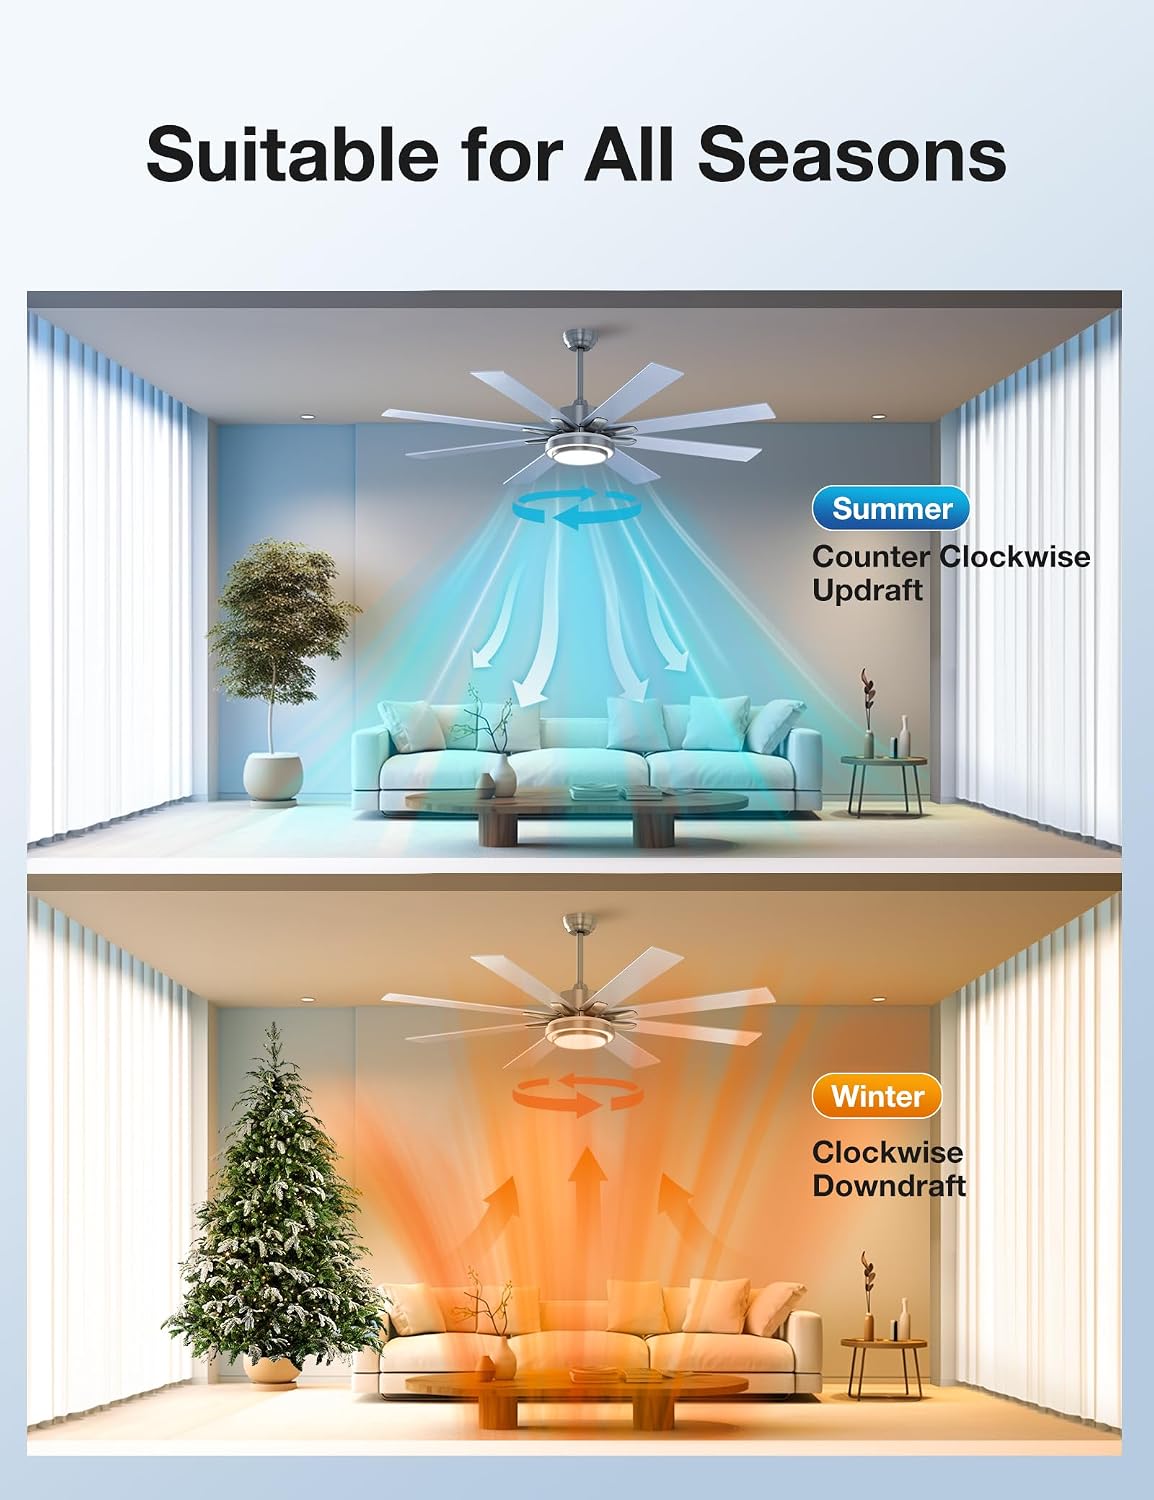
Figure 5: The fan is suitable for all seasons, providing counter-clockwise updraft for summer and clockwise downdraft for winter.
6.4. Timer Function
Set the fan to automatically turn off after a specified period using the timer buttons (1H, 3H, 6H) on the remote control.
Video 3: This video demonstrates the fan's quiet operation, reversible function, 3-color temperature light, and dimmable LED light.
7. Maintenance
Regular maintenance will ensure the longevity and optimal performance of your ceiling fan.
- Cleaning: To avoid scratching the finish, clean the fan with a soft, damp cloth. Do not use abrasive cleaners or solvents.
- Blade Cleaning: Dust the blades regularly to maintain efficient airflow.
- Tightening Screws: Periodically check all screws on the fan and hanging bracket to ensure they are tight.
- No Lubrication Needed: The motor is permanently lubricated and does not require oiling.
8. Troubleshooting
If you experience issues with your fan, refer to the following common problems and solutions:
| Problem | Possible Cause | Solution |
|---|---|---|
| Fan does not start | No power to the fan; Loose wire connections; Remote control battery low or not paired. | Check circuit breaker and wall switch; Verify all wire connections are secure; Replace remote battery or re-pair remote. |
| Fan makes noise | Loose screws on motor housing or blade holders; Blades unbalanced. | Tighten all screws; Check blade balance and use a balancing kit if necessary. |
| Light does not work | Loose wire connection to light kit; LED light plate issue. | Check light kit wiring; Contact customer support if LED plate is faulty. |
| Light dims at high fan speed | This is a known characteristic for some units at maximum speed. | Reduce fan speed slightly if full light brightness is desired. |
| Remote control not working | Battery issue; Remote not paired; Interference. | Replace battery; Refer to remote pairing instructions in the full manual; Ensure no strong interference sources nearby. |
9. Warranty and Support
warmiplanet is committed to providing high-quality products and excellent customer service.
- Motor Warranty: The motor of your ceiling fan is covered by a 10-year warranty. If the motor malfunctions within this period, it can be replaced free of charge.
- Whole Fan Warranty: The entire fan, excluding the motor, is covered by a 2-year warranty.
- Customer Support: We offer 24-hour customer support. If you have any questions, installation problems, or require assistance, please feel free to contact us. We aim to reply within 24 hours and provide the best possible service.

Figure 6: Warranty details including 10-year motor warranty and 2-year full fan warranty.
Related documentsWICF21

Ask a question about this manual
Ask about setup, troubleshooting, compatibility, parts, safety, or missing instructions. Manuals+ will review the question and use this page’s manual context to help answer it.