
Introduction
This manual provides detailed instructions for using your Easy@Home Ovulation Test Strips, Pregnancy Test Strips, and Digital Basal Thermometer (Model EBT-100B). These products are designed to assist individuals in tracking their fertility cycle and detecting pregnancy early. For best results, please read all instructions carefully before use.
Important Safety Information
- For in vitro diagnostic use only. Do not ingest.
- Keep out of reach of children.
- Store tests and thermometer at room temperature (36-86°F / 2-30°C). Do not freeze.
- Do not use tests or thermometer after the expiration date printed on the packaging.
- Consult a healthcare professional if you have any concerns about your fertility or pregnancy.
Product Components
Your Easy@Home kit includes:
- Easy@Home Ovulation Test Strips (50 count)
- Easy@Home Pregnancy Test Strips (20 count)
- Easy@Home Digital Basal Thermometer (Model EBT-100B)
- Instruction Manual

Image: The complete Easy@Home kit, showing the packaging for ovulation and pregnancy test strips, and the digital basal thermometer.
Digital Basal Thermometer (Model EBT-100B)
Features
- Backlit LCD Display: Easy to read in low light conditions.
- High Precision: Measures Basal Body Temperature (BBT) to 1/100th of a degree (e.g., 97.41°F or 36.34°C).
- Memory Recall: Stores the last 30 temperature readings.
- Switchable Units: Easily switch between Fahrenheit (°F) and Celsius (°C).
- Soft Beep: Indicates measurement completion without disturbing sleep.
- Flexible & Waterproof Tip: For comfortable and hygienic use.
- Low Battery Alert: Notifies when battery replacement is needed.

Image: An illustration highlighting the key features of the digital basal thermometer, such as its backlit LCD screen and high precision.
Setup
The thermometer comes with a pre-installed battery. No initial setup is required other than familiarizing yourself with the device.
Operating Instructions
- Power On: Press the power button to turn on the thermometer. The last reading will display briefly, followed by 'Lo' or the current ambient temperature.
- Select Unit (°F/°C): While the thermometer is off, press and hold the power button for approximately 3 seconds to switch between Fahrenheit and Celsius.
- Positioning: Place the thermometer probe firmly underneath your tongue. Keep your mouth closed throughout the measurement.
- Measurement: Breathe normally and avoid speaking, eating, drinking, or moving during the measurement. Hold the thermometer in place until you hear two short beeps, indicating the measurement is complete. This typically takes about 90 seconds for a precise reading.
- Read Result: The temperature will be displayed on the backlit LCD screen.
- Power Off: The thermometer will automatically shut off after approximately 10 minutes to conserve battery. You can also manually turn it off by pressing the power button.

Image: A woman taking her temperature orally with the digital basal thermometer, emphasizing the 90-second measurement time for precision.
Memory Recall
To recall previous readings, turn the thermometer on. The last reading will be displayed briefly. Press the power button repeatedly to cycle through the stored 30 readings.
Maintenance
- Cleaning: Clean the thermometer tip with soap and water or an alcohol swab before and after each use. Do not immerse the entire thermometer in water.
- Storage: Store the thermometer in its protective case in a dry place, away from direct sunlight and extreme temperatures.
- Battery Replacement: When the low battery indicator appears, replace the battery with a new CR1220 lithium battery.
Troubleshooting
| Problem | Possible Cause | Solution |
|---|---|---|
| Inaccurate readings | Improper placement, movement during measurement, recent activity (eating, drinking, speaking). | Ensure probe is firmly under tongue, mouth closed, remain still and silent. Take measurement immediately upon waking, before any activity. |
| Display shows 'Lo' or 'Hi' | Temperature out of measurement range. | Ensure proper use and placement. If issue persists, contact support. |
| No display or faint display | Low battery. | Replace battery. |
Ovulation Test Strips
Purpose
Easy@Home Ovulation Test Strips detect the Luteinizing Hormone (LH) surge in urine, which typically occurs 24-48 hours before ovulation. Identifying this surge helps predict your most fertile days, increasing your chances of conception.

Image: A graphical representation of the female cycle, showing LH levels, fertility window, and ovulation timing.
Operating Instructions
- Timing: For best results, test at the same time each day. Do not use first morning urine as LH is synthesized in your body early in the morning and may not appear in your urine until later in the day. Reduce liquid intake for about 2 hours before testing.
- Collect Urine: Collect a urine sample in a clean, dry cup.
- Perform Test: Remove the test strip from its sealed pouch. Dip the strip into the urine sample with the arrow pointing towards the urine. Do not immerse past the MAX line.
- Wait: Hold the strip in the urine for 5-10 seconds, then remove and lay it flat on a clean, dry, non-absorbent surface.
- Read Results: Read results after 5 minutes. Do not interpret results after 10 minutes.

Image: A visual guide demonstrating the four steps for using the ovulation test strips: Dip, Wait, Scan (with Premom App), and Track.
Interpreting Results
- LH Surge (Positive): If two color bands are visible, and the test band (T) is equal to or darker than the control band (C), an LH surge is detected. Ovulation is likely to occur within 24-48 hours.
- No LH Surge (Negative): Only the control band (C) appears, or the test band (T) is lighter than the control band (C).
- Invalid: No control band appears. Repeat the test with a new strip.

Image: A screenshot of the Premom app displaying a series of ovulation test results, indicating an LH surge and predicting peak fertility.
Maintenance
Store unused test strips in their sealed pouches at room temperature. Do not open the pouch until you are ready to perform a test.
Troubleshooting
| Problem | Possible Cause | Solution |
|---|---|---|
| No lines appear | Insufficient urine, expired test, or improper procedure. | Ensure strip is dipped correctly, check expiration date, repeat with new strip. |
| Faint test line, no LH surge | Testing too early/late in cycle, diluted urine. | Adjust testing schedule, reduce fluid intake before testing. Continue testing daily. |
Pregnancy Test Strips
Purpose
Easy@Home Pregnancy Test Strips detect the presence of Human Chorionic Gonadotropin (hCG) in urine. hCG is produced shortly after implantation and is a reliable indicator of pregnancy. These tests can detect hCG levels as low as 25 mIU/ml within 5 minutes.

Image: A woman holding a pregnancy test strip, with an inset graphic demonstrating how hCG test lines progress over days past ovulation (DPO).
Operating Instructions
- Timing: First morning urine typically contains the highest concentration of hCG and is recommended for early pregnancy testing.
- Collect Urine: Collect a urine sample in a clean, dry cup.
- Perform Test: Remove the test strip from its sealed pouch. Dip the strip into the urine sample with the arrow pointing towards the urine. Do not immerse past the MAX line.
- Wait: Hold the strip in the urine for 5-10 seconds, then remove and lay it flat on a clean, dry, non-absorbent surface.
- Read Results: Read results after 5 minutes. Do not interpret results after 10 minutes.
Interpreting Results
- Positive (Pregnant): Two distinct color bands appear, one in the control region (C) and one in the test region (T). The intensity of the test band may vary depending on the hCG concentration.
- Negative (Not Pregnant): Only one color band appears in the control region (C). No band appears in the test region (T).
- Invalid: No control band appears. Repeat the test with a new strip.
Maintenance
Store unused test strips in their sealed pouches at room temperature. Do not open the pouch until you are ready to perform a test.
Troubleshooting
| Problem | Possible Cause | Solution |
|---|---|---|
| No lines appear | Insufficient urine, expired test, or improper procedure. | Ensure strip is dipped correctly, check expiration date, repeat with new strip. |
| Faint test line | Very early pregnancy, low hCG levels. | Re-test in 48-72 hours with first morning urine. Consult a doctor if concerned. |
Premom App Integration
The Easy@Home products are designed to work seamlessly with the Premom Ovulation Predictor App, enhancing your fertility tracking experience.

Image: A visual representation of the Premom app's functionality, showing how to scan test results and track fertility data to predict conception chances.
Key Features with Premom App
- Scan & Track: Easily scan your ovulation and pregnancy test strips to get instant digital results and track your progression.
- BBT Charting: Manually enter your basal body temperature readings from the EBT-100B thermometer into the app to create comprehensive BBT charts.
- Ovulation Prediction: The app analyzes your LH test results and BBT data to predict your ovulation day and fertile window.
- Period Tracking: Log your menstrual cycles for a complete overview of your fertility health.
- AI-Powered Insights: Utilize the app's AI features for personalized insights and predictions.
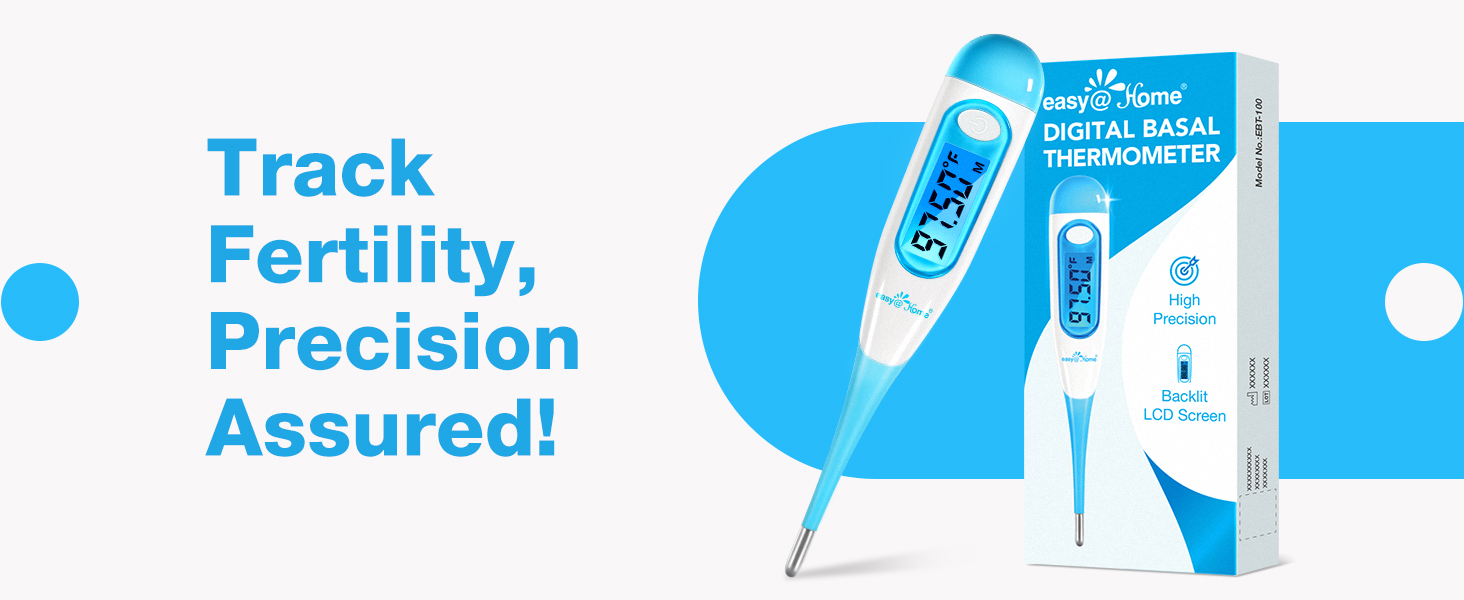
Image: A graph illustrating the correlation between LH levels and Basal Body Temperature (BBT) throughout a menstrual cycle, highlighting the most fertile days.
Specifications
Digital Basal Thermometer (Model EBT-100B)
- Measurement Range: 89.60°F - 109.22°F (32.00°C - 42.99°C)
- Accuracy: ±0.09°F (±0.05°C)
- Measurement Time: Approximately 90 seconds
- Memory: Last 30 readings
- Battery: CR1220 Lithium Battery
Ovulation Test Strips
- Sensitivity: 25 mIU/ml LH
- Result Time: 5 minutes
Pregnancy Test Strips
- Sensitivity: 25 mIU/ml hCG
- Result Time: 5 minutes
Warranty and Support
Easy@Home products are manufactured under strict quality guidelines. For warranty information, technical support, or any questions regarding your product, please visit the official Easy@Home website or contact their customer service directly. Contact information can typically be found on the product packaging or the brand's official website.
Online Support: Visit the Easy@Home Store on Amazon