
1. Introduction
Thank you for choosing the Sunrosa Frameless Double Sliding Shower Door. This manual provides detailed instructions for the safe and proper installation, operation, and maintenance of your new shower door. Please read this manual thoroughly before beginning installation to ensure a smooth and successful process.
The Sunrosa Frameless Double Sliding Shower Door features a modern design with 5/16" (8mm) thick easy-clean tempered glass, a soft-close adjustable system, and a brushed nickel finish. Its double sliding design offers flexible access and efficient water containment.

Image: Sunrosa Frameless Double Sliding Shower Door in a bathroom setting.
2. Safety Information
Your safety is paramount. Please adhere to all safety guidelines during installation and use.
- Two-Person Installation: It is highly recommended that at least two people install this shower door due to the weight and size of the glass panels.
- Protective Gear: Always wear appropriate personal protective equipment, including safety goggles and gloves, to prevent injury from glass edges or tools.
- Handle Glass with Care: Tempered glass, while strong, can shatter if struck at the edges. Handle all glass panels with extreme care.
- Secure Installation: Ensure all components are securely fastened according to the instructions to prevent the door from becoming unstable.
- Proper Tools: Use only the specified tools and ensure they are in good working condition.
- Water and Electricity: Exercise caution when working near water and electrical outlets. Ensure power is off if working near electrical components.
3. Product Specifications
| Feature | Detail |
|---|---|
| Brand | Sunrosa |
| Model Number | NKK6122-4876N |
| Dimensions (W x H) | 44-48" (1199-1219 mm) W x 76" (1930 mm) H |
| Walk-in Access | 18 1/8"-22" (460-560 mm) |
| Glass Thickness | 5/16" (8mm) |
| Glass Type | SGCC Certified Clear Tempered Glass, Easy-Clean |
| Frame & Handle Material | High-Quality Stainless Steel |
| Finish | Brushed Nickel |
| Door Type | Frameless Double Sliding |
| Special Features | Soft Closing System, Adjustable for wall spacing, Reversible installation, Double sliding seal strip |

Image: Detailed dimensions of the shower door.
4. Tools Required
The following tools are required for installation:
- Measuring Tape
- Pencil
- Level
- Drill (6mm and 3.2mm bits)
- Screwdriver (Phillips head)
- Hex/Allen Keys (3mm, 2.5mm)
- Caulking Gun and Silicone Sealant (Glass Glue)
- Saw (for cutting top rail and seal strip if needed)
- Utility Knife
- Rubber Mallet
- Adjustable Wrench
5. Installation Guide
Follow these steps carefully for proper installation. It is highly recommended to watch the official installation video for visual guidance.
Video: Official Sunrosa Shower Door Installation Video. This video provides a visual walkthrough of the installation process.
5.1. Preparation
- Measure Installation Position: Measure the width of your shower opening.
- Cut Top Rail: Measure the length of the top rail (item [01]) and cut it to L-4mm. Remove any burrs after cutting.
- Install Buffer: Install the buffer into the top rail, positioning it 15mm away from the edge.
- Cut Seal Strip: Cut the length of the seal strip (item [02]) according to the distance between the buffers on both sides.
5.2. Wall Bracket Installation
- Determine Installation Height: Use the provided template (item [07]) to mark the drill holes for the top bar. Locate the measurement line on the template that matches your door's height (e.g., for a 76-inch door, align the 76-inch mark). Cut the template at this height.
- Mark Drill Holes: Mark the drill holes on the wall, ensuring they are 10mm from the edge of the shower base.
- Drill Holes: Punch the marked holes with a 6mm drill bit. Insert wall plugs into the drilled holes. Repeat this process for the opposite wall.
- Install Wall Brackets: Apply glass glue to the bottom of the wall brackets (items [15A] and [15B]). Place them on both sides of the bottom rail (item [03]). Install the main wall brackets (item [09]) using four ST4x35 screws (item [10]).
5.3. Bottom Guide Installation
- Position Bottom Guide: Apply glass glue to the bottom of the bottom rail (item [03]) and place it on the floor, ensuring it is 10mm from the wall.
- Mark and Drill for Bottom Guide: Place the bottom guide (item [14]) on the floor and mark the floor with a pencil through its hole. If installing on a shower tray, punch holes on the tray with a 3.2mm drill (wall plugs are NOT required). If installing on the floor, punch holes with a 6mm drill (wall plugs ARE required).
- Secure Bottom Guide: Drill the holes according to your marks. If required, knock wall plugs (item [11]) into the floor. Place the bottom guide on the floor and fasten it with an ST4x25 screw (item [18B]). Place the back screw cap (item [12]) over the screw.
5.4. Glass Panel and Pulley Installation
- Install Pulleys on Glass Panels: When installing the pulleys (item [18]) on the glass panel (item [06A]), use a 3mm allen key (item [17]). Ensure that the arrows on the pulleys face down.
- Install Anti-Jump Piece: Insert the inclined component of the anti-jump piece (item [19]) into the hole using a 3mm allen key (item [17]). It is necessary to determine the arrow direction of the anti-jump piece according to the arrow direction of the pulley, and the arrow direction of the two accessories needs to be consistent.
- Hang Glass Panels: Carefully lift and hang the glass panels onto the top rail.
- Lock Buffers: Lock the buffer on the pulley (item [18]) using a 3mm allen key (item [17]).
- Adjust Horizontal Position: Adjust the horizontal position of the door glass through the pulley using an adjustable wrench or the allen key as shown in the figure. Ensure the doors are level and aligned.
5.5. Final Steps
- Install Handles: Install the handles (item [08]) onto the glass panels.
- Check Buffer Block: Verify that the buffer block of the buffer is moved near the middle of the track.
- Apply Sealant: Apply glass glue (silicone sealant) to the dotted parts of the installation, particularly around the wall brackets and bottom rail. Do not get wet or use the shower within 24 hours to allow the sealant to cure.

Image: Detail of the top rail and pulley system.

Image: Detail of the bottom guide and soft-close mechanism.

Image: Diagram illustrating shower door handle installation.
6. Operation
The Sunrosa Frameless Double Sliding Shower Door is designed for smooth and quiet operation.
- Sliding Mechanism: Gently push or pull the door panels using the installed handles to open or close the shower enclosure. The robust stainless steel buffer pulley ensures effortless sliding.
- Soft-Close System: The integrated soft-close system allows the doors to close smoothly and quietly, preventing abrupt impacts.
- Water Containment: The double sliding seal strip along the entire length of the glass effectively keeps bathwater within the enclosure, ensuring your bathroom floor remains dry.
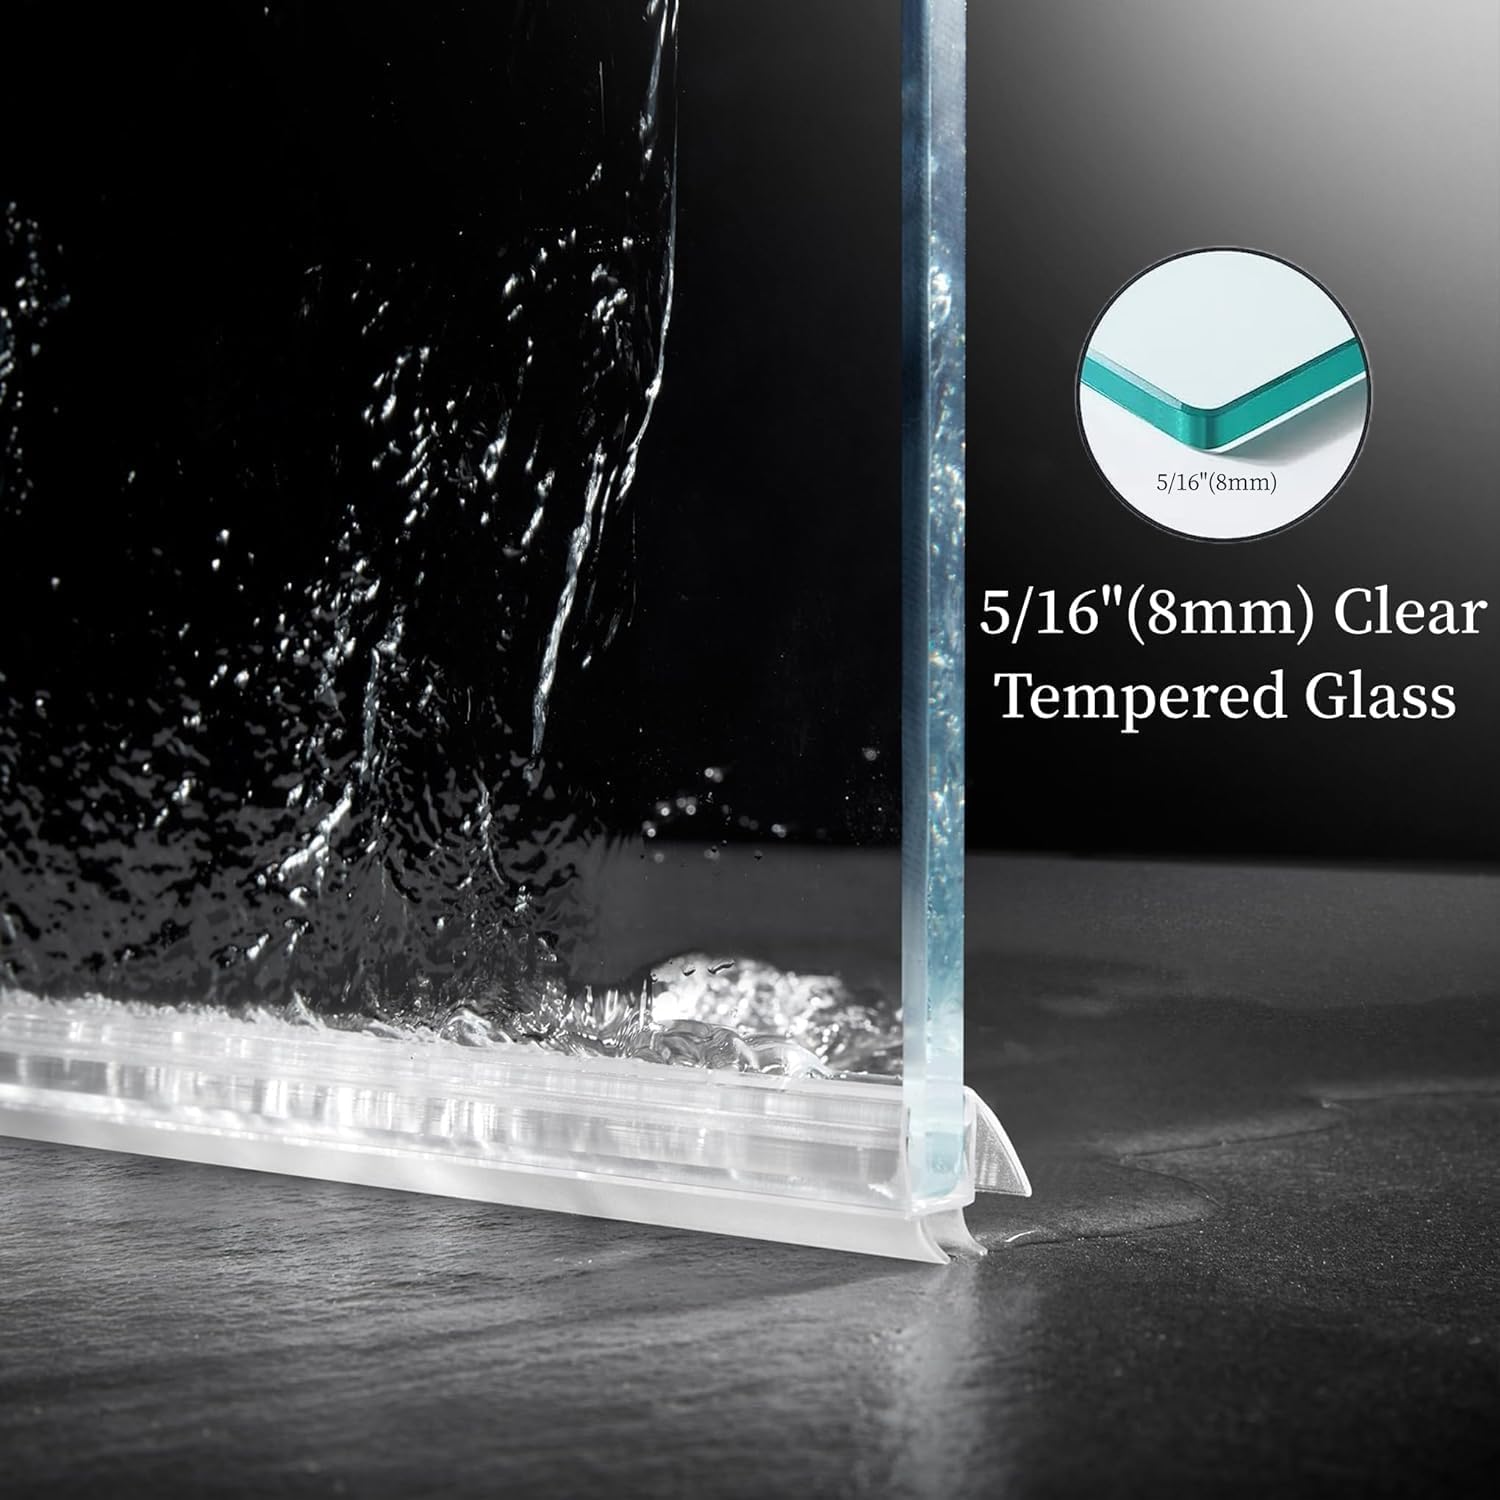
Image: Water containment feature with the double sliding seal strip.
7. Maintenance and Care
To ensure the longevity and pristine appearance of your Sunrosa shower door, follow these maintenance guidelines:
- Regular Cleaning: Clean the glass panels regularly with a soft cloth and a non-abrasive glass cleaner. Avoid harsh chemicals or abrasive pads that can scratch the glass or damage the finish.
- Easy-Clean Glass: The easy-clean tempered glass is designed to resist water spots and soap scum buildup, making cleaning simpler.
- Frame and Hardware: Wipe down the stainless steel frame and hardware with a soft, damp cloth. Dry thoroughly to prevent water spots and maintain the brushed nickel finish. Avoid using acidic or alkaline cleaners on metal parts.
- Seal Strips: Periodically check the seal strips for wear or damage. Replace them if necessary to maintain effective water containment.
- Lubrication: The sliding mechanism is designed for smooth operation. Avoid applying lubricants unless specifically recommended by the manufacturer, as this can attract dirt and debris.

Image: Illustration of the easy-clean glass feature.
8. Troubleshooting
If you encounter any issues with your Sunrosa shower door, refer to the following common problems and solutions:
| Problem | Possible Cause | Solution |
|---|---|---|
| Door does not slide smoothly | Debris in track, misaligned pulleys, worn rollers. | Clean the top and bottom tracks. Check pulley alignment and adjust if necessary (refer to Installation Guide, Step 16). Inspect rollers for damage. |
| Water leaks from enclosure | Damaged or improperly installed seal strips, insufficient sealant. | Inspect all seal strips for proper placement and condition; replace if damaged. Ensure silicone sealant was applied correctly and allowed to cure for 24 hours (refer to Installation Guide, Step 20). |
| Door is not level or plumb | Improper wall bracket installation, uneven floor/tray. | Re-check wall bracket and bottom guide installation for levelness and plumb (refer to Installation Guide, Steps 5-11). Adjust pulley settings (refer to Installation Guide, Step 16). |
| Soft-close mechanism not working | Buffer block misalignment. | Check that the buffer block is correctly positioned near the middle of the track (refer to Installation Guide, Step 19). |
9. Warranty and Support
Sunrosa stands behind the quality of its products. For warranty information or technical support, please contact our customer service team.
What to do if you receive a product with an issue:
- Contact the Seller: Navigate to your order history, click "Problem with order," and select "Contact seller."
- Describe the Issue in Detail: Attach images showing the product issue in the message chat and provide a detailed description of the problem.
- Resolve the Issue: We will provide you with a solution, such as complimentary replacement of damaged or missing parts or other appropriate resolutions.

Image: Steps for resolving product issues.


