
1. Introduction
Thank you for choosing the Electactic Countertop Ice Maker. This appliance is designed to provide convenient and efficient ice production for your home, office, or events. Featuring a compact design, quiet operation, and a self-cleaning function, it produces bullet-shaped ice cubes quickly. Please read this manual thoroughly before operating your ice maker to ensure safe and optimal performance.
2. Important Safety Instructions
- Read all instructions before using the appliance.
- Do not operate any appliance with a damaged cord or plug, or after the appliance malfunctions or has been damaged in any manner.
- Do not immerse the power cord, plug, or any part of the appliance in water or other liquids.
- Close supervision is necessary when any appliance is used by or near children.
- Ensure the appliance is placed on a stable, level surface to prevent tipping.
- Allow at least 4 inches (10 cm) of clearance around the appliance for proper ventilation.
- Use only potable water in the ice maker.
- Unplug the appliance before cleaning or when not in use.
- Do not attempt to repair or replace any part of your ice maker unless specifically recommended in this manual.
3. Package Contents
Upon unpacking, please ensure all items listed below are present and in good condition:
- Electactic Countertop Ice Maker
- Ice Scoop
- Ice Basket
- User Manual (this document)
4. Product Overview
Familiarize yourself with the components of your Electactic Ice Maker:

Image: The Electactic Countertop Ice Maker in grey, with a glass of iced beverage next to it, illustrating its function.
- Control Panel: Located on the top, with indicator lights for 'Ice Making', 'Ice Full', and 'Add Water'.
- Transparent Lid: Allows you to view the ice making process without opening the unit.
- Ice Basket: Removable basket for collecting produced ice cubes.
- Water Reservoir: Located beneath the ice basket, where water is stored for ice production.
- Drain Plug: Located at the bottom for draining water.
- Air Vent: Located on the side for heat dissipation.

Image: A detailed view of the ice maker's internal components, including the water reservoir and ice basket, highlighting its transparent design.
5. Setup
- Unpack: Carefully remove the ice maker from its packaging. Remove all packing materials, including any tape or labels.
- Placement: Place the ice maker on a firm, level surface away from direct sunlight and heat sources (e.g., stoves, furnaces, radiators). Ensure there is at least 4 inches (10 cm) of space around the unit for proper air circulation.
- Initial Cleaning: Before first use, clean the interior of the ice maker. Refer to the 'Maintenance and Cleaning' section for detailed instructions.
- Fill Water Reservoir: Open the lid and remove the ice basket. Fill the water reservoir with potable water up to the MAX fill line. Do not overfill.
- Plug In: Connect the power cord to a grounded electrical outlet.
6. Operating Instructions
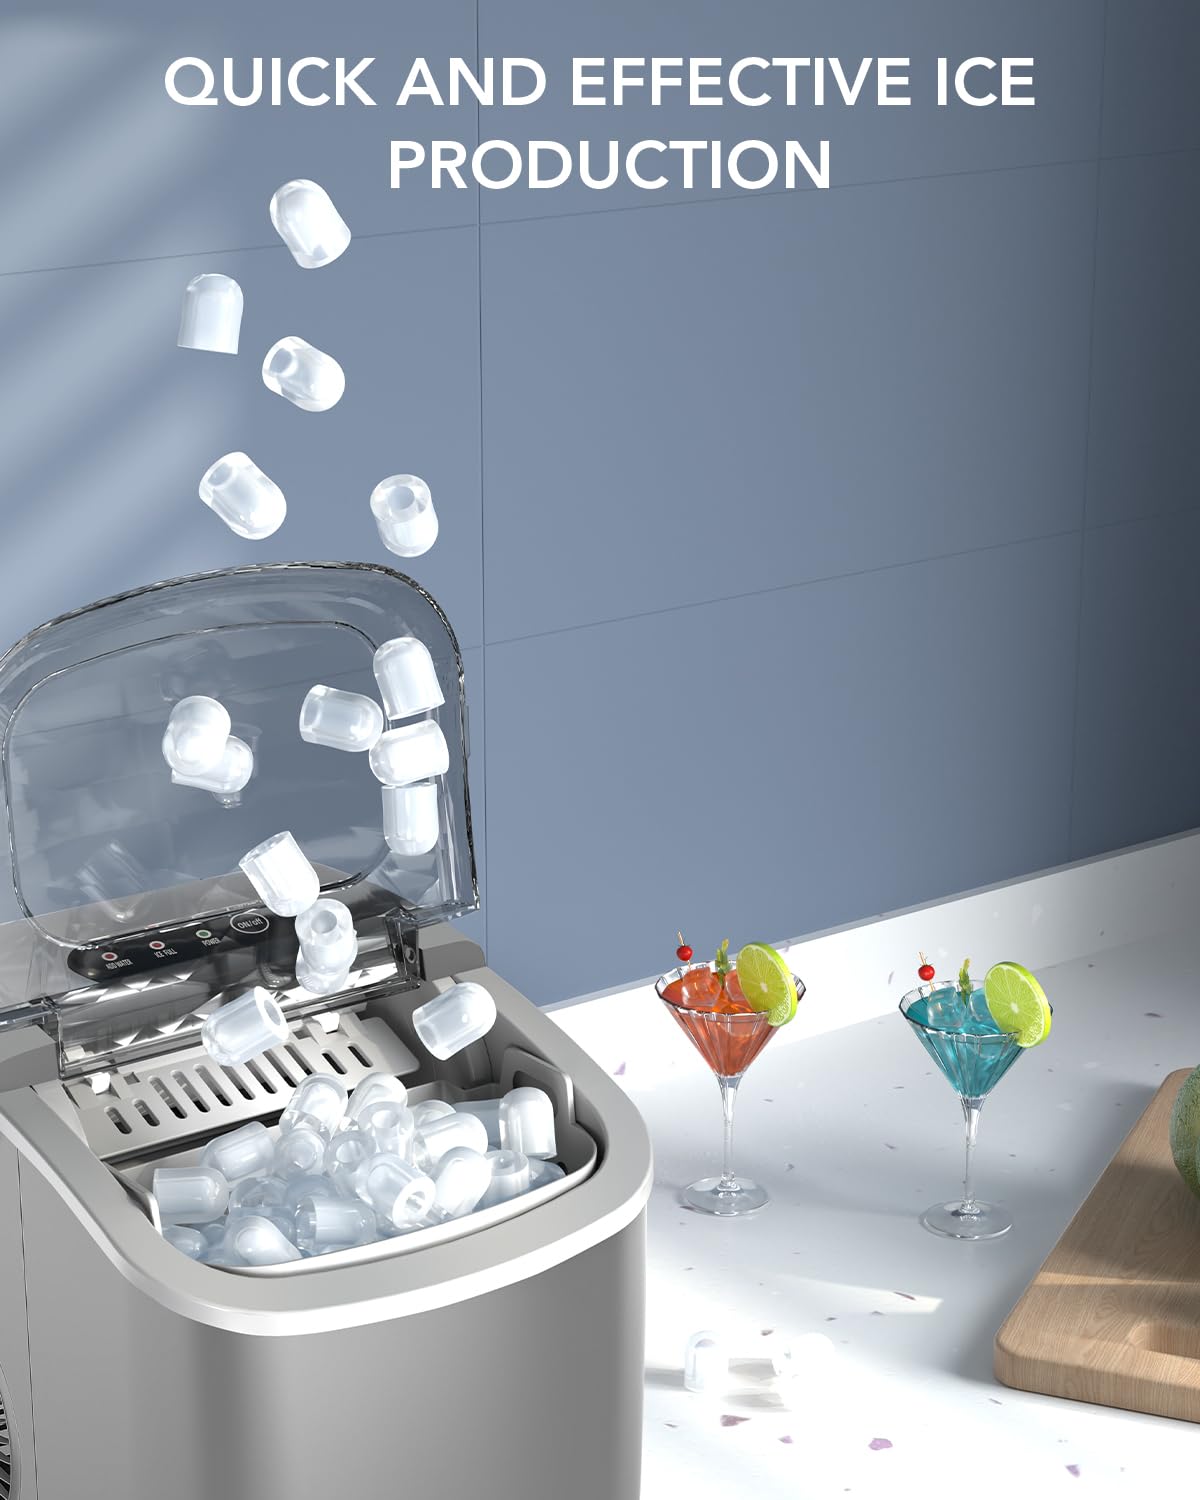
Image: The ice maker actively producing bullet-shaped ice cubes, which are falling into the ice basket, demonstrating quick and effective ice production.
- Power On: Press the 'ON/OFF' button on the control panel to start the ice making cycle. The 'Ice Making' indicator light will illuminate.
- Ice Production: The ice maker will begin producing bullet-shaped ice cubes. Each cycle produces approximately 9 ice cubes and takes about 8-10 minutes, depending on ambient temperature and water temperature.
- Ice Full Indicator: When the ice basket is full, the 'Ice Full' indicator light will turn on, and the ice making process will pause automatically. Remove ice from the basket to resume production.
- Add Water Indicator: If the water level in the reservoir is too low, the 'Add Water' indicator light will turn on, and the ice making process will stop. Add more potable water to the reservoir and press the 'ON/OFF' button to restart.
- Collecting Ice: Use the provided ice scoop to remove ice from the basket.
- Power Off: Press the 'ON/OFF' button to turn off the ice maker when not in use.

Image: A close-up illustration of bullet-shaped ice cubes being formed, emphasizing the product's ability to produce 9 cubes in just 6 minutes.

Image: A person relaxing on a sofa near the ice maker, with icons indicating low noise levels (e.g., 42dB), highlighting the quiet operation of the appliance.
7. Maintenance and Cleaning

Image: An illustration of the ice maker's internal water circulation during the self-cleaning process, with icons for one-click control and 30-minute scale removal.
Regular cleaning and maintenance will extend the life of your ice maker and ensure hygienic ice production.
- Self-Cleaning Function:
- Ensure the water reservoir is filled with clean water.
- Press and hold the 'CLEAN' button (if available, or refer to specific button for self-cleaning) for a few seconds to activate the self-cleaning cycle. The cycle typically lasts about 30 minutes.
- Once the cycle is complete, drain the water as described below.
- Draining Water:
- Unplug the ice maker from the power outlet.
- Locate the drain plug at the bottom of the unit.
- Place a basin or bucket underneath the drain plug.
- Remove the drain plug to allow water to flow out.
- Once all water has drained, securely replace the drain plug.
- External Cleaning: Wipe the exterior of the ice maker with a soft, damp cloth. Do not use abrasive cleaners or solvents.
- Internal Cleaning: For thorough cleaning, remove the ice basket and wipe the interior surfaces with a soft cloth dampened with a mild detergent solution. Rinse thoroughly with clean water and drain.
- Storage: If the ice maker will not be used for an extended period, drain all water, clean the unit, and allow it to dry completely before storing in a cool, dry place.
8. Troubleshooting
If you encounter issues with your ice maker, refer to the following table for common problems and solutions:
| Problem | Possible Cause | Solution |
|---|---|---|
| Ice maker not producing ice or producing very little ice. | Lack of water; high ambient temperature; air vent blocked. | Add water to the reservoir; ensure proper ventilation around the unit; operate in a cooler environment. |
| 'Add Water' indicator is on. | Water reservoir is empty or water level is too low. | Fill the water reservoir with potable water up to the MAX line and restart the unit. |
| 'Ice Full' indicator is on. | Ice basket is full. | Remove ice from the basket. The ice making process will resume automatically. |
| Unusual noise during operation. | Unit not level; internal components vibrating. | Ensure the ice maker is on a stable, level surface. If noise persists, contact customer support. |
| Ice cubes are sticking together. | Ice is not being removed frequently enough; ambient temperature is too high. | Remove ice more frequently; operate in a cooler environment. |
9. Specifications

Image: The Electactic Ice Maker with its dimensions clearly labeled (8.7in D, 11.6in W, 11.4in H), illustrating its sleek and space-saving design on a kitchen countertop.
| Feature | Detail |
|---|---|
| Model Name | ICE91122 |
| Product Dimensions (D x W x H) | 8.74" x 11.57" x 11.42" |
| Weight | Approximately 14.77 Pounds |
| Capacity (Water Reservoir) | 1.5 Liters (approximate) |
| Voltage | 120 Volts |
| Ice Production Rate | 9 pieces per 8-10 minutes (approximate) |
| Daily Ice Output | Up to 26.6 lbs (12 kg) per day |
10. Warranty and Support
The Electactic Countertop Ice Maker ICE91122 comes with a standard manufacturer's warranty. For specific warranty details, please refer to the warranty card included with your purchase or contact Electactic customer support. If you have any questions, require technical assistance, or need to report a problem, please contact our customer service team through the retailer where you purchased the product or visit the official Electactic website for support information.

Image: People enjoying drinks with the portable ice maker outdoors, demonstrating its compact and handy design for various settings.