
1. Introduction
This manual provides comprehensive instructions for the safe installation, operation, and maintenance of your ExBrite 60"x36" Large LED Bathroom Mirror. Please read this manual thoroughly before installation and use, and retain it for future reference.
2. Important Safety Information
WARNING: This mirror is made of tempered glass, which is stronger than ordinary glass but can still break if not handled properly. Always use caution when handling and installing the mirror. The lighted feature may pose a risk of overheating if left on for extended periods. To prevent overheating, the defogging system automatically shuts off after one hour. Always follow the installation instructions provided and consider hiring a professional for installation. Keep the mirror away from heat sources and flammable materials. Do not use the mirror if the glass is cracked or damaged.
3. Package Contents
Verify that all components are present before beginning installation:
- ExBrite 60"x36" LED Bathroom Mirror
- Mounting accessories (screws, anchors, mounting bracket)
- Instruction Manual
4. Specifications
| Brand | ExBrite |
| Product Dimensions | 60"L x 36"W |
| Thickness | 1.57" |
| Frame Material | PVC+Glass |
| Mirror Material | 5mm Tempered Glass |
| Mounting Type | Wall Mount (Horizontal/Vertical) |
| Lighting Features | Frontlit & Backlit LED, 3 Color Temperatures (3000K/4000K/6000K), Dimmable (10%-100%), Memory Function |
| Additional Features | Anti-Fog (1-hour auto-off), Shatterproof, Explosion-Proof |
| Power Connection | Plug-in or Hardwired |
| Item Weight | 54.9 pounds |
The mirror features both front and backlit LED strips for enhanced illumination.
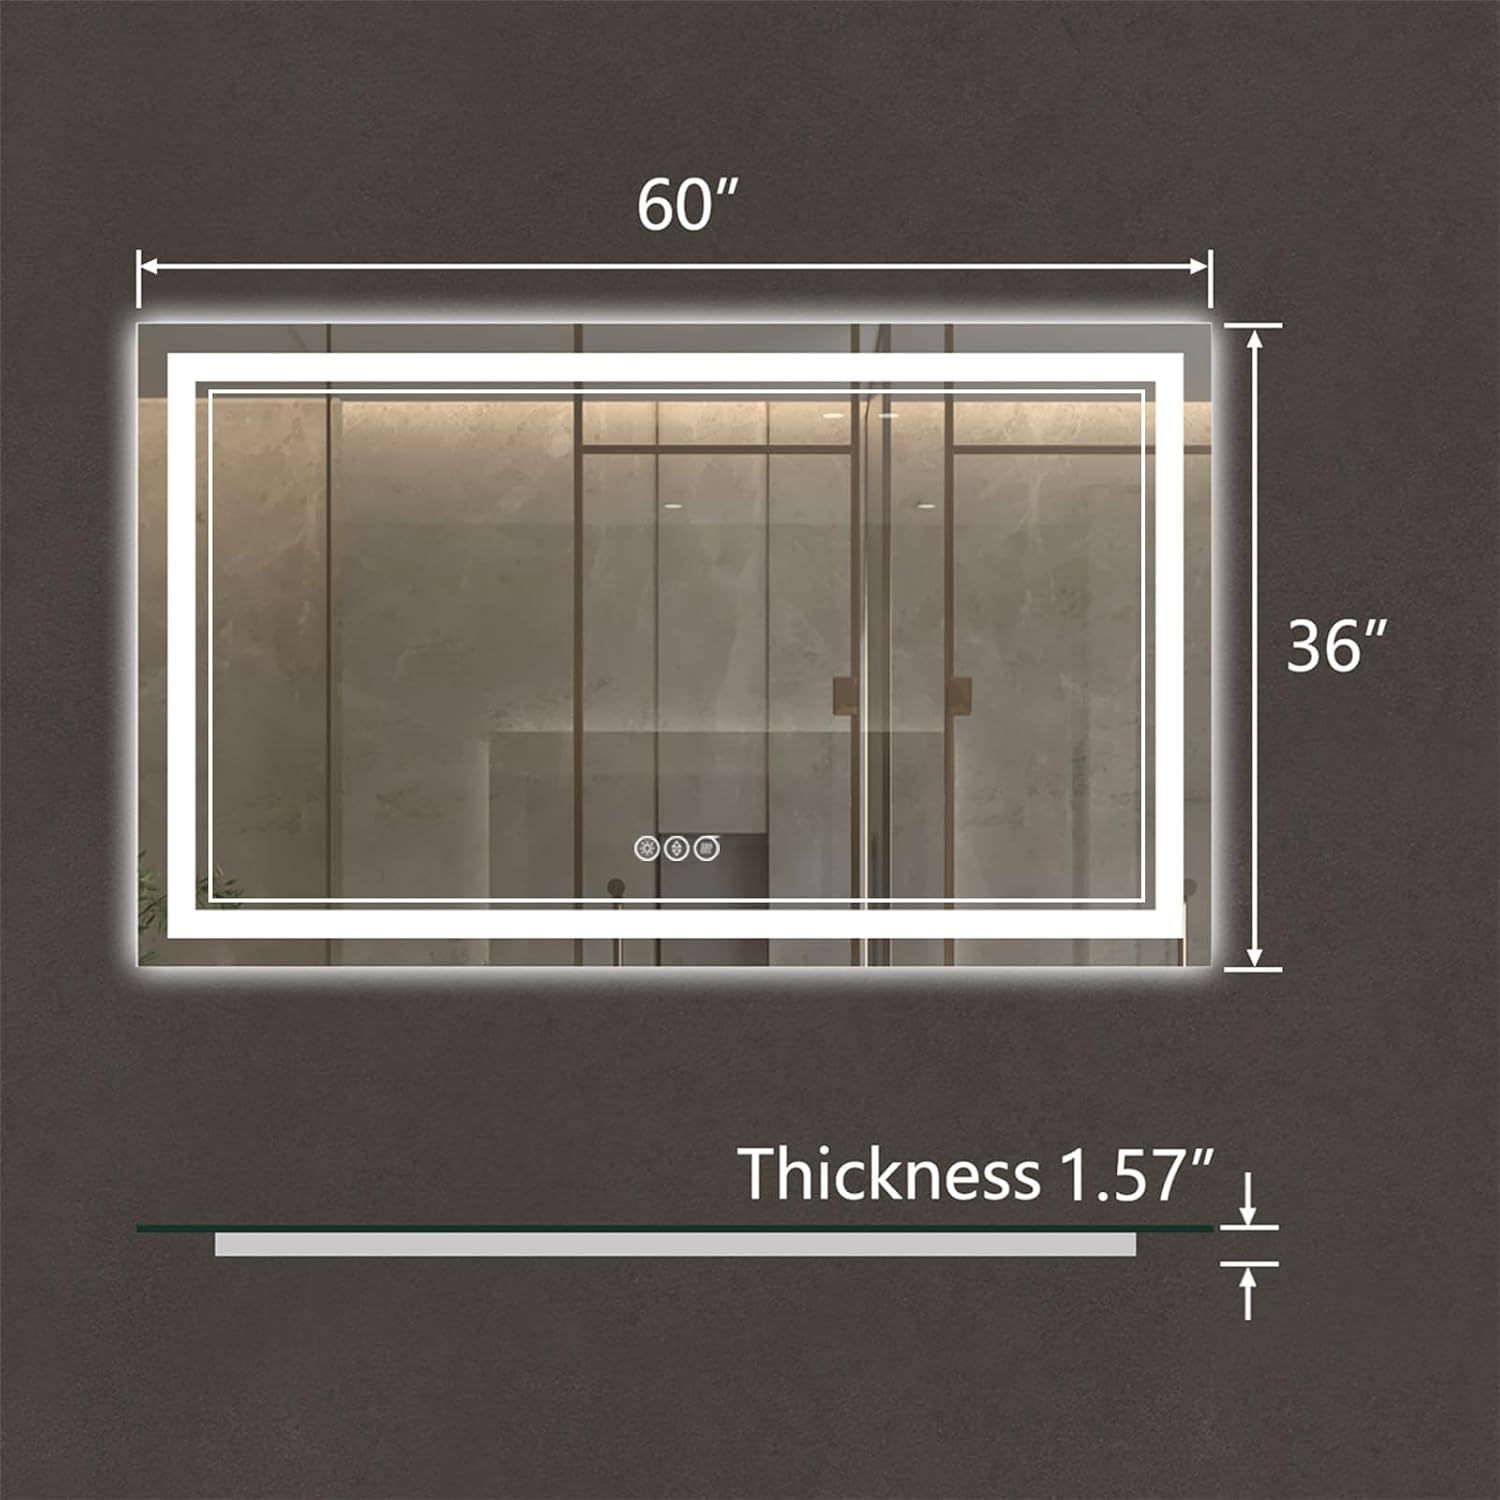
Image: ExBrite 60x36 inch LED mirror dimensions.
5. Setup and Installation
This mirror can be installed horizontally or vertically and can be powered via a standard outlet or hardwired to a wall switch. Professional installation is recommended for hardwiring.
5.1 Mounting Options
The mirror supports both horizontal and vertical mounting orientations. Choose the orientation that best suits your space.

Image: Vertical and Horizontal Mounting Options.
5.2 Installation Steps
Follow these general steps for installation. Refer to the detailed instructions included in your package for specific guidance.
- Prepare the Wall: Ensure the wall surface is clean, dry, and capable of supporting the mirror's weight. Mark the desired mounting position.
- Install Mounting Bracket: Securely attach the provided mounting bracket to the wall using appropriate screws and anchors. The bracket often includes a built-in level for accurate placement.
- Connect Power: Decide between plug-in or hardwired connection.
- Plug-in: Connect the mirror's power cord to a standard electrical outlet.
- Hardwired: For a seamless look, hardwire the mirror directly to an existing wall switch. This typically involves cutting the plug and connecting the wires to the household electrical system. Consult a qualified electrician for hardwired installation.
- Hang the Mirror: Carefully lift the mirror and align it with the installed mounting bracket. Ensure it is securely seated.

Image: Easy Installation Steps.

Image: Power Connection Options.
6. Operating Instructions
Your ExBrite LED mirror features intuitive touch controls for various functions.

Image: Overview of Mirror Features.
6.1 Power On/Off
Locate the power touch button on the mirror surface. A short press will turn the mirror's lights on or off.
6.2 Light Color Temperature Adjustment
The mirror offers three color temperature settings: warm light (3000K), natural light (4000K), and cool white light (6000K).
- With the lights on, short press the color temperature touch button to cycle through the three settings.

Image: 3 Color Temperature Settings.
6.3 Brightness Dimming
Adjust the brightness of the LED lights from 10% to 100%.
- With the lights on, long press the brightness touch button. The brightness will gradually increase or decrease. Release the button when the desired brightness level is reached.

Image: Brightness Dimming Function.
6.4 Anti-Fog Function
The anti-fog feature helps maintain a clear mirror surface in humid conditions.
- Short press the anti-fog touch button to activate the defogging function.
- The defogging system will automatically shut off after one hour to prevent overheating.

Image: Anti-Fog Function in Use.
6.5 Memory Function
The mirror's memory function retains your last light color temperature and brightness settings.
- When the mirror is turned off and then back on, it will automatically restore the settings that were active before it was turned off.

Image: Smart Memory Function.
7. Maintenance
Proper care will ensure the longevity and optimal performance of your LED mirror.
7.1 Cleaning the Mirror Surface
- Use a soft, lint-free cloth and a non-abrasive glass cleaner.
- Spray the cleaner onto the cloth, not directly onto the mirror, to prevent liquid from seeping into the electrical components.
- Wipe the mirror surface gently until clean and streak-free.
- Avoid using harsh chemicals, abrasive cleaners, or sharp objects that could scratch the glass or damage the frame.
7.2 LED Light Care
- The LED lights are designed for long-term use and typically do not require replacement.
- If you experience issues with the lighting, refer to the troubleshooting section or contact customer support.
7.3 General Care
- Ensure the mirror is not exposed to excessive moisture or direct water spray, especially around electrical connections.
- Regularly check mounting hardware for tightness to ensure the mirror remains securely attached to the wall.
8. Troubleshooting
If you encounter any issues with your ExBrite LED mirror, refer to the following common problems and solutions:
| Problem | Possible Cause | Solution |
|---|---|---|
| Lights do not turn on. | No power supply, loose connection, faulty switch. | Check if the mirror is properly plugged in or hardwired. Ensure the wall switch (if applicable) is on. Inspect connections for looseness. |
| Lights flicker or are dim. | Unstable power, partial connection, LED strip issue. | Verify stable power supply. Check connections. If problem persists, contact customer support. |
| Anti-fog function not working. | Function not activated, auto-off engaged, internal fault. | Ensure the anti-fog button has been pressed. Note that it automatically turns off after one hour. If still not working, contact customer support. |
| Touch buttons are unresponsive. | Moisture on surface, power issue, sensor fault. | Ensure the mirror surface and buttons are dry and clean. Check power supply. If unresponsive, try cycling power to the mirror. |
If the issue persists after attempting these solutions, please contact ExBrite customer support for further assistance.
9. Warranty and Support
ExBrite is committed to providing quality products and customer satisfaction.
9.1 Warranty Information
This product typically comes with a warranty. Please refer to the warranty card included with your purchase or visit the official ExBrite website for detailed warranty terms and conditions.
9.2 Customer Support
For any questions, technical assistance, or warranty claims, please contact ExBrite customer service. Support is available to assist with product inquiries and troubleshooting.
- Contact Method: Refer to the contact information provided in your product packaging or on the official ExBrite website.
- Response Time: ExBrite aims to reply to inquiries within 24 hours.
For more information about ExBrite and its products, visit the ExBrite Store on Amazon.
10. Additional Information
10.1 Tempered Glass
The mirror is constructed with 5mm tempered glass, which is designed to be shatter-proof and explosion-proof, offering enhanced safety compared to ordinary glass mirrors.

Image: 5mm Tempered Glass Safety Feature.


