
Introduction
This manual provides detailed instructions for the installation, operation, and maintenance of your MSI MAG Forge 321R Airflow Mid-Tower Gaming PC Case. Please read this manual thoroughly before beginning assembly or operation to ensure proper functionality and safety. Keep this manual for future reference.
Product Features
- Optimized Air Flow: Supports up to 11 system fans for enhanced ventilation and stability.
- ARGB Fans: Built-in Addressable RGB (ARGB) fans provide customizable lighting effects.
- 1 to 6 ARGB LED Control Board: Includes a control board for managing multiple ARGB devices.
- Mystic Light Sync: Compatible with MSI Mystic Light software for synchronized ARGB lighting control.
- Magnetic Dust Filter: Top-mounted magnetic dust filter for easy removal and cleaning.
- Tempered Glass Side Panel: Provides a clear view of internal components.
- Vented Front Panel: Designed for maximum airflow.
Specifications
| Feature | Specification |
|---|---|
| Brand | MSI |
| Model Name | MAG Forge 321R Airflow (MG-05024) |
| Case Type | Mid Tower |
| Motherboard Compatibility | ATX, Micro-ATX, ITX |
| Material | Tempered Glass, ABS Plastic |
| Color | Black |
| Item Weight | 7.05 Kilograms |
| Cooling Method | Air |
| Number of Fans | 6 (pre-installed ARGB fans) |
| Liquid Cooling Support | Up to 360mm Radiator |
| GPU Length Support | Up to 300mm |
| I/O Ports | 2x USB 3.2 Gen 1 Type-A, 2x USB 2.0, Mic-in/Audio-out, LED Switch, Power Button |
Setup Instructions
1. Unpacking and Preparation
Carefully remove the PC case from its packaging. Inspect for any damage. Place the case on a stable, flat surface. Remove the tempered glass side panel by unscrewing the thumb screws at the rear of the case and gently sliding the panel off.
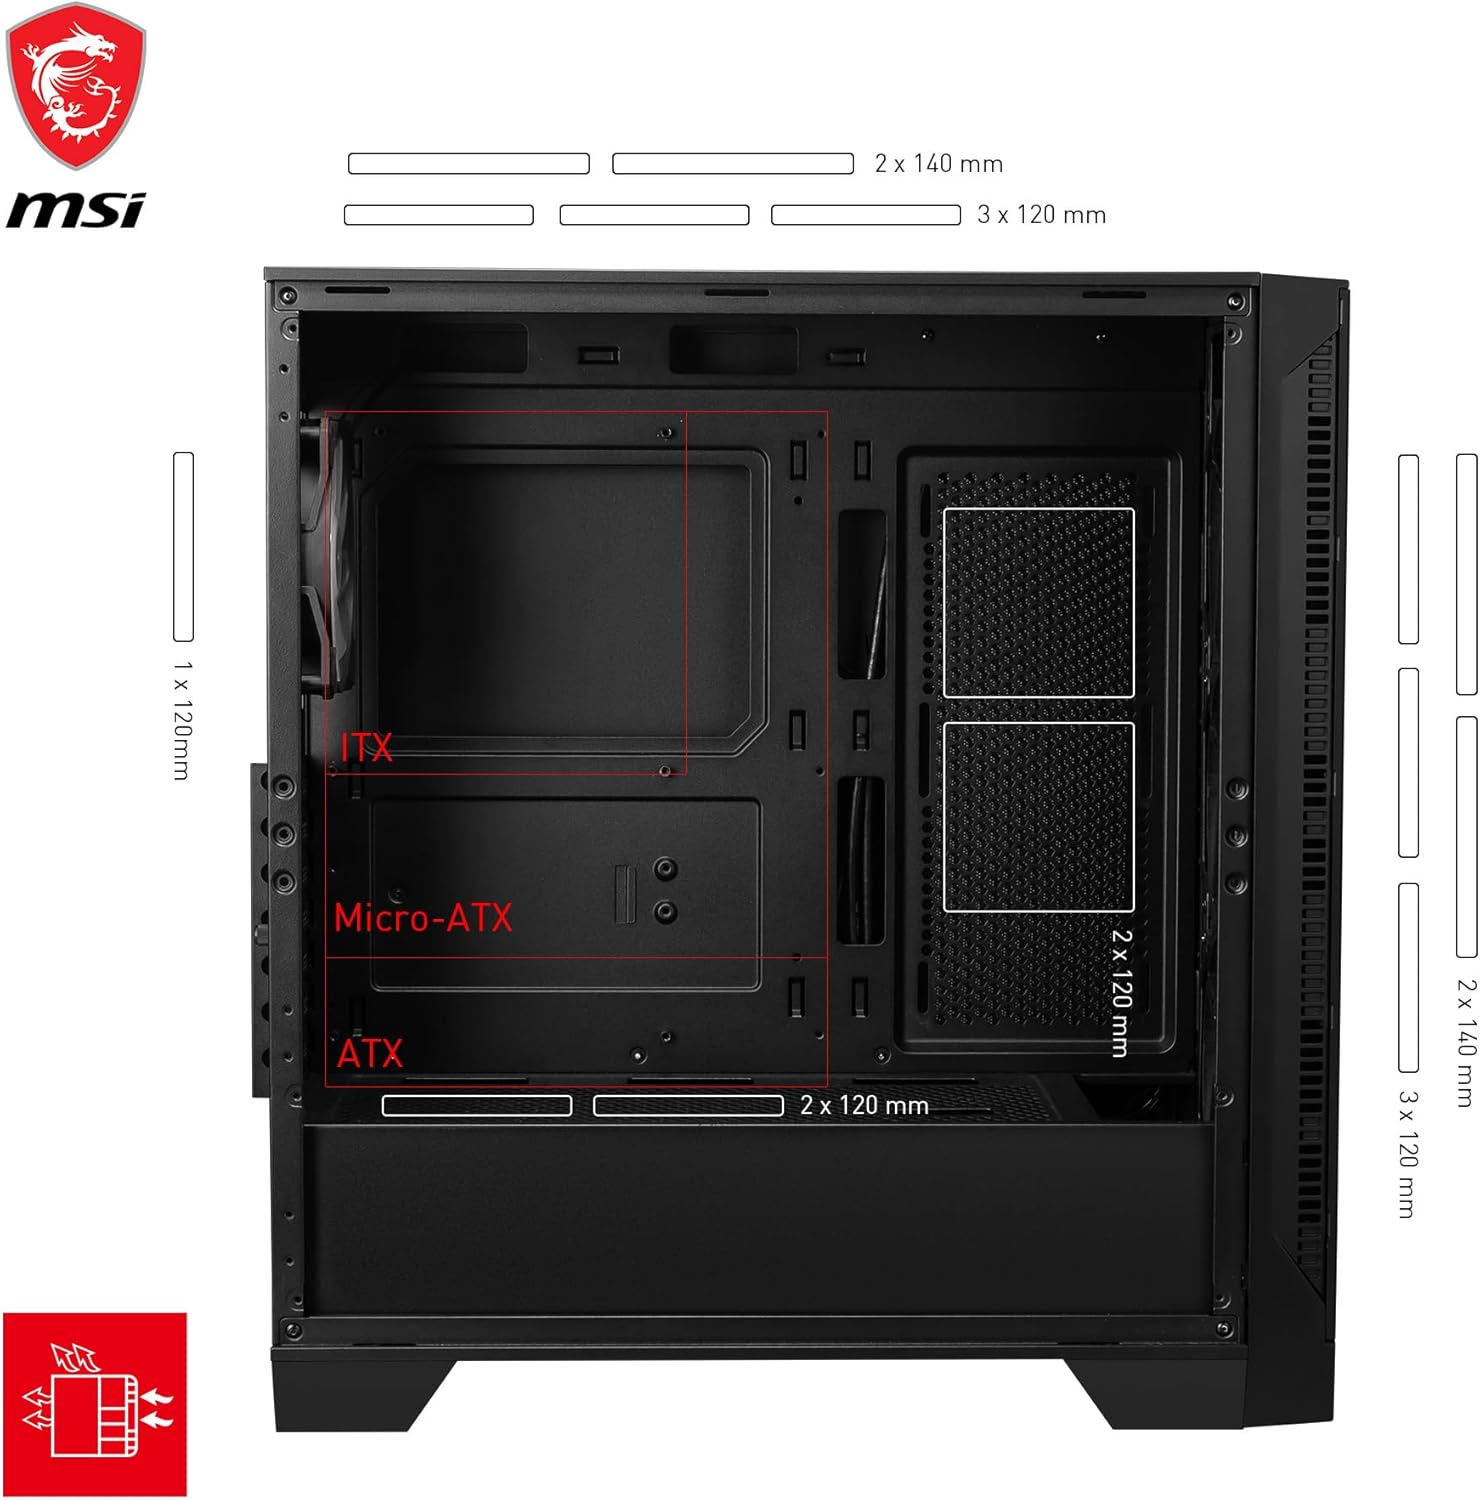
Image: MSI MAG Forge 321R Airflow PC Case with the tempered glass side panel removed, showing the internal layout.
2. Motherboard Installation
Identify the correct standoff positions for your motherboard (ATX, Micro-ATX, or ITX). Install any necessary standoffs. Carefully place your motherboard into the case, aligning it with the standoffs and I/O shield. Secure the motherboard with screws.

Image: Diagram illustrating the compatible motherboard sizes (ITX, Micro-ATX, ATX) and their placement within the case.
3. Component Installation (GPU, Storage, PSU)
Install your graphics card (GPU) into the appropriate PCIe slot. Ensure it is securely fastened. Install 2.5-inch or 3.5-inch storage drives into the designated bays. Mount your power supply unit (PSU) in the bottom rear section of the case and secure it with screws.

Image: An internal view of the PC case showcasing installed components like the graphics card and CPU cooler, demonstrating space utilization.
4. Fan and Radiator Installation
The case comes with pre-installed ARGB fans. Additional fans or liquid cooling radiators can be installed in various positions (front, top, rear) as per the case specifications. Refer to the diagram for supported radiator sizes.

Image: A diagram detailing the various fan and radiator mounting locations and their maximum supported sizes within the case.
5. Cable Management
Utilize the cable routing channels and tie-down points behind the motherboard tray to manage cables. Connect all necessary power and data cables to your components and motherboard. Connect the case's front panel I/O cables (USB, audio, power, LED) to the corresponding headers on your motherboard. The included 1 to 6 ARGB LED control board simplifies ARGB fan connections.
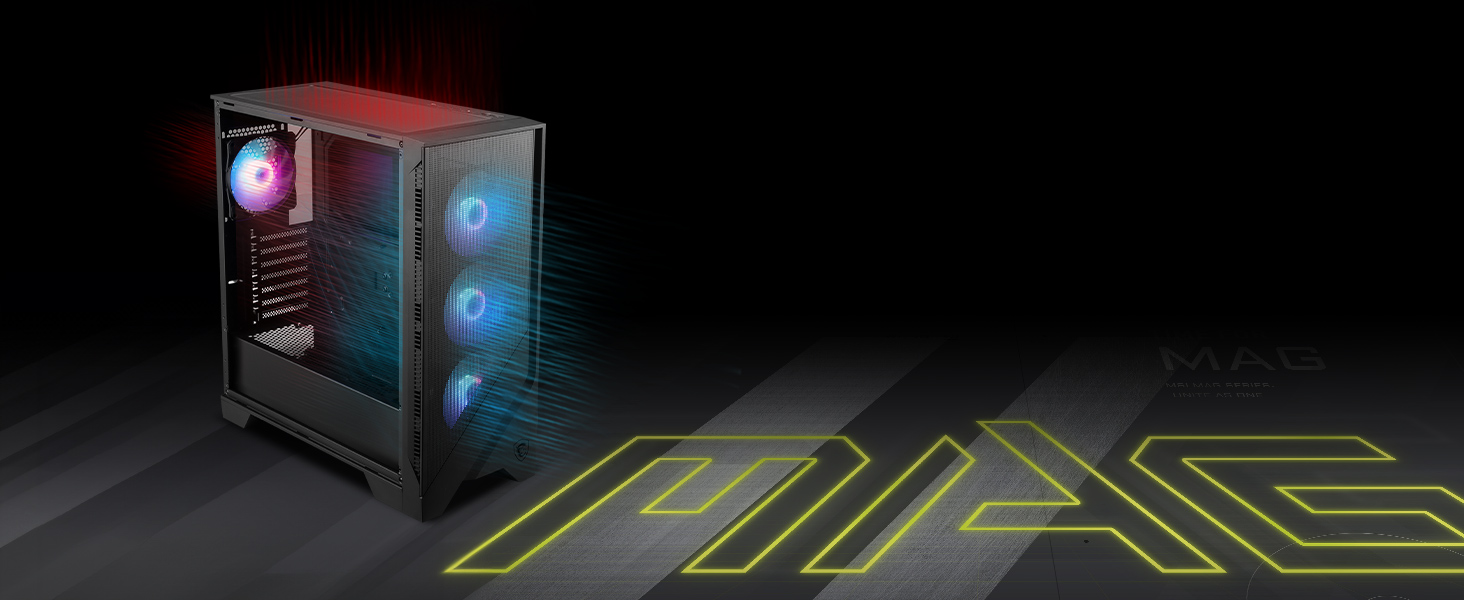
Image: The 1 to 6 ARGB LED control board, typically located behind the motherboard tray, used for connecting multiple ARGB devices.
Operating Instructions
1. Power On/Off
Press the power button located on the top I/O panel to turn on your PC. To turn off, use the operating system's shutdown function or press and hold the power button for several seconds.

Image: Close-up of the top I/O panel, highlighting the power button, LED switch, USB ports, and audio jacks.
2. ARGB Lighting Control
The case features an LED switch on the top I/O panel to cycle through various pre-set ARGB lighting effects. For advanced customization and synchronization with other MSI components, install the MSI Mystic Light software on your system.

Image: The front of the PC case with its ARGB fans illuminated, demonstrating the lighting capabilities.
Maintenance
1. Dust Filter Cleaning
The top panel features a magnetic dust filter. Gently lift the filter to remove it for cleaning. Clean with water and mild soap, then dry completely before reattaching. Regular cleaning helps maintain optimal airflow and component longevity.

Image: A hand demonstrating the easy removal of the magnetic dust filter from the top of the case.
2. General Cleaning
Use a soft, dry cloth to wipe down the exterior of the case. For the tempered glass panel, use a glass cleaner applied to a cloth, not directly to the glass, to avoid streaks or damage to other components. Ensure the PC is powered off and unplugged before cleaning.
Troubleshooting
- PC does not power on: Check all power connections, including the PSU to the wall outlet, PSU to motherboard, and front panel power switch cable to the motherboard header.
- Fans are not spinning or ARGB not lighting up: Verify that all fan and ARGB cables are correctly connected to the ARGB control board and the motherboard. Ensure the ARGB control board is receiving power (usually via SATA).
- Poor airflow/high temperatures: Ensure all fans are oriented correctly for intake and exhaust. Clean dust filters regularly. Check for any obstructions to airflow inside the case.
- Front panel USB/Audio ports not working: Confirm that the front panel USB and audio cables are securely connected to the correct headers on your motherboard.
Warranty and Support
The MSI MAG Forge 321R Airflow PC Case comes with a 2-year manufacturer's warranty. For warranty claims or technical support, please contact MSI customer service or visit the official MSI website. Keep your proof of purchase for warranty validation.
MSI Support Website: www.msi.com/support