
1. Introduction
This manual provides instructions for the Northpoint Battery-Powered LED Wall Sconce, Model NP-WWL-UCW. This device offers indirect LED lighting with an integrated motion sensor, suitable for both indoor and outdoor environments. Its battery-powered design allows for flexible placement without the need for complex wiring.

Figure 1: Northpoint Battery-Powered LED Wall Sconce (Model NP-WWL-UCW)
This image displays the white, triangular-shaped Northpoint LED wall sconce. It features a central motion sensor and emits light indirectly from its base.
2. Package Contents
Verify that all items listed below are included in your package:
- Northpoint Battery-Powered LED Wall Sconce (Model NP-WWL-UCW)
- 3 x AA Batteries
- Metal plate with adhesive pads for mounting
- User Manual
3. Specifications
| Feature | Detail |
|---|---|
| Brand | Northpoint |
| Model Number | NP-WWL-UCW |
| Dimensions (L x W x H) | 22.5 x 7.4 x 4.8 cm |
| Weight | 240 g |
| Material | Metal |
| Color | White (Triangle) |
| Light Source | LED |
| Power Source | Battery-powered (3 x AA batteries) |
| Switch Style | Motion Sensor |
| Protection Rating | IP44 (Splash-proof) |
| Usage | Indoor/Outdoor (Living room, garden, terrace, hallway, bathroom) |

Figure 2: Product Dimensions
This diagram illustrates the approximate dimensions of the wall sconce: 17.5 cm in length and 4 cm in height.
4. Setup and Installation
- Battery Installation:
Open the battery compartment on the back of the wall sconce. Insert the 3 x AA batteries, ensuring correct polarity (+/-). Close the compartment securely.
- Mounting Surface Preparation:
Clean the desired mounting surface thoroughly. Ensure it is dry and free of dust or grease for optimal adhesion.
- Adhesive Plate Attachment:
Peel the protective film from the adhesive pads on the metal mounting plate. Press the plate firmly onto the prepared surface. Hold for at least 30 seconds to ensure strong adhesion.
- Sconce Attachment:
Align the wall sconce with the mounted metal plate. The sconce is designed to attach magnetically or via a simple slide-on mechanism to the plate. Ensure it is securely fastened.
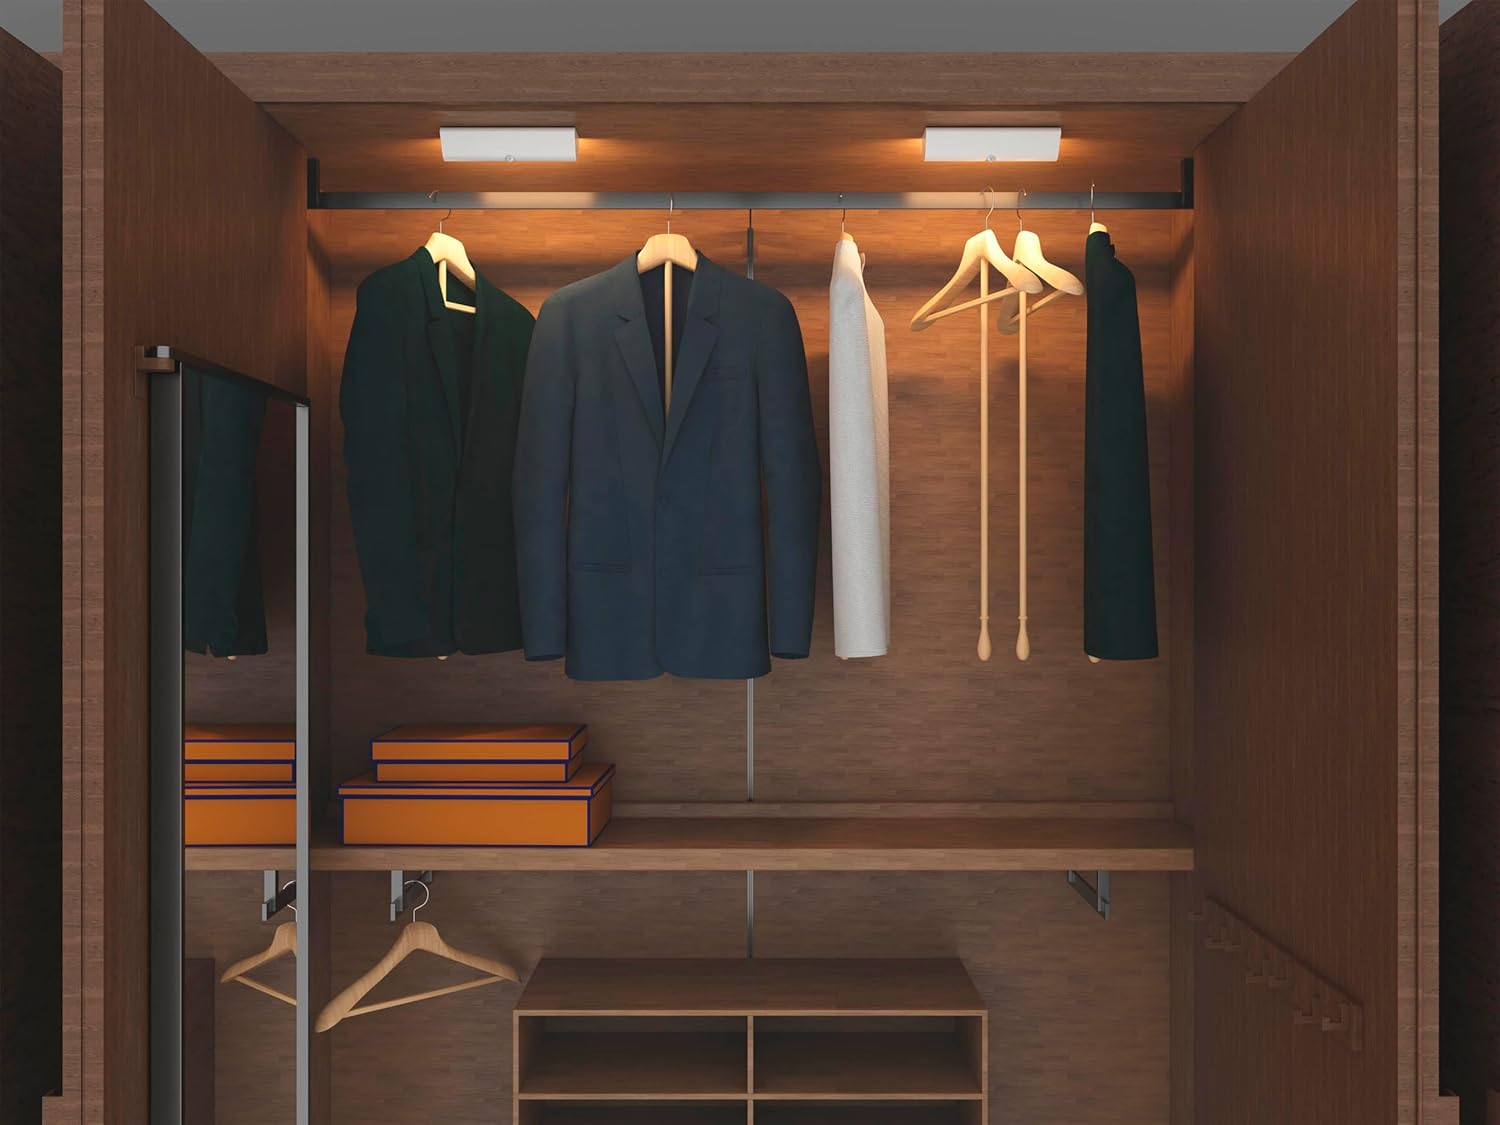
Figure 3: Example Installation in a Closet
This image shows the LED wall sconce installed inside a closet, demonstrating its use for illuminating interior spaces.
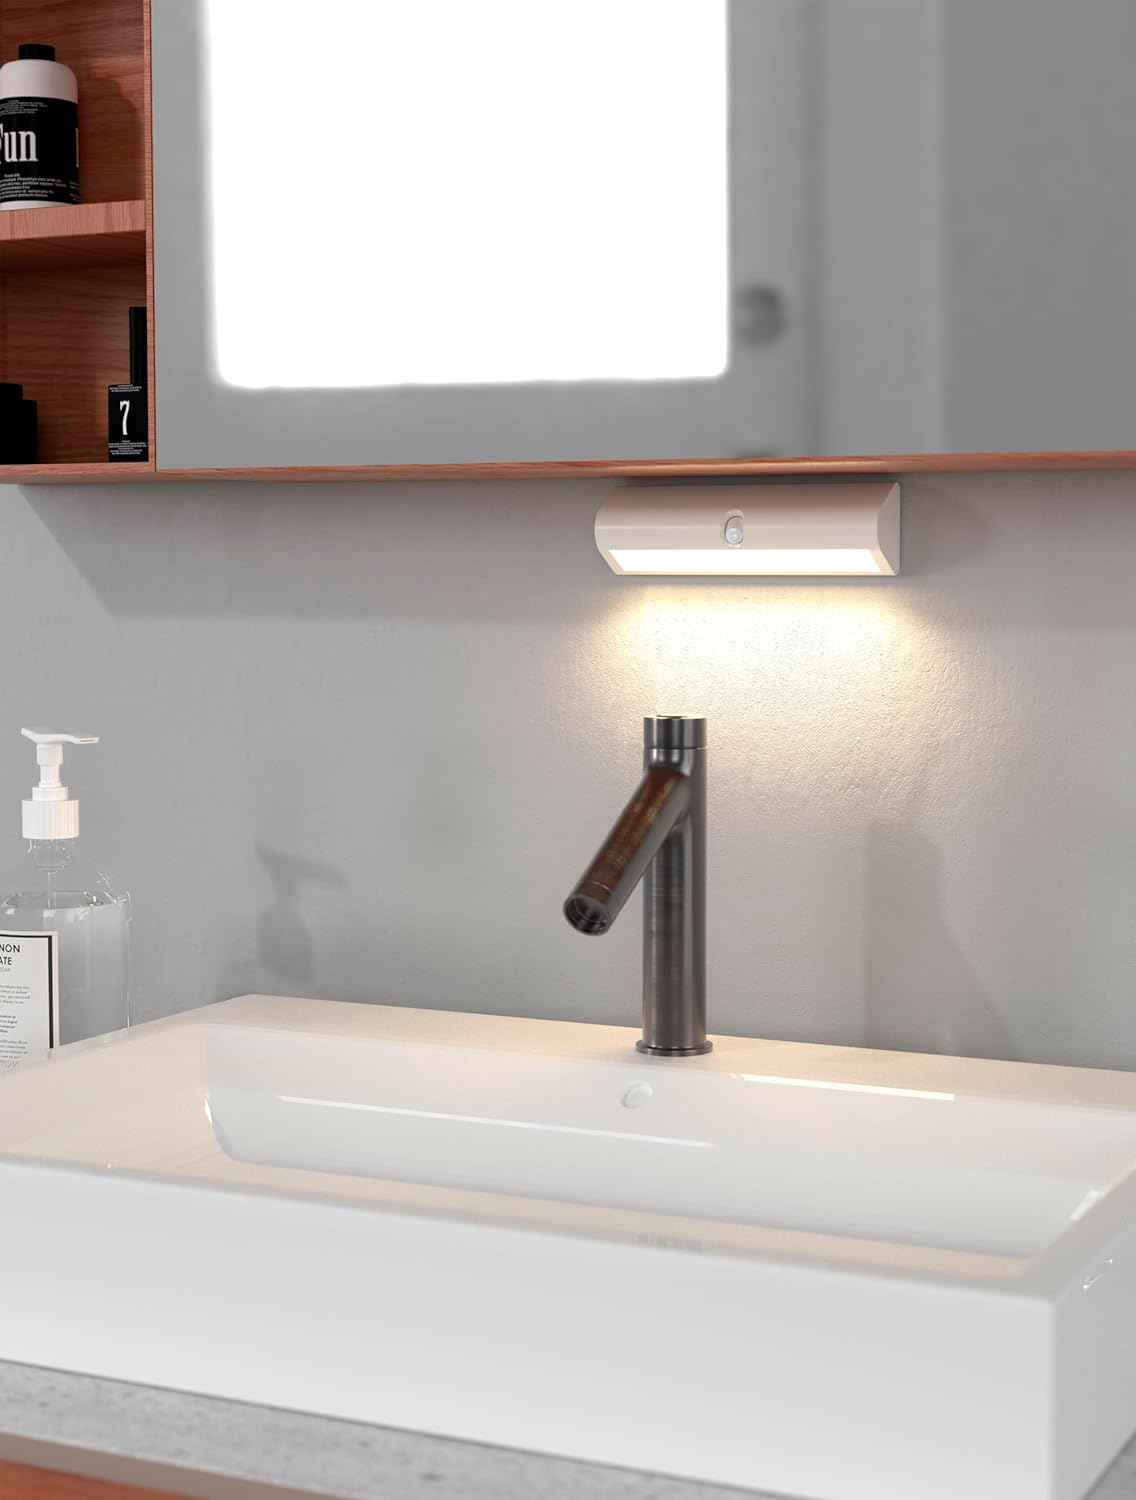
Figure 4: Example Installation in a Bathroom
This image depicts the LED wall sconce mounted above a bathroom sink, highlighting its suitability for damp environments due to its IP44 rating.

Figure 5: Example Under-Shelf Installation
This image shows the LED wall sconce mounted under a shelf, demonstrating its versatility for various indoor placements.
5. Operating Instructions
The Northpoint LED Wall Sconce operates automatically using its integrated motion sensor.
- Automatic Activation: The light will automatically turn on when motion is detected within its sensor range, provided ambient light conditions are low enough.
- Automatic Deactivation: The light will turn off automatically after a period of no motion detection.
- Sensor Placement: Position the sconce where the motion sensor has an unobstructed view of the area you wish to illuminate.

Figure 6: Motion Sensor Indication
This image highlights the motion sensor on the wall sconce, with an arrow suggesting its detection capability.
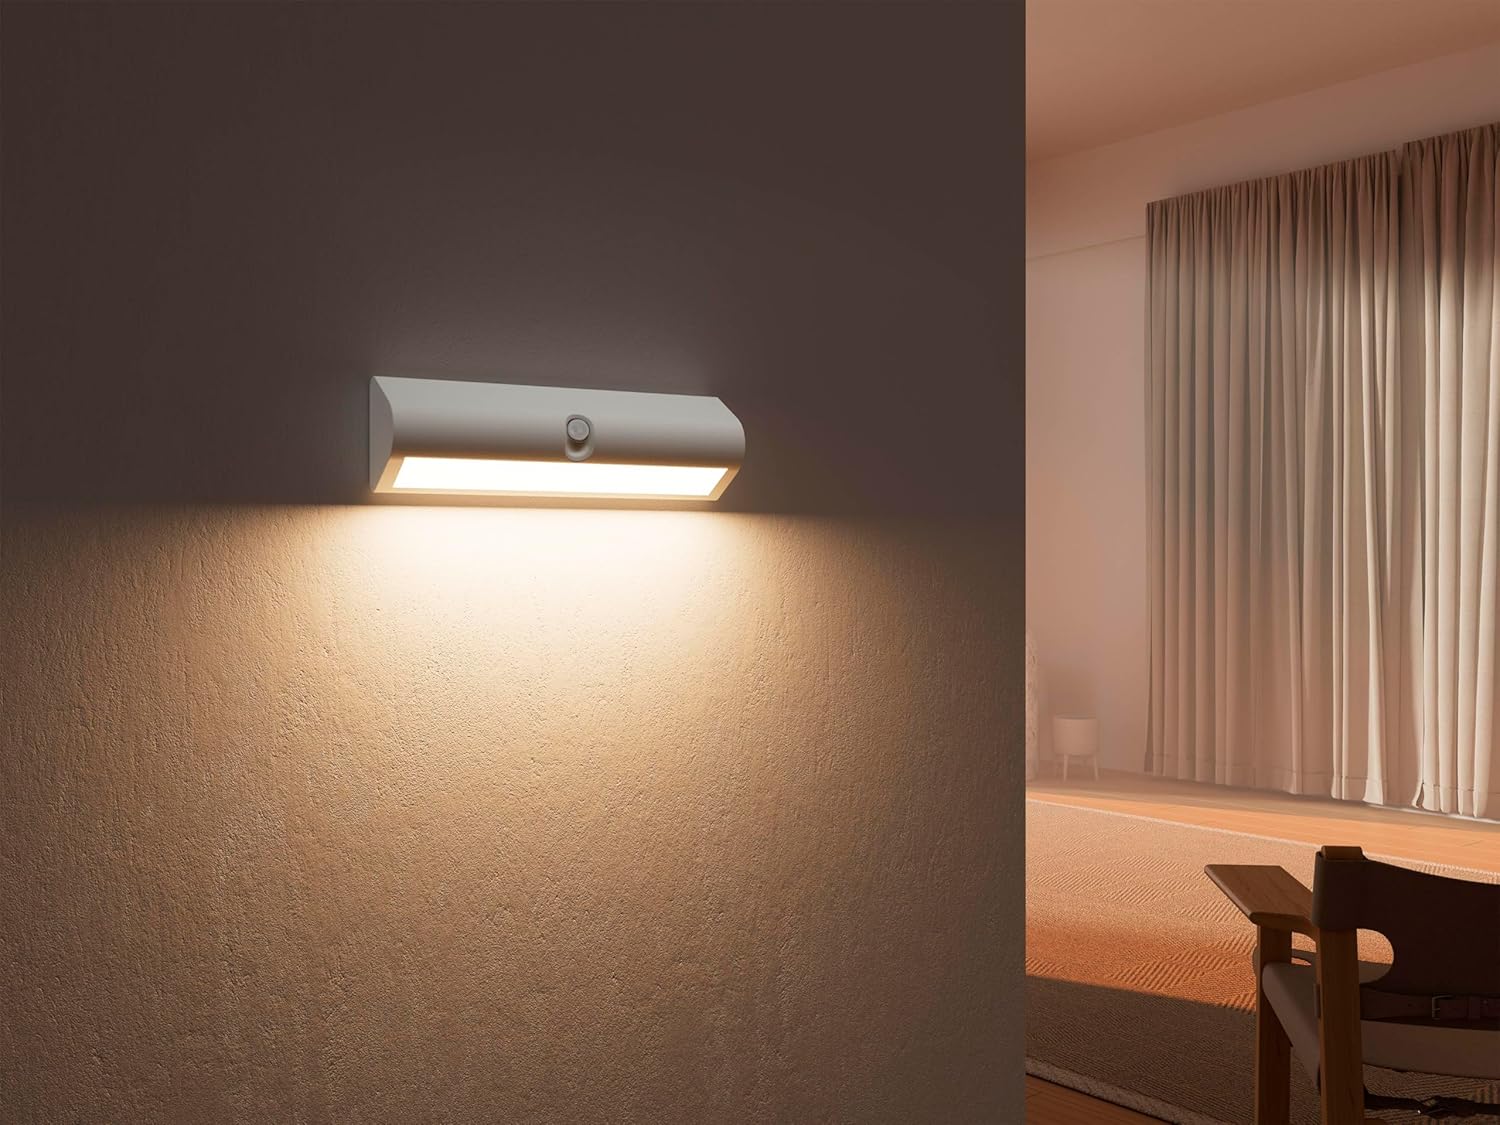
Figure 7: Indirect Lighting Effect
This image demonstrates the warm, indirect light emitted by the sconce, creating an ambient atmosphere in a room.
6. Maintenance
- Cleaning: Wipe the surface of the sconce with a soft, dry cloth. Do not use abrasive cleaners or solvents. For outdoor use, ensure the surface is clean to prevent debris from obstructing the sensor.
- Battery Replacement: When the light output diminishes or the motion sensor becomes less responsive, replace all three AA batteries with new ones. Ensure correct polarity.
- Sensor Care: Keep the motion sensor lens clean and free from obstructions to ensure optimal performance.
7. Troubleshooting
| Problem | Possible Cause | Solution |
|---|---|---|
| Light does not turn on. |
|
|
| Light stays on continuously. |
|
|
| Light is dim. |
|
|
8. Safety Information
- Do not mix old and new batteries, or different types of batteries.
- Remove batteries if the device will not be used for an extended period.
- Keep out of reach of children.
- Do not attempt to disassemble or modify the device.
- Dispose of batteries and the device according to local regulations.
- Ensure the mounting surface is stable and can support the weight of the sconce.
9. Warranty and Support
For warranty information or technical support, please refer to the contact details provided by your retailer or visit the official Northpoint website. Please have your model number (NP-WWL-UCW) and purchase date available when contacting support.