1. Introduction
This manual provides essential information for the safe and efficient use of your Indesit DI9E 2B10 fully integrated dishwasher. Please read these instructions carefully before installation and operation, and keep them for future reference.
2. Safety Information
Always follow basic safety precautions when using electrical appliances to reduce the risk of fire, electric shock, and injury to persons. This appliance is intended for household use only.
- Ensure the appliance is properly earthed.
- Do not touch the heating element during or immediately after use.
- Keep children away from the dishwasher, especially when the door is open.
- Use only detergents and rinse aids specifically designed for automatic dishwashers.
- Do not operate the dishwasher if it is damaged. Contact qualified service personnel.
- The Aquastop security system is designed to prevent water leaks.
3. Setup and Installation
Proper installation is crucial for the performance and longevity of your dishwasher. This fully integrated model is designed to be installed within kitchen cabinetry.
3.1 Unpacking
Carefully remove all packaging materials. Inspect the dishwasher for any damage incurred during transit. Report any damage to your retailer immediately.
3.2 Positioning and Leveling
The dishwasher should be placed on a firm, level floor. Adjust the adjustable feet to ensure the appliance is stable and level. This prevents vibrations and ensures proper door alignment.
3.3 Water Connection
Connect the water inlet hose to a cold water supply tap with a 3/4-inch thread. Ensure the connection is tight to prevent leaks. The inlet hose length is 1.55 m.
Connect the drain hose to a suitable drain pipe. The drain hose length is 1.5 m. Ensure the drain hose is not kinked or obstructed.
3.4 Electrical Connection
Connect the dishwasher to a grounded electrical outlet. The appliance requires a 220-240V, 50Hz power supply. The cable length is 1.3 m. Do not use extension cords or multiple adapters.
3.5 Cabinet Integration
This model is designed for full integration. A custom door panel (not supplied) must be attached to the dishwasher door. Refer to the installation template provided with the appliance for precise measurements and instructions for attaching the panel.
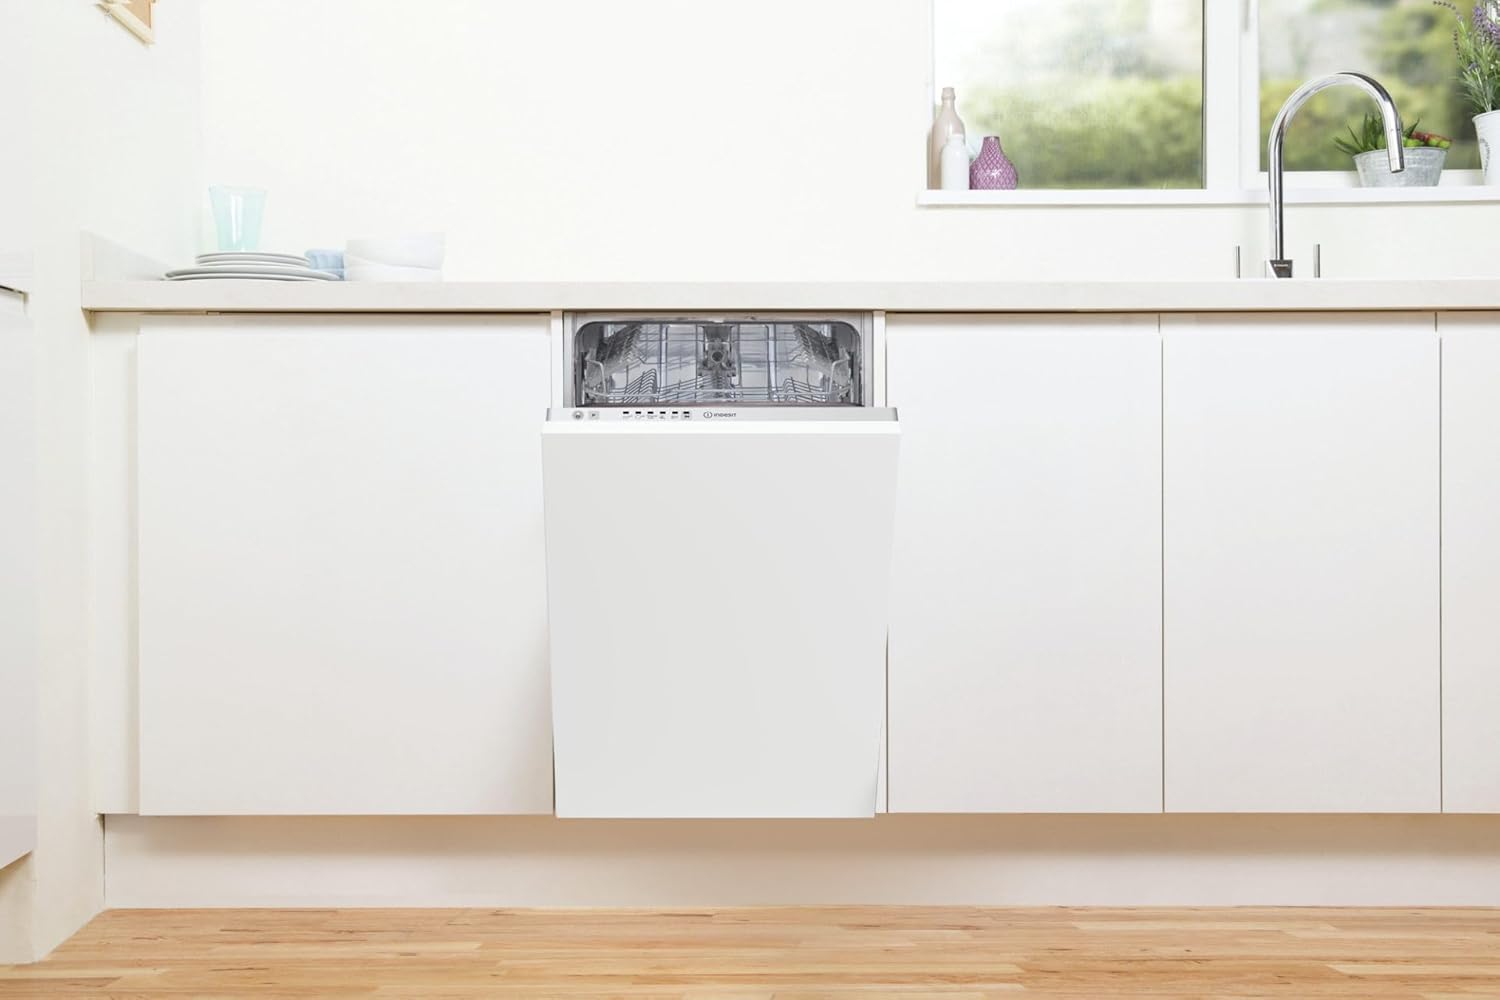
Image: The Indesit DI9E 2B10 dishwasher seamlessly integrated into a modern kitchen cabinet, with its door slightly open, revealing the control panel.

Image: The Indesit DI9E 2B10 dishwasher fully integrated into a modern kitchen, with its custom door panel closed, blending perfectly with the surrounding cabinetry.
4. Operating Instructions
Familiarize yourself with the control panel and loading procedures for optimal washing results.
4.1 Control Panel Overview

Image: A close-up view of the dishwasher's control panel, featuring push-buttons for program selection and LED indicators for cycle status. The Indesit logo is visible.
The dishwasher features push-button controls and an LED display. The LED display indicates the selected program and cycle status.
4.2 Loading the Dishwasher
The dishwasher has two baskets and a cutlery basket, designed for 9 place settings. The upper basket is adjustable to accommodate larger items in the lower basket.

Image: The Indesit DI9E 2B10 dishwasher with both the upper and lower racks fully extended, showing the empty interior and the cutlery basket in the lower rack.

Image: Both the upper and lower racks of the Indesit DI9E 2B10 dishwasher are loaded with various dishes, including plates, bowls, glasses, and cutlery, demonstrating its capacity.
- Lower Basket: Ideal for plates, serving dishes, pots, and pans.
- Upper Basket: Suitable for glasses, cups, small plates, and bowls. The upper basket is adjustable.
- Cutlery Basket: Place forks, knives, and spoons in the designated sections, ensuring they do not nest together.
4.3 Adding Detergent and Rinse Aid
Fill the detergent dispenser with the appropriate amount of dishwasher detergent. If using rinse aid, fill the rinse aid dispenser. This model does not feature automatic salt or rinse aid indicators, so monitor levels manually.
4.4 Program Selection
Select a wash program using the control buttons. Available programs include:
- Eco 50°C: Standard program for normally soiled dishes, most efficient in terms of energy and water consumption.
- Intensive 65°C: For heavily soiled dishes and pots.
- Mixed: A versatile program for mixed loads.
- Quick: A shorter cycle for lightly soiled dishes.
4.5 Starting a Cycle
Close the dishwasher door firmly. Press the start button to begin the selected program. The LED display will show the program status.
5. Maintenance and Care
Regular maintenance ensures optimal performance and extends the lifespan of your dishwasher.
5.1 Cleaning the Filters
The filter system prevents food particles from recirculating and clogging the drain. Regularly check and clean the filters located at the bottom of the dishwasher tub. Remove any food debris and rinse under running water.
5.2 Cleaning the Spray Arms
Check the spray arm nozzles for blockages. If necessary, remove the spray arms and clean the holes with a fine brush or toothpick.
5.3 Cleaning the Interior and Exterior
Wipe the interior with a damp cloth after each cycle to prevent odors. Clean the exterior surfaces with a soft, damp cloth and mild detergent. Avoid abrasive cleaners.
5.4 Salt and Rinse Aid Refill
Since this model does not have indicators for salt and rinse aid, it is recommended to check and refill these compartments regularly based on your water hardness and usage frequency.
6. Troubleshooting
Before contacting service, refer to the following common issues and solutions.
| Problem | Possible Cause | Solution |
|---|---|---|
| Dishwasher does not start | Power supply issue, door not closed properly, program not selected. | Check power connection, ensure door is latched, select a program and press start. |
| Dishes are not clean | Incorrect loading, insufficient detergent, clogged spray arms, dirty filters. | Load dishes correctly, add more detergent, clean spray arms and filters. |
| Water not draining | Clogged drain hose or filter, drain pump issue. | Check and clean drain hose and filters. If problem persists, contact service. |
| Unusual noise | Dishes interfering with spray arms, foreign object in pump. | Rearrange dishes, check for foreign objects. |
| Leaks | Loose hose connections, damaged door seal. | Check hose connections, inspect door seal for damage. |
If the problem persists after attempting these solutions, please contact qualified service personnel.
7. Specifications
Detailed technical specifications for the Indesit DI9E 2B10 dishwasher.
| Feature | Specification |
|---|---|
| Model | DI9E 2B10 |
| Type | Fully Integrated Dishwasher |
| Dimensions (H x W x D) | 82 x 45 x 55.5 cm |
| Weight | 27.2 kg |
| Capacity | 9 Place Settings |
| Energy Efficiency Class | F (on a scale of A to G) |
| Water Consumption per Cycle | 11.5 Liters |
| Energy Consumption per 100 Cycles | 78 kWh |
| Noise Level | 51 dB (Class D) |
| Control Type | Push-button |
| Display Type | LED |
| Programs | Eco 50°C, Intensive 65°C, Mixed, Quick |
| Interior Material | Stainless Steel |
| Special Features | Adjustable Basket, Aquastop Security System |
| Cable Length | 1.3 m |
| Inlet Hose Length | 1.55 m |
| Drain Hose Length | 1.5 m |
8. Warranty and Support
For warranty information, please refer to the documentation provided at the time of purchase or contact your retailer. Indesit provides customer support for product inquiries and service requests.
For technical assistance or to schedule a service appointment, please contact Indesit customer service or your authorized service provider. Contact details can typically be found on the manufacturer's website or in your purchase documentation.


