1. Introduction
Thank you for choosing the DORTALA Portable Air Conditioner. This manual provides essential information for the safe operation, installation, and maintenance of your 8000 BTU 3-in-1 AC unit, model b5276229-dbdc-4a3d-a4ea-e519ba785eaa. Please read these instructions thoroughly before use and retain them for future reference.
2. Important Safety Instructions
To reduce the risk of fire, electric shock, or injury, always follow basic safety precautions when using this appliance:
- Read all instructions before using the appliance.
- Ensure the power supply matches the voltage specified on the rating label.
- Do not operate the unit with a damaged cord or plug.
- Do not block air outlets or inlets.
- Keep the unit on a flat, stable surface to prevent tipping.
- Unplug the unit before cleaning or servicing.
- Do not use in wet areas like bathrooms or laundries.
- Keep children away from the appliance.
3. Product Overview
3.1 Components and Features
The DORTALA Portable Air Conditioner is designed for efficient cooling, dehumidifying, and fan operation. It features an intuitive control panel, remote control, and a window venting kit for easy installation.

Figure 3.1: The DORTALA Portable Air Conditioner in operation, showing cool air being expelled and a remote control for user interaction.

Figure 3.2: Overview of the unit's dimensions (12" x 12" x 27.5") and essential accessories, including the window kit, exhaust hose, drainage hose, and remote control.
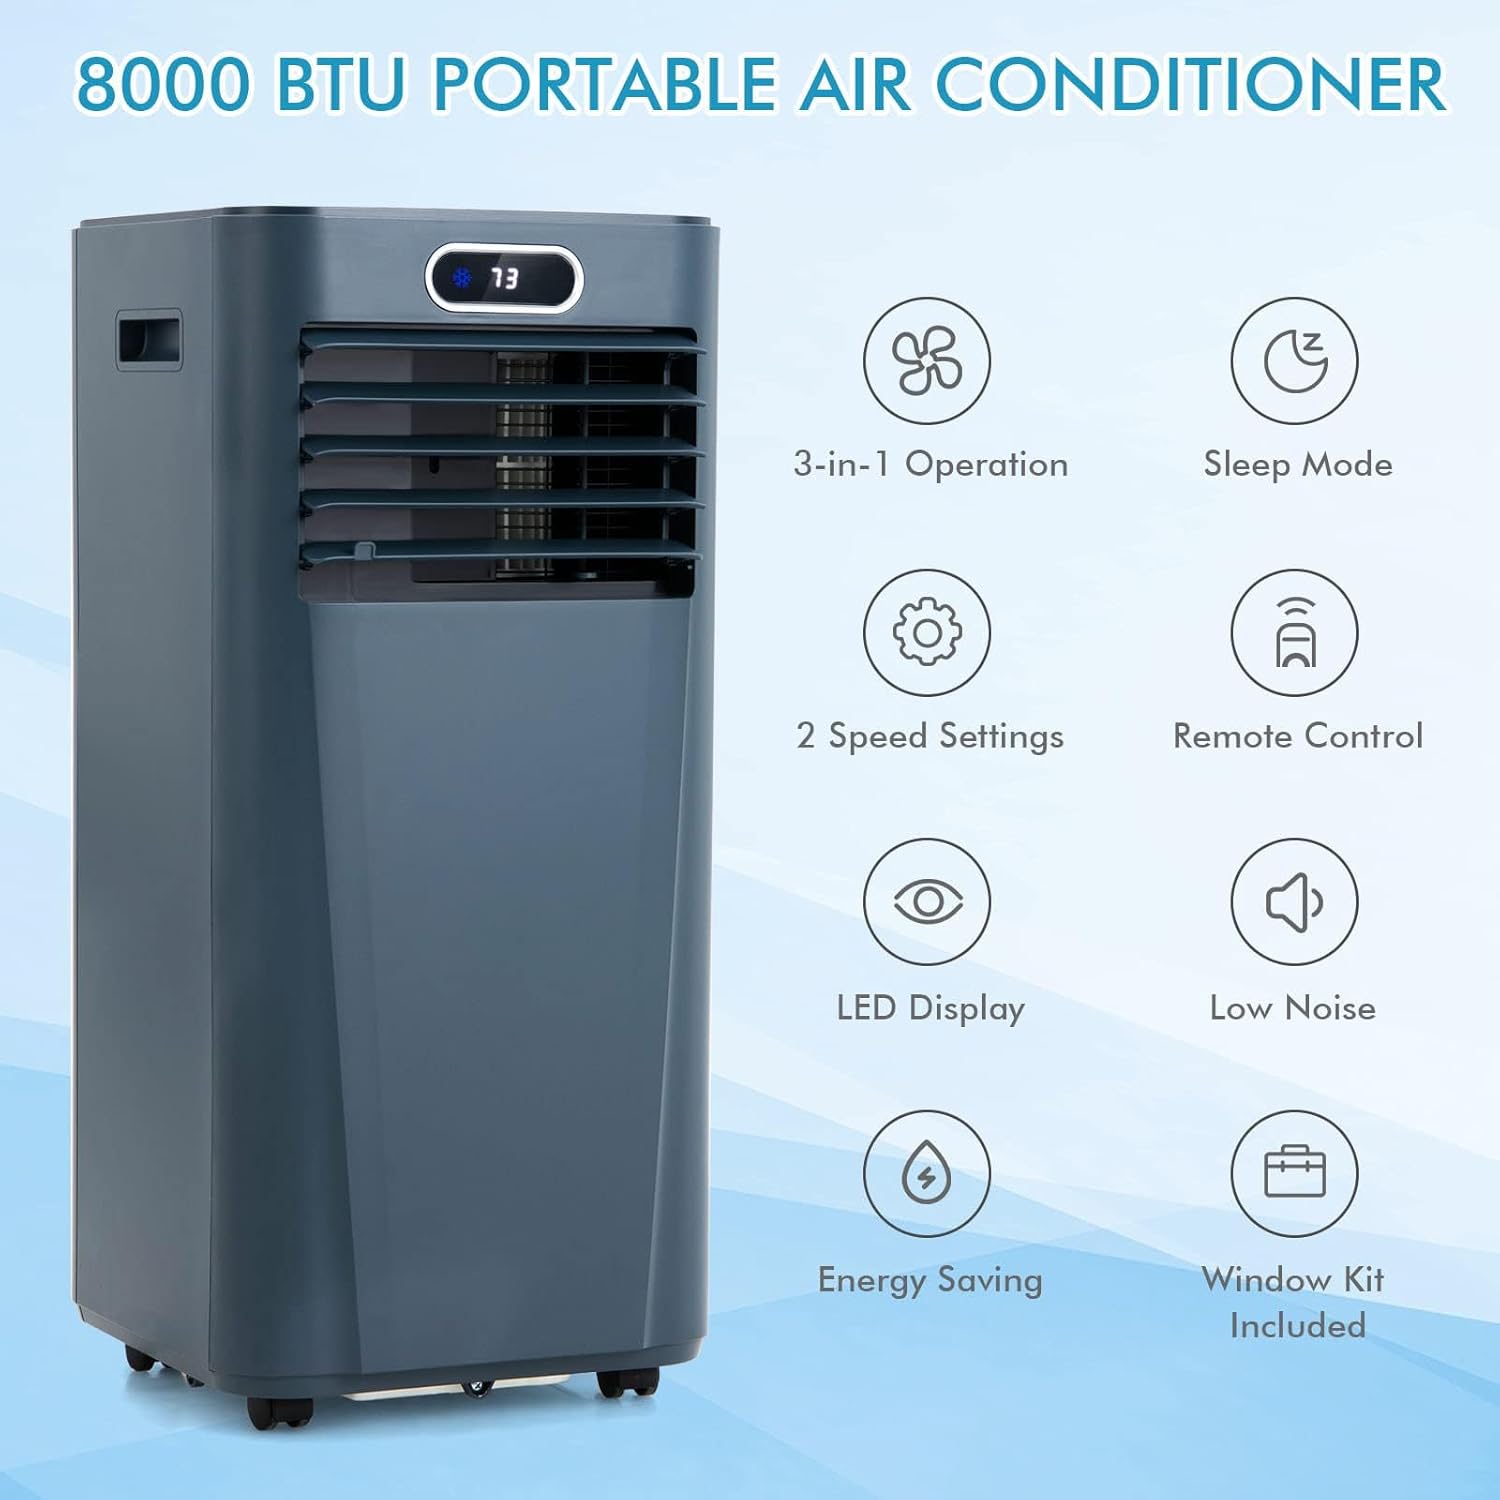
Figure 3.3: Visual representation of the unit's core functionalities and included components.
4. Setup and Installation
4.1 Unpacking
Carefully remove the unit and all accessories from the packaging. Check for any damage. Retain the packaging for future storage or transport.
4.2 Placement
Place the air conditioner on a flat, stable surface. Ensure there is at least 12 inches (30 cm) of space around the unit for proper airflow.
4.3 Window Kit Installation
The adjustable window venting kit is designed for most vertical or horizontal sliding windows (25.5"-47").
- Assemble the Window Kit: Connect the exhaust hose to the window kit adapter and then to the window slider kit.
- Install in Window: Open the window and place the window slider kit into the window opening. Adjust the length to fit snugly and secure it.
- Connect Exhaust Hose: Attach the other end of the exhaust hose to the exhaust outlet on the back of the portable AC unit. Ensure all connections are secure to prevent air leakage.
- Drainage Hose (Dehumidifier Mode): For continuous drainage in dehumidifier mode, connect the drainage hose to the continuous drain port and direct it to a suitable drain or container.
5. Operating Instructions
Your DORTALA Portable Air Conditioner offers three primary functions: Cooling, Dehumidifying, and Fan. It can be controlled via the integrated LED display or the included remote control.

Figure 5.1: The 3-in-1 multifunctional design of the unit, illustrating its cooling, dehumidifying, and fan capabilities.
5.1 Control Panel

Figure 5.2: The smart touch screen control panel, showing various function buttons and the digital display.
- Power Button: Turns the unit ON or OFF.
- Mode Button: Cycles through Cool, Dehumidify, and Fan modes.
- Up/Down Buttons: Adjust temperature settings (Cool mode) or timer duration.
- Speed Button: Selects fan speed (High/Low) in Fan and Cool modes.
- Timer Button: Sets the auto-off timer (1-24 hours).
- Child Lock: Press and hold the Lock button to prevent accidental changes.
5.2 Remote Control
The remote control allows operation from up to 16.5 feet away. It duplicates most functions of the control panel, including activating Sleep Mode.
5.3 Operating Modes
- Cool Mode: Provides cooling with adjustable temperature (60.8°F - 89.6°F) and fan speed.
- Dehumidify Mode: Removes moisture from the air (up to 40 pints/day). The fan operates at a fixed low speed.
- Fan Mode: Circulates air without cooling. Choose between high and low fan speeds.
5.4 Sleep Mode

Figure 5.3: Sleep mode features, highlighting quiet operation and timer functionality for comfortable rest.
Activate Sleep Mode via the remote control. In this mode, the unit operates quietly (≤ 55 dB), and the set temperature will gradually increase by 33.8°F per hour to maintain comfort during sleep.
6. Maintenance
Regular maintenance ensures optimal performance and longevity of your portable air conditioner.
6.1 Cleaning the Air Filter
The air filter should be cleaned every two weeks or more frequently depending on usage. A dirty filter reduces efficiency.
- Unplug the unit from the power outlet.
- Remove the air filter from the back of the unit.
- Wash the filter with warm, soapy water. Rinse thoroughly.
- Allow the filter to air dry completely before reinstalling.
6.2 Draining Water
The unit will accumulate condensate. In dehumidifier mode, continuous drainage is recommended. In cooling mode, the unit will evaporate most of the water, but if the water tank becomes full, the unit will stop operating and display an error code. Drain the water manually by removing the drain plug and allowing water to flow into a suitable container.
6.3 Storage
When storing the unit for an extended period:
- Drain all accumulated water.
- Clean the air filter.
- Run the unit in fan-only mode for a few hours to dry the interior.
- Store the unit in a dry, upright position.
7. Troubleshooting
Before contacting customer service, refer to the following table for common issues and solutions:
| Problem | Possible Cause | Solution |
|---|---|---|
| Unit does not turn on | No power; Power cord not plugged in; Full water tank | Check power outlet; Plug in power cord; Drain water tank |
| Insufficient cooling | Dirty air filter; Blocked air intake/outlet; Room too large; Window kit not sealed | Clean air filter; Clear obstructions; Ensure room size is within 230 sq.ft; Seal window kit properly |
| Unit is noisy | Unit not on a flat surface; Fan speed too high | Place on a flat surface; Reduce fan speed |
| Remote control not working | Batteries dead; Obstruction between remote and unit | Replace batteries; Remove obstruction |
8. Technical Specifications
| Specification | Value |
|---|---|
| Model Number | b5276229-dbdc-4a3d-a4ea-e519ba785eaa |
| Cooling Capacity | 8000 BTU |
| Coverage Area | Up to 230 sq.ft |
| Dehumidifying Capacity | 40 Pints/Day |
| Noise Level | ≤ 55 dB |
| Temperature Range | 60.8°F - 89.6°F (16°C - 32°C) |
| Voltage | 115 Volts |
| Wattage | 920 watts |
| Refrigerant | R 410A |
| Product Dimensions | 12.2 x 12.2 x 27.36 inches |
| Item Weight | 44 pounds |
| Material Type | ABS Plastic |
9. Warranty and Customer Support
DORTALA products are manufactured to high-quality standards. For warranty information or technical assistance, please refer to the warranty card included with your purchase or contact DORTALA customer service through the retailer where the product was purchased. Please have your model number (b5276229-dbdc-4a3d-a4ea-e519ba785eaa) and purchase date available.


