
Raddy WM6
Raddy WM6 Weather Station User Manual
Model: WM6 | Brand: Raddy
Introduction
The Raddy WM6 Weather Station is a versatile device designed to provide comprehensive weather insights and timekeeping functions for your home. It features a built-in rechargeable battery for flexible placement and supports multiple remote sensors for expanded monitoring.
Product Overview
The Raddy WM6 offers a wide array of features to keep you informed about your environment:
- Comprehensive Weather Insights: Displays calendar, 12-hour weather forecast, indoor and outdoor temperature (Celsius/Fahrenheit) and humidity, barometer readings, comfort level indicators, moon phase, atomic clock, and customizable high/low alerts.
- RCC Precision Timekeeping: Utilizes WWVB technology for automatic time adjustment, eliminating the need for manual time setting. Includes a dual alarm clock customizable for weekdays and weekends.
- Elegant Wall-Mounted Design: Equipped with a 2000mAh built-in battery, allowing for up to 45 days of operation without a power cord. Features customizable brightness levels for optimal viewing at different times.
- Expandable Monitoring: Supports connection with up to 3 remote sensors (model R3, sold separately) with a transmission range of up to 330ft (100m), ideal for monitoring various areas like baby rooms, kitchens, or gardens.
- Two Power Options: Can be powered via the included power adapter for continuous operation or rely on the built-in 2000mAh rechargeable battery for cordless use.

Figure 1: Raddy WM6 Weather Station main display unit and its accompanying wireless outdoor sensor.
Setup
1. Unboxing and Initial Charge
Carefully remove all components from the packaging. The package includes the main weather station unit, a power adapter, and a rechargeable battery (pre-installed or to be installed). It is recommended to fully charge the main unit before first use for optimal battery performance.
- Connect the power adapter to the main unit's power port.
- Plug the adapter into a standard wall outlet. The battery icon on the display will indicate charging status.

Figure 2: The Raddy WM6 can be powered by its included adapter or its internal 2000mAh rechargeable battery for cordless operation.
2. Sensor Placement
Place the wireless outdoor sensor in a location that is protected from direct sunlight and precipitation, but still allows for accurate outdoor temperature and humidity readings. Ensure it is within the 330ft (100m) transmission range of the main unit.
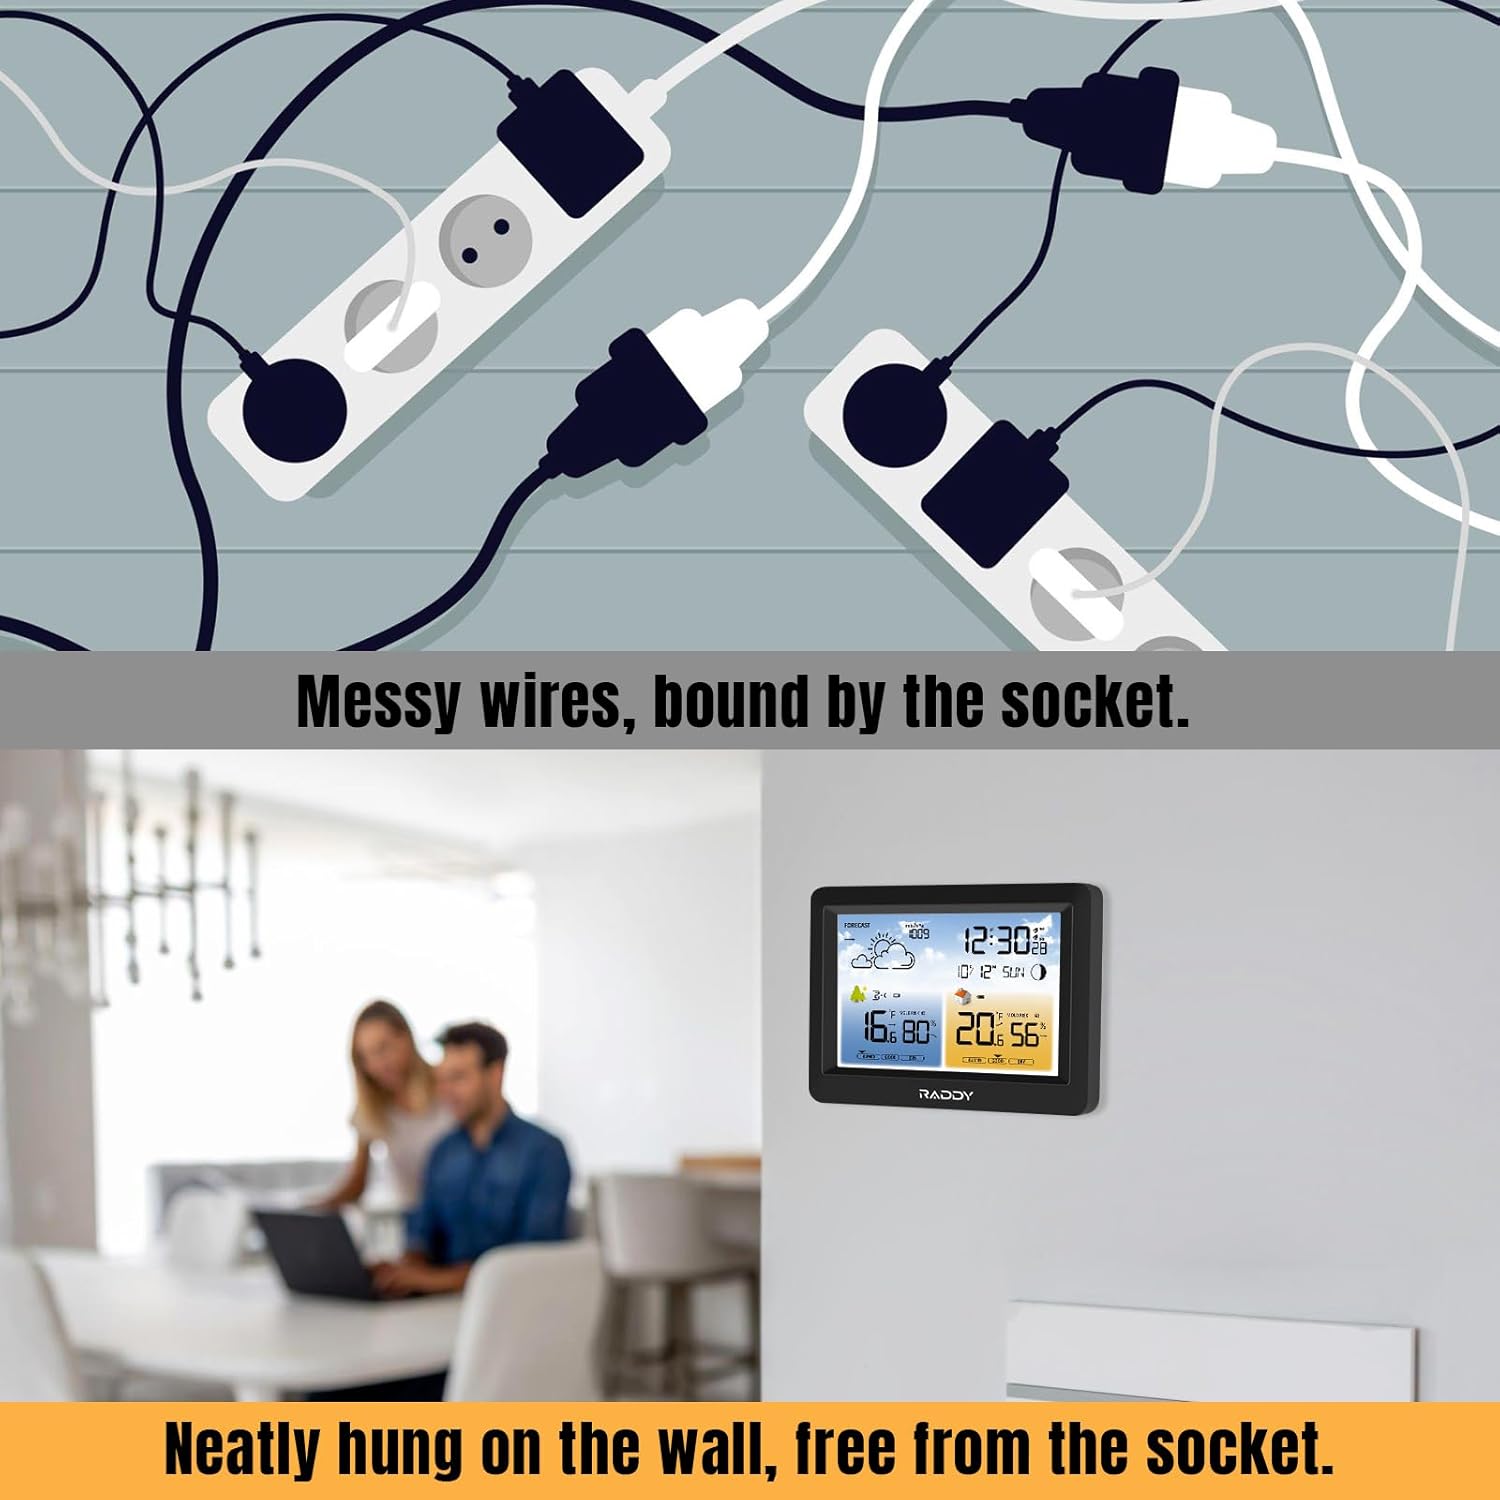
Figure 3: The weather station supports up to three remote sensors for monitoring various areas such as a baby room, garden, or kitchen.
3. Initial Synchronization
Upon powering on, the main unit will automatically attempt to synchronize with the outdoor sensor and the atomic clock signal (WWVB). This process may take a few minutes. Ensure the main unit is not charging during initial setup for optimal signal acquisition.
Video 1: Demonstrates the Raddy WM6 Weather Station's features, including its one-button power-on and wall-mounting capabilities.
Operating Instructions
Display and Brightness
The Raddy WM6 features a clear display with adjustable brightness levels. You can customize the brightness to suit your environment and conserve battery life.
- Manual Brightness Adjustment: Use the dedicated button (usually on top or back) to cycle through brightness levels (e.g., OFF, 1%, 60%, 100%).
- Scheduled Brightness: The unit allows you to pre-set specific brightness levels for different times of the day (e.g., 60% brightness from 08:00 to 18:00, and OFF from 18:00 to 23:00 to save power). Refer to the detailed settings menu for configuration.

Figure 4: The display offers multiple brightness settings and can be programmed to adjust automatically based on time.
Time and Alarm Settings
The atomic clock ensures precise timekeeping. You can also set dual alarms for different schedules.
- Atomic Clock (WWVB): The clock automatically synchronizes with the WWVB radio signal for accurate time. No manual adjustment is typically needed.
- Dual Alarm Clock: Set two independent alarms, which can be configured for weekdays, weekends, or daily.
- Snooze Function: Activate the snooze function by pressing the designated button when an alarm sounds.

Figure 5: The weather station features an atomic clock for precise time and dual alarms for flexible scheduling.
Weather Forecast and Alerts
The unit provides a 12-hour weather forecast and allows you to set alerts for temperature and humidity changes.
- 12-Hour Weather Forecast: Displays upcoming weather conditions based on barometric pressure changes.
- High/Low Alerts: Configure alerts for indoor and outdoor temperature and humidity to be notified when readings exceed or fall below set thresholds.

Figure 6: The display provides a 12-hour weather forecast using intuitive icons.
Maintenance
- Cleaning: Wipe the display and unit surfaces with a soft, dry cloth. Avoid abrasive cleaners or solvents.
- Battery Care: For extended screen usage, connect the power adapter to prevent rapid battery drainage. The built-in 2000mAh battery is designed for long-term use and can last up to 45 days on a single charge depending on brightness settings.
- Sensor Placement: Periodically check the outdoor sensor for debris or obstructions that might affect its readings.

Figure 7: The Raddy WM6 features a high-capacity 2000mAh rechargeable battery, offering extended working time.
Troubleshooting
| Problem | Possible Cause / Solution |
|---|---|
| No outdoor temperature/humidity reading. |
|
| Time is incorrect. |
|
| Display is dim or blank. |
|
| Inaccurate weather forecast. |
|
Specifications
- Model: WM6
- Brand: Raddy
- Power Source: Battery Powered (Built-in 2000mAh Lithium Ion rechargeable battery) / Power Adapter
- Connectivity Technology: Radio Frequency (for wireless sensor)
- Material: Plastic
- Special Features: Customizable Alert, Adjustable Brightness, Alarm, Clock, 12-hour Weather Forecast, Indoor/Outdoor Temperature & Humidity, Barometer, Moon Phase, Comfort Level.
- Package Dimensions: 6.69 x 5.12 x 2.68 inches
- Weight: 15.17 ounces
- Included Components: Power Adapter, Rechargeable Battery (built-in)
Warranty and Support
For warranty information, technical support, or to purchase additional remote sensors (model R3), please visit the official Raddy website or contact their customer service. You can find more information at the Raddy Store on Amazon.
Related documentsWM6


Ask a question about this manual
Ask about setup, troubleshooting, compatibility, parts, safety, or missing instructions. Manuals+ will review the question and use this page’s manual context to help answer it.