
1. Introduction
Thank you for choosing the Aitek 17-inch LED Monitor M1710A. This monitor is designed to provide a clear and vibrant visual experience for various applications, including study, work, and entertainment. This manual provides essential information for setting up, operating, and maintaining your monitor. Please read it thoroughly before use and keep it for future reference.
2. Product Overview
The Aitek 17-inch LED Monitor M1710A features a Full HD 1920x1080p resolution, an anti-glare screen, and multiple connectivity options to ensure compatibility with a wide range of devices.
2.1 What's in the Box
- Aitek 17-inch LED Monitor
- Monitor Stand Base and Neck
- Power Adapter and Cable
- HDMI Cable
- User Manual

Image: Contents of the Aitek 17-inch LED Monitor package, including the monitor, cables, and box.
2.2 Monitor Features
- 17-inch LED Display
- Full HD 1920x1080p Resolution
- Anti-glare Screen Surface
- Wide Viewing Angle (160/170 degrees)
- Multiple Connectivity: HDMI, VGA, AV, USB
2.3 Front and Rear Views
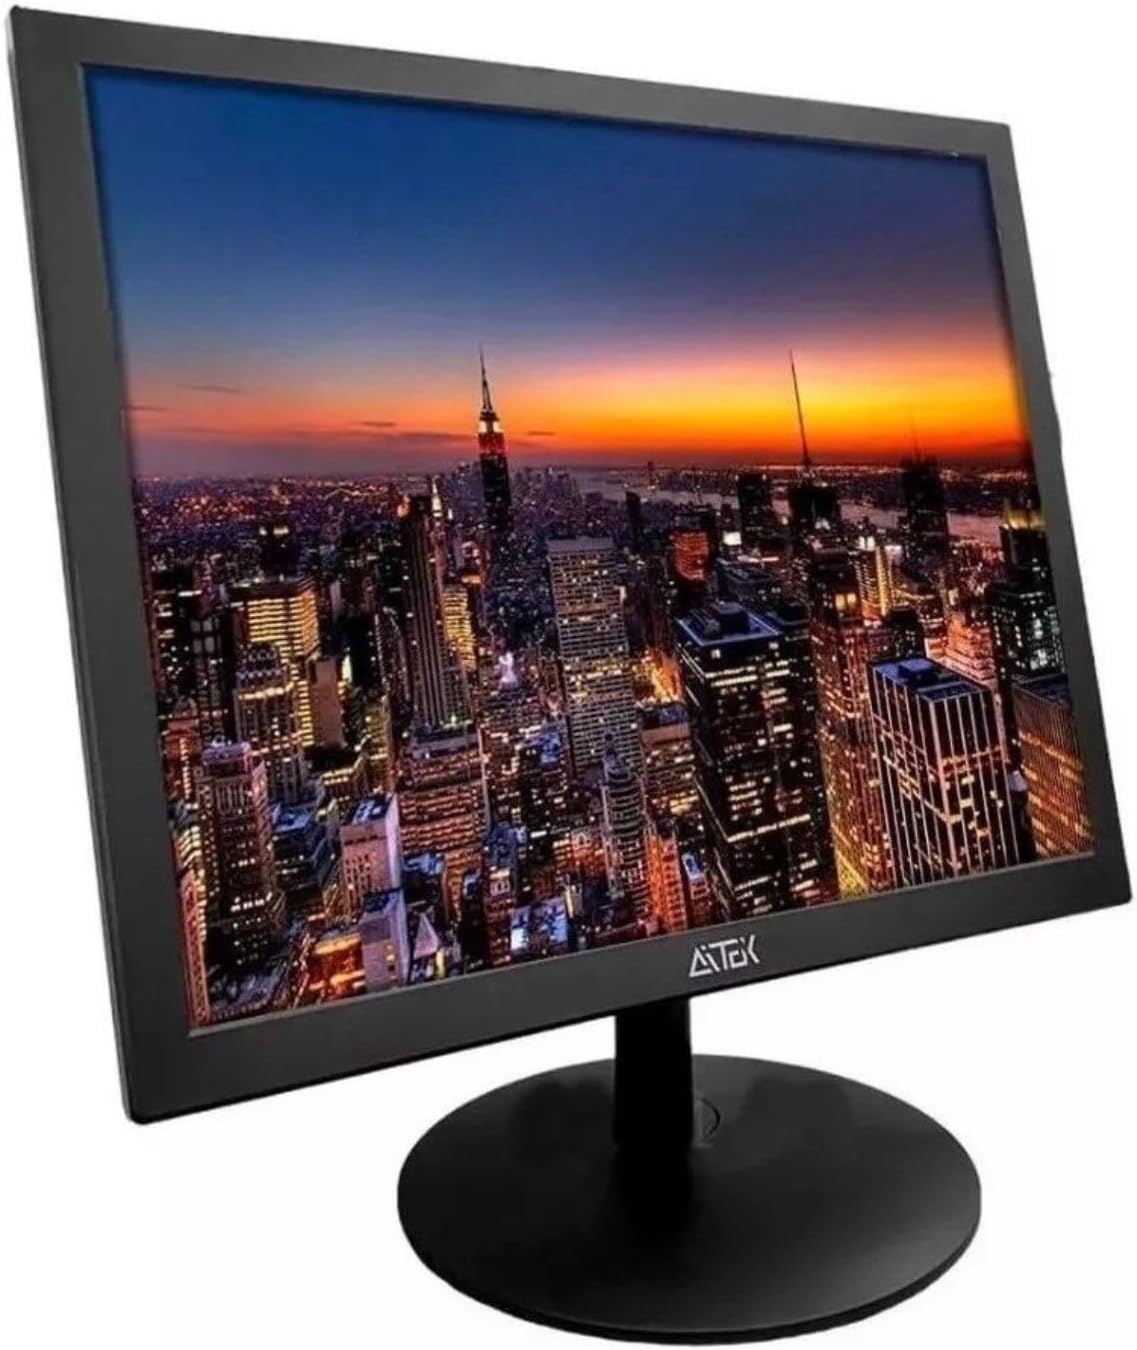
Front View: The monitor's display and bezel.

Rear View: Back panel with various input ports.
3. Setup Instructions
3.1 Attaching the Stand
- Carefully remove the monitor from its packaging. Place the screen face down on a soft, clean surface to prevent scratches.
- Attach the stand neck to the back of the monitor by aligning the tabs and pushing firmly until it clicks into place.
- Attach the stand base to the stand neck. Secure it with the screw provided, usually located at the bottom of the base.
3.2 Connecting Cables
Ensure all devices are powered off before making any connections.

Image: Power adapter and HDMI cable, essential for monitor operation.
- Power Connection: Connect the power adapter to the monitor's power input port, then plug the power cable into a wall outlet.
- Video Connection: Choose one of the following options:
- HDMI: Connect one end of the HDMI cable to the monitor's HDMI port and the other end to the HDMI output port on your computer or device.
- VGA: Connect one end of the VGA cable to the monitor's VGA port and the other end to the VGA output port on your computer or device.
- AV: For AV devices, connect the appropriate AV cables (RCA) to the monitor's AV input ports.
- USB Connection: If your device supports USB video output or you wish to use the monitor's USB features (if available), connect a USB cable from your device to the monitor's USB port.
3.3 Initial Power-On
After connecting all necessary cables, power on your computer or device, then press the power button on the monitor. The monitor should automatically detect the input signal. If not, you may need to manually select the input source using the monitor's controls.
4. Operating Instructions
4.1 Power On/Off
Press the power button located on the monitor's bezel to turn the monitor on or off.
4.2 Input Selection
Use the monitor's control buttons (usually located on the bottom or back) to access the On-Screen Display (OSD) menu. Navigate to the 'Input Source' or 'Source' option and select the desired input (HDMI, VGA, AV, USB).
4.3 Adjusting Display Settings
Access the OSD menu to adjust various display settings:
- Brightness/Contrast: Adjust these settings to optimize image visibility and depth.
- Color Settings: Modify color temperature, hue, and saturation to suit your preference.
- Resolution: Ensure your computer's display settings match the monitor's native resolution (1920x1080p) for the best image quality.
- Aspect Ratio: Adjust between 16:9 or other available options if needed.
5. Maintenance
5.1 Cleaning the Screen
To clean the anti-glare screen, gently wipe it with a soft, lint-free cloth. For stubborn marks, slightly dampen the cloth with water or a specialized screen cleaner. Avoid using harsh chemicals, abrasive materials, or spraying liquid directly onto the screen.
5.2 General Care
- Keep the monitor away from direct sunlight, heat sources, and excessive moisture.
- Ensure proper ventilation around the monitor to prevent overheating.
- Avoid placing heavy objects on the monitor or its cables.
- Unplug the monitor during lightning storms or when not in use for extended periods.
6. Troubleshooting
If you encounter issues with your monitor, refer to the following common problems and solutions:
| Problem | Possible Solution |
|---|---|
| No image on screen | Ensure power cable is securely connected. Check video cable connection (HDMI/VGA). Verify correct input source is selected in OSD menu. |
| Image is blurry or distorted | Adjust display resolution on your computer to 1920x1080p. Check video cable for damage. Adjust monitor's auto-adjust function (if available) or phase/clock settings in OSD. |
| No sound (if using monitor speakers) | Ensure volume is not muted on monitor or computer. Check audio cable connection (if using separate audio input). Verify audio output settings on your computer. |
| Monitor not turning on | Check power outlet and power cable connection. Test with a different power outlet. |
If the problem persists after trying these solutions, please contact customer support.
7. Specifications
| Feature | Description |
|---|---|
| Brand | Aitek |
| Screen Size | 17 Inches |
| Resolution | 1920x1080p |
| Aspect Ratio | 16:9 |
| Screen Surface Description | Anti-Reflective |
| Display Type | LED |
| Display Technology | LED |
| Viewing Angle | 170 Degrees |
| Color Display | Yes |
| Maximum Screen Resolution | 1920 x 1080 |
| Native Resolution | 1920x1080 |
| Total HDMI Ports | 1 |
| Total Video Output Ports | 1 |
| Special Features | Anti-glare screen |
| Specific Product Uses | Study, Work, or Watch Movies |
| Color | Black |
| Mounting Type | Wall Mount |
| Connectivity Technology | HDMI, VGA |
| Hardware Interface | HDMI, USB, VGA |
8. Product Video
Video: An overview of the Aitek 17-inch LED Monitor, highlighting its features and connectivity options. This video demonstrates the product's design and functionality.
9. Warranty and Support
This Aitek monitor comes with a standard manufacturer's warranty. For specific warranty terms and conditions, please refer to the warranty card included in your product packaging or contact your retailer.
For technical support, troubleshooting assistance, or service inquiries, please contact Aitek customer support through their official website or the contact information provided with your purchase.