
1. Introduction
This manual provides comprehensive instructions for the safe installation, proper operation, and general maintenance of the Legrand Radiant RHL153PBK 150-Watt Single-Pole/3-Way LED Advanced Dimmer. This device is engineered for precise control of dimmable LED, CFL, and incandescent lighting loads.
Please read this manual thoroughly before beginning installation or operation to ensure optimal performance and safety.
2. Safety Information
WARNING: Risk of Electric Shock. Improper installation can result in serious injury or death.
- Always disconnect power at the circuit breaker or fuse box before installing or servicing this device.
- Install in accordance with all national and local electrical codes. If you are unsure about any part of the installation, consult a qualified electrician.
- Use only with compatible dimmable light sources. Refer to the bulb manufacturer's specifications for dimmer compatibility.
- Do not exceed the maximum load rating of 150W for LED/CFL or 600W for incandescent lighting.
- This device is for indoor use only.
3. Setup and Installation
The Legrand Radiant dimmer is designed for easy replacement of existing single-pole or 3-way switches or dimmers. No neutral wire is required for installation.
3.1. Preparation
- Turn off power to the circuit at the circuit breaker or fuse box. Verify power is off using a voltage tester.
- Remove the existing wall plate and switch from the wall box.
3.2. Wiring
Identify the wires in the wall box: Line (hot), Load (to light fixture), Ground, and Traveler (for 3-way applications). Connect the wires to the dimmer terminals as follows:
- Connect the ground wire to the dimmer's green ground screw.
- Connect the Line and Load wires to the appropriate dimmer terminals.
- For 3-way installations, connect the traveler wires to the designated traveler terminals on both dimmers.
Refer to the detailed wiring diagrams below for single-pole and 3-way configurations. For additional guidance, scan the QR code on the device or refer to the link provided.
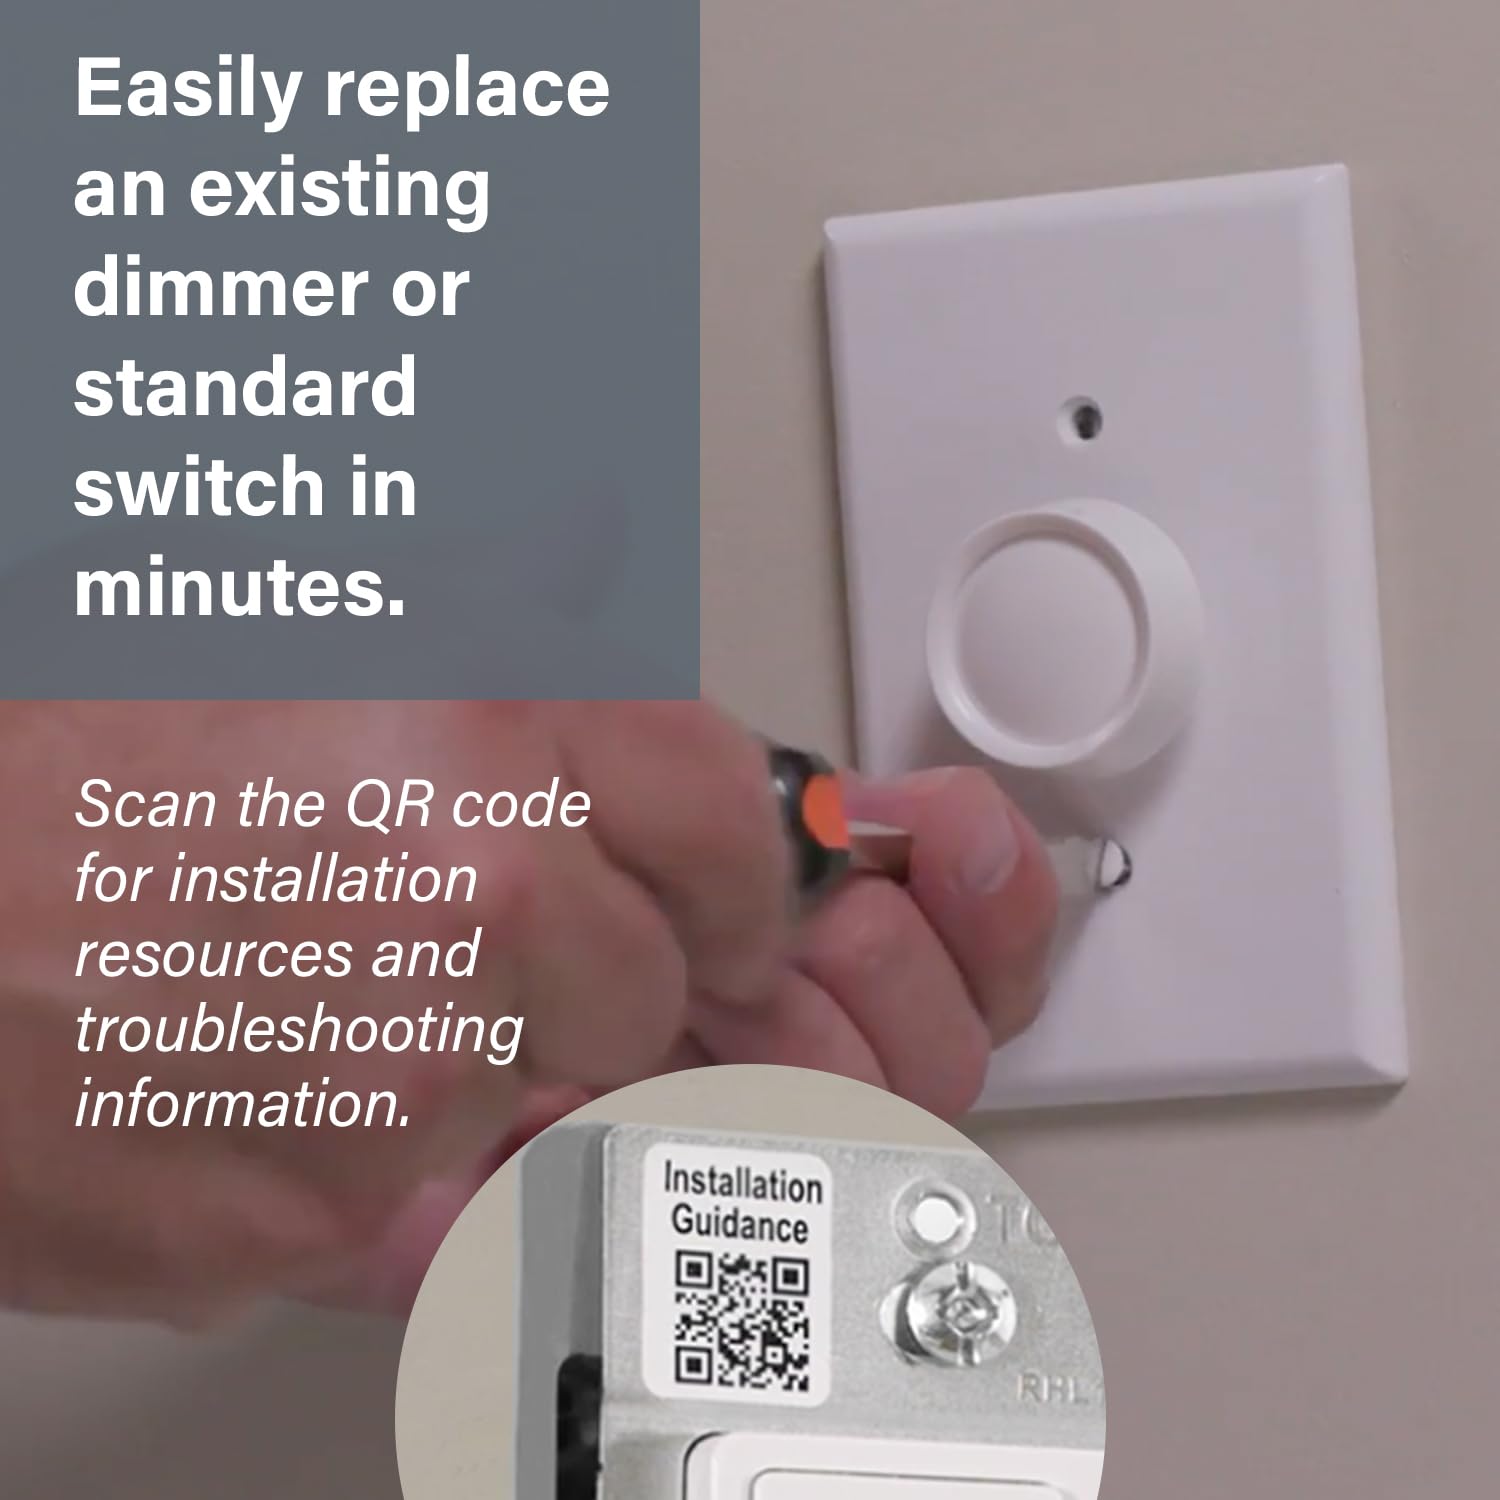
Image: Replacing an existing dimmer switch. The Legrand Radiant dimmer is designed for straightforward installation.

Image: Wiring diagrams for single-pole and 3-way installations, along with bulb compatibility information.
For detailed installation resources and troubleshooting information, visit: Legrand Installation Guidance
3.3. Mounting and Power On
- Carefully push the wired dimmer into the wall box. Secure it with the provided screws.
- Attach the new wall plate.
- Restore power at the circuit breaker.
3.4. Calibration
After installation, the dimmer may require calibration to optimize performance with your specific light bulbs and eliminate flicker. Use the small calibration button located on the side of the dimmer to adjust the high-end and low-end dimming limits.

Image: The calibration button on the dimmer, used for fine-tuning dimming performance.
4. Operating Instructions
The Legrand Radiant dimmer provides intuitive control over your lighting.
4.1. On/Off Control
- Press the top of the rocker switch to turn the lights ON.
- Press the bottom of the rocker switch to turn the lights OFF.
4.2. Dimming Control
- Use the vertical slide control to adjust the light level.
- Slide the control upwards to brighten the lights.
- Slide the control downwards to dim the lights.

Image: A hand adjusting the dimmer's slide control to set the desired light level.
4.3. LED Burst Mode
The optional LED Burst Mode setting can be activated to help eliminate or reduce turn-on delays and
Ask a question about this manual
Ask about setup, troubleshooting, compatibility, parts, safety, or missing instructions. Manuals+ will review the question and use this page’s manual context to help answer it.