
Introduction
Thank you for choosing the LITFAD Modern Shoe Storage Cabinet. This cabinet is designed to provide a stylish and functional solution for organizing your footwear. Constructed from solid wood with a White Maple finish, it features multiple shelves and doors to keep your shoes neatly stored and protected. This manual provides essential information for safe assembly, operation, and maintenance of your new shoe cabinet.
Safety Information
- Always assemble the cabinet on a soft, clean surface to prevent scratches.
- Ensure all screws and fasteners are securely tightened before use. Periodically check and re-tighten as necessary.
- Do not overload shelves. Distribute weight evenly to maintain stability.
- Keep small parts and assembly tools away from children and pets.
- For tall units, consider anchoring the cabinet to a wall to prevent tipping, especially in households with children or pets. Wall anchoring hardware may not be included.
- Avoid placing the cabinet in direct sunlight or near heat sources to prevent material damage.
Package Contents
Before beginning assembly, verify that all components listed below are present and undamaged. If any parts are missing or damaged, please contact customer support.
- 1 x Shoe Storage Cabinet Unit (disassembled panels)
- Adjustable Shelves (Quantity: 10)
- Assembly Hardware (screws, dowels, cam locks, hinges, handles)
- Assembly Tool (e.g., Allen wrench)
- Instruction Manual (this document)

Figure 1: Cabinet Dimensions Diagram
Setup and Assembly
Assembly of the LITFAD Shoe Storage Cabinet is designed to be straightforward. It is recommended to have two people for assembly to ensure stability and ease of handling larger panels. Please follow the steps carefully.
- Unpack Components: Carefully remove all parts from the packaging and lay them out on a clean, soft surface. Verify against the package contents list.
- Assemble Base: Attach the side panels to the bottom panel using the provided screws and dowels. Ensure all connections are snug.
- Install Back Panel: Slide or fasten the back panel into the grooves or attach it to the rear of the assembled base and side panels. This adds structural integrity.
- Attach Top Panel: Secure the top panel to the side panels using the appropriate hardware.
- Insert Fixed Shelves: If there are any fixed shelves, install them according to the pre-drilled holes.
- Install Door Hinges: Attach hinges to the cabinet doors and then to the main cabinet frame. Adjust hinges as needed for proper door alignment.
- Attach Handles: Secure the door handles to the cabinet doors.
- Insert Adjustable Shelves: Place the adjustable shelf pins into the desired holes on the side panels. Then, rest the adjustable shelves on these pins.
- Final Check: Ensure all screws are tightened and the cabinet is stable.
Note: If you encounter difficulty or missing parts, refer to the Troubleshooting section or contact customer support.
Operating Instructions
Your LITFAD Shoe Storage Cabinet is designed for convenient and organized shoe storage.
- Opening/Closing Doors: The cabinet features push-to-open doors. Gently press the door to release the latch, then pull to open. To close, push the door firmly until it latches.
- Adjusting Shelves: The cabinet includes adjustable shelves. To change shelf height, remove the shelf, reposition the shelf pins to the desired height, and then place the shelf back onto the pins. This allows for storage of various shoe types, including boots.
- Shoe Placement: Place shoes neatly on the shelves. The cabinet is designed to accommodate various shoe sizes, including men's and women's shoes up to size 15.
- Capacity: The multi-layer design provides ample space for numerous pairs of shoes. Distribute weight evenly across shelves.
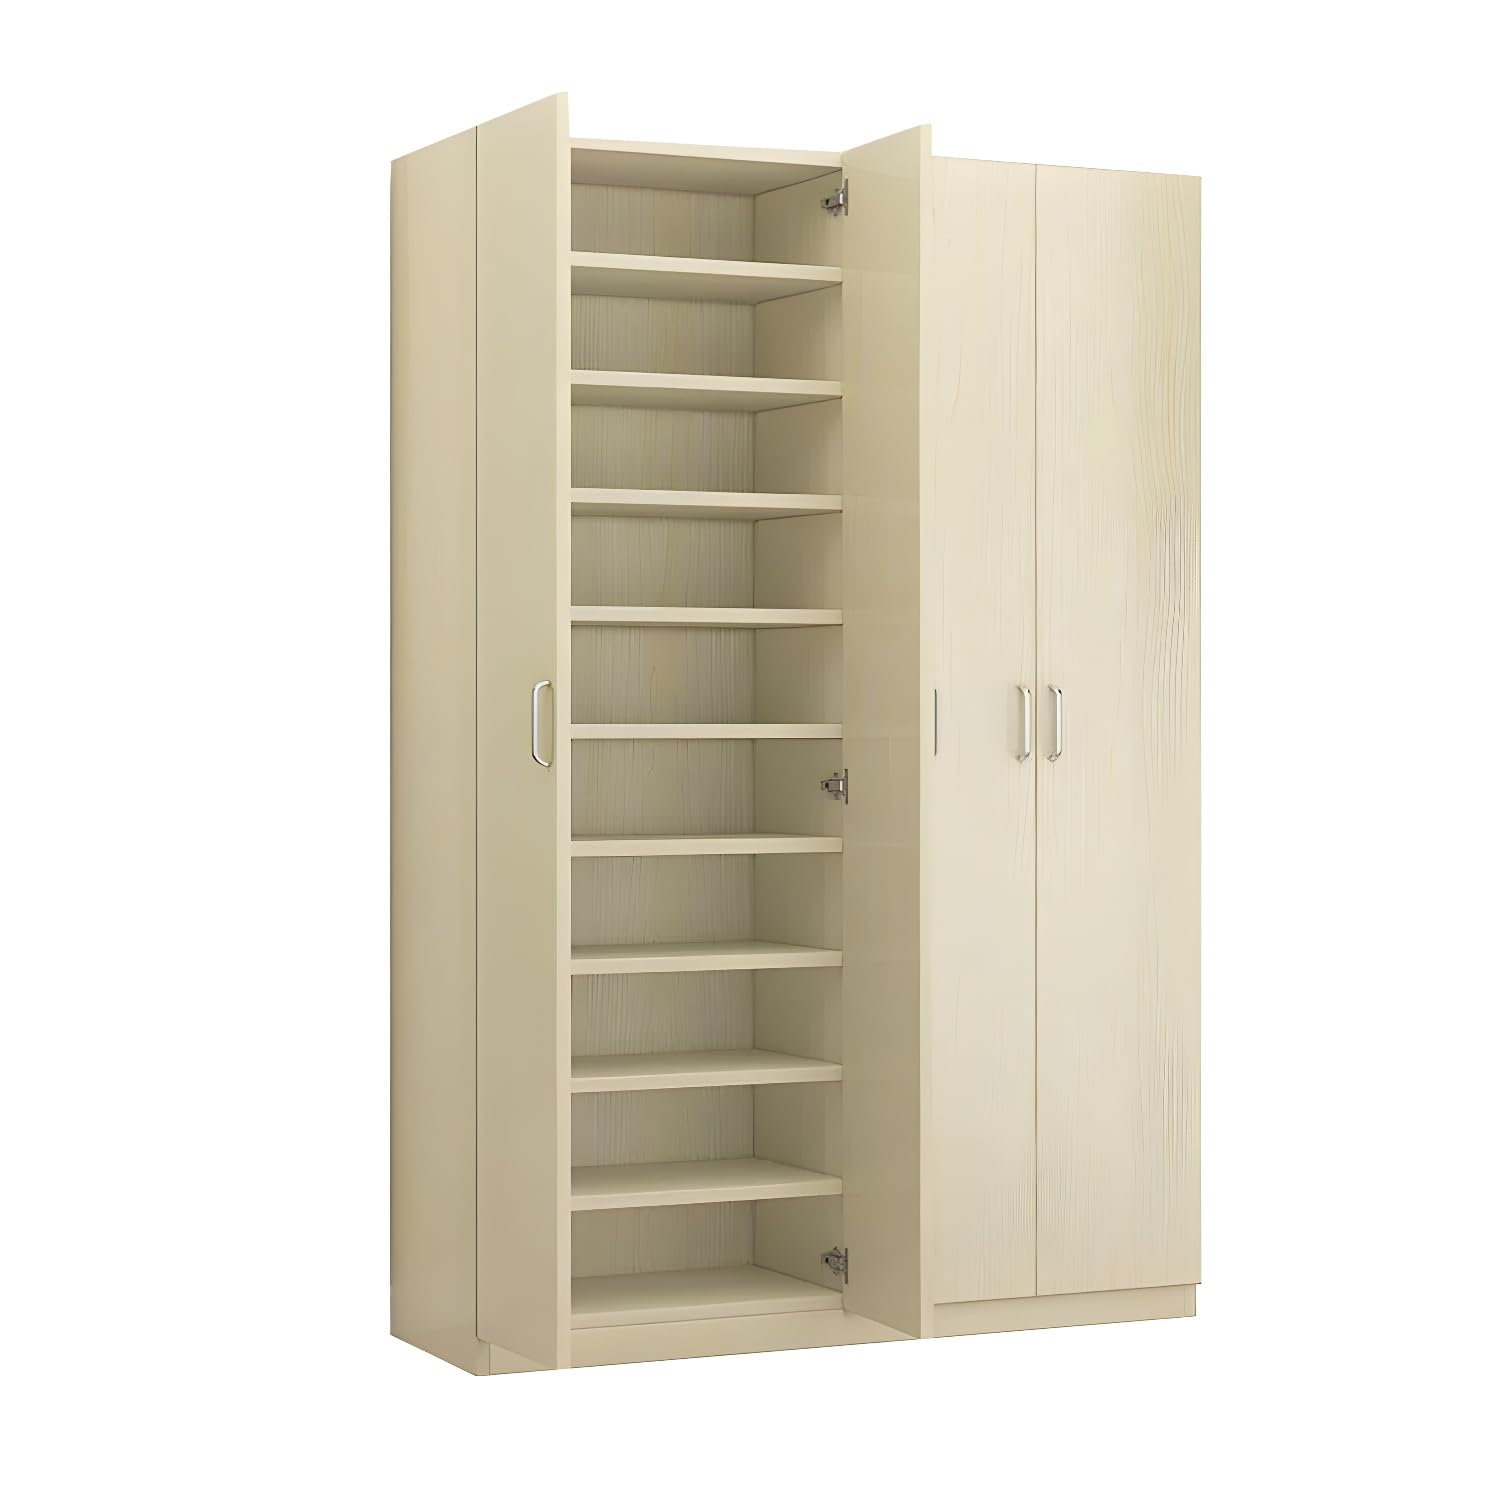
Figure 2: Cabinet in Use with Shoes
Maintenance
Proper care will ensure the longevity and appearance of your shoe cabinet.
- Cleaning: Wipe surfaces with a soft, damp cloth. Avoid abrasive cleaners or harsh chemicals, which can damage the finish. For stubborn marks, use a mild soap solution and dry immediately.
- Moisture Protection: The cabinet is moisture-proof. However, avoid prolonged exposure to excessive moisture. Promptly wipe up any spills.
- Hardware Check: Periodically check all screws and fasteners to ensure they remain tight. Re-tighten if necessary to maintain structural integrity.
- Avoid Scratches: Use coasters or protective pads if placing items on top of the cabinet to prevent scratches.
Troubleshooting
If you encounter issues during assembly or use, refer to the following common problems and solutions:
| Problem | Possible Cause | Solution |
|---|---|---|
| Missing parts or damaged panels upon arrival. | Shipping damage or packaging error. | Do not proceed with assembly. Contact LITFAD customer support immediately with your order details and photos of the damage/missing parts. |
| Cabinet is wobbly or unstable after assembly. | Screws not fully tightened; panels not properly aligned. | Ensure all screws, dowels, and cam locks are fully tightened. Check that panels are correctly seated in their grooves. Ensure the cabinet is on a level surface. |
| Doors do not close properly or are misaligned. | Hinges not installed correctly or require adjustment. | Check hinge installation. Most hinges allow for minor adjustments using a screwdriver to align the doors horizontally, vertically, and for depth. |
| Difficulty inserting shelves. | Shelf pins not fully inserted or misaligned. | Ensure shelf pins are fully inserted into the corresponding holes on both sides. The shelf should rest evenly on all four pins. |
Specifications
| Brand | LITFAD |
| Model Name | LT1236166WM |
| Product Dimensions (L x W x H) | 47.2"L x 12.6"W x 70.9"H |
| Material | Solid Wood |
| Color | White Maple |
| Number of Shelves | 10 (Adjustable) |
| Special Feature | Push door opening |
| Mounting Type | Freestanding |
| Assembly Required | Yes |
Customer Support
For any questions regarding assembly, missing parts, or product functionality, please contact LITFAD customer support. We are committed to assisting you.
Please have your model number (LT1236166WM) and purchase information ready when contacting support.
Note: Warranty information is not explicitly provided in the product details. Please refer to your purchase receipt or retailer's policy for details on returns or guarantees.