
1. Introduction
Thank you for choosing the JAPANNEXT JN-i50U 50-inch 4K UHD IPS Monitor. This large-format display is designed to provide an exceptional visual experience with its 4K UHD (3840x2160) resolution and IPS panel technology, ensuring accurate colors and wide viewing angles. It features HDR compatibility for enhanced contrast and vibrant colors, integrated 8W x 2 speakers for clear audio, and versatile connectivity options including three HDMI 2.0 ports and three USB-A 2.0 ports. This monitor also supports G-Sync and FreeSync technologies for smooth visuals. This manual provides essential information for setting up, operating, and maintaining your monitor.

Image: Front view of the JAPANNEXT JN-i50U monitor displaying a vibrant city night scene.
2. Safety Information
Please read all safety instructions carefully before using this product. Keep this manual for future reference.
- Do not expose the monitor to rain or moisture to prevent fire or electric shock.
- Do not open the monitor casing. There are no user-serviceable parts inside. Refer all servicing to qualified service personnel.
- Place the monitor on a stable, flat surface to prevent it from falling.
- Ensure proper ventilation around the monitor. Do not block ventilation openings.
- Use only the power adapter and cables provided by the manufacturer.
- Unplug the monitor from the power outlet during lightning storms or when unused for long periods.
3. Package Contents
Verify that all items listed below are included in your package:
- 1x JAPANNEXT JN-i50U Monitor
- 1x HDMI Cable
- 1x Power Cable
- 1x Remote Control
- 1x User Manual (this document)
- 1x Warranty Card

Image: Diagram illustrating the included accessories: power adapter, HDMI cable, remote control, and user manual.
4. Setup
4.1 Attaching the Stand or Wall Mount
The JN-i50U monitor can be used with its included desktop stand or mounted on a VESA-compatible wall mount (200x200 mm). Ensure the monitor is placed on a soft, clean surface during installation to prevent scratches.
- For Stand Installation: Carefully attach the stand base to the monitor column, then secure the column to the back of the monitor using the provided screws.
- For VESA Wall Mount: Remove the stand if already attached. Use M4 screws (not included with monitor, typically supplied with VESA mount) to secure the VESA mount bracket to the 200x200mm mounting holes on the back of the monitor.

Image: Diagram indicating VESA mount compatibility with a 200x200mm pattern.
4.2 Connecting Cables
Connect the necessary cables to the monitor's input ports located on the rear panel.
- Power Connection: Connect the power cable to the monitor's power input and then to a wall outlet.
- Video Input: Connect your computer or other video source to one of the three HDMI 2.0 ports using the provided HDMI cable or another compatible cable.
- USB Devices: Connect USB peripherals (e.g., keyboard, mouse) to the three USB-A 2.0 ports.

Image: Rear view of the monitor detailing its dimensions and port layout, including HDMI 2.0 and USB-A ports.

Image: Diagram showing the monitor's connectivity options, specifically 2 USB-A ports and 3 HDMI 2.0 ports.
5. Operating Instructions
5.1 Power On/Off
Press the power button on the monitor or the remote control to turn the monitor on or off. The power indicator light will illuminate when the monitor is on.
5.2 Input Source Selection
Use the 'Source' button on the remote control to cycle through the available input sources (HDMI 1, HDMI 2, HDMI 3). Select the input corresponding to your connected device.
5.3 On-Screen Display (OSD) Menu
The OSD menu allows you to adjust various monitor settings. Use the remote control's navigation buttons to access and adjust settings.
- Picture Settings: Adjust brightness, contrast, color temperature, and aspect ratio.
- Audio Settings: Control volume for the integrated 8W x 2 speakers.
- Advanced Features: Enable or disable HDR, Low Blue Light Filter, FreeSync, and G-Sync.

Image: Comparison illustrating the visual difference between SDR and HDR content, highlighting HDR's improved dynamic range.

Image: Visual comparison demonstrating the effect of FreeSync, showing a torn image without it and a smooth image with it enabled.

Image: Comparison illustrating the reduction of screen flicker with the Flicker-Free feature enabled.
6. Maintenance
6.1 Cleaning the Monitor
Always unplug the monitor before cleaning. Use a soft, lint-free cloth lightly dampened with water or a mild, non-abrasive screen cleaner. Do not spray cleaner directly onto the screen.
6.2 Storage
If storing the monitor for an extended period, disconnect all cables and store it in a cool, dry place, preferably in its original packaging to protect it from dust and physical damage.
7. Troubleshooting
Refer to the following table for common issues and their solutions.
| Problem | Possible Cause | Solution |
|---|---|---|
| No image on screen | Power cable not connected; Incorrect input source selected; Video cable loose or faulty. | Ensure power cable is securely connected; Select the correct input source using the remote; Check video cable connections and try a different cable if available. |
| Image is blurry or distorted | Incorrect resolution setting; Faulty video cable. | Set the display resolution to 3840x2160 (4K UHD) in your device's display settings; Try a different HDMI cable. |
| No sound from speakers | Volume too low or muted; Incorrect audio output selected on source device. | Increase volume using the remote control; Ensure the monitor is selected as the audio output device on your computer or source. |
| Screen flickering | Refresh rate mismatch; Cable issue. | Ensure your device's refresh rate is set to 60Hz; Check video cable connections; Enable Flicker-Free mode in OSD if available. |
8. Specifications
Detailed technical specifications for the JAPANNEXT JN-i50U monitor:
- Model Name: JN-i50U
- Screen Size: 50 Inches
- Panel Type: IPS
- Resolution: 4K UHD (3840 x 2160 Pixels)
- Aspect Ratio: 16:9
- Refresh Rate: 60 Hz
- Response Time: 8 milliseconds
- Contrast Ratio: 1300:1
- Brightness: 300 lumens
- Viewing Angle: 178 Degrees (Horizontal/Vertical)
- Connectivity: 3x HDMI 2.0, 3x USB-A 2.0
- Audio: Integrated Speakers (8W x 2)
- Features: HDR, G-Sync, FreeSync, Low Blue Light Filter, Anti-glare screen
- VESA Mount: 200 x 200 mm
- Dimensions (P x L x H): 23.5 x 111.1 x 67.6 cm
- Weight: 8.5 Kilograms
- Power Consumption: 19 Watt

Image: Diagram summarizing key specifications, connectivity, compatibility features, and included items.

Image: Visual comparison of various display resolutions, from HD to 4K UHD, demonstrating the increased detail of higher resolutions.
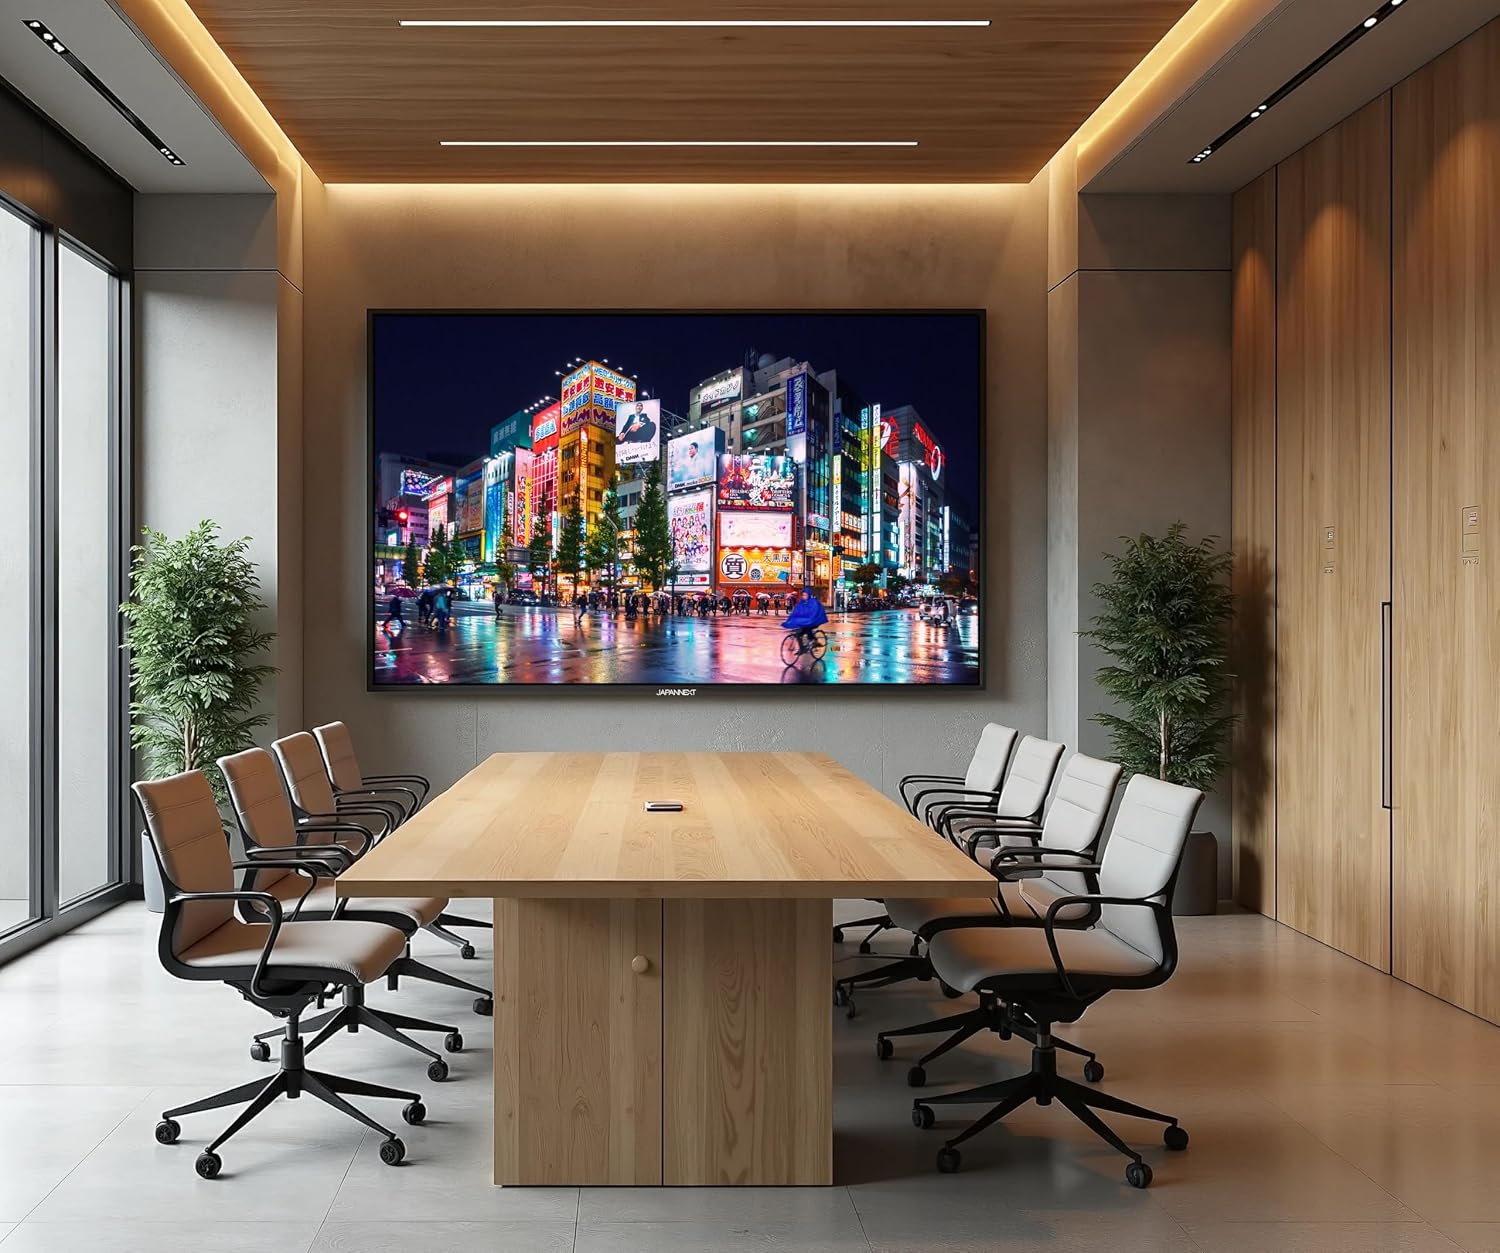
Image: Illustration of the monitor's color capabilities, indicating 1.07 billion colors and 97% sRGB coverage.
9. Warranty and Support
9.1 Warranty Information
The JAPANNEXT JN-i50U monitor comes with a 2-year manufacturer's warranty. Please refer to the included warranty card for detailed terms and conditions. Keep your proof of purchase for warranty claims.
9.2 Customer Support
If you encounter any issues not covered in this manual or require further assistance, please contact JAPANNEXT customer support. Contact information can typically be found on the warranty card or the official JAPANNEXT website.


