
Introduction
Thank you for choosing the AOPICK 4.3" 1080P USB Digital Microscope. This manual provides detailed instructions for the proper setup, operation, and maintenance of your device. Please read this manual thoroughly before use to ensure optimal performance and longevity of your microscope.
This digital microscope is designed for various applications including PCB inspection, coin and jewelry examination, stamp collection, watch repair, skin recognition, educational purposes, textile industry, and biological observation (not suitable for cells).

Image: The AOPICK Digital Microscope is suitable for a wide range of applications, including examining small animals, repairing PCBs, inspecting jewelry, and analyzing textiles.
Product Overview
The AOPICK Digital Microscope features a 4.3-inch 1080P LCD screen, adjustable magnification, 8 integrated LED lights, and PC compatibility. Key components include:
- 4.3" 1080P HD LCD Display Screen
- Adjustable Magnification (50x to 1000x)
- 8 Adjustable LED Lights for illumination
- USB Connectivity for PC (Windows & MacOS compatible)
- Photo and Video Recording Capability
- Rechargeable Lithium-ion Battery (3 hours runtime, 2 hours charge time)
- TF Card Slot for expanded storage (TF card not included)

Image: Overview of the microscope's button functions, including brightness adjustment, height adjustment, 8 LED lights, TF card slot, and multiplier adjustment.
Setup
- Assembly: Carefully unpack all components. Assemble the microscope stand by attaching the main unit to the base. Ensure all connections are secure.
- Charging the Battery: Before first use, fully charge the microscope's built-in Lithium-ion battery. Connect the provided USB cable to the microscope and a suitable USB power adapter (not included). A full charge typically takes approximately 2 hours. The battery provides up to 3 hours of continuous use.
- Inserting a TF Card: For photo and video recording, insert a TF (MicroSD) card into the designated slot. The slot is typically located on the side or back of the display unit. Ensure the card is inserted correctly until it clicks into place. (TF card not included).
Operating Instructions
1. Power On/Off
Press and hold the Power button (usually located on the display unit) for a few seconds to turn the microscope on or off. The LCD screen will illuminate upon power-on.
2. Adjusting Magnification and Focus
The microscope offers a magnification range from 50x to 1000x. The actual magnification observed may vary based on screen size and the distance between the camera and the object. Note that the maximum optical magnification is specified as 500x.
- Height Adjustment: Use the height adjustment knob on the stand to move the microscope unit up or down, changing the distance to the object.
- Focus Adjustment: Rotate the focus wheel located beneath the screen to bring the image into sharp focus.
- Multiplier Adjustment: Some models may have an additional multiplier adjustment ring on the lens for fine-tuning magnification.
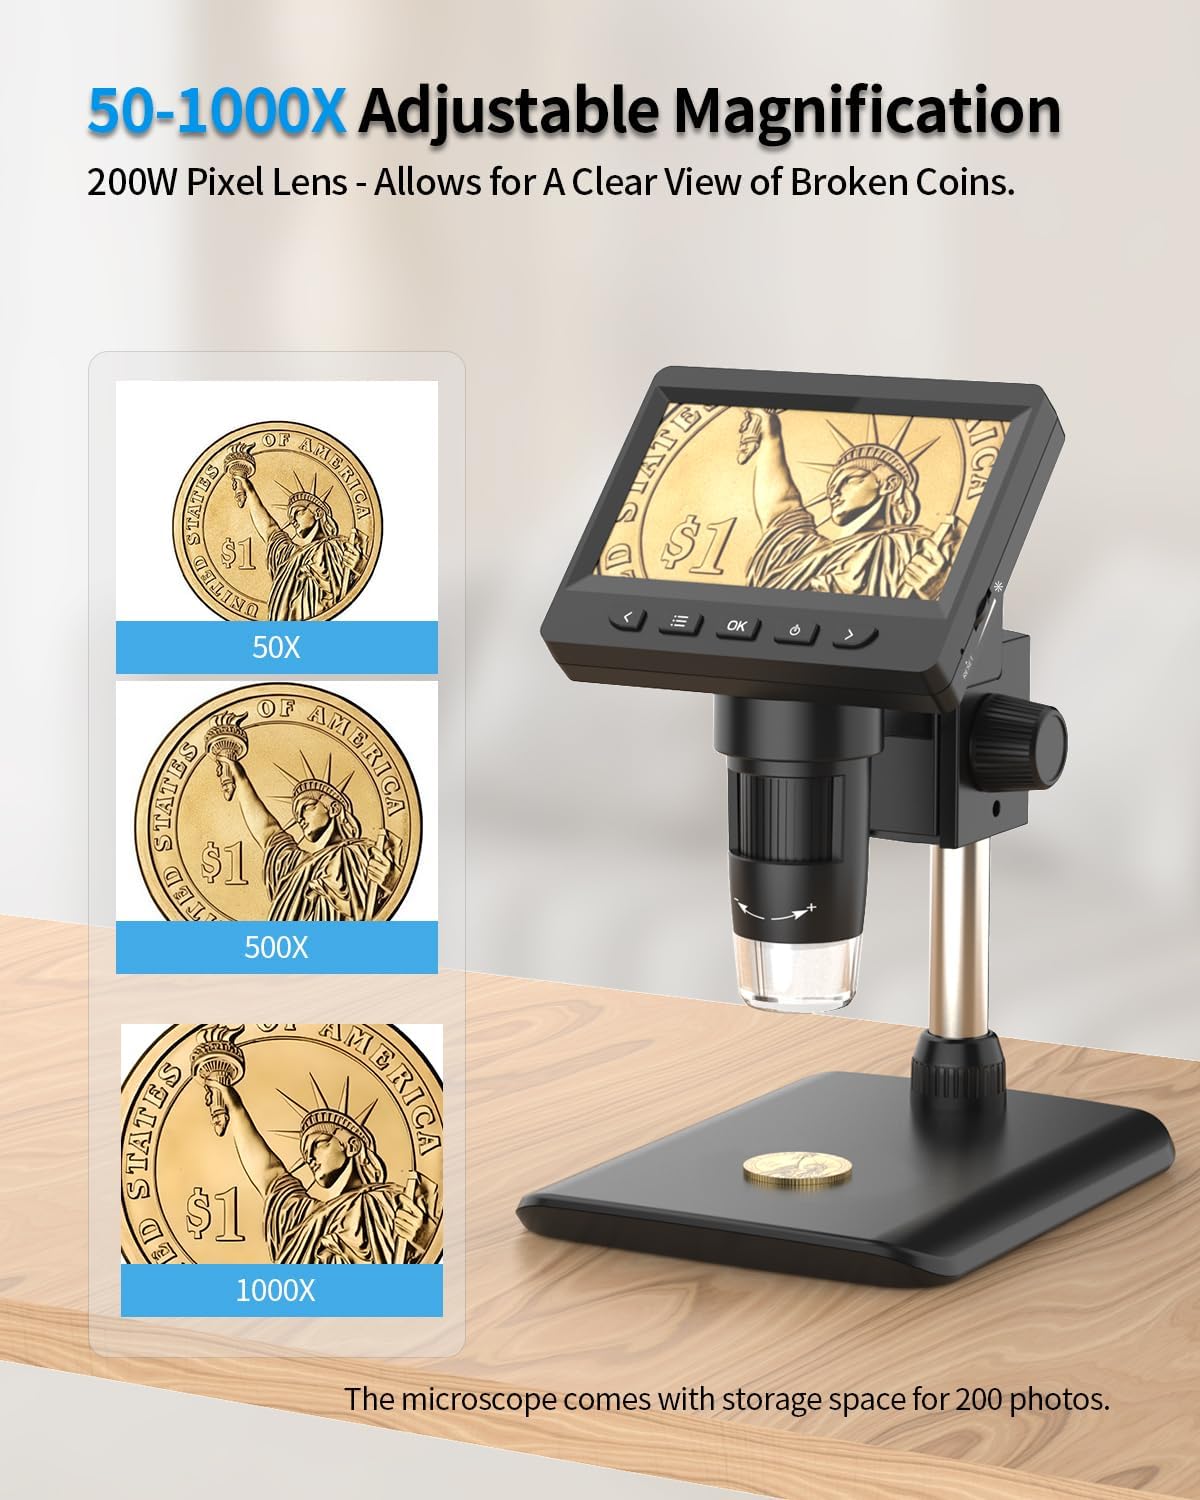
Image: Visual representation of a coin magnified at 50x, 500x, and 1000x using the AOPICK Digital Microscope.
3. Adjusting LED Illumination
The microscope is equipped with 8 adjustable LED lights to provide sufficient illumination for your observations. Rotate the brightness adjustment knob (typically on the side of the display unit) to increase or decrease the light intensity as needed.
4. PC Connection (Windows & MacOS)
To view images on a larger screen or for extended observation, connect the microscope to a computer using the provided USB cable. The microscope is compatible with both Windows and MacOS operating systems.
- Connect one end of the USB cable to the microscope and the other end to an available USB port on your computer.
- The computer should recognize the microscope as a webcam or imaging device. You may need to use a default camera application or third-party software to view the live feed.
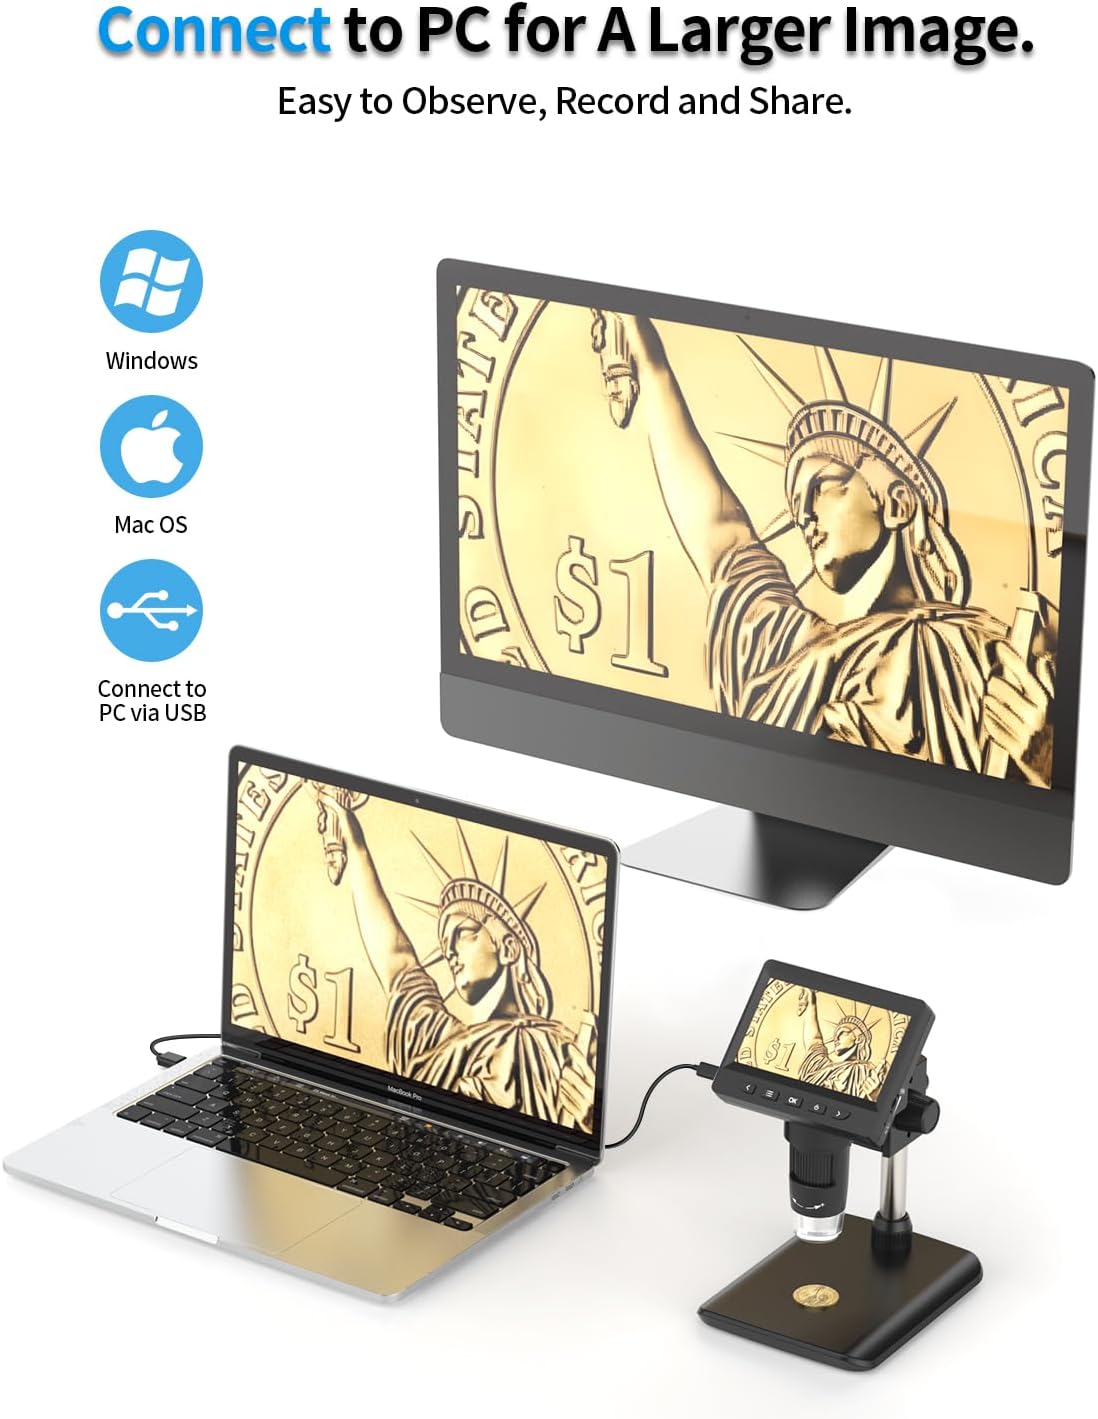
Image: The AOPICK Digital Microscope connected to a PC and laptop, demonstrating real-time, lag-free viewing on larger screens.
5. Photo and Video Recording
With a TF card inserted, you can capture still images and record videos of your observations directly from the microscope. Refer to the on-screen menu or dedicated buttons for recording functions.
- Press the "Photo" button (often marked with a camera icon) to take a still picture.
- Press the "Video" button (often marked with a video camera icon) to start and stop video recording.
- Captured files are saved to the inserted TF card.

Image: The microscope's capability to record photos and videos, capturing details of objects like circuit boards and leaves.
Maintenance
- Cleaning: Use a soft, dry cloth to clean the microscope body. For the lens and screen, use a specialized lens cleaning cloth and solution to avoid scratches. Do not use abrasive cleaners or solvents.
- Storage: Store the microscope in a clean, dry, and dust-free environment when not in use. Avoid extreme temperatures and direct sunlight.
- Battery Care: To prolong battery life, avoid fully discharging the battery frequently. Charge the battery regularly, even if the microscope is not used for extended periods.
Troubleshooting
| Problem | Possible Cause | Solution |
|---|---|---|
| Microscope does not power on. | Low battery or power issue. | Charge the battery using the USB cable. Ensure the power button is pressed and held sufficiently. |
| Image is blurry or out of focus. | Incorrect focus or height adjustment. | Adjust the focus wheel and/or the height of the microscope unit until the image is clear. |
| Screen is too dark or too bright. | LED brightness not adjusted. | Rotate the LED brightness adjustment knob to achieve desired illumination. |
| Cannot connect to PC. | Incorrect USB connection or driver issue. | Ensure the USB cable is securely connected. Try a different USB port. On some systems, you may need to select the microscope as the camera device in your software settings. |
| Cannot record photos/videos. | No TF card or card full/corrupted. | Insert a TF card. Check if the TF card has sufficient free space. Format the TF card if necessary (this will erase all data). |
Specifications
- Model Number: 307C
- Display: 4.3-inch 1080P HD LCD
- Magnification: 50x - 1000x (Digital Zoom, Max Optical Magnification: 500x)
- Illumination: 8 Adjustable LED Lights
- PC Compatibility: Windows, MacOS
- Power Source: Rechargeable Lithium-ion Battery (Included)
- Battery Life: Approx. 3 hours
- Charging Time: Approx. 2 hours
- Storage: Supports TF Card (up to 32GB, not included)
- Product Dimensions: 16 x 17.78 x 12 cm
- Item Weight: 414 Grams
- Material: Plastic
- Voltage: 5 Volts
- Lens Description: Achromatic
Warranty and Support
For warranty information or technical support, please refer to the product packaging or contact AOPICK customer service directly. Keep your purchase receipt for warranty claims.
Manufacturer: AOPICK
