
Naroote Narootey8ahvn7mfg-11
DIY Video Capture Card User Manual
Model: Narootey8ahvn7mfg-11
Brand: Naroote
Product Overview
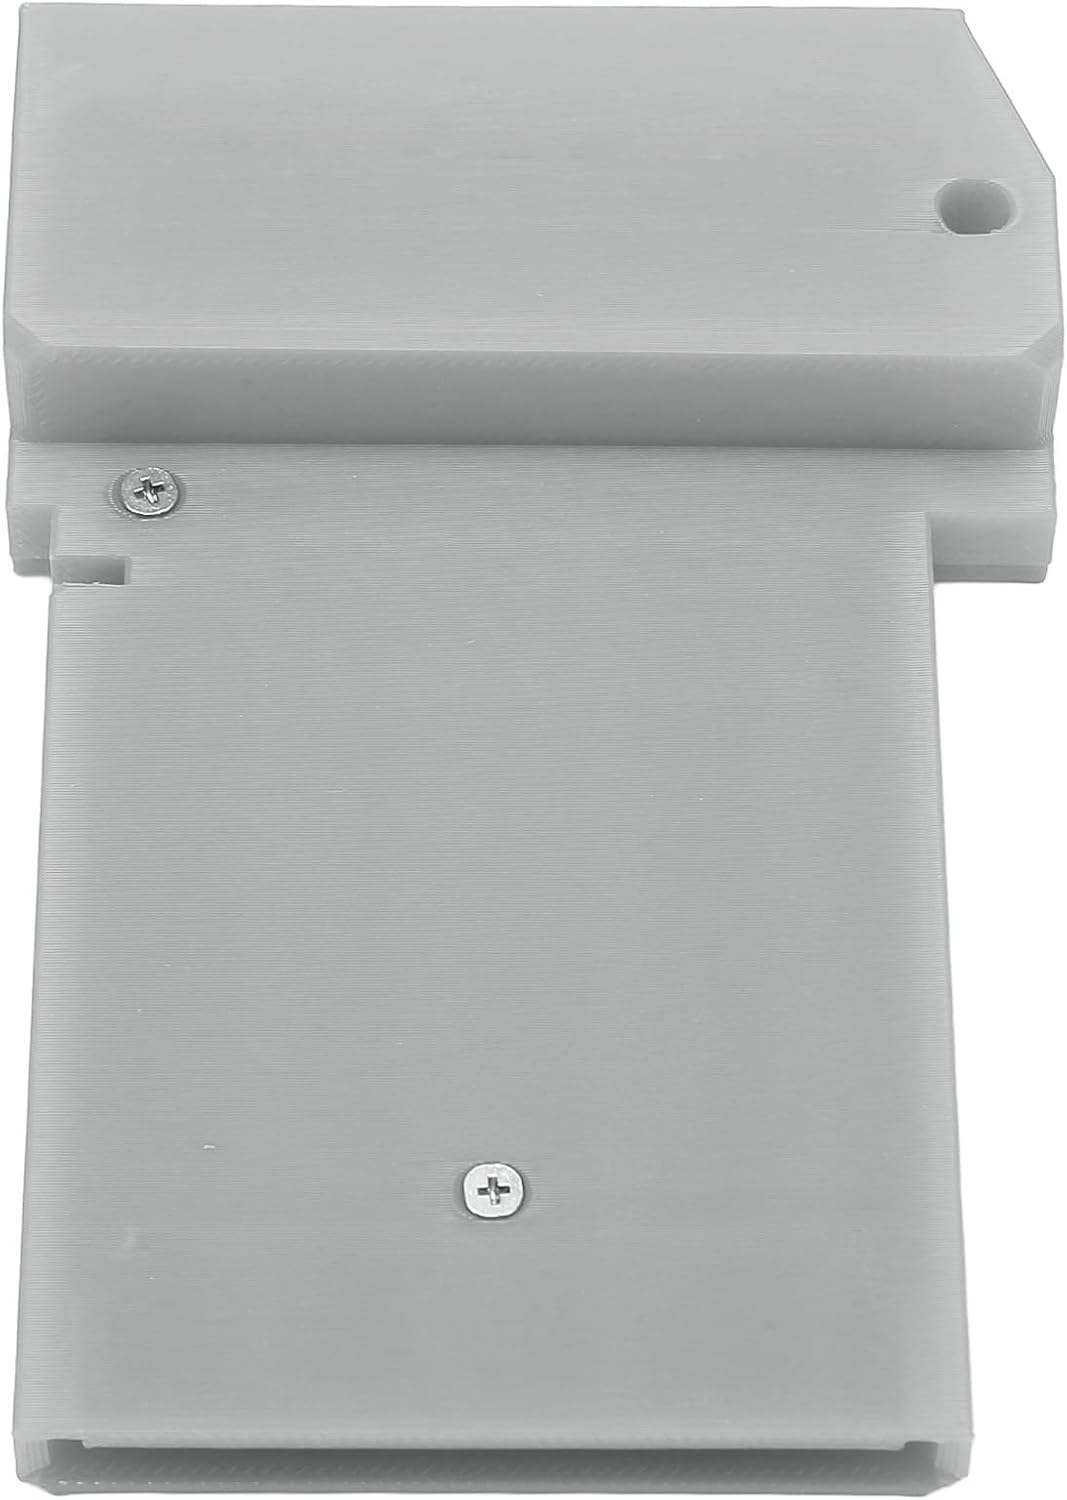
The Naroote DIY Video Capture Card is designed for connecting unmodified Game Boy and cassette tapes, allowing users to capture or stream game footage via USB. It is built around the rp2040 microcontroller (for Pico) and is primarily based on the open-source project for GB Interceptor.
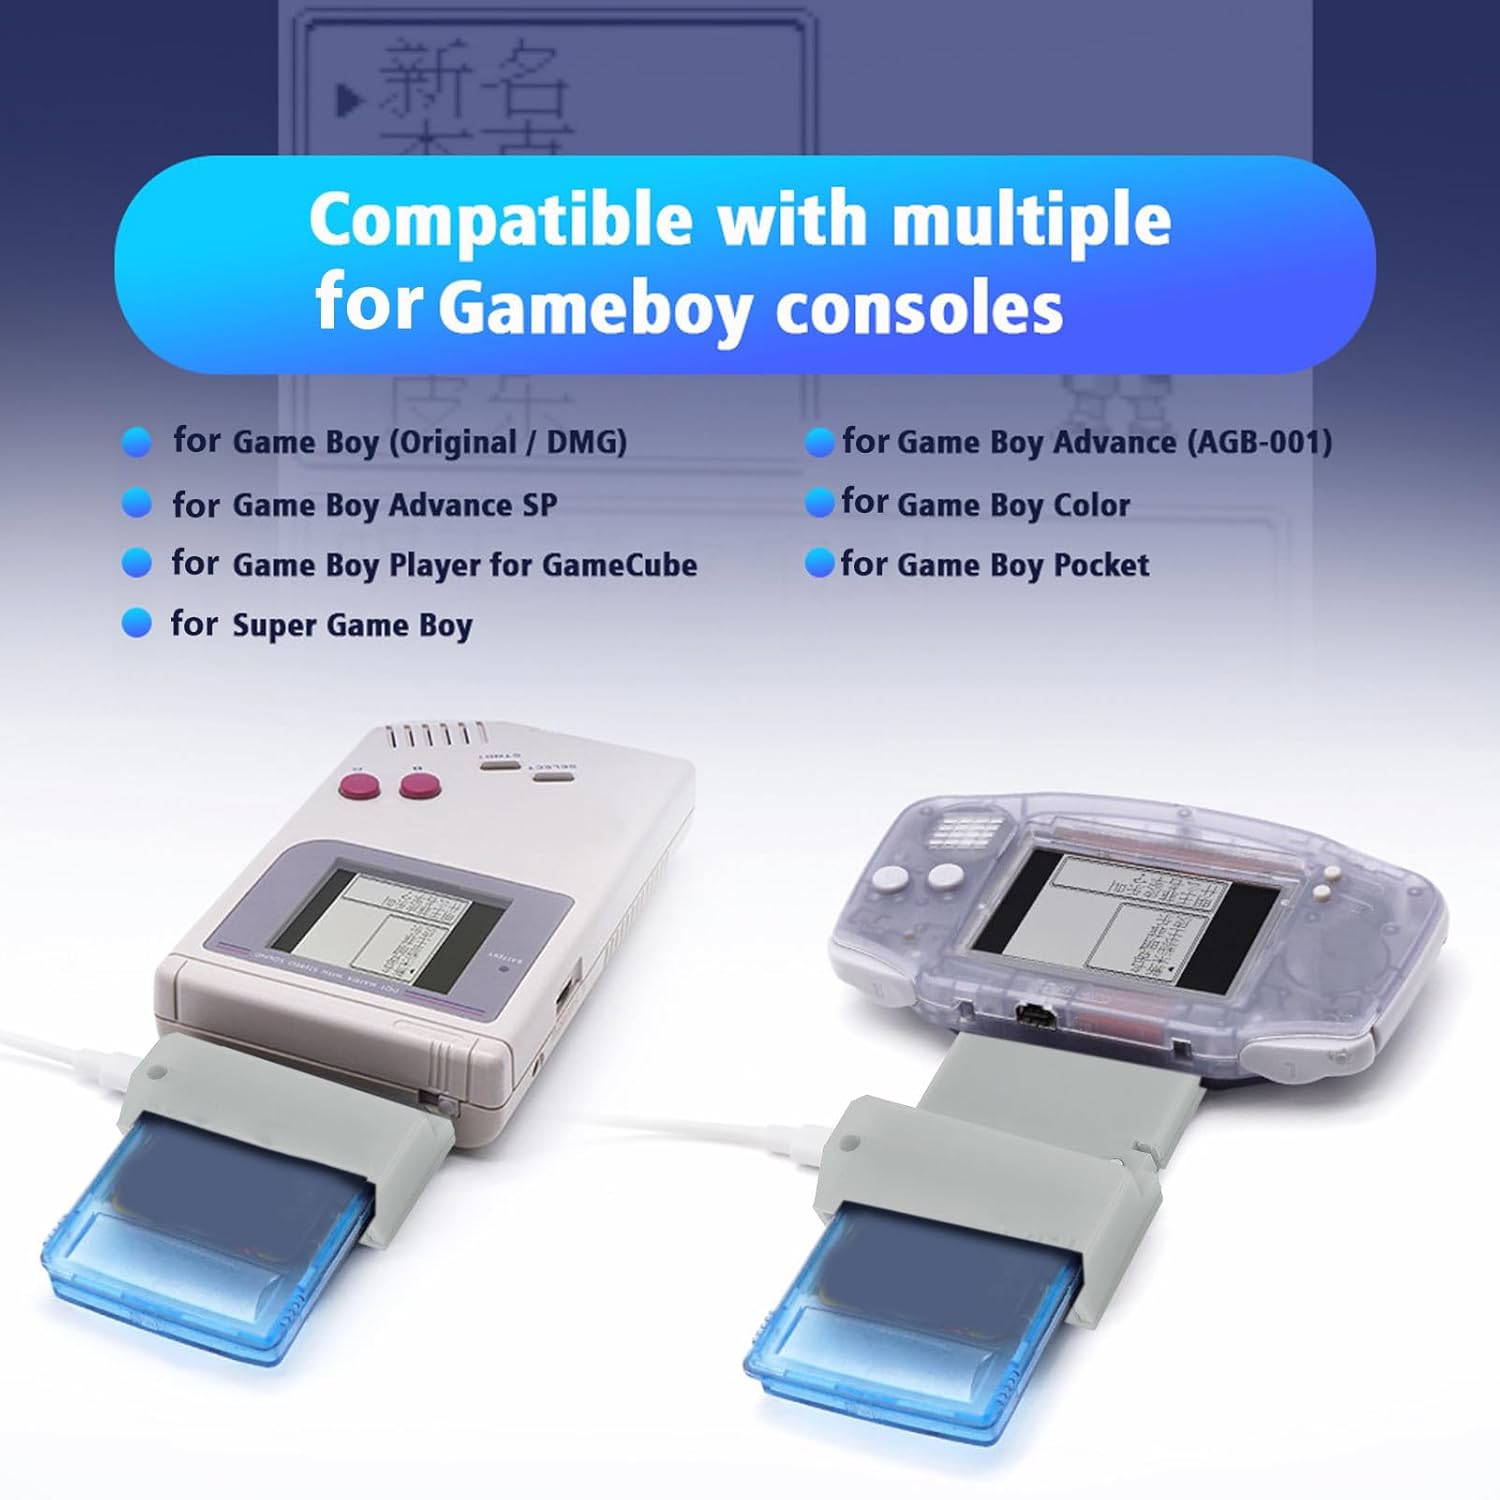
This device offers a plug-and-play experience, eliminating the need to modify your Game Boy console. It is compatible with a wide range of consoles, ensuring broad applicability for your retro gaming setup.
Key features include a Mode Button for color and frame mixing adjustments, a Flash Button for easy firmware updates, and an LED indicator for synchronization status.

Setup Instructions
- Power the GB Interceptor: Before turning on your Game Boy, ensure the GB Interceptor is powered via USB. Connect the USB cable from the interceptor to your computer.
- Connect to Console: Connect the GB Interceptor to your Game Boy console.
- Insert Game Card: Insert your game card into the GB Interceptor.
- Turn on Game Boy: Once all connections are secure, turn on your Game Boy. The video feed from the game should now load on your computer's video software device.
The device is designed for plug-and-play operation, meaning no complex driver installations are typically required. Simply connect and begin capturing or streaming.


Operating Instructions
Mode Button
The Mode Button, located near the LED indicator, allows you to cycle through different display modes for your captured video feed. Each press of the button will change the color mode and alternate between frame mixing options.
- Color Modes: Switches between grayscale and green color palettes.
- Frame Mixing: Toggles frame mixing on or off. Each time the display returns to grayscale, the frame mix setting will also toggle.
Flash Button (Firmware Update)
The Flash Button, typically located near the center of the device (often within the casing), is exclusively used for updating the device's firmware to a newer version.
- Prepare for Update: Ensure you have the new firmware file (a .uf2 file) ready on your computer.
- Enter Flash Mode: Hold down the Flash Button while connecting the USB cable from the interceptor to your computer.
- Drag and Drop: The interceptor should appear as a storage device (similar to a USB drive) on your computer. Simply drag and drop the new firmware (.uf2) file onto this storage device. The device will automatically update and restart.
LED Indicator
The blue LED on the device indicates its operational status:
- Solid Blue: The interceptor is powered on and successfully synchronized with the Game Boy game.
- Briefly Off: The LED may briefly turn off for a fraction of a second when the Game Boy screen turns off (e.g., during game loading screens). This is normal behavior and indicates the Game Boy is temporarily not outputting video.

Maintenance
The Naroote DIY Video Capture Card requires minimal maintenance. Keep the device clean and free from dust. Use a soft, dry cloth for cleaning. Avoid exposing the device to extreme temperatures, humidity, or direct sunlight. Do not attempt to disassemble the device, as this may void any potential warranty and could cause damage.
Troubleshooting
- No Video Feed on Computer:
- Ensure the GB Interceptor is properly powered via USB and connected to your computer.
- Verify that the Game Boy is turned on and a game cartridge is correctly inserted into the interceptor.
- Check the blue LED indicator. If it's not solid blue, there might be a power or synchronization issue.
- Confirm that your video capture software on the computer is correctly configured to detect the device.
- Firmware Update Issues:
- Make sure you are holding the Flash Button down while connecting the USB cable to enter flash mode.
- Ensure the firmware file is a valid .uf2 format.
- Try a different USB port or cable if the device does not appear as a storage drive.
- Incorrect Colors or Display Issues:
- Press the Mode Button to cycle through the available color and frame mixing options until the desired display is achieved.
Specifications
| Brand | Naroote |
| Model | Narootey8ahvn7mfg-11 |
| Core Processing Unit | for rp2040 (for Pico's microcontroller) |
| Application Scope | For Gameboy (GBC, GBP, etc.) |
| Product Dimensions | 12 x 11 x 4 cm |
| Item Weight | 95 g |
| First Available Date | February 18, 2024 |
| Country of Origin | China |
Warranty and Support
Specific warranty information for the Naroote DIY Video Capture Card is not provided in the product details. For any warranty claims, technical support, or service inquiries, please contact the manufacturer, Naroote, or the seller directly through your purchase platform.
It is recommended to retain your proof of purchase for any support requests.
Ask a question about this manual
Ask about setup, troubleshooting, compatibility, parts, safety, or missing instructions. Manuals+ will review the question and use this page’s manual context to help answer it.