
Introduction
This manual provides essential information for setting up, operating, maintaining, and troubleshooting your Atvio 24-inch Roku HD LED TV, model ATV-24HDR. Please read these instructions carefully before using your television to ensure proper function and safety.
1. Setup
1.1 Unpacking
Carefully remove the television and all accessories from the packaging. Ensure all components are present:
- Atvio 24-inch Roku HD LED TV
- Remote Control
- TV Stand (2 pieces)
- Screws for TV Stand
- Power Cord
- User Manual (this document)
Retain the packaging materials for future transport or service needs.
1.2 Attaching the TV Stand
To attach the table stand:
- Place the TV screen-down on a soft, clean surface to prevent scratches.
- Align each stand piece with the corresponding slots on the bottom of the TV.
- Secure each stand piece with the provided screws. Ensure they are tightened firmly.
- Carefully lift the TV and place it on a stable, level surface.
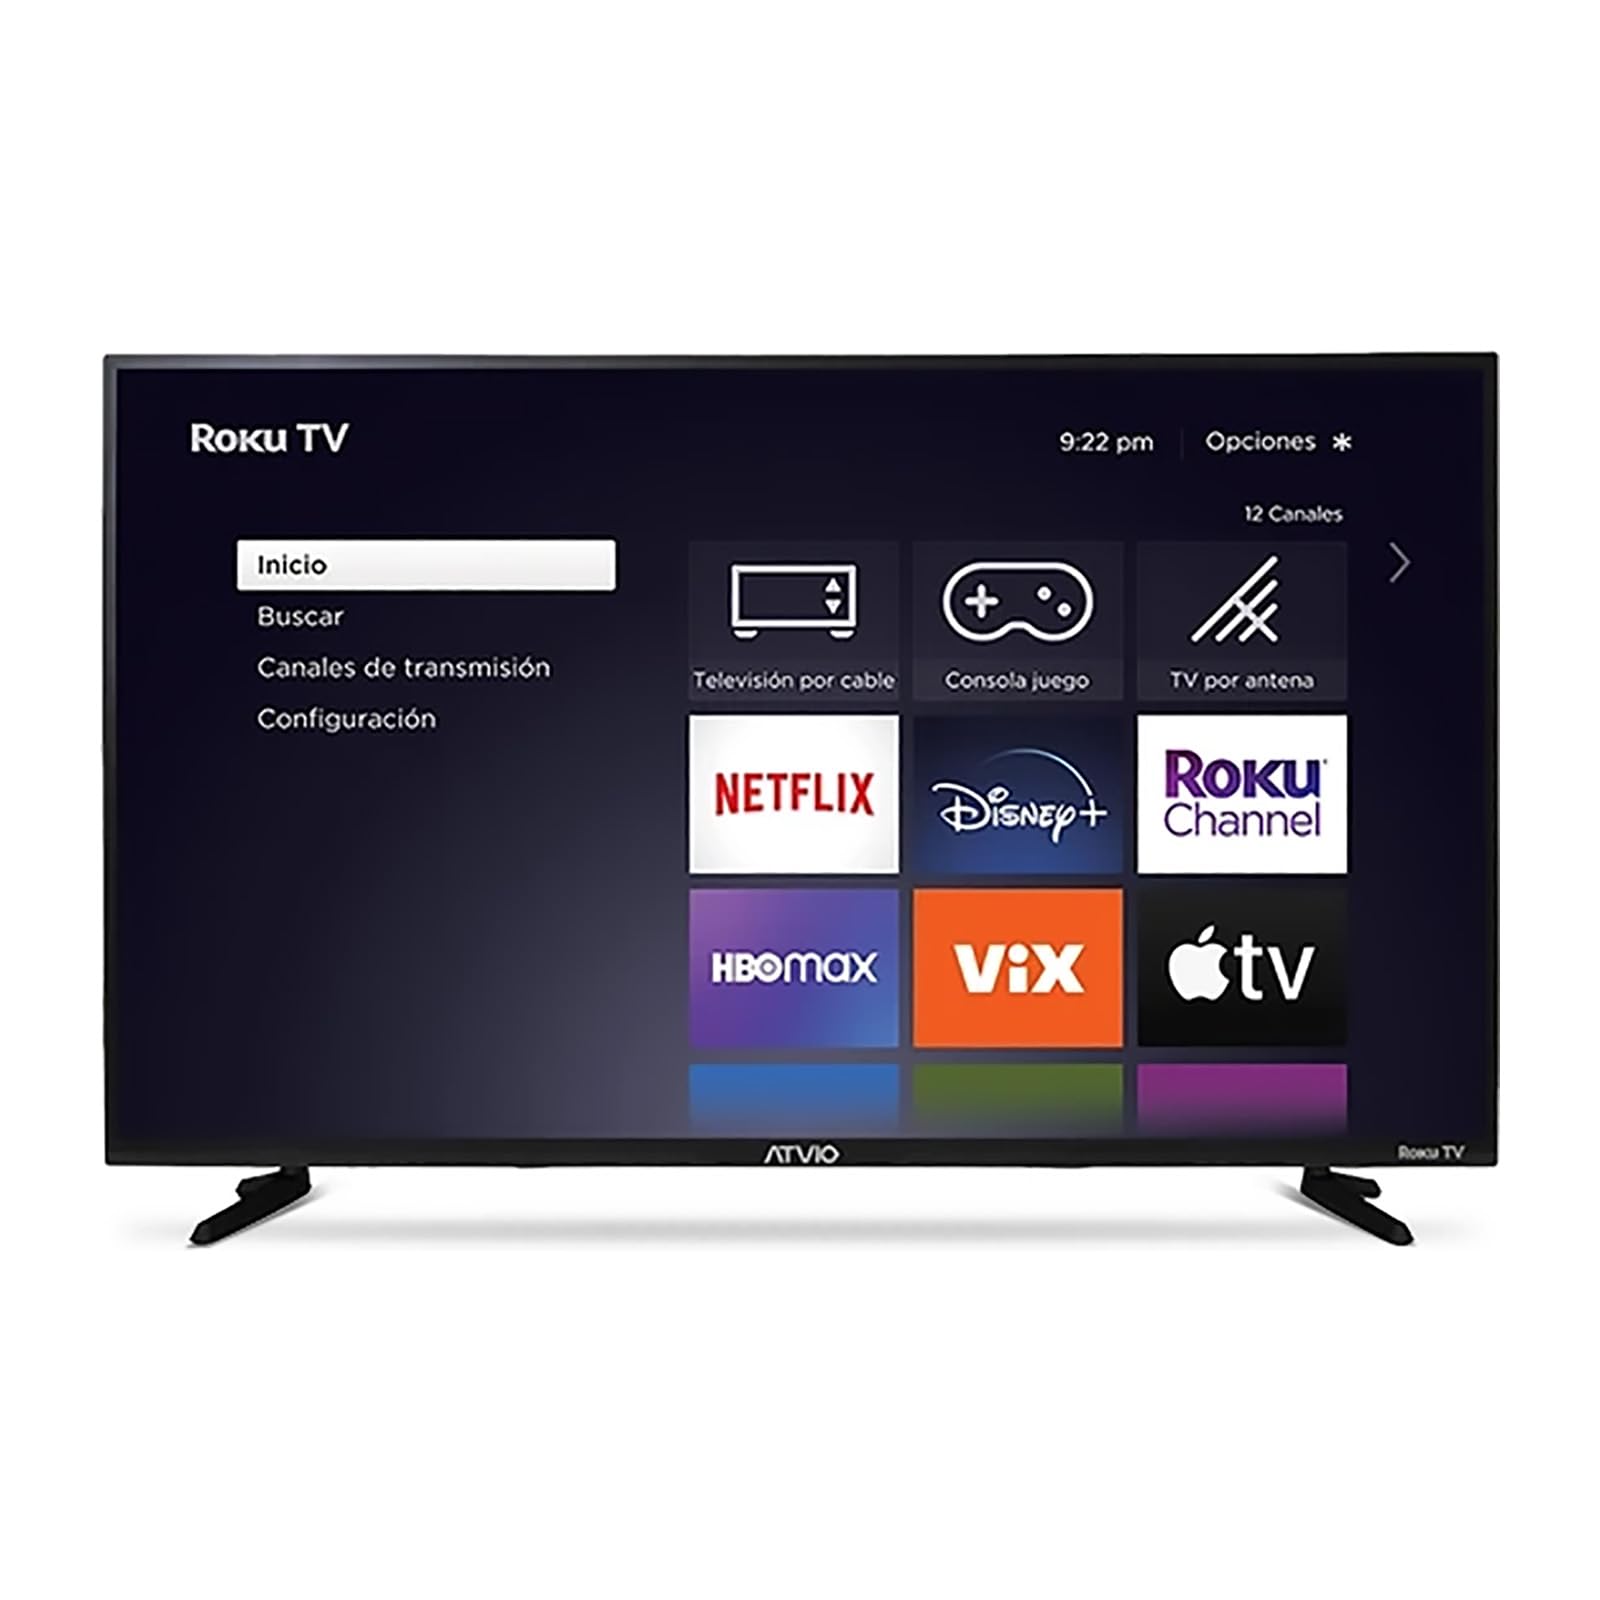
Image: The Atvio 24-inch Roku HD LED TV with its table stand attached, ready for placement.
1.3 Connecting Power
Plug the power cord into the TV's power input, then plug the other end into a standard electrical outlet. The TV will enter standby mode.
1.4 Initial Setup (Roku OS)
Upon first power-on, the TV will guide you through the Roku OS setup process:
- Language Selection: Choose your preferred language.
- Network Connection: Connect to your home Wi-Fi network. You will need your network name (SSID) and password.
- Roku Account: Follow the on-screen instructions to create a new Roku account or link an existing one. An active Roku account is required to access streaming channels and features.
- Channel Installation: The TV will automatically install essential streaming channels. You can customize your channel lineup later.
2. Operating
2.1 Remote Control Functions
The included remote control allows you to navigate the Roku OS and control your TV. Key buttons typically include:
- Power: Turns the TV on or off.
- Home: Returns to the Roku home screen.
- Directional Pad (D-Pad): Navigates menus and selects items.
- OK/Select: Confirms selections.
- Back: Returns to the previous screen.
- Volume Up/Down: Adjusts the TV volume.
- Mute: Silences the TV audio.
- Channel Shortcuts: Dedicated buttons for popular streaming services.
2.2 Roku OS Navigation
The Roku OS provides a user-friendly interface for accessing streaming content, live TV, and TV settings. Use the D-Pad and OK button on your remote to:
- Browse installed channels.
- Search for movies, TV shows, and actors.
- Access the Roku Channel Store to add new channels.
- Adjust picture, sound, and network settings.
2.3 Connecting External Devices
Your Atvio TV features multiple ports for connecting external devices:
- HDMI Ports: Connect devices such as Blu-ray players, game consoles, cable boxes, or streaming sticks. The TV supports HDMI input.
- USB Port (1 total): Connect USB drives for media playback (photos, videos, music).
- Antenna/Cable Input: Connect an antenna for over-the-air broadcasts or a cable connection.
To switch between inputs, press the 'Home' button on your remote and select the desired input from the home screen.
2.4 Audio Output
The TV supports various audio output modes, including Surround or Digital. You can adjust audio settings in the TV's menu to optimize sound for your viewing environment or external audio systems.
2.5 Special Features
This Smart TV includes a built-in browser, allowing you to access websites directly from your television. Navigate using the remote control.
3. Maintenance
3.1 Cleaning the Screen
To clean the screen, gently wipe it with a soft, lint-free cloth. For stubborn marks, lightly dampen the cloth with water or a specialized screen cleaner. Avoid using harsh chemicals, abrasive materials, or spraying liquid directly onto the screen.
3.2 General Care
- Keep the TV in a well-ventilated area to prevent overheating.
- Avoid exposing the TV to direct sunlight, extreme temperatures, or high humidity.
- Do not place heavy objects on top of the TV.
- Unplug the TV during lightning storms or when it will be unused for extended periods.
4. Troubleshooting
If you encounter issues with your Atvio TV, refer to the following common problems and solutions:
4.1 No Power
- Ensure the power cord is securely plugged into both the TV and the electrical outlet.
- Check if the outlet is working by plugging in another device.
- Press the power button on the remote or on the TV itself.
4.2 No Picture / Poor Picture Quality
- Verify that the correct input source is selected (e.g., HDMI 1, Antenna).
- Check all cable connections (HDMI, antenna) to ensure they are secure.
- Adjust picture settings (brightness, contrast, sharpness) in the TV menu.
- If using an antenna, try repositioning it or rescanning for channels.
4.3 No Sound / Poor Sound Quality
- Ensure the volume is not muted and is turned up.
- Check audio cables if using external speakers.
- Adjust sound settings in the TV menu.
- If connected to an external device, check its volume and audio output settings.
4.4 Network Connection Issues
- Restart your Wi-Fi router and modem.
- Go to the TV's network settings and try reconnecting to your Wi-Fi network.
- Ensure your Wi-Fi password is entered correctly.
- Move the TV closer to the router or consider a Wi-Fi extender if the signal is weak.
4.5 Factory Reset
If problems persist, a factory reset may resolve them. Warning: A factory reset will erase all personal settings, installed channels, and network configurations. You will need to set up the TV again from scratch.
To perform a factory reset, navigate to the TV's settings menu, find the 'System' or 'Advanced System Settings' option, and select 'Factory Reset' or 'Reset to Factory Defaults'. Follow the on-screen prompts.
5. Specifications
| Feature | Specification |
|---|---|
| Brand | Atvio |
| Model Name | ATV-24HDR |
| Model Year | 2023 |
| Screen Size | 24 Pulgadas (24 Inches) |
| Display Technology | LED |
| Resolution | 1366 x 768 Pixels (HD) |
| Refresh Rate | 60 Hz |
| Operating System | Roku OS |
| Aspect Ratio | 16:9 |
| Viewing Angle | 170 Degrees |
| Connectivity | HDMI, USB (1 port) |
| Special Features | Browser |
| Audio Output Mode | Surround or Digital |
| Mounting Type | Table Stand |
| Product Dimensions (D x W x H) | 13 x 61 x 39 cm |
| Product Weight | 4 kg |
6. Warranty and Support
6.1 Warranty Information
Your Atvio TV is covered by a limited warranty. Please refer to the warranty card included with your product or visit the official Atvio website for detailed terms and conditions regarding warranty coverage, duration, and service procedures. Keep your purchase receipt as proof of purchase.
6.2 Customer Support
For technical assistance, troubleshooting beyond this manual, or warranty claims, please contact Atvio customer support. Contact information can typically be found on the official Atvio website or on the product packaging. When contacting support, please have your TV model number (ATV-24HDR) and serial number ready.


