
1. Introduction
Thank you for purchasing the Yoidesu Mini MP3 Music Player. This compact and portable device is designed for on-the-go music playback, featuring a back-clip design, an LCD screen, and support for expandable memory. This manual provides detailed instructions for setting up, operating, and maintaining your MP3 player to ensure optimal performance and longevity.
2. Product Overview
2.1. Package Contents
- Yoidesu Mini MP3 Music Player
- USB Cable
- Earphones
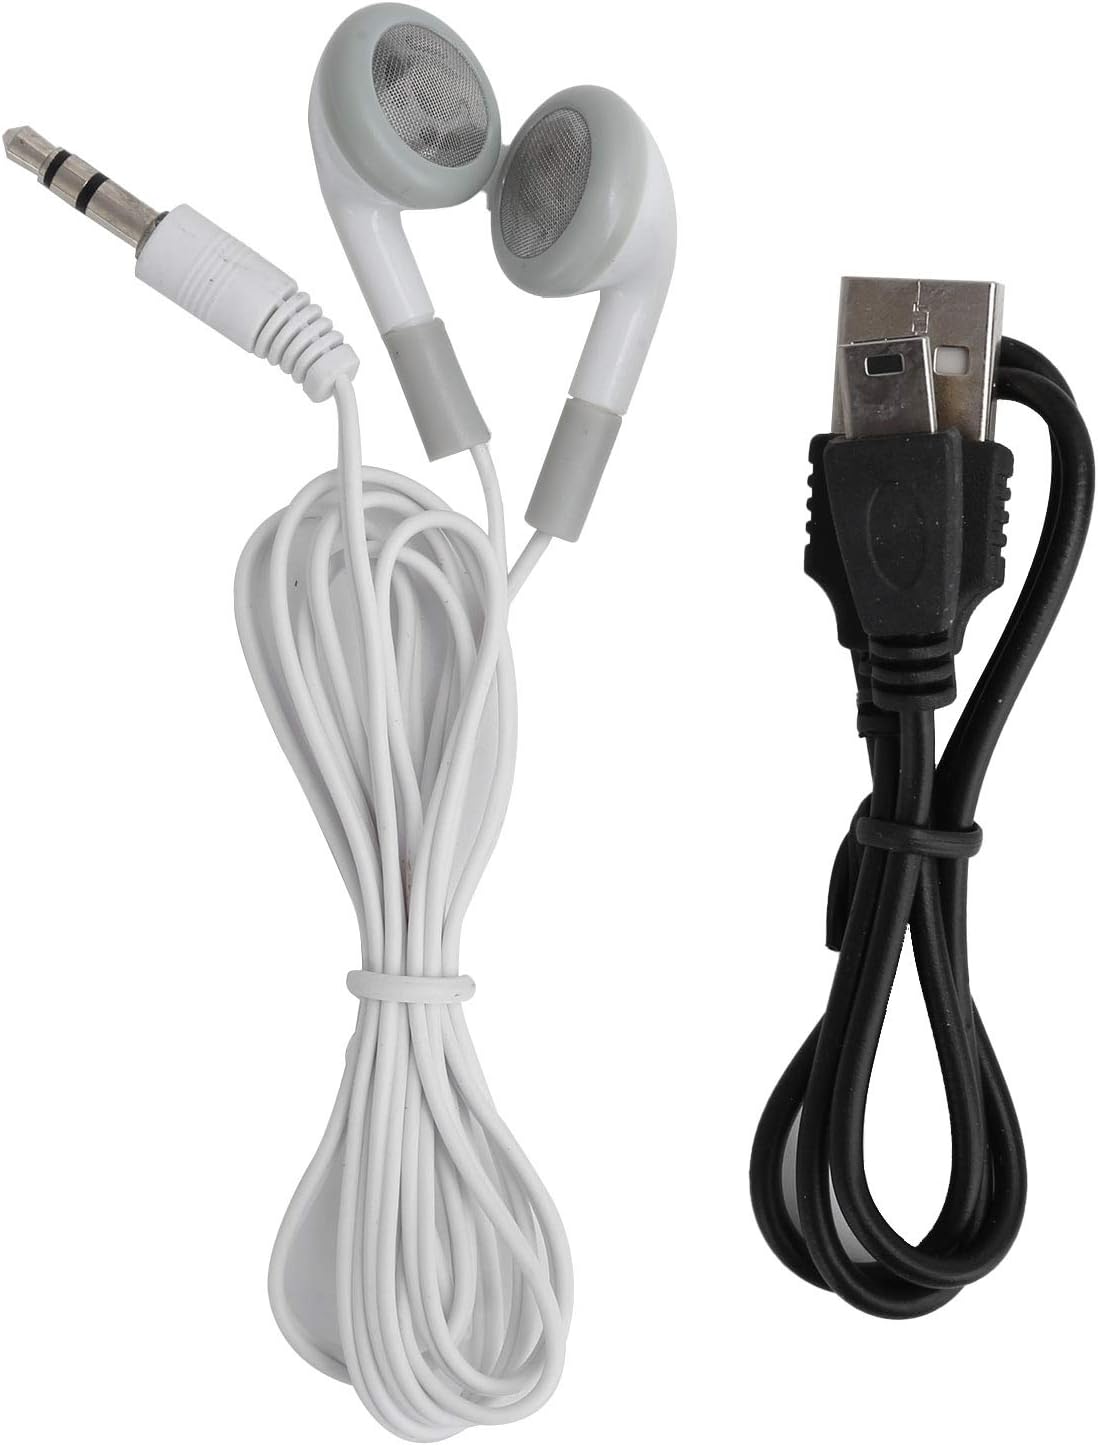
Image: Package contents including the MP3 player, USB cable, and earphones.
2.2. Device Layout
Familiarize yourself with the buttons and ports on your MP3 player.

Image: Front view of the MP3 player. Visible are the LCD screen, circular control pad (Play/Pause, Next, Previous, Menu, Volume), headphone jack, and TF card slot on the side.

Image: Side view of the MP3 player, highlighting the USB charging/data transfer port.
- LCD Screen: Displays song information, playback progress, and menu options.
- Control Pad: Central button for Play/Pause. Directional buttons for Next Track, Previous Track, Menu (M), and Volume (VOL).
- Headphone Jack: 3.5mm port for connecting earphones.
- TF Card Slot: For inserting a microSD card to expand storage.
- USB Port: For charging the device and transferring files.
- Power Switch: On/Off slider switch.
- Back Clip: For attaching the player to clothing or accessories.
2.3. Key Features
- Expandable Memory: Supports up to 32GB via a microSD (TF) card (not included).
- Long Battery Life: Provides over 5 hours of continuous music playback on a full charge.
- Lightweight and Secure: Ultra-light design with a back-clip for stable attachment during activities.
- Clear LCD Screen: Displays song progress and menu for easy navigation.
- Durable Build: Constructed from aluminum alloy for enhanced durability.
3. Setup
3.1. Charging the MP3 Player
- Connect the small end of the included USB cable to the USB port on the MP3 player.
- Connect the standard USB end of the cable to a computer's USB port or a compatible USB wall adapter (not included).
- The device will begin charging. The LCD screen may indicate charging status.
- A full charge typically takes approximately 2-3 hours. The battery indicator will show full when charging is complete.
3.2. Inserting a MicroSD (TF) Card
The MP3 player requires a microSD card to store music files. The device supports cards up to 32GB.
- Locate the TF card slot on the side of the MP3 player.
- Gently insert the microSD card into the slot with the gold contacts facing down until it clicks into place.
- To remove the card, gently push it in again until it springs out.

Image: A visual guide demonstrating how to insert a microSD card into the player's dedicated slot.
3.3. Transferring Music Files
- Ensure a microSD card is inserted into the MP3 player.
- Connect the MP3 player to your computer using the provided USB cable.
- The computer should recognize the MP3 player as a removable disk.
- Open the removable disk folder.
- Drag and drop your desired MP3 music files into the player's storage.
- Once files are transferred, safely eject the removable disk from your computer before disconnecting the USB cable.
3.4. Connecting Earphones
- Insert the 3.5mm jack of your earphones into the headphone port on the MP3 player.
- Ensure the connection is secure.
4. Operating Instructions
4.1. Power On/Off
- To Power On: Slide the power switch to the "ON" position. The LCD screen will light up.
- To Power Off: Slide the power switch to the "OFF" position. The screen will turn off.
4.2. Basic Playback Controls

Image: Close-up of the circular control pad with Play/Pause, Next, Previous, Menu, and Volume buttons clearly labeled.
- Play/Pause: Press the central button to start or pause playback.
- Next Track: Press the >>| button to skip to the next song.
- Previous Track: Press the |<< button to go back to the beginning of the current song, or to the previous song if pressed again within a few seconds.
- Volume Up: Press the VOL button and then the >>| button to increase volume.
- Volume Down: Press the VOL button and then the |<< button to decrease volume.
4.3. Menu Navigation
Press the M (Menu) button to access different modes or settings. Use the Next/Previous buttons to navigate through options and the Play/Pause button to select.
- Music Mode: Default mode for playing music.
- Repeat Mode: Options may include Repeat One, Repeat All, Shuffle.
- EQ Settings: Adjust equalizer presets (if available).
Specific menu options may vary slightly. Refer to the LCD screen for available selections.
5. Maintenance
5.1. Cleaning
- Wipe the device with a soft, dry cloth.
- Do not use liquid cleaners, aerosols, or solvents.
- Keep ports free of dust and debris.
5.2. Storage
- Store the MP3 player in a cool, dry place away from direct sunlight and extreme temperatures.
- Avoid storing in dusty or humid environments.
5.3. Battery Care
- Charge the battery regularly, even if not in use, to maintain battery health.
- Avoid completely draining the battery frequently.
6. Troubleshooting
6.1. Device Will Not Turn On
- Ensure the power switch is in the "ON" position.
- Charge the device for at least 30 minutes. The battery may be completely depleted.
6.2. No Sound
- Check if earphones are properly plugged into the headphone jack.
- Increase the volume using the VOL button.
- Ensure the music file is not corrupted and is in a supported format (e.g., MP3).
- Try different earphones to rule out faulty headphones.
6.3. Cannot Transfer Files to Device
- Ensure the MP3 player is properly connected to the computer via the USB cable.
- Verify that a microSD card is correctly inserted into the player.
- Check if the computer recognizes the device as a removable disk. If not, try a different USB port or cable.
- Ensure there is sufficient space on the microSD card.
6.4. Screen is Blank or Frozen
- Try turning the device off and then on again using the power switch.
- If the issue persists, allow the battery to fully drain and then recharge it.
7. Specifications
| Feature | Detail |
|---|---|
| Brand | Yoidesu |
| Model Name | Yoidesuq7cangr03w-12 |
| Connectivity Technology | USB |
| Memory Storage Capacity | Up to 32 GB (via microSD card) |
| Color | Black |
| Screen Size | 1 inch (LCD) |
| Supported Standards | MP3 |
| Battery Life | Approximately 5 hours |
| Included Components | USB Cable, Earphones |
| Material | Aluminum Alloy |
8. Warranty and Support
This product is covered by a standard manufacturer's warranty. For specific warranty terms and conditions, please refer to the documentation provided at the time of purchase or contact your retailer.
For technical support or further assistance, please contact Yoidesu customer service through your purchase platform or the official Yoidesu website.
Please retain your proof of purchase for warranty claims.