Introduction
Thank you for choosing the Kiewn 1080P HD Hidden Camera Car Key. This device is designed for discreet surveillance, offering high-definition video recording in a compact, portable form factor. Please read this manual carefully to understand the product's features, setup, and operation for optimal performance.
This hidden camera car key features a 1000mAh battery for extended recording, built-in 64GB internal memory, and motion detection capabilities. It records video at 1920x1080P resolution at 30 frames per second.

Image: Kiewn Hidden Camera Car Key with icons for 360 minutes battery, 1080P HD, loop recording, and built-in 64GB card.
Product Overview
Package Contents
- Kiewn Hidden Camera Car Key
- USB Charging Cable
- Card Reader (USB 2.0)
- SIM Ejector Tool (for reset/access)
- 64GB Micro SD Card (pre-installed)

Image: The Kiewn Hidden Camera Car Key shown with its accessories: USB charging cable, USB card reader, and a 64GB Micro SD card.
Component Identification
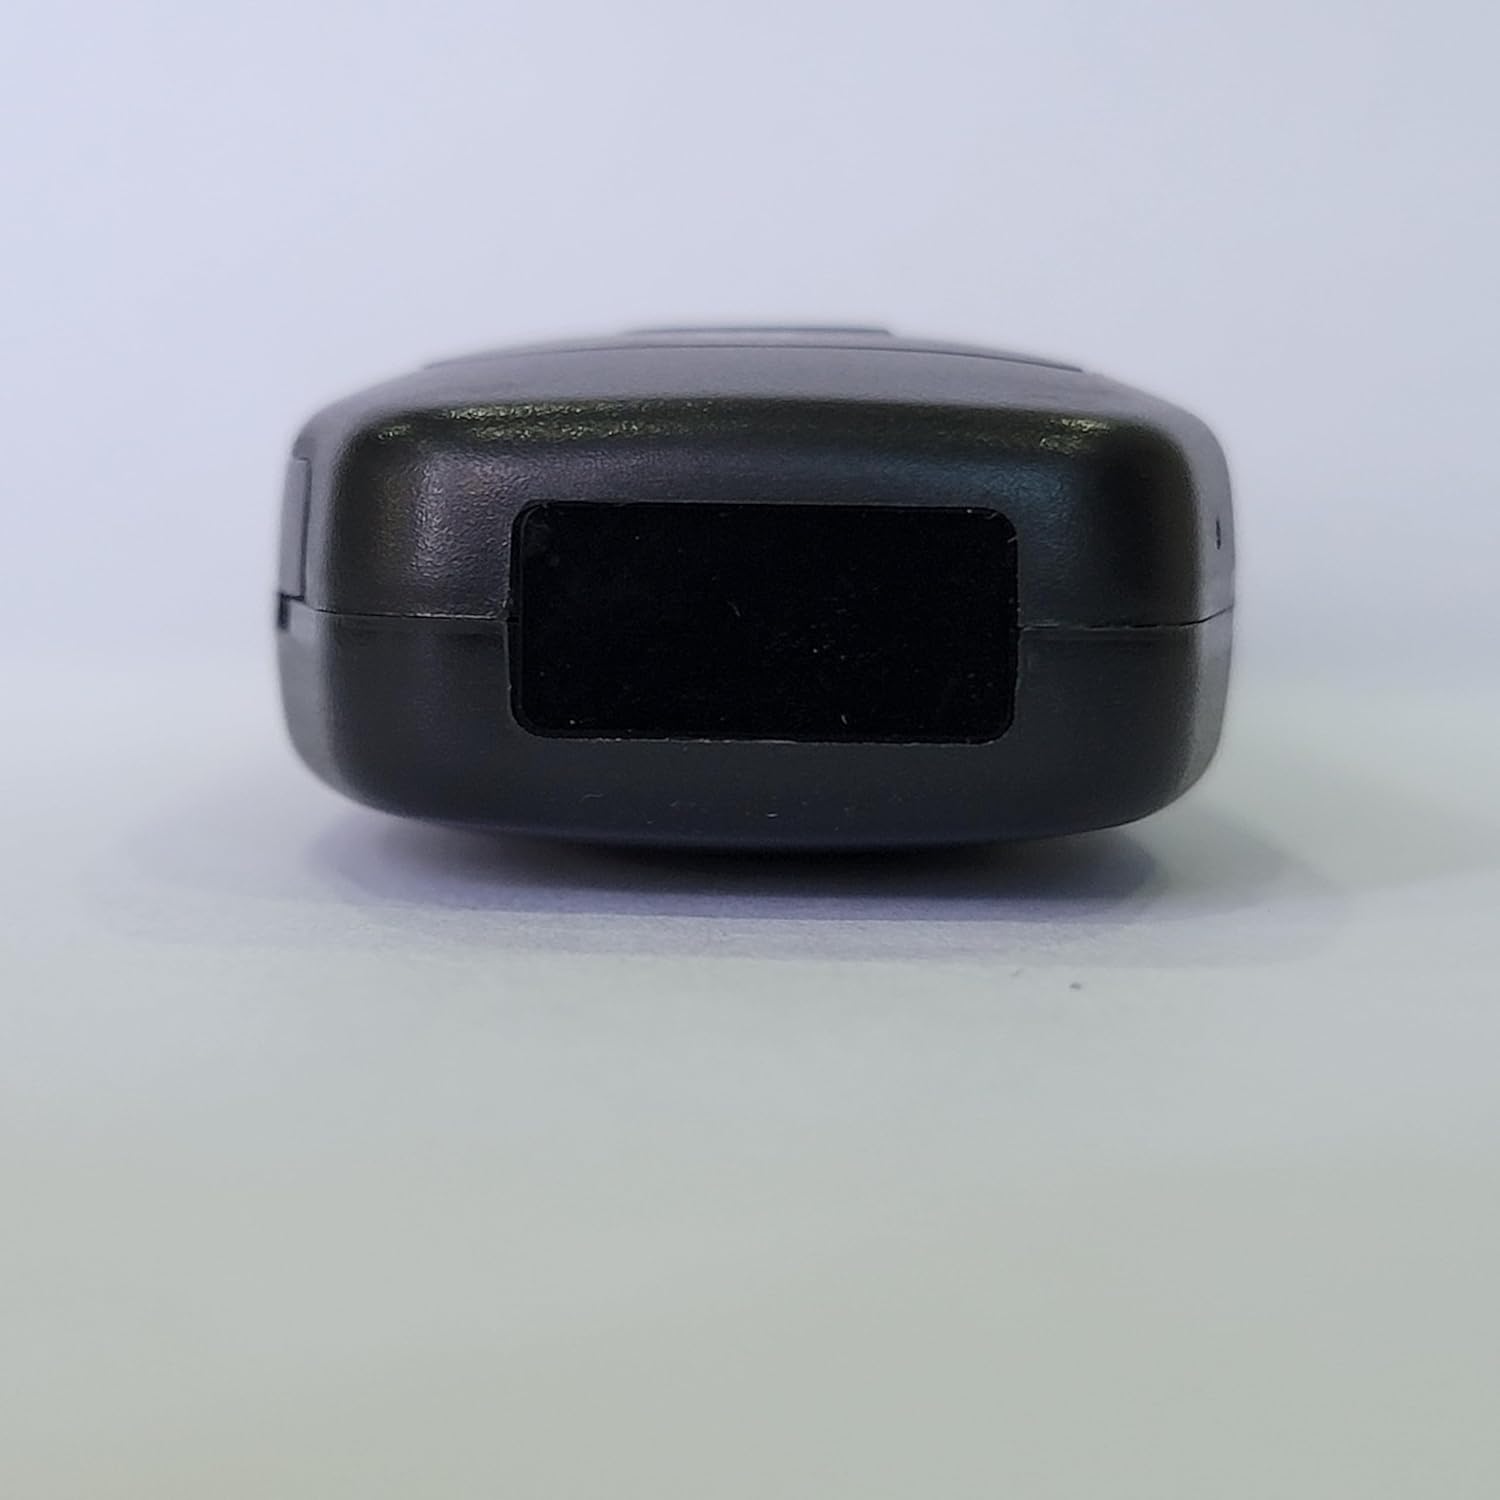
Image: Detailed diagram illustrating the components of the Kiewn Hidden Camera Car Key, including the lens, indicator light, power button, video mode button, motion detection button, card slot, and USB port.
- Lens: The hidden camera lens, typically located on the side or front of the device.
- Indicator Light: Provides status feedback (e.g., charging, recording, standby).
- Power Button (A): Used to power on/off the device and initiate normal recording.
- Video Mode Button (B): Used to start/stop video recording in normal mode.
- Motion Detection Button (C): Used to activate motion detection recording.
- Card Slot: For inserting or removing the Micro SD card.
- USB Port: For charging the device and connecting to a computer for data transfer.
- Reset Hole: A small pinhole for resetting the device (requires a pin or the included SIM ejector tool).
Setup
1. Charging the Device
Before first use, fully charge the camera. Connect the device to a USB power source (e.g., computer USB port, USB wall adapter) using the provided USB cable. The indicator light will show charging status (e.g., solid red while charging, turns off when fully charged). A full charge typically takes 2.5 to 3 hours.
2. Micro SD Card Installation (Pre-installed)
The device comes with a 64GB Micro SD card pre-installed. If you need to replace or access the card directly, gently push the card into the slot until it clicks to release it. Insert a new card with the gold contacts facing down until it clicks into place.
3. Setting Date and Time Stamp
To set the correct date and time stamp for your recordings, connect the camera to your computer via the USB cable. The device will appear as a removable disk. Locate a text file (e.g., "time.txt" or "userconfig.txt") on the root directory of the Micro SD card. Open this file and edit the date and time to the current values in the specified format (e.g., YYYY-MM-DD HH:MM:SS). Save the file and safely eject the device. The time stamp will be updated upon the next power cycle.
You can also disable the time and date watermark by modifying the relevant setting in this configuration file, if available.


