1. Important Safety Instructions
Read all instructions carefully before using the appliance. Keep this manual for future reference.
- Always unplug the appliance from the power supply before assembly, disassembly, or cleaning.
- Do not immerse the motor unit, cord, or plug in water or any other liquid.
- Ensure the lid is securely locked before operating the blender.
- Avoid contact with moving parts. Blades are sharp; handle with extreme care.
- Do not operate the appliance with a damaged cord or plug, or after the appliance malfunctions or has been damaged in any manner.
- Keep hands and utensils out of the container while blending to reduce the risk of severe injury to persons or damage to the blender.
- Never blend hot liquids without allowing them to cool slightly and ensuring the lid is properly vented to prevent pressure buildup.
- This appliance is not intended for use by persons (including children) with reduced physical, sensory or mental capabilities, or lack of experience and knowledge, unless they have been given supervision or instruction concerning use of the appliance by a person responsible for their safety.
- Children should be supervised to ensure that they do not play with the appliance.
2. Product Overview
The Moulinex LM4358EG Blendforce Blender is designed for efficient blending with an 800W motor and Powelix blades. It features a 1.75-liter thermal-resistant glass jar, two speeds plus a pulse function, and includes grinder and grater accessories.

Image 2.1: Fully assembled Moulinex LM4358EG Blendforce Blender.

Image 2.2: Icon indicating thermal-resistant glass jar.
Key Components:
- Motor Unit: The base containing the 800W motor and control dial.
- Glass Jar: 1.75-liter capacity, thermal shock-resistant.
- Lid and Measuring Cup: For secure blending and precise ingredient addition.
- Blade Assembly: Features 6 Powelix blades for efficient blending.
- Grinder Accessory: For grinding spices, coffee beans, and dried fruits.
- Grater/Chopper Accessory: For chopping onions, garlic, and herbs.
3. Setup and Assembly
Before first use, wash all removable parts (jar, lid, blade assembly, accessories) in warm soapy water, rinse, and dry thoroughly.
Assembling the Blender:
- Place the motor unit on a stable, flat, and dry surface.
- Ensure the blade assembly is securely attached to the bottom of the glass jar. This is part of the Smart Lock Technology's Easy Safety feature, ensuring blades are secure when the jar is locked.
- Place the assembled glass jar onto the motor unit. Rotate it clockwise until it locks into place. This is the Smart Lock Technology's Easy Lock feature, providing comfortable and secure closing.
- Add your ingredients to the jar. Do not exceed the maximum fill line.
- Place the lid onto the glass jar and secure it firmly. Insert the measuring cup into the lid opening.

Image 3.1: Exploded view showing the motor unit, glass jar, blade assembly, lid, and measuring cup.

Image 3.2: Smart Lock Technology icon.
Assembling Accessories (Grinder/Grater):
- Place the ingredients into the accessory cup (grinder or grater).
- Attach the specific blade assembly for the accessory to the cup.
- Invert the assembled accessory cup and screw it onto the motor unit.

Image 3.3: Grinder accessory.

Image 3.4: Chopper accessory.
4. Operating Instructions
Once the blender is assembled and ingredients are added, plug the appliance into a power outlet.
Using the Control Dial:
- Speed 0: Off position.
- Speed 1: Low speed for softer ingredients or initial mixing.
- Speed 2: High speed for harder ingredients and more thorough blending.
- Pulse (P): For short bursts of maximum power. Turn the dial to 'P' and release. This is ideal for controlled blending or breaking down larger pieces.

Image 4.1: Blender motor unit with control dial for speed and pulse functions.
Special Functions:
- Ice Crushing: Use the pulse function for crushing ice. Add a small amount of water for optimal results. Do not overload the jar with ice.

Image 4.2: Icon representing the ice crush function.
- Grinding/Chopping: Attach the appropriate accessory (grinder for dry ingredients like coffee beans, spices; grater/chopper for wet ingredients like herbs, garlic). Operate at desired speed.

Image 4.3: Blender with grinder accessory.
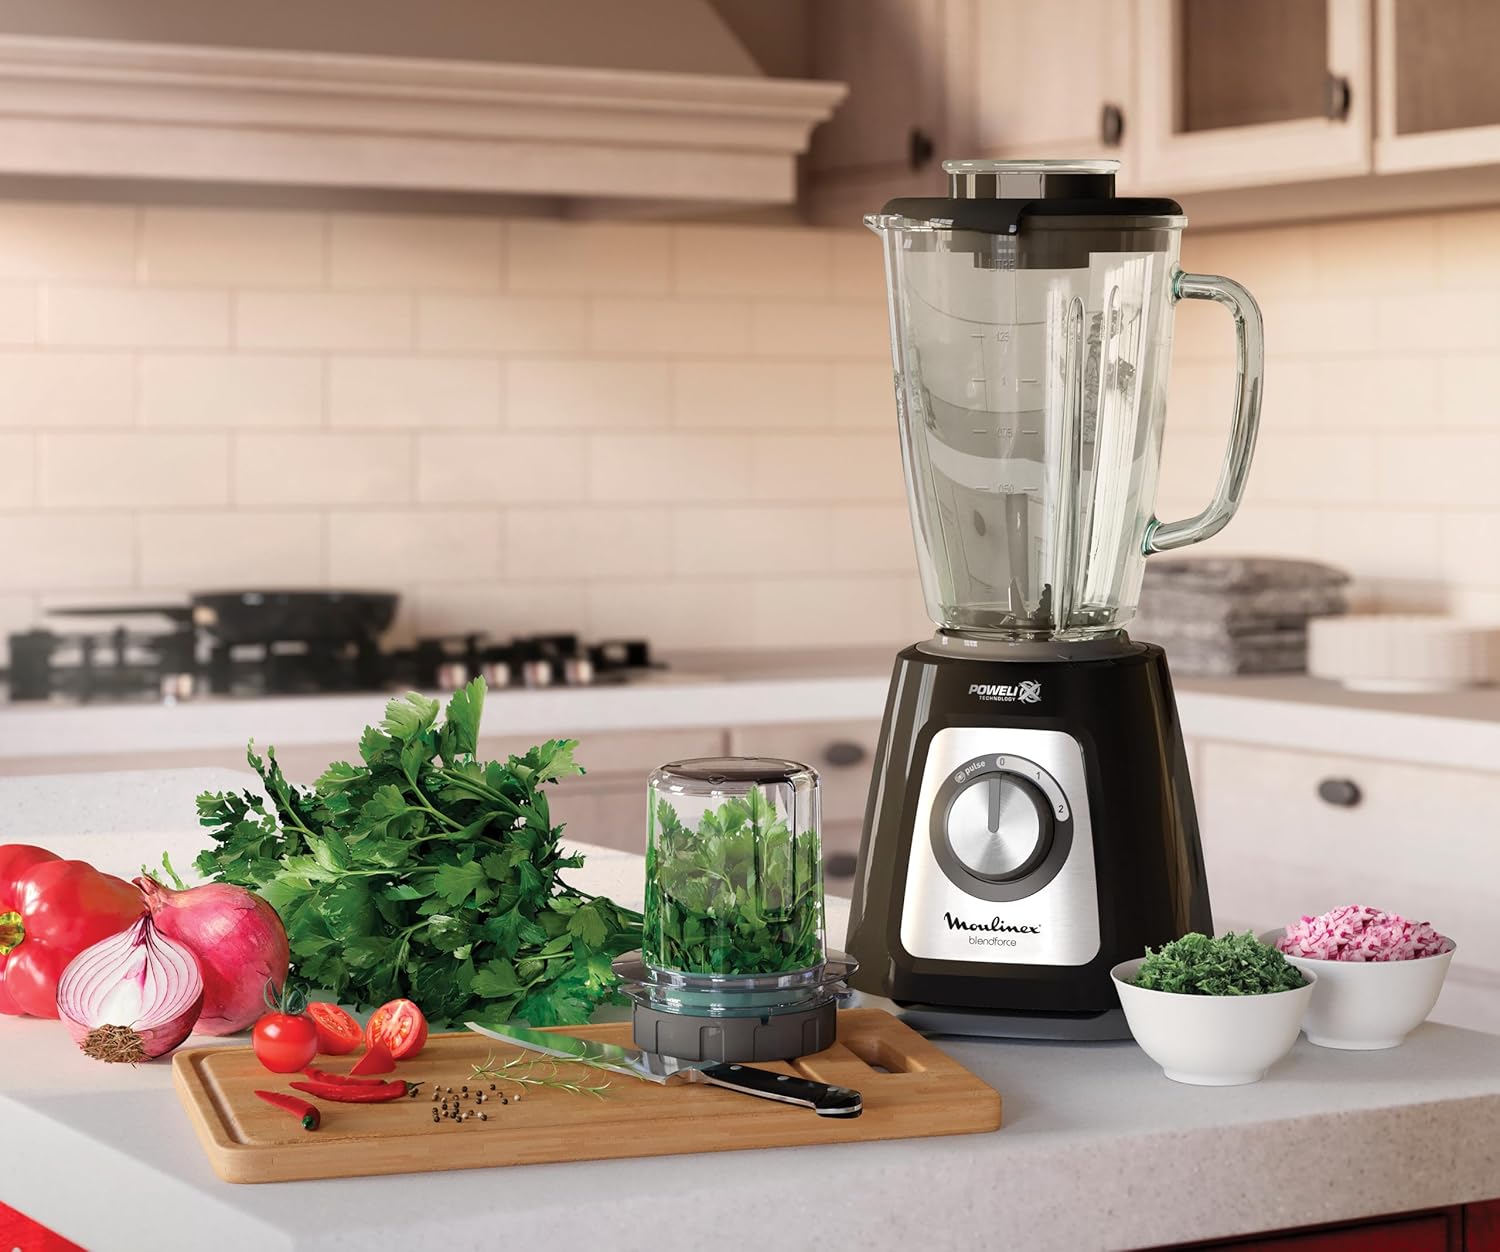
Image 4.4: Blender with chopper accessory.
- Air-Cooling System: This system optimizes airflow around the motor to prevent overheating during continuous blending, allowing for up to 3 minutes of continuous operation.

Image 4.5: Icon representing the Air-Cooling System.
After use, turn the control dial to '0' and unplug the appliance.
5. Maintenance and Cleaning
Regular cleaning ensures optimal performance and extends the life of your blender. Always unplug the appliance before cleaning.
Easy Clean Feature:
- The blade holder can be easily separated from the jar for thorough cleaning. Rotate the bottom of the blade holder to split it into two parts.
- Wash the blade assembly, glass jar, lid, and measuring cup in warm soapy water. Rinse thoroughly and dry immediately.
- Handle blades with extreme care as they are very sharp.

Image 5.1: Easy Clean feature for separating blades from the jar base.
Cleaning the Motor Unit:
- Wipe the motor unit with a damp cloth. Do not immerse it in water or any other liquid.
- Do not use abrasive cleaning agents or scouring pads, as these can damage the surface.
Store the blender and its accessories in a clean, dry place.
6. Troubleshooting
| Problem | Possible Cause | Solution |
|---|---|---|
| Blender does not start. | Not plugged in; jar not correctly assembled/locked; power outage. | Check power connection; ensure jar is securely locked onto the motor unit (Smart Lock); check household power supply. |
| Motor stops during operation. | Overheating due to continuous use or overloading. | Unplug the blender and let it cool down for at least 15 minutes. Reduce load or blend in smaller batches. |
| Ingredients are not blending smoothly. | Too little liquid; too many ingredients; ingredients are too large. | Add more liquid; reduce the amount of ingredients; cut ingredients into smaller pieces. Use the pulse function for stubborn items. |
| Leakage from the bottom of the jar. | Blade assembly not tightened correctly; seal ring missing or damaged. | Ensure the blade assembly is securely fastened to the jar. Check if the seal ring is properly in place and undamaged. |
7. Specifications
- Model Number: LM4358EG
- Power: 800 Watts
- Jar Capacity: 1.75 Liters
- Jar Material: Thermal-resistant Glass
- Blades: Powelix Technology, 6 blades
- Speeds: 2 speeds + Pulse function
- Special Features: Air-Cooling System, Smart Lock Technology, Portable
- Included Accessories: Grinder, Chopper/Grater
- Product Dimensions: 20 x 17.3 x 40.4 cm
- Item Weight: 3.56 Kilograms
8. Warranty and Support
This Moulinex appliance is covered by a manufacturer's warranty. Please refer to the warranty card included with your product for specific terms and conditions, including the warranty period and coverage details.
For technical assistance, spare parts, or any questions regarding your product, please contact Moulinex customer support. Contact information can typically be found on the official Moulinex website or in the documentation provided with your purchase.
Online Support: Visit the official Moulinex website for FAQs, product registration, and service center locations.


