1. Introduction
This manual provides detailed instructions for the setup, operation, and maintenance of your LEMOKEY X2 QMK/VIA Mechanical Gaming Keyboard and M551 Mouse Combo. Please read this manual thoroughly before use to ensure proper functionality and to maximize your product experience.

Image 1.1: The LEMOKEY X2 QMK/VIA Mechanical Gaming Keyboard and M551 Mouse Combo.
2. Product Overview
2.1 Key Features
- QMK/VIA Software Support: Open-source software for easy key remapping, macro creation, and backlight customization.
- Gasket Mount Design: Reduces sound resonance and enhances typing flexibility for a quieter and smoother experience.
- 1000Hz Polling Rate & NKRO: High-performance ARM architecture MCU with 256KB flash memory ensures fast and responsive input. N-Key Rollover (NKRO) supports simultaneous key presses.
- OS Compatibility: Easily switch between macOS and Windows operating systems.
- Durable Keycaps: ABS double-shot keycaps provide durability and wear resistance.
- Red Backlighting: North-facing LEDs illuminate legends with over 14 switchable red backlight effects.
2.2 Package Contents
- LEMOKEY X2 QMK/VIA Mechanical Gaming Keyboard
- LEMOKEY M551 Gaming Mouse
- USB-C to USB-A Cable (for keyboard)
- USB-A Cable (for mouse)
- User Manual
3. Setup
3.1 Connecting the Keyboard
- Locate the USB-C port on the keyboard and the USB-A port on your computer.
- Connect the USB-C end of the provided cable to the keyboard.
- Connect the USB-A end of the cable to an available USB port on your computer.
- The keyboard will be automatically detected by your operating system.
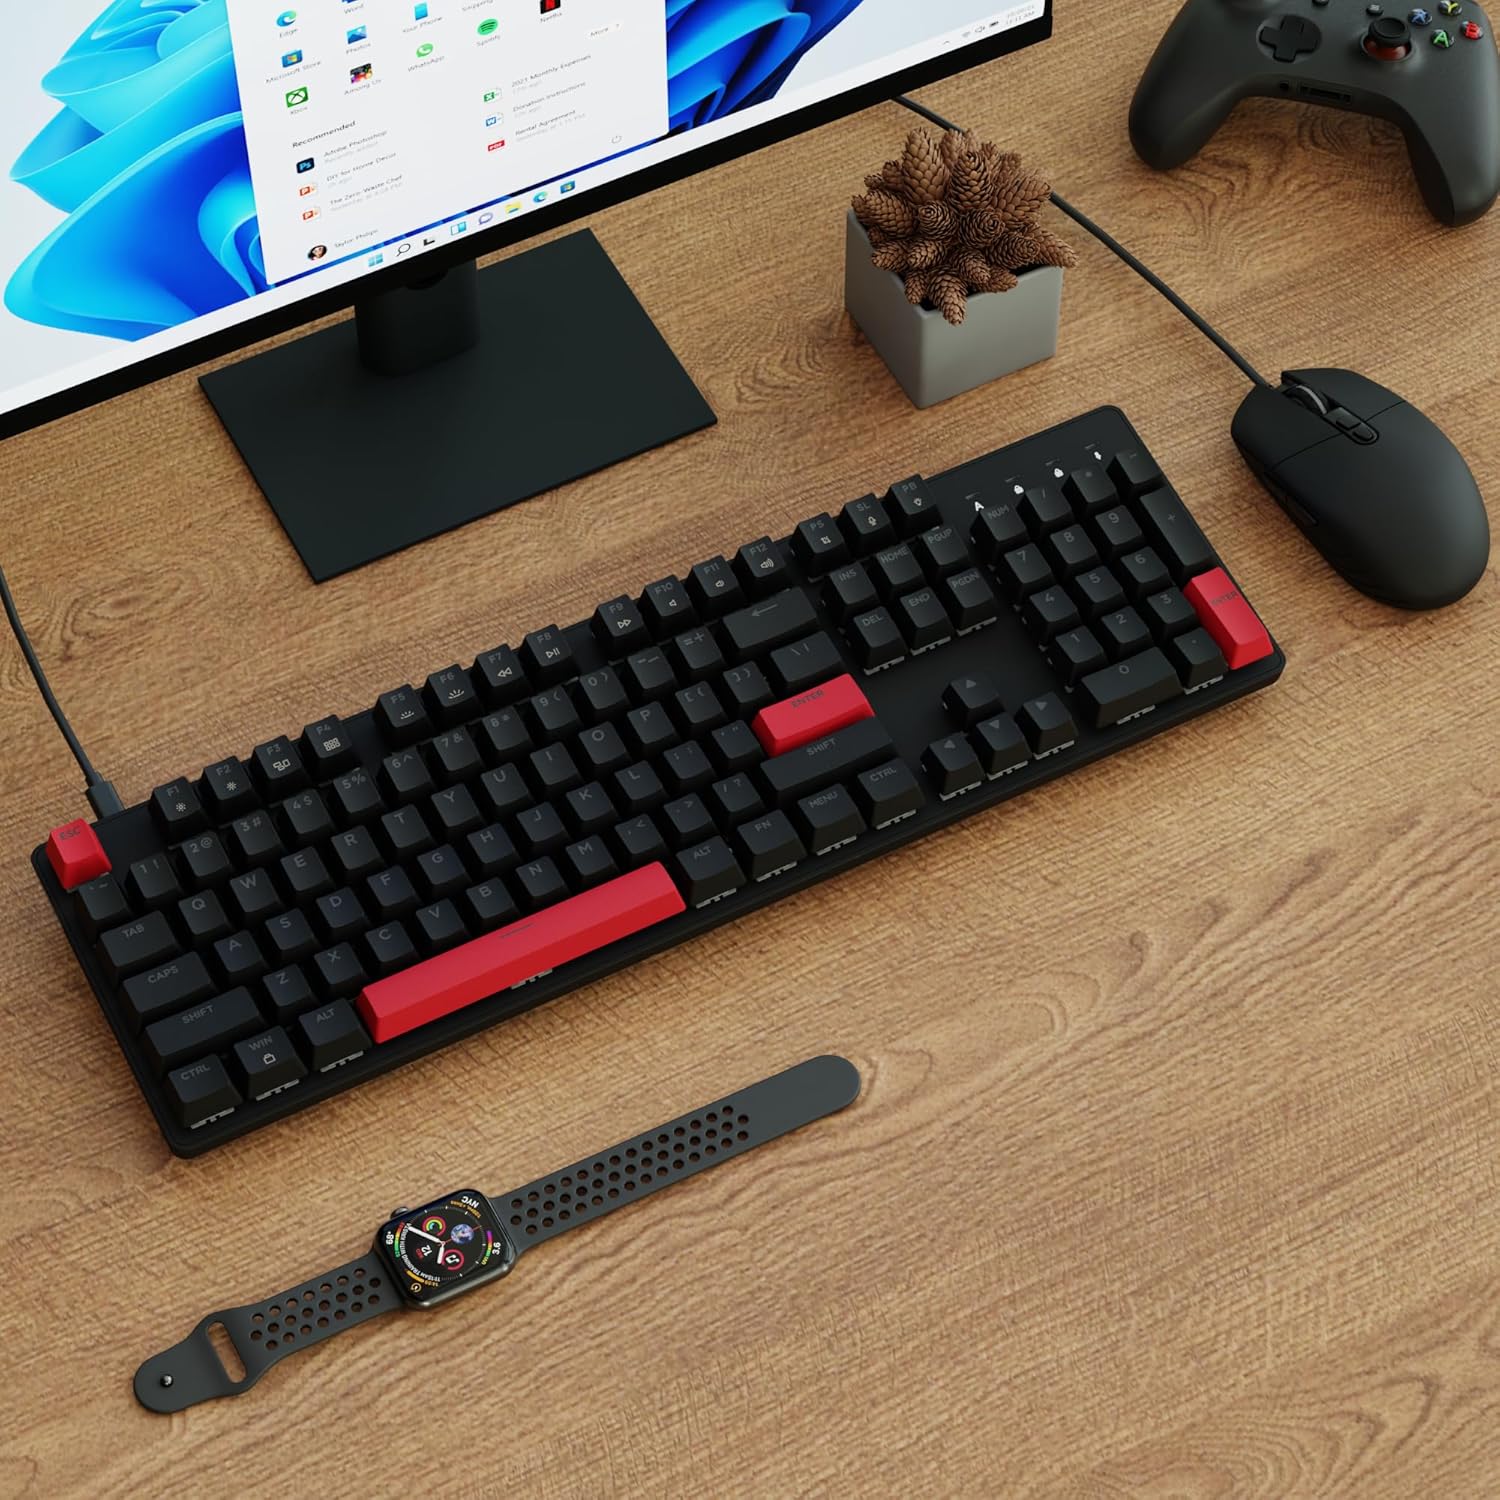
Image 3.1: The keyboard and mouse connected to a computer setup.
3.2 Connecting the Mouse
- Locate the USB-A cable attached to the M551 mouse.
- Connect the USB-A end of the mouse cable to an available USB port on your computer.
- The mouse will be automatically detected by your operating system.

Image 3.2: The M551 gaming mouse featuring red lighting.
4. Operating Instructions
4.1 Operating System Switching
To switch the keyboard's operating system mode between Mac and Windows, press the Fn + Caps Lock keys simultaneously. The keyboard will adjust its key mapping to suit the selected OS.
4.2 QMK/VIA Software Customization
The LEMOKEY X2 keyboard supports QMK/VIA software for advanced customization. This allows you to:
- Remap individual keys.
- Create custom macros.
- Adjust backlight effects and brightness.
- Configure multiple layers for different functions.
To use QMK/VIA, download the software from the official website (refer to the product page for the specific link). Connect your keyboard, launch the VIA application, and begin customizing.
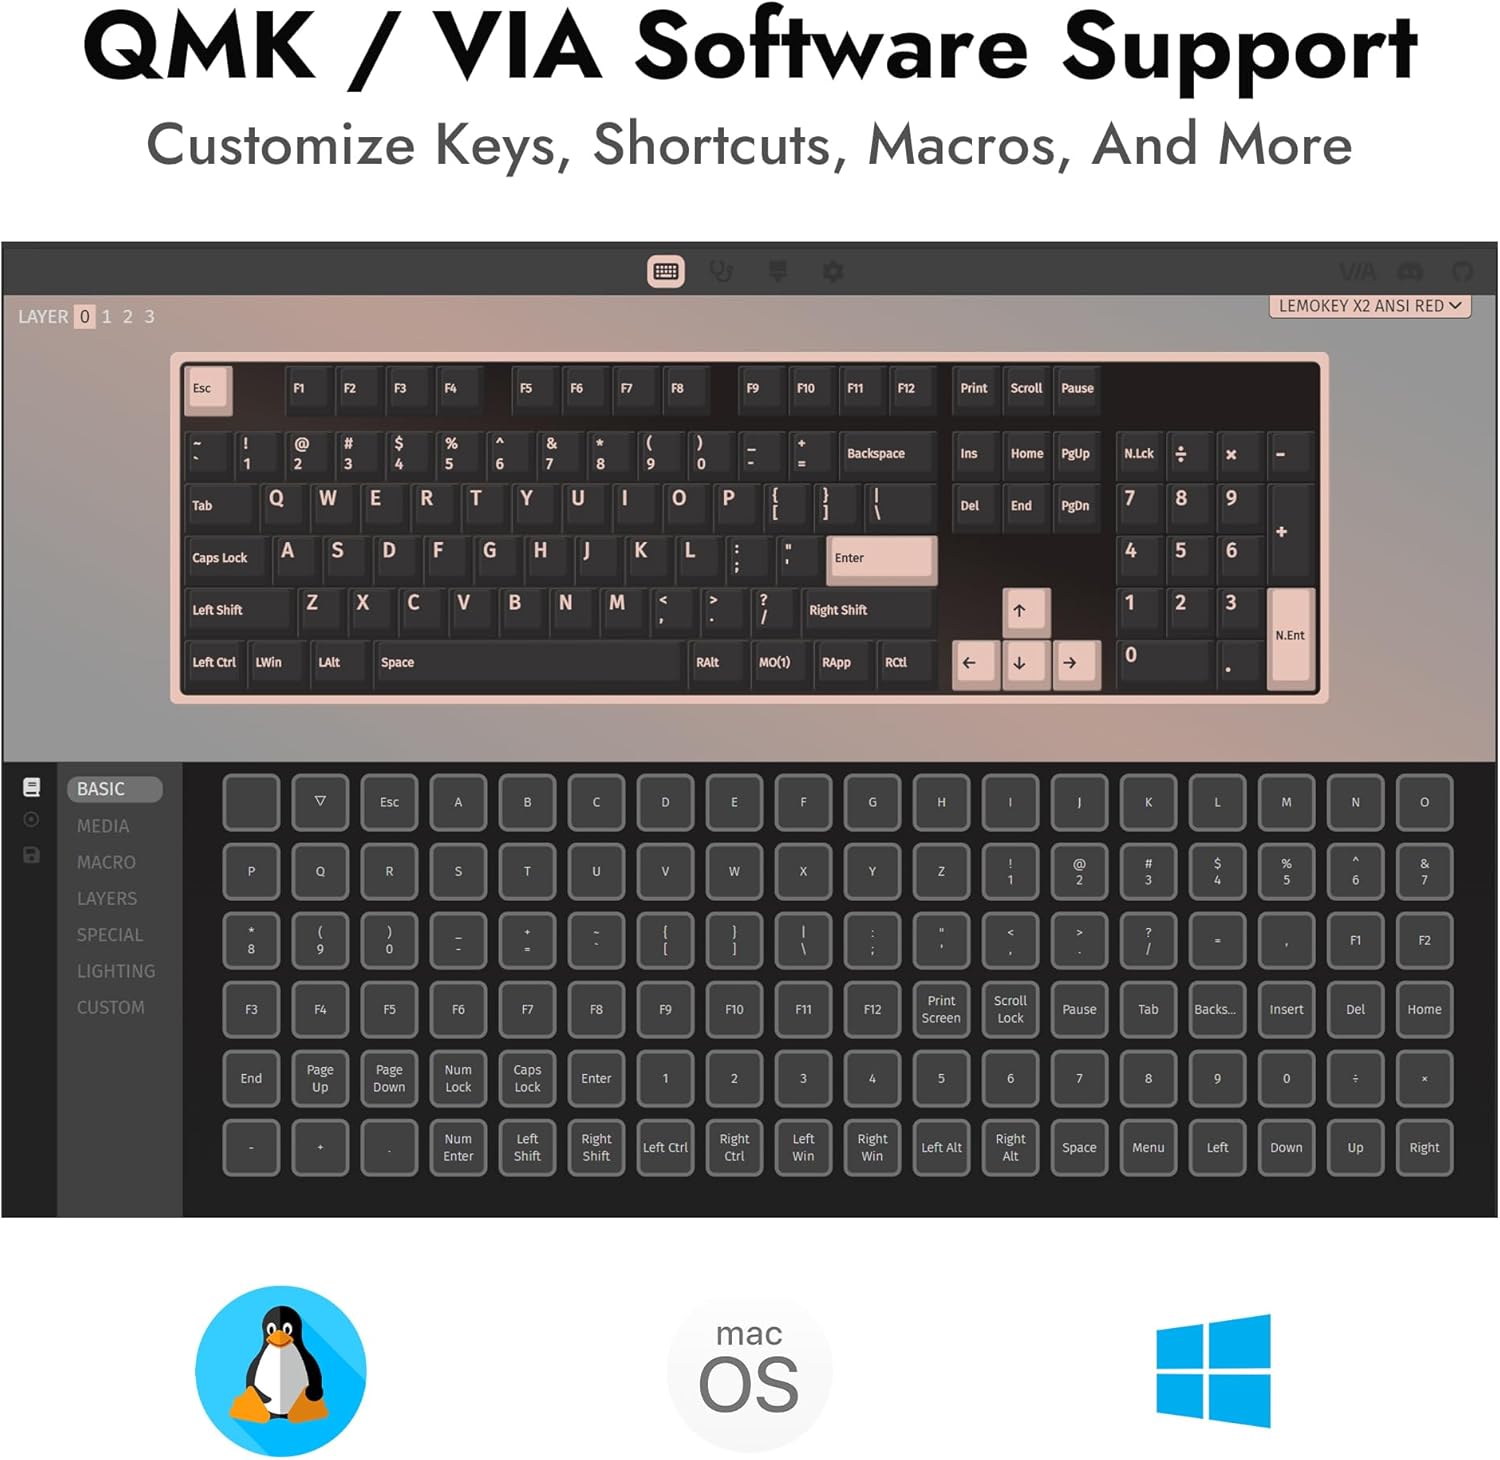
Image 4.1: The QMK/VIA software interface for customizing keyboard functions and lighting.
4.3 Backlight Control
The keyboard features red backlighting with over 14 switchable effects. Use the dedicated function keys (often combined with the Fn key) to cycle through different lighting modes, adjust brightness, and control animation speed. Refer to the keyboard's keycap legends for specific backlight control shortcuts.
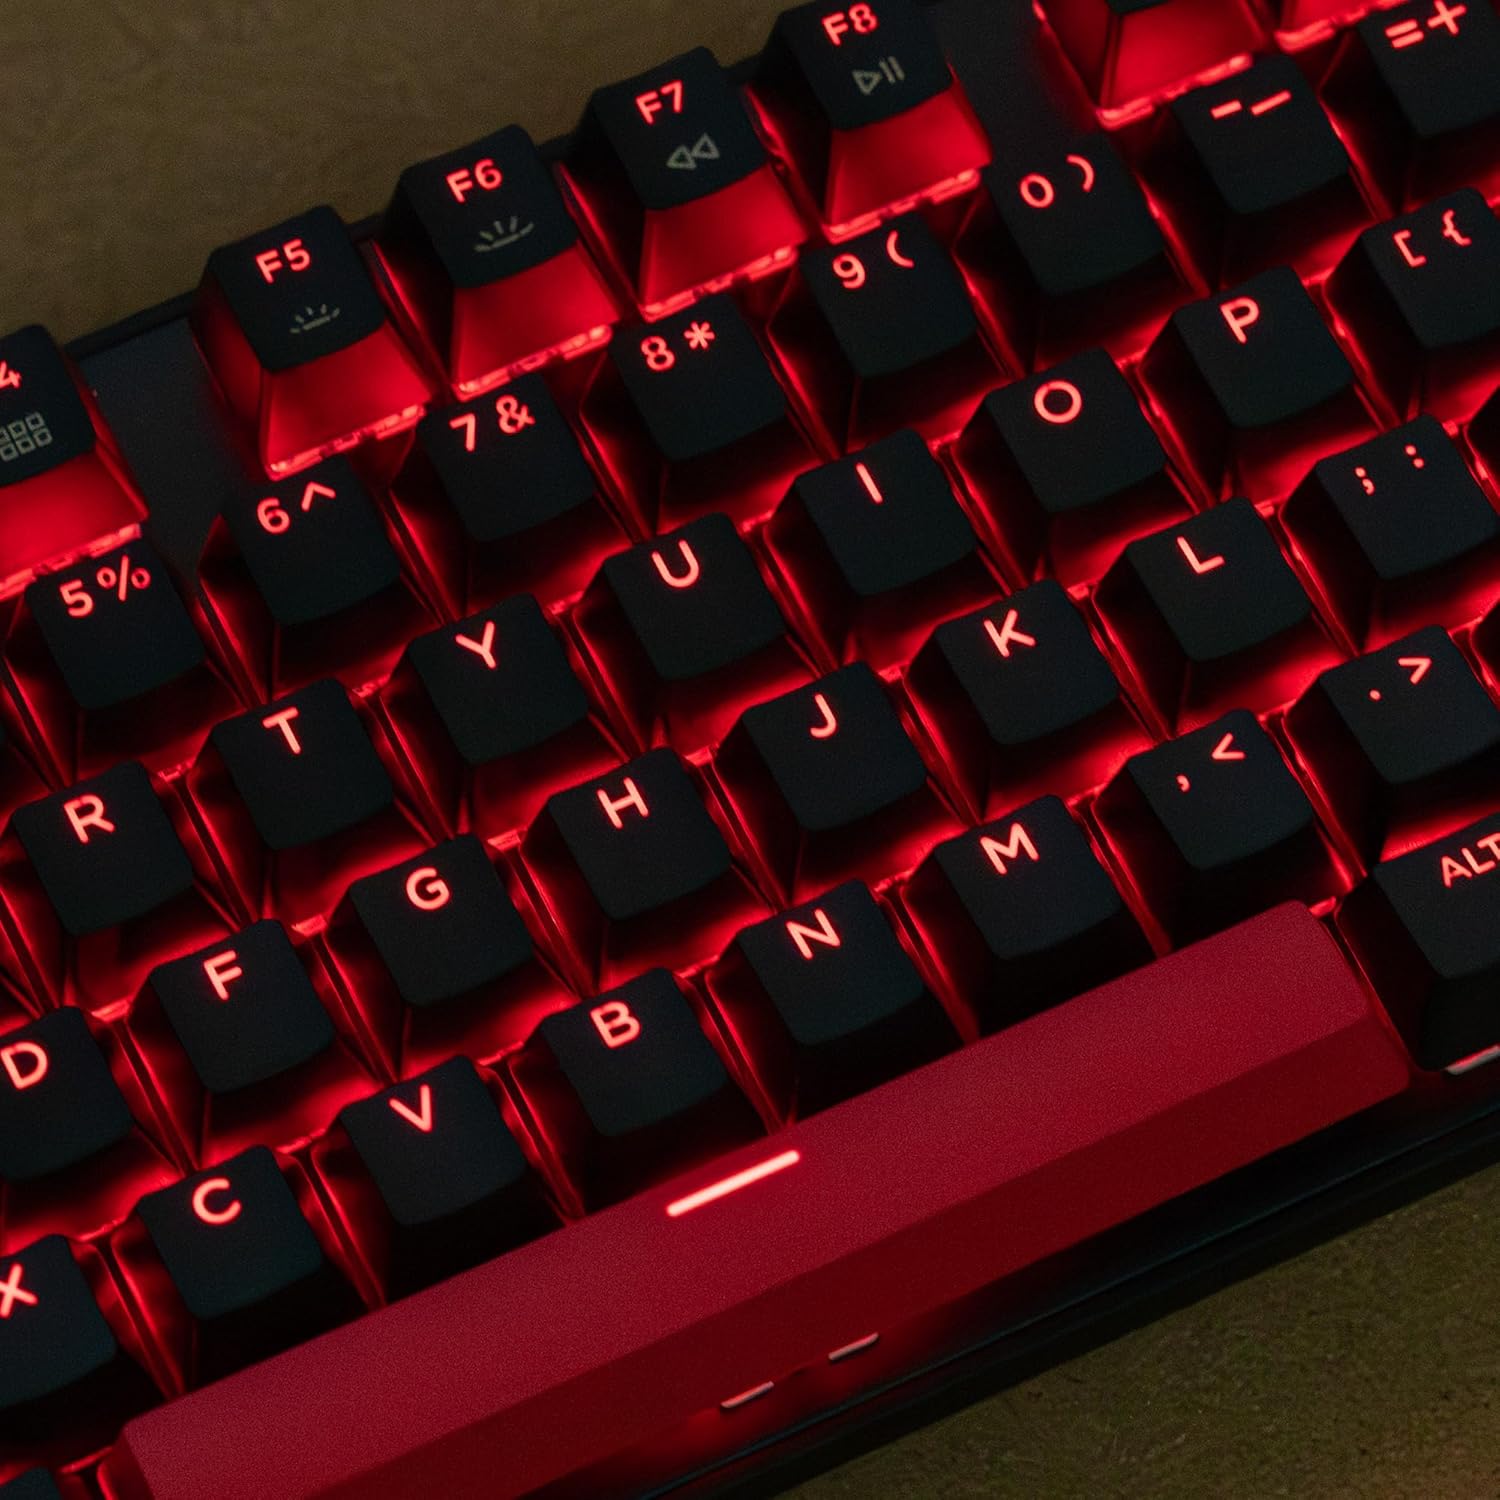
Image 4.2: A close-up view of the red backlit keys on the LEMOKEY X2 keyboard.
4.4 N-Key Rollover (NKRO)
The keyboard supports N-Key Rollover (NKRO), which means every key press is registered independently, regardless of how many keys are pressed simultaneously. This feature is particularly beneficial for fast typists and gamers, preventing ghosting or missed inputs.
5. Maintenance
5.1 Cleaning the Keyboard and Mouse
- Disconnect the keyboard and mouse from your computer before cleaning.
- Use a soft, lint-free cloth lightly dampened with water or a mild cleaning solution to wipe down the surfaces.
- For dust and debris between keycaps, use compressed air or a small brush.
- Avoid using harsh chemicals, abrasive cleaners, or excessive moisture, as these can damage the product.
5.2 Keycap Removal and Switch Replacement (Keyboard)
The LEMOKEY X2 keyboard features hot-swappable switches, allowing for easy replacement without soldering. To remove keycaps and switches:
- Gently pull the keycap upwards using a keycap puller until it detaches from the switch stem.
- Use a switch puller to carefully grip the top and bottom clips of the switch.
- Pull the switch straight up until it detaches from the PCB.
- To install a new switch, align its pins with the holes on the PCB and press down firmly until it clicks into place. Ensure pins are not bent.
- Reattach the keycap by aligning it with the switch stem and pressing down.
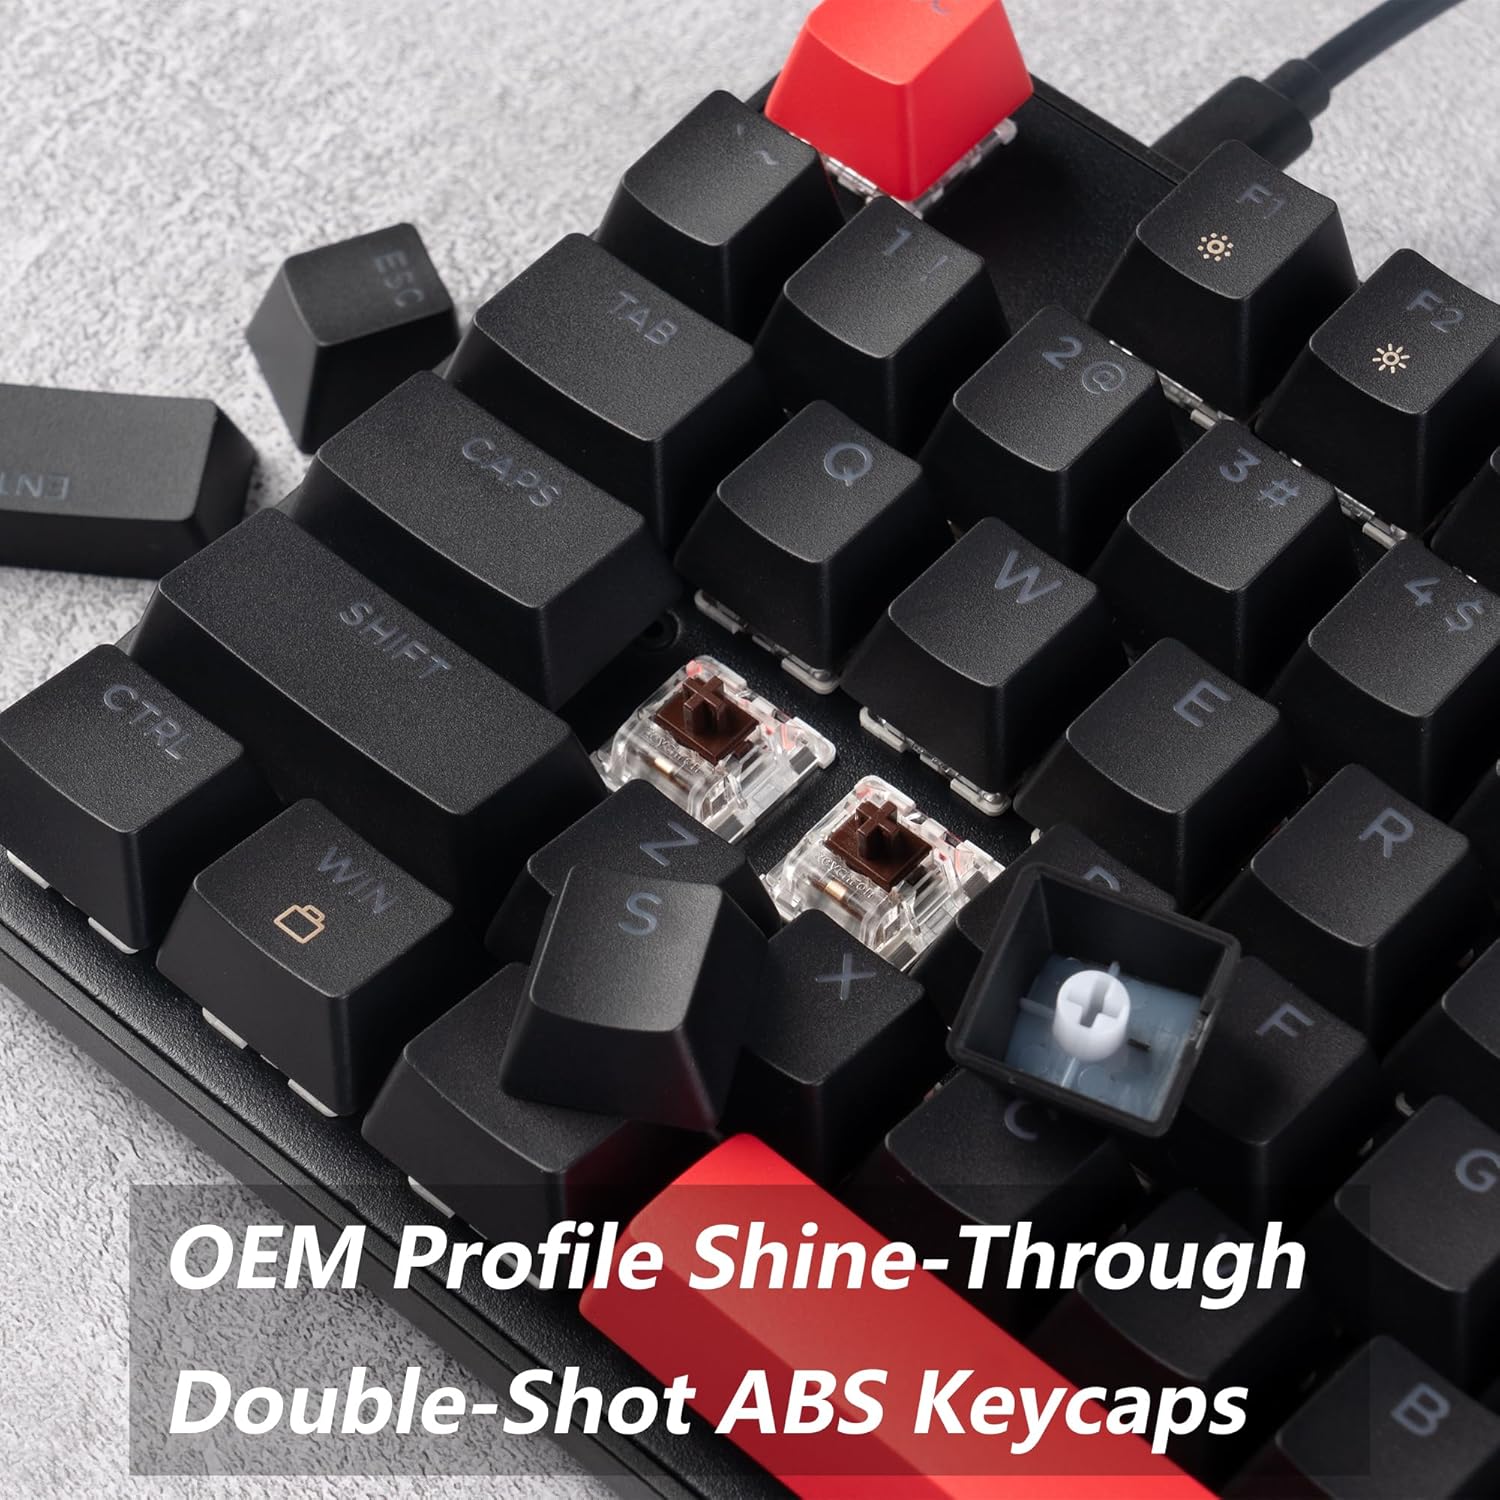
Image 5.1: A close-up showing a removed keycap and the underlying brown switch, highlighting the double-shot ABS keycap construction.
6. Troubleshooting
6.1 Keyboard Not Responding
- Ensure the USB cable is securely connected to both the keyboard and the computer.
- Try connecting the keyboard to a different USB port on your computer.
- Test the keyboard on another computer to rule out system-specific issues.
- If using a USB hub, try connecting directly to the computer.
6.2 Mouse Not Responding or Disconnecting
- Check the mouse's USB cable connection to the computer.
- Try a different USB port.
- Ensure the mouse sensor is clean and free of obstructions.
- Test the mouse on another computer.
6.3 Backlight Not Working or Incorrect
- Ensure the backlight is not turned off or set to the lowest brightness level. Use the backlight control shortcuts (e.g., Fn + arrow keys or specific function keys).
- If using QMK/VIA, check your lighting settings within the software.
6.4 Keys Not Registering Correctly
- Check if the keycap or switch is properly seated. Refer to Section 5.2 for switch replacement.
- If using QMK/VIA, verify that the key has not been accidentally remapped.
7. Specifications
| Feature | Detail |
|---|---|
| Brand | LEMOKEY |
| Model | X2 QMK/VIA Keyboard and M551 Mouse Combo |
| Keyboard Layout | 104-Key Full-Size |
| Switch Type | Mechanical (Brown Switches) |
| Keycap Material | ABS Double-Shot |
| Backlight | Red (Single Color) |
| Connectivity | Wired (USB) |
| Polling Rate | 1000Hz |
| OS Compatibility | Mac OS, Windows, Linux |
| Keyboard Dimensions | 45 x 13 x 4 cm |
| Keyboard Weight | 1 kg |
| Mouse Included | Yes (M551 Gaming Mouse) |

Image 7.1: Dimensional diagram of the LEMOKEY X2 keyboard and M551 mouse.
8. Warranty and Support
For warranty information and technical support, please refer to the official LEMOKEY website or contact your retailer. Keep your purchase receipt as proof of purchase for warranty claims.


