
Introduction
This manual provides detailed instructions for the installation, operation, and maintenance of your LNEX Solar Charge Controller 8A, model KSS12-8. Designed for various battery types including LiFePO4, AGM, Gel, Flooded, and Lithium, this intelligent regulator ensures efficient and safe charging of your 12V battery system from a solar panel.
Safety Information
Always observe the following safety precautions to prevent personal injury or damage to the controller and connected equipment:
- Ensure all connections are correct before connecting the solar panel or battery. Incorrect wiring can cause damage.
- Do not attempt to disassemble or repair the controller. Refer to qualified personnel for service.
- Install the controller in a well-ventilated area, away from flammable materials.
- Avoid direct contact with battery terminals.
- Wear eye protection when working with batteries.
- Keep out of reach of children.
Product Features
The LNEX Solar Charge Controller 8A offers a range of advanced features for optimal performance and safety:
- 12V Mini Solar Controller: Compact design with LED indicators for easy monitoring of solar panel and battery status. Its small footprint saves space and is highly portable.

Image: The compact size of the controller, showing dimensions of 83mm (3.3in) by 78mm (3.1in) and 23mm (0.9in) thickness.
- Super Thin & Waterproof (IP65): Engineered for outdoor use, this controller is damp-proof, condensation-resistant, and fully operational when exposed to water spray or rain.
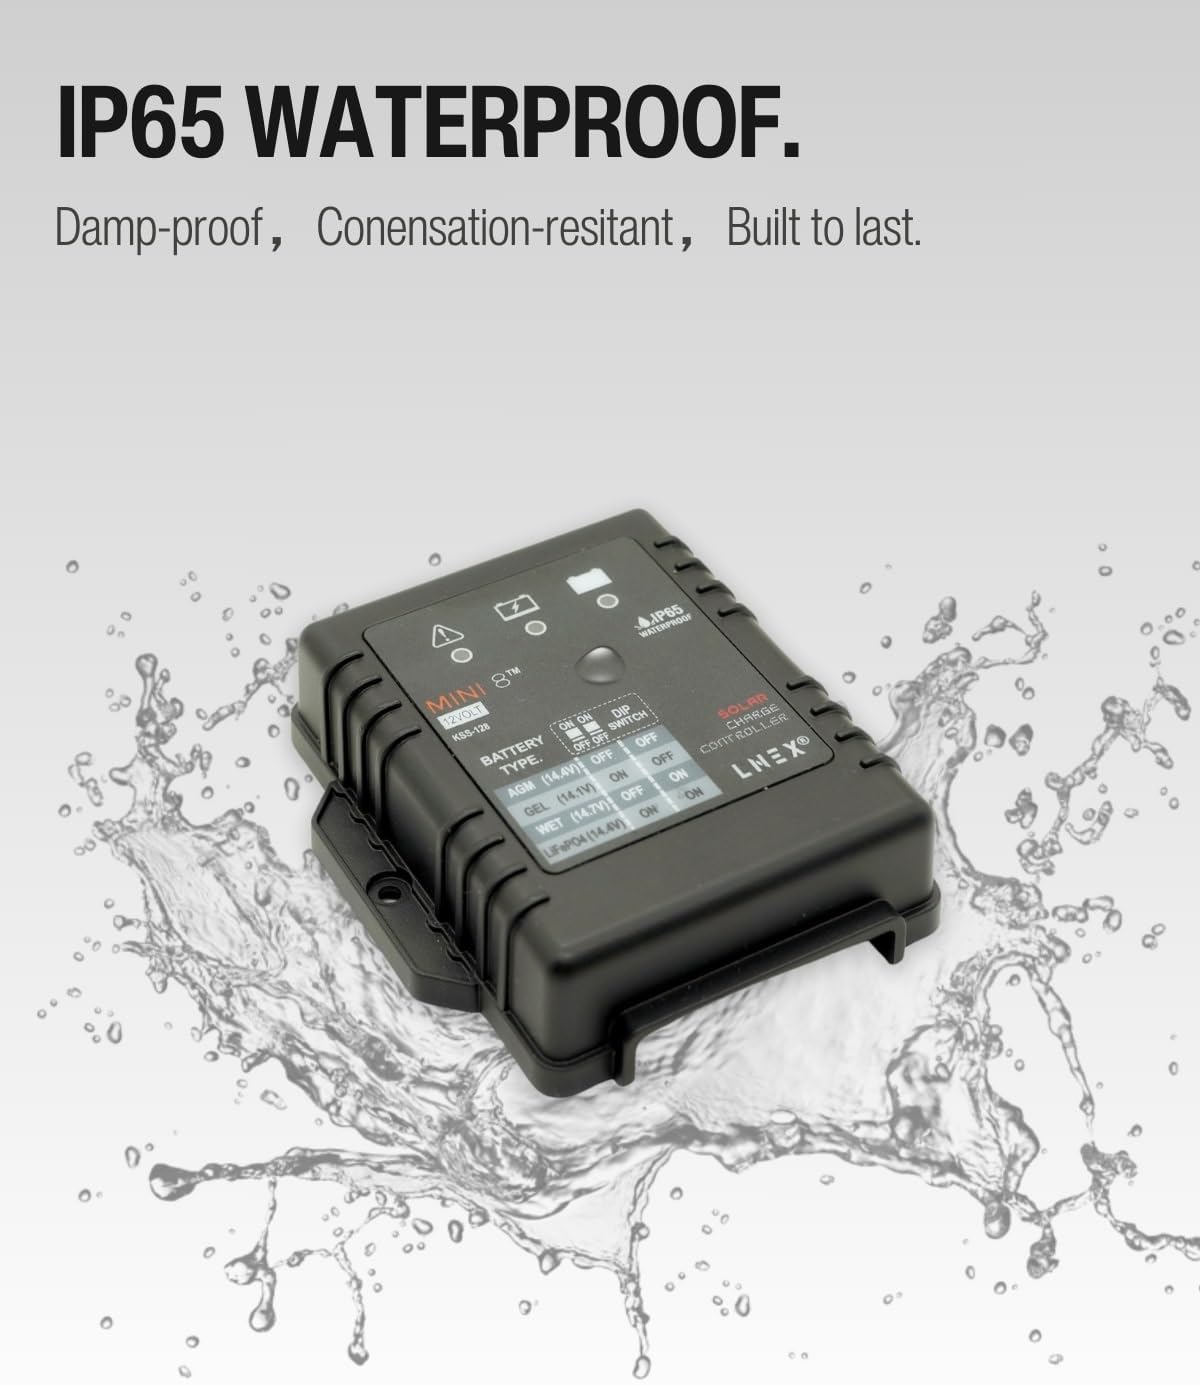
Image: The controller being splashed with water, illustrating its IP65 waterproof rating.
- 6-Stage PWM Technology: Utilizes advanced smart PWM technology for precise control, offering Diagnose, Soft Start, Bulk Charge, Absorption, Equalization, and Float Charge stages to extend battery life and enhance system performance.

Image: A graph showing voltage and current curves during the 6 multi-stage charging process.
- Multi-Protection to Ensure Safety: Built-in safeguards against over-temperature, over-voltage, over-current, over-charging, over-discharging, overload, and short-circuit, providing comprehensive protection for your battery and system.

Image: Icons depicting various safety protections including short circuit, reverse connection, overvoltage, overcurrent, overheating, and night reverse current.
- Support Multiple Battery Types: Compatible with LiFePO4, AGM, Gel, WET, and Flooded batteries, making it versatile for deep cycle, starter, marine, car, RV, and powersport applications.
Setup
Follow these steps for proper installation of your solar charge controller:
- Prepare Wiring: Ensure all wires are of appropriate gauge for your system and have proper insulation.
- Connect Battery First: Connect the battery to the controller's battery terminals. Observe correct polarity (+ to + and - to -). The controller will power on.
- Connect Solar Panel: Connect the solar panel to the controller's solar panel terminals. Observe correct polarity.
- Select Battery Type: Use the DIP switches on the controller to select the correct battery type according to the table below. Incorrect selection can damage the battery.

Image: DIP switch settings for various battery types (AGM, GEL, WET, LiFePO4).
Battery Type Selection (DIP Switches) Battery Type DIP Switch 1 DIP Switch 2 Charging Voltage (12V) AGM OFF OFF 14.4V GEL ON OFF 14.1V WET OFF ON 14.7V LiFePO4 ON ON 14.4V Important: Disconnect the solar panel before disconnecting the battery. Disconnect the battery before disconnecting the solar panel when uninstalling.
Operating
The LNEX Solar Charge Controller operates automatically once connected and configured. Its LED indicators provide real-time status updates:

Image: Front view of the LNEX Solar Charge Controller showing LED indicators.
| Indicator | Status | Description |
|---|---|---|
| Solar Panel LED (Green) | Solid ON | Solar panel is connected and generating power. |
| Solar Panel LED (Green) | OFF | No solar input or insufficient light. |
| Battery LED (Green) | Solid ON | Battery is charging or fully charged. |
| Battery LED (Green) | Flashing | Battery is in a specific charging stage (e.g., absorption, equalization). |
| Battery LED (Green) | OFF | Battery not connected or low voltage. |
| Fault LED (Red) | Solid ON | Indicates a fault condition (e.g., over-voltage, short circuit, reverse polarity). Refer to troubleshooting. |
| Fault LED (Red) | OFF | No fault detected. |
Maintenance
To ensure the longevity and optimal performance of your LNEX Solar Charge Controller, follow these simple maintenance guidelines:
- Regular Inspection: Periodically check all wiring connections for tightness and corrosion.
- Cleanliness: Keep the controller clean and free from dust and debris. Use a dry cloth for cleaning. Do not use harsh chemicals or abrasive materials.
- Ventilation: Ensure the installation area allows for adequate airflow around the controller to prevent overheating.
- Environmental Check: While waterproof, avoid prolonged submersion or extreme environmental conditions beyond its IP65 rating.
- Battery Health: Regularly check the health and charge level of your battery. A healthy battery contributes to the controller's efficiency.
Troubleshooting
If you encounter issues with your LNEX Solar Charge Controller, refer to the following table for common problems and their solutions:
| Problem | Possible Cause | Solution |
|---|---|---|
| Controller not powering on. | Battery not connected or reverse polarity. | Check battery connections and ensure correct polarity. Connect battery first. |
| Solar LED OFF, no charging. | No solar input, low light, or solar panel not connected. | Ensure solar panel is connected correctly and receiving sufficient sunlight. Check solar panel wiring. |
| Fault LED is ON. | Over-voltage, short circuit, reverse polarity, or other system fault. | Disconnect all connections. Recheck wiring for short circuits or reverse polarity. Ensure battery voltage is within limits. Reconnect in correct order (battery then solar). |
| Battery not fully charging. | Incorrect battery type selected, insufficient solar power, or battery issue. | Verify DIP switch settings for correct battery type. Ensure solar panel is adequately sized for your battery. Check battery health. |
| Overcharging detected. | Faulty controller or incorrect battery type setting. | Double-check DIP switch settings. If issue persists, contact support. |
Specifications
Detailed technical specifications for the LNEX Solar Charge Controller 8A, model KSS12-8:
| Specification | Detail |
|---|---|
| Model Number | KSS12-8 |
| Brand | LNEX |
| Rated Current | 8A |
| System Voltage | 12V (DC) |
| Product Dimensions | 3.93 x 3.93 x 1.18 inches |
| Item Weight | 3.34 ounces |
| Waterproof Rating | IP65 |
| Charging Stages | 6-stage PWM (Diagnose, Soft Start, Bulk Charge, Absorption, Equalization, Float Charge) |
| Supported Battery Types | LiFePO4, AGM, Gel, WET, Flooded |
| Protection Features | Over-temperature, Over-voltage, Over-current, Over-charging, Over-discharging, Overload, Short-circuit |
| Country of Origin | China |
Warranty and Support
LNEX products are designed for reliability and performance. For warranty information, technical support, or service inquiries, please visit the official LNEX store on Amazon or contact LNEX customer service directly. Keep your purchase receipt for warranty claims.
Official LNEX Store: LNEX Store on Amazon