
Introduction
The NCVI Double Electric Breast Pump 8116 is designed to provide a customizable, powerful, and comfortable pumping experience for mothers. Its portable and rechargeable design makes it ideal for use at home, work, or while traveling. This manual provides detailed instructions for setup, operation, maintenance, and troubleshooting to ensure optimal performance and hygiene.
- Customizable Pumping Experience: Featuring 4 modes, 5 cycle speed and 9 suction levels. The electric breast pump 8116 allows you to tailor each session to your comfort and needs, whether it's for stimulation or deep suction.
- Powerful & Comprehensive: Dual electric pumps with hospital-grade suction for high efficiency. Features a closed system to prevent backflow, ensuring safety and hygiene. Quiet operation, built-in night light, auto shut-off, and easy-to-use LED touchscreen.
- Portable Breast Pump: Lightweight with a high-capacity battery for carrying easily and long-lasting use. Removable accessories allow easy cleaning. Perfect for busy or on-the-go moms who need to pump multiple times throughout the day without frequent recharging.
- Stylish and Comfortable Design: This breast pump combines powerful functionality with a sleek design, catering to mothers’needs. Equipped with 4 flange sizes and soft, flexible edges, it ensures a gentle fit for various breast, minimizing discomfort during pumping.
- Contains All You Need: The set comes with breast pumps and breastfeeding accessories, including nursing pads, milk storage bags, and multiple flange sizes, so you’re fully equipped from the start to meet your pumping and storage needs.
Package Contents
The NCVI Double Electric Breast Pump 8116 package includes all necessary components for immediate use. Please verify all items are present upon unboxing.

Figure 1: Complete package contents of the NCVI Double Electric Breast Pump 8116, including the main unit, breast shields, bottles, and accessories.
| Component | Quantity | Description |
|---|---|---|
| Pump Body | 1 | Main control unit with LED touchscreen. |
| Breast Shields (Flanges) | 4 pairs | Sizes: 21mm, 24mm, 28mm, 32mm for comfortable fit. |
| Milk Bottles & Caps | 2 | 6oz (180ml) capacity with measurement markings. |
| Nipple Measurement Tool | 1 | Card to help determine correct flange size. |
| Air Tubes | 2 | Connect pump body to breast shield assemblies. |
| Duckbill Valves | 4 | Spare valves for optimal suction. |
| Diaphragms | 2 | Ensures closed system and prevents backflow. |
| Type-C Charging Cord | 1 | For recharging the pump's internal battery. |
| Disposable Nursing Pads | 6 | For immediate use. |
| Breast Milk Storage Bags | 10 | For convenient milk storage. |
Setup
1. Initial Charging
Before first use, fully charge the breast pump. Connect the Type-C charging cord to the pump and a suitable power source. The battery indicator on the LED screen will show charging progress. A full charge ensures optimal performance and portability.

Figure 2: Connecting the USB-C charging cable to the pump unit.
2. Assembly of Breast Shield and Bottle
Ensure all parts are clean and dry before assembly. Refer to the "Maintenance" section for cleaning instructions.
- Select the appropriate flange size using the nipple measurement tool.
- Attach the duckbill valve firmly to the bottom of the breast shield.
- Connect the diaphragm to the top of the breast shield, ensuring a secure seal.
- Screw the milk bottle onto the assembled breast shield.
- Connect one end of the air tube to the breast shield assembly and the other end to the corresponding port (L or R) on the pump body.

Figure 3: Fully assembled breast pump unit, ready for use.
Operating Instructions
The NCVI 8116 pump offers customizable settings for an optimal pumping experience.
1. Power On/Off and Mode Selection
Press the power button on the LED touchscreen to turn the pump on or off. The pump will start in a default mode. Press the 'M' button to cycle through the 4 available modes:
- Massage Mode: Gentle stimulation to initiate milk flow.
- Suck Simulate Mode: Mimics a baby's natural sucking rhythm.
- Multitronic Mode: Variable frequency stimulation for increased milk output.
- Express Mode: Strong and slow suction to empty the breast efficiently.

Figure 4: LED touchscreen displaying various modes and controls.
Video 1: Official NCVI video demonstrating the adjustable speed and various modes of the Breast Pump 8116, including Multitronic, Massage, Suck Simulate, and Express modes.
2. Adjusting Suction and Cycle Speed
Each mode offers 9 suction levels and 5 cycle speeds. Use the '+' and '-' buttons to adjust the intensity to your comfort. The LED screen will display the current level.
Video 2: Official NCVI video explaining the features of the Breast Pump 8116, including customizable modes, suction, and cycle speed adjustments.
3. Night Light Function
The pump features a built-in 4-color night light, providing a soft glow for convenient nighttime pumping without disturbing your baby. The light color changes with different modes.

Figure 5: The pump unit displaying its integrated night light, ideal for low-light environments.
Video 3: A short preview video demonstrating the night light feature of the NCVI Electric Breast Pump.
Maintenance
Proper cleaning and maintenance are crucial for hygiene and longevity of your breast pump. All parts that come into contact with breast milk should be cleaned after each use.
1. Disassembly and Cleaning
- Disconnect the air tubes from the pump body and breast shield assemblies.
- Disassemble all parts that come into contact with milk: breast shields, duckbill valves, diaphragms, and bottles.
- Wash all disassembled parts in warm, soapy water. Use a dedicated brush for cleaning.
- Rinse thoroughly with clean water.
- Air dry on a clean drying rack or use a clean cloth. Ensure all parts are completely dry before reassembly or storage.
- Do not wash the main pump body or air tubes. Wipe the pump body with a clean, damp cloth if needed.
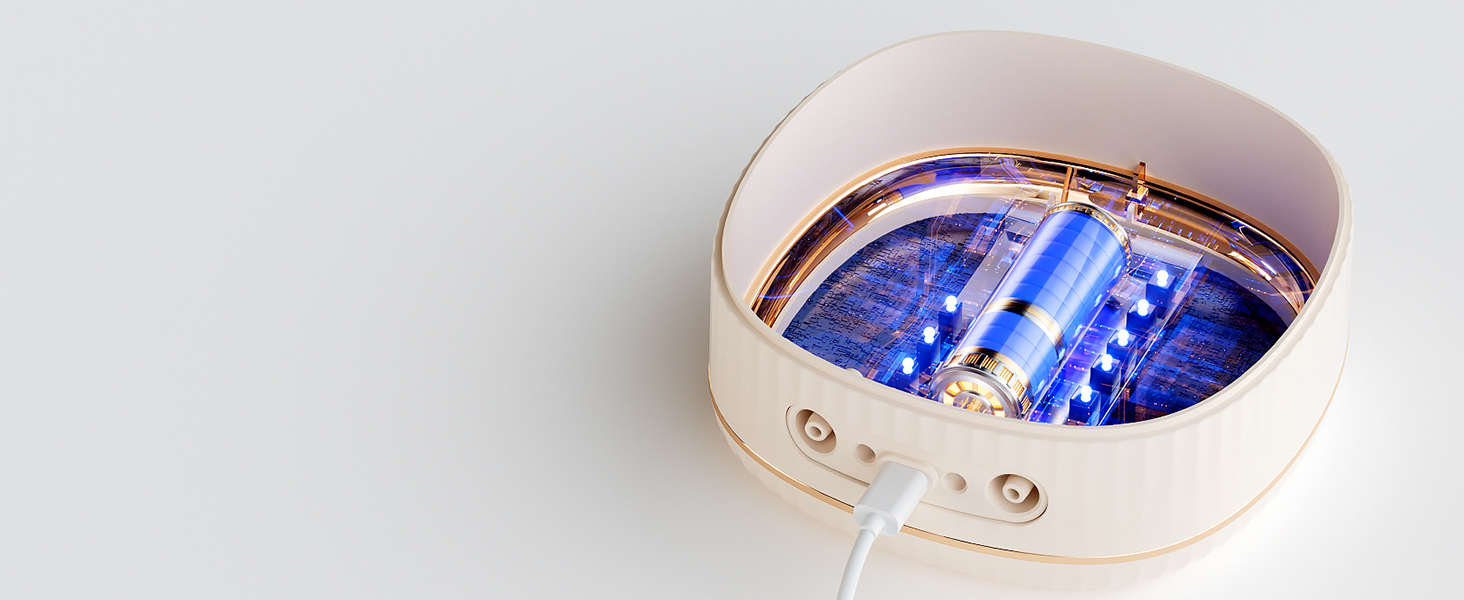
Figure 6: Disassembled pump parts ready for cleaning.
2. Storage
Store the clean and dry pump parts in a clean, dry place away from direct sunlight and extreme temperatures. Ensure the pump body is fully charged before storing for extended periods.
Troubleshooting
If you encounter issues with your NCVI Double Electric Breast Pump 8116, refer to the common problems and solutions below:
| Problem | Possible Cause | Solution |
|---|---|---|
| No suction or weak suction |
|
|
| Pump not turning on |
|
|
| Milk flowing into air tube |
|
|
Specifications
| Feature | Detail |
|---|---|
| Product Dimensions | 10.63 x 6.69 x 6.89 inches; 2.91 Pounds |
| Item Model Number | 8116 |
| Batteries | 1 Lithium Polymer batteries required (included) |
| Manufacturer | NCVI |
| Special Feature | Portable, Double Pump, Low Noise |
| Material | Polypropylene |
| Power Source | Battery Powered |
Warranty and Support
This product is covered by a legal disclaimer stating that "Statements regarding dietary supplements have not been evaluated by the FDA and are not intended to diagnose, treat, cure, or prevent any disease or health condition." For specific warranty information or customer support, please refer to the manufacturer's official website or contact their customer service directly. Contact details are typically found on the product packaging or the manufacturer's website.