
1. Introduction
Thank you for choosing the VINGLI Grey 6-Drawer Dresser. This manual provides essential information for the safe assembly, operation, and maintenance of your new furniture. Please read these instructions carefully before beginning assembly and retain them for future reference.
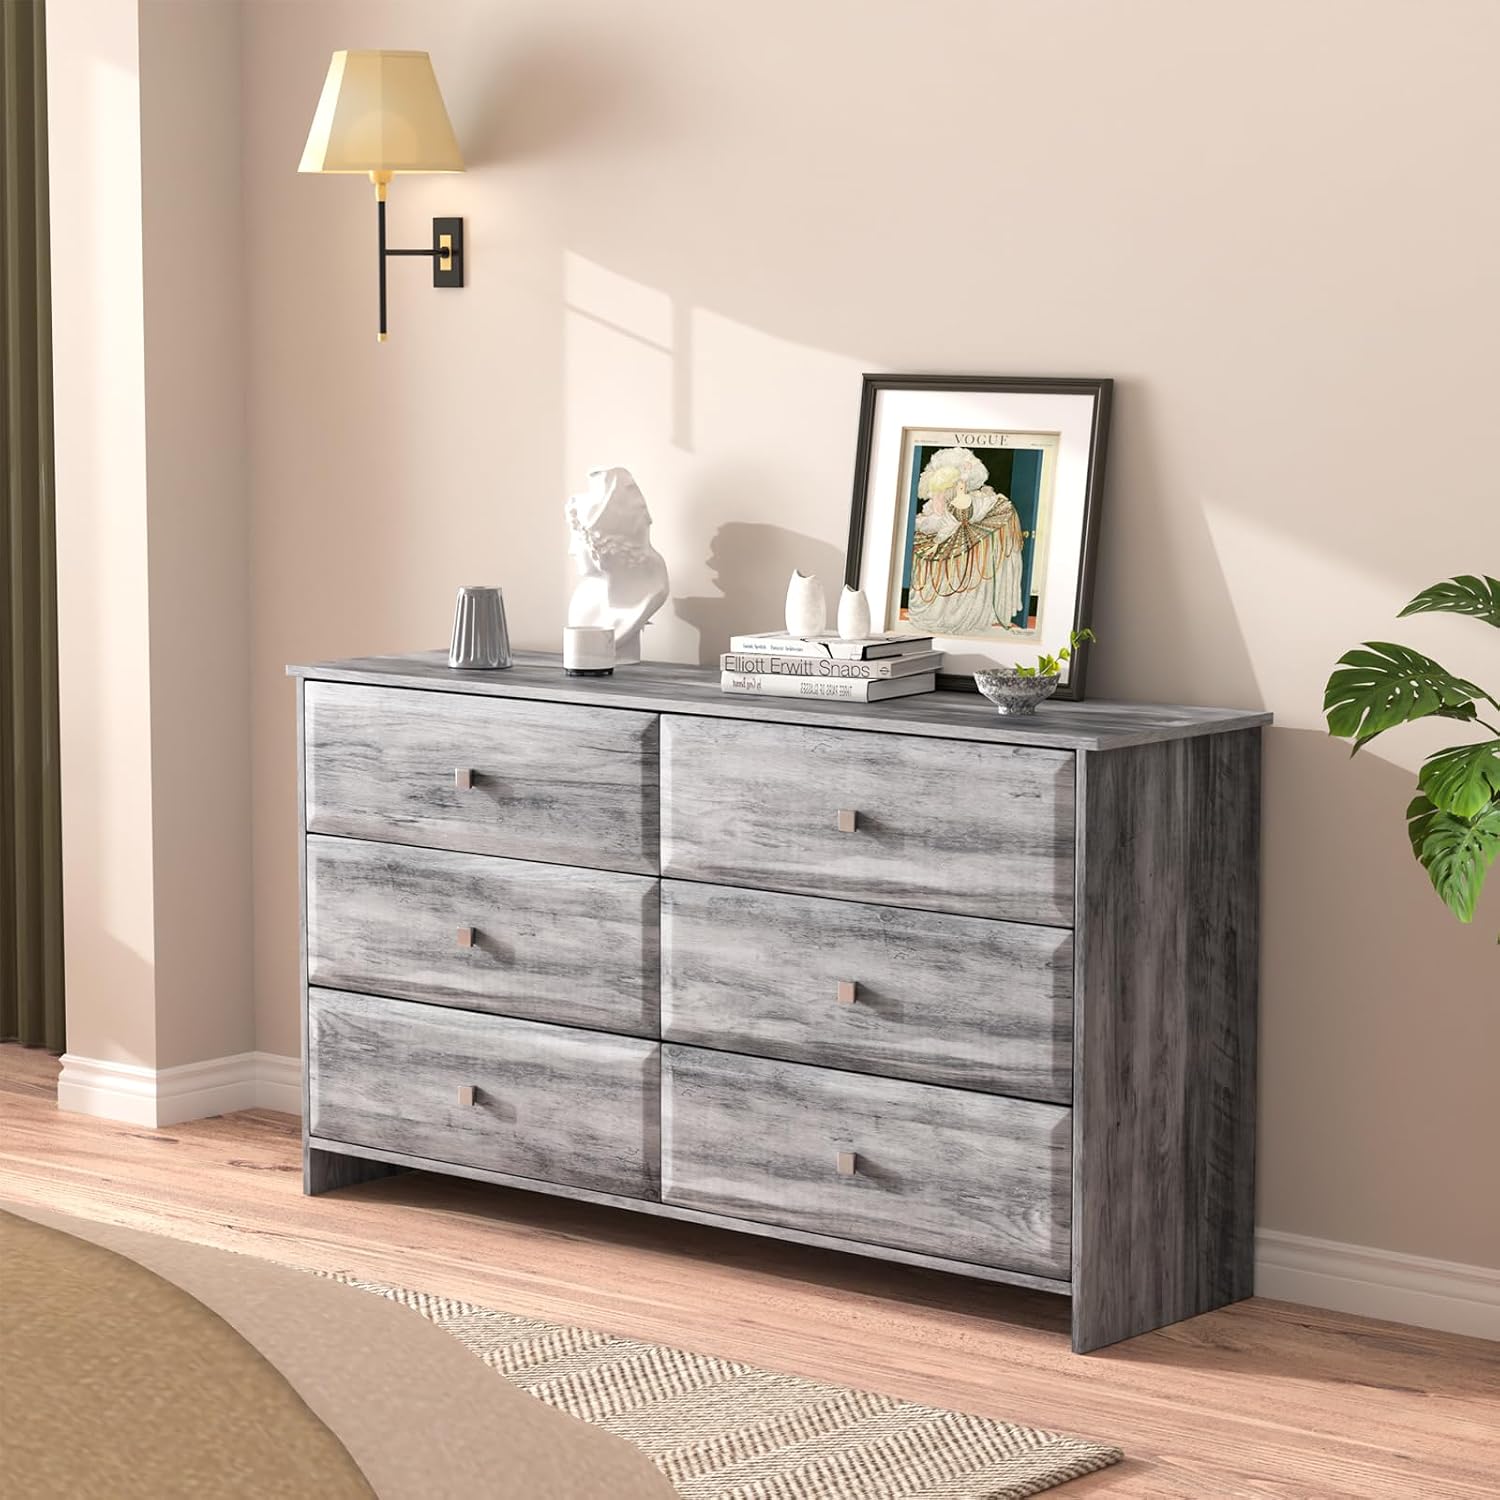
Image 1.1: The VINGLI Grey 6-Drawer Dresser, showcasing its rustic grey finish and six spacious drawers.
2. Safety Information
WARNING: Furniture Tip-Over Hazard
Serious or fatal crushing injuries can occur from furniture tip-overs. To help prevent tip-over:
- Always install the anti-tipping device provided with this product.
- Never allow children to climb or hang on drawers, doors, or shelves.
- Place the heaviest items in the lowest drawers.
- Do not place heavy objects on top of the dresser unless it is securely anchored.
Failure to follow these warnings can result in death or serious injury.

Image 2.1: Illustration of the anti-tipping device being installed to secure the dresser to the wall, emphasizing child safety.
3. Package Contents
Before assembly, ensure all parts are present and undamaged. If any parts are missing or damaged, do not proceed with assembly. Contact VINGLI customer support for assistance.
3.1. Components
- Top Panel
- Bottom Panel
- Side Panels (2)
- Back Panel
- Drawer Fronts (6)
- Drawer Side Panels (12)
- Drawer Back Panels (6)
- Drawer Bottom Panels (6)
3.2. Hardware and Accessories
- Drawer Slides (12 pairs - 6 for cabinet, 6 for drawers)
- Handles (6)
- Anti-Tipping Kit (strap, screws, wall anchors)
- Various Screws, Dowels, Cam Locks, and Fasteners
- Mending Wedges (for structural reinforcement)
4. Assembly Instructions
Assembly requires two people. Use a soft, clean surface to prevent scratching the furniture during assembly. A Phillips head screwdriver and a hammer may be required (not included).
4.1. Prepare Components
- Unpack all components and hardware.
- Identify each part by comparing it with the parts list.
- Ensure all pre-drilled holes are clear.
4.2. Assemble the Main Frame
- Attach the side panels to the bottom panel using the provided dowels and cam locks.
- Secure the top panel to the assembled side and bottom panels.
- Slide the back panel into the designated grooves or attach it using small nails/screws.
4.3. Install Cabinet Drawer Slides
- Identify the cabinet-side drawer slides.
- Attach the cabinet slides to the inner sides of the dresser frame using the specified screws. Ensure they are level and aligned.

Image 4.1: Detail of the fully extended silent drawer slide, showing its mechanism.
4.4. Assemble Drawers
Repeat these steps for all six drawers:
- Attach the drawer side panels to the drawer front panel using dowels and cam locks.
- Slide the drawer bottom panel into the grooves.
- Attach the drawer back panel to complete the drawer box.
- Install the drawer-side drawer slides to the outer sides of the assembled drawer box.

Image 4.2: View of a drawer interior, highlighting the construction and space.
4.5. Install Handles
Attach the handles to each drawer front using the provided screws. Ensure they are tightened securely.

Image 4.3: Detail of the glossy square metal knob, designed for easy grip.
4.6. Insert Drawers
Carefully align the drawer slides with the cabinet slides and push each drawer into the dresser frame until it clicks into place.
4.7. Install Anti-Tipping Device
For safety, it is mandatory to install the anti-tipping device. Follow the instructions provided with the kit to secure the dresser to a wall stud. This prevents accidental tip-overs.
5. Operating Instructions
5.1. Drawer Operation
The dresser features fully extended silent drawer slides for smooth opening and closing. To open a drawer, gently pull the handle. To close, push the drawer firmly until it is fully seated.

Image 5.1: The dresser with drawers partially open, demonstrating easy access to contents.
5.2. Weight Capacity
- Top Surface: Maximum weight capacity of 300 lbs (136 kg).
- Each Drawer: Maximum weight capacity of 44 lbs (20 kg).
Do not exceed these weight limits to ensure stability and longevity of the dresser.

Image 5.2: Visual representation of the dresser's dimensions and weight capacities for the top surface and individual drawers.
5.3. Versatile Use
This dresser can serve various functions beyond bedroom storage, including a TV stand (up to 65 inches), makeup cabinet, sideboard, or console table.

Image 5.3: Examples of the dresser's versatile applications in different rooms and for various storage needs.
6. Maintenance
6.1. Cleaning
To clean the dresser, simply wipe the surface with a damp cloth. Avoid using harsh chemicals or abrasive cleaners, as these can damage the finish.
6.2. General Care
- Periodically check all fasteners and tighten them if necessary to maintain stability.
- Avoid exposing the dresser to direct sunlight or extreme temperature changes, which can cause warping or fading.
- Protect the surface from spills and scratches by using coasters or protective mats.

Image 6.1: Details of the dresser's construction, featuring high-strength MDF board and water-resistant PVC veneer for durability and ease of maintenance.
7. Troubleshooting
7.1. Drawers Do Not Slide Smoothly
- Ensure the drawer slides are correctly installed and aligned on both the drawer and the cabinet frame.
- Check for any obstructions in the slide mechanism.
- Verify that all screws securing the slides are tightened.
7.2. Dresser Feels Unstable
- Confirm that all cam locks and screws throughout the dresser frame are fully tightened.
- Ensure the dresser is placed on a level surface.
- Verify that the anti-tipping device is securely installed to the wall.
7.3. Gaps Between Panels
- Loosen relevant fasteners slightly, adjust the panels to close the gap, then re-tighten.
- Ensure dowels are fully inserted and cam locks are properly engaged.
8. Specifications
| Brand | VINGLI |
| Model Name | Dresser |
| Item Model Number | D0W6DBG |
| Product Dimensions | 14.5"D x 53.9"W x 29.1"H |
| Color | Washed Grey |
| Material | Premium MDF Board, PVC Veneer |
| Item Weight | 88.2 Pounds |
| Number of Drawers | 6 |
| Drawer Type | Fully Extended Silent Drawer Slide |
| Assembly Required | Yes |
9. Warranty Information
This VINGLI dresser comes with a 24-Month Quality Warranty. This warranty covers manufacturing defects and material flaws under normal use. Please retain your proof of purchase for warranty claims. The warranty does not cover damage caused by improper assembly, misuse, accidents, or normal wear and tear.
10. Customer Support
If you have any questions, require assistance with assembly, or need to report missing/damaged parts, please contact VINGLI customer support. Refer to the contact information provided at the point of purchase or on the VINGLI official website.
Please have your model number (D0W6DBG) and purchase details ready when contacting support.