
1. Introduction
Thank you for choosing the Anyork Handheld Red Light Therapy Device. This device is designed to provide red light and near-infrared light therapy for various body areas and pets. Please read this manual carefully before use to ensure proper operation and to maximize the benefits of your device.
2. Important Safety Information
- Eye Protection: Always wear the provided protective glasses during operation to shield your eyes from direct light exposure.
- Invisible Light: The 808nm infrared light is invisible to the human eye. Do not assume the device is not working if you do not see all lights illuminated. You can verify its operation using a phone camera.
- Medical Conditions: Consult a healthcare professional before using this device if you have any medical conditions, are pregnant, or have implanted medical devices such as pacemakers.
- Skin Sensitivity: If you experience any discomfort, redness, or irritation, discontinue use immediately.
- Children and Pets: Keep out of reach of children. When using on pets, ensure they are calm and supervised.
- Water Exposure: Do not immerse the device in water or use it in wet environments.
3. Package Contents
Verify that all items are present in your package:
- 1 x Anyork Handheld Red Light Therapy Device (Host)
- 1 x Power Adapter with USB Cable
- 1 x Sturdy Stand
- 1 x Protective Glasses
- 1 x User Manual
4. Device Overview
Familiarize yourself with the components and controls of your red light therapy device.
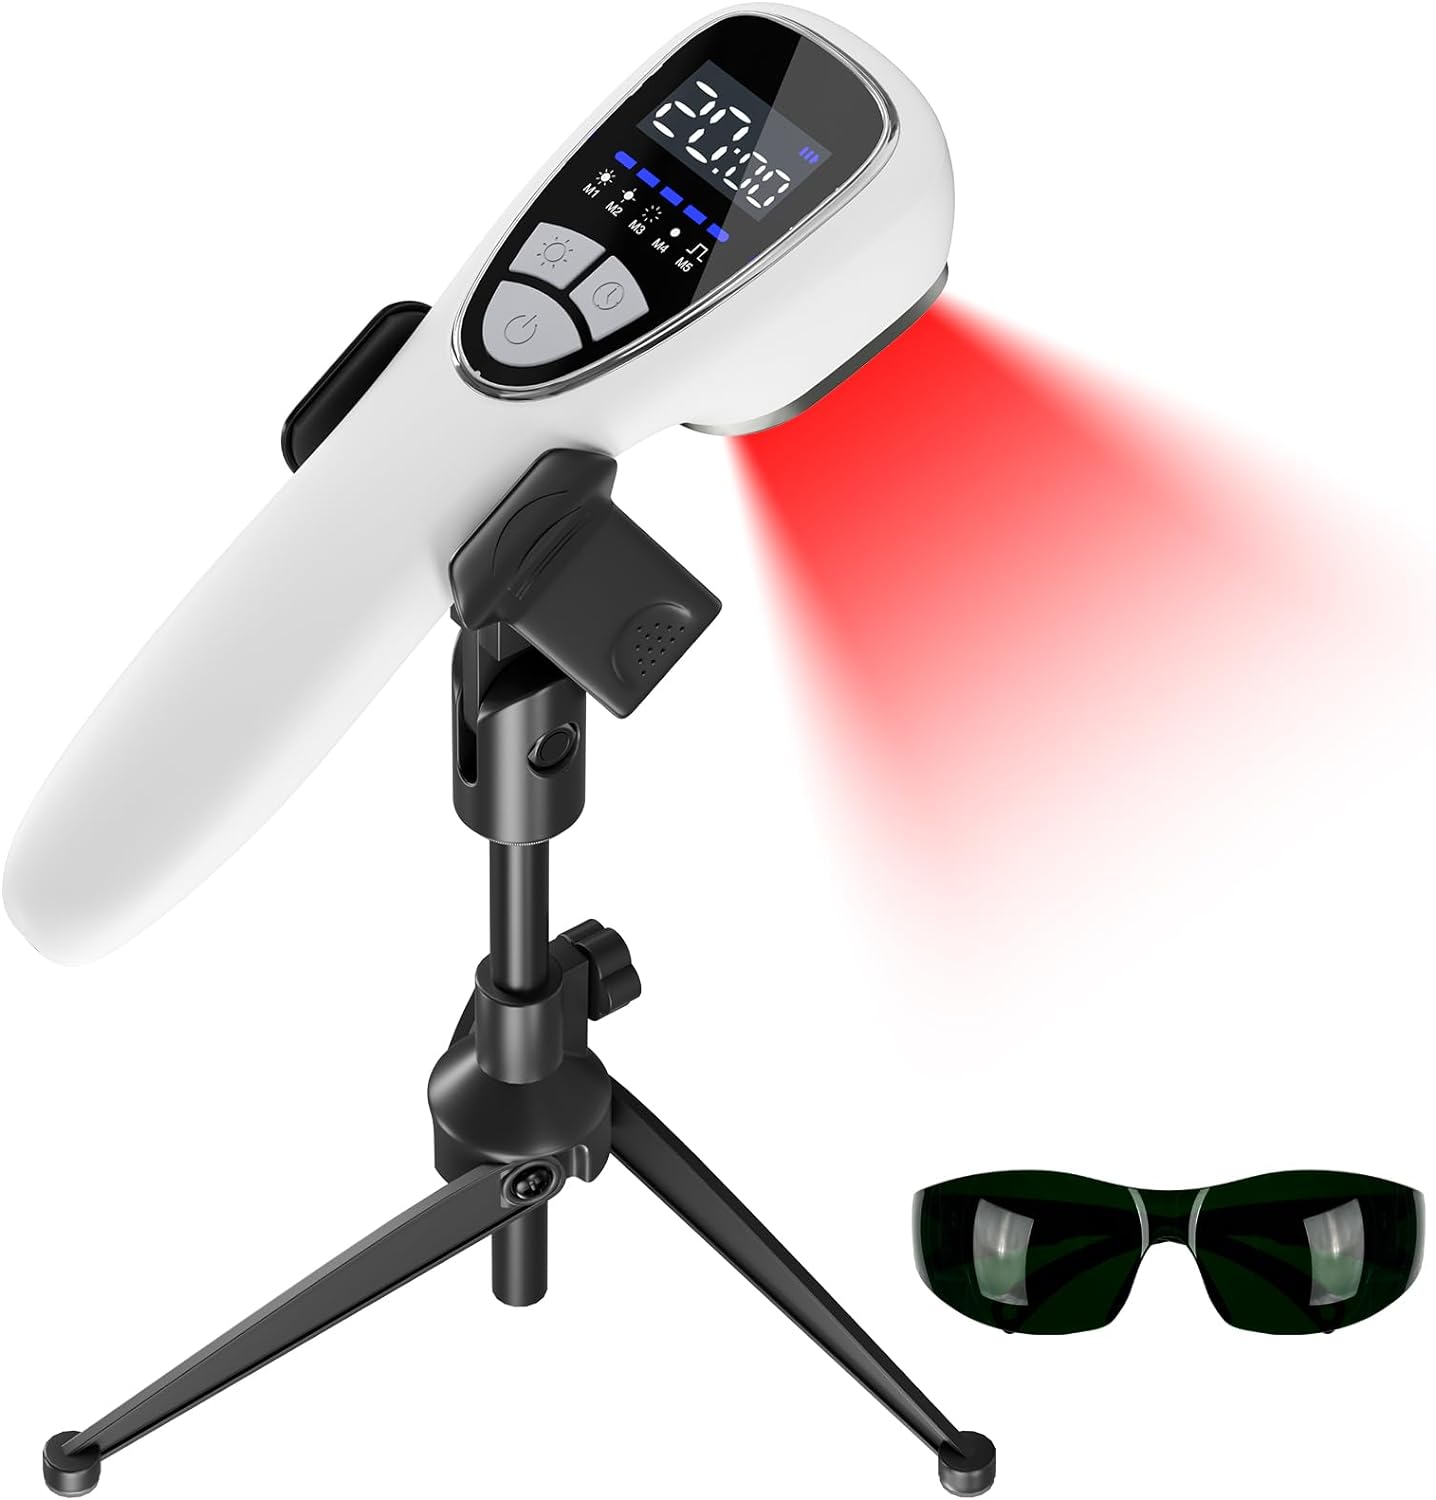
Figure 4.1: Device Controls and Display. This image illustrates the main body of the handheld red light therapy device, highlighting its digital display, mode selection buttons (M1-M5), timer settings, power button, battery indicator, and the Type-C charging port at the bottom.

Figure 4.2: Light Emitters. This diagram details the light panel of the device, showing 12 visible red light emitters (650nm) and 6 invisible near-infrared light emitters (808nm). A note reminds users that 808nm infrared light is invisible to the human eye but can be seen through a phone's camera.
5. Setup
5.1 Assembling the Stand
The included stand allows for hands-free operation. Follow these steps to assemble and attach the device to the stand:
- Rotate to open the three tripod legs. Unscrew the bolt and adjust the height of the stand as needed.
- Ensure the clamp of the tripod is parallel to one of the tripod legs, then tighten the bolt.
- Secure the red light device with the clamp and adjust the angle to your desired position.
- If the clamps feel loose, use a screwdriver to tighten the screws located under the clamps.

Figure 5.1: Stand Assembly Steps. This image provides a visual guide for setting up the device's stand, from extending the legs to securing the device and making final adjustments.
Video 5.1: Stand Installation and Device Operation. This video demonstrates how to properly install the device stand and provides a basic overview of operating the red light therapy device, including power on/off and mode selection.
6. Operating Instructions
6.1 Charging the Device
Before first use, fully charge the device using the provided USB cable and power adapter. Connect the Type-C charging cable to the charging port at the bottom of the device and plug the adapter into a power outlet. The battery indicator on the display will show charging status.
6.2 Powering On/Off
To turn the device ON or OFF, press and hold the ON/OFF button (usually located at the top of the control panel) for a few seconds until the display illuminates or turns off.
6.3 Selecting Modes
The device offers 5 different modes (M1-M5) to suit various needs. Use the mode selection buttons to cycle through them:
- M1-M4: Continuous Wave (CW) models.
- M1 & M2: Both infrared light and red light will turn on.
- M3: Only red light will turn on.
- M4: Only infrared light will turn on.
- M5: Pulsed Wave (PW) model. Both infrared and red light will turn on, operating in a pulsed manner.

Figure 6.1: Mode Selection. This image visually explains the five distinct operating modes (M1-M5), detailing which lights (red, infrared, or both) are active in continuous or pulsed wave patterns for each setting.
6.4 Setting the Timer
The device features an adjustable timer for 5, 10, 15, or 20 minutes. Use the timer button to select your desired treatment duration. The device will automatically shut off once the selected time has elapsed.

Figure 6.2: Adjustable Timer. This image displays the device's digital screen, illustrating the available timer settings: 5 minutes, 10 minutes, 15 minutes, and 20 minutes, allowing users to customize treatment duration.
6.5 Application Guidelines
For optimal results, hover the device over the desired area at a distance of 0.5 to 1.2 inches (1.27 to 3 cm) away from the skin. Use once or twice a day for up to 20 minutes per session.
- For Human Use: Apply to areas such as knees, shoulders, elbows, ankles, wrists, hips, and the back spine.
- For Pet Use: The device is also suitable for pets. Apply to affected areas on dogs, cats, equine, and other pets.

Figure 6.3: Human Application Areas. This image demonstrates the versatility of the red light therapy device, showing its application on different parts of the human body for targeted therapy.

Figure 6.4: Pet Application. This image illustrates the use of the red light therapy device on a pet, specifically a golden retriever, highlighting its suitability for animal wellness.

Figure 6.5: Diverse Pet Applications. This image showcases the device's use across various animal companions, including dogs, horses, cats, and rabbits, demonstrating its broad applicability for pet care.
7. Maintenance
7.1 Cleaning
To clean the device, wipe it gently with a soft, dry cloth. Do not use abrasive cleaners, solvents, or immerse the device in water. Ensure the device is turned off and unplugged before cleaning.
7.2 Storage
Store the device in a cool, dry place away from direct sunlight and extreme temperatures. Keep it in its original packaging or a protective case when not in use to prevent damage.
8. Troubleshooting
If you encounter any issues with your device, refer to the following common problems and solutions:
- Device Not Turning On: Ensure the device is fully charged. If the battery is low, connect it to the power adapter and allow it to charge for at least 30 minutes before attempting to power it on again.
- No Visible Light from All Emitters: The 808nm infrared lights are invisible to the human eye. This is normal. You can use a smartphone camera to confirm that the 808nm lights are emitting.
- Buttons Not Responding: If buttons are unresponsive, try restarting the device by holding the ON/OFF button. Ensure the device is not in a paused state. If the issue persists, contact customer support.
- Stand Feels Unstable: Refer to the stand assembly instructions (Section 5.1) and ensure all bolts and screws are tightened securely.
Video 8.1: Troubleshooting and Usage Guide. This video provides helpful tips for troubleshooting common issues and offers additional guidance on how to effectively use the red light therapy device.
9. Specifications
| Feature | Detail |
|---|---|
| Model Number | 1173A |
| Product Dimensions | 10 x 2.7 x 2 inches (25.4 x 6.86 x 5.08 cm) |
| Weight | 11.2 ounces (317.5 grams) |
| Red Light Wavelength | 650nm (12 LEDs) |
| Near-Infrared Light Wavelength | 808nm (6 LEDs) |
| Battery Type | Lithium Ion (included) |
| Battery Capacity | 2600mAh |
| Timer Settings | 5, 10, 15, 20 minutes |
| Operating Modes | 5 (Continuous Wave M1-M4, Pulsed Wave M5) |
10. Warranty and Customer Support
The Anyork Handheld Red Light Therapy Device comes with a 12-month after-sale warranty. If you have any questions, concerns, or require assistance, please do not hesitate to contact our customer service team. We offer 24-hour customer support to ensure your satisfaction.
For support, please refer to the contact information provided on the product packaging or the official Anyork website.
11. Legal Disclaimer
Statements regarding dietary supplements and health devices have not been evaluated by the Food and Drug Administration (FDA) and are not intended to diagnose, treat, cure, or prevent any disease or health condition.