
BSIDE O2 Dual Channel Oscilloscope Touchscreen
BSIDE O2 Dual Channel Handheld Oscilloscope User Manual
Model: O2 Dual Channel Oscilloscope Touchscreen
Brand: BSIDE
1. Introduction
The BSIDE O2 is a versatile dual-channel handheld oscilloscope and DDS signal generator designed for a wide range of applications including automotive diagnostics, lab work, electronic repair, and motor control. Featuring a 50MHz bandwidth, 250MSa/s real-time sample rate, and a 3.98-inch full-viewing touch LCD, this device offers powerful measurement capabilities in a compact and portable form factor. Its integrated 3000mAh rechargeable battery ensures extended operation, making it an ideal tool for professionals and hobbyists alike.

Figure 1.1: BSIDE O2 Dual Channel Handheld Oscilloscope and included accessories.
2. Safety Information
Please read all safety warnings and operating instructions before using this product. Failure to follow these instructions may result in electric shock, fire, or serious injury.
- Always use the correct voltage and current settings for your measurements.
- Do not exceed the maximum input voltage of 300V (DC+AC peak).
- Ensure probes are properly connected and insulated before making measurements.
- Do not operate the device in wet or damp conditions.
- Avoid dropping or subjecting the device to strong impacts.
- Only use the provided charging cable and accessories.
- Keep the device away from children.
3. Package Contents
Verify that all items listed below are included in your package. If any items are missing or damaged, please contact customer support.
- 1 x Portable Oscilloscope (BSIDE O2)
- 1 x Oscilloscope Probe
- 1 x Carrying Case
- 1 x Charging Cable (USB-C)
- 4 x Marker Rings
- 1 x Adjustment Tool
- 1 x IC Test Protection Caps
- 1 x User Manual

Figure 3.1: All components included in the BSIDE O2 package.
4. Product Overview
The BSIDE O2 is designed for ease of use with a clear display and intuitive controls.
4.1. Key Features
- Dual Channel 50MHz Bandwidth: Capable of simultaneously displaying two waveforms with a 50MHz bandwidth and 250MSa/s real-time sampling rate.
- 3.98" TFT Touch Screen: Large, responsive touch display for easy navigation and parameter adjustment.
- Full-Viewing LCD: Provides clear test results from wide viewing angles.
- Integrated DDS Signal Generator: Generates various waveforms (sine, square, triangle, etc.) with adjustable frequency and amplitude.
- 3000mAh Rechargeable Battery: Long-lasting battery for portable use.
- Data Storage and Export: Allows saving and transferring measured data to a computer.
- Durable Design: Features a full-body soft silicone case for protection against shocks and bumps.

Figure 4.1: Illustration of the dual channel (CH1, CH2) and DDS outputs.
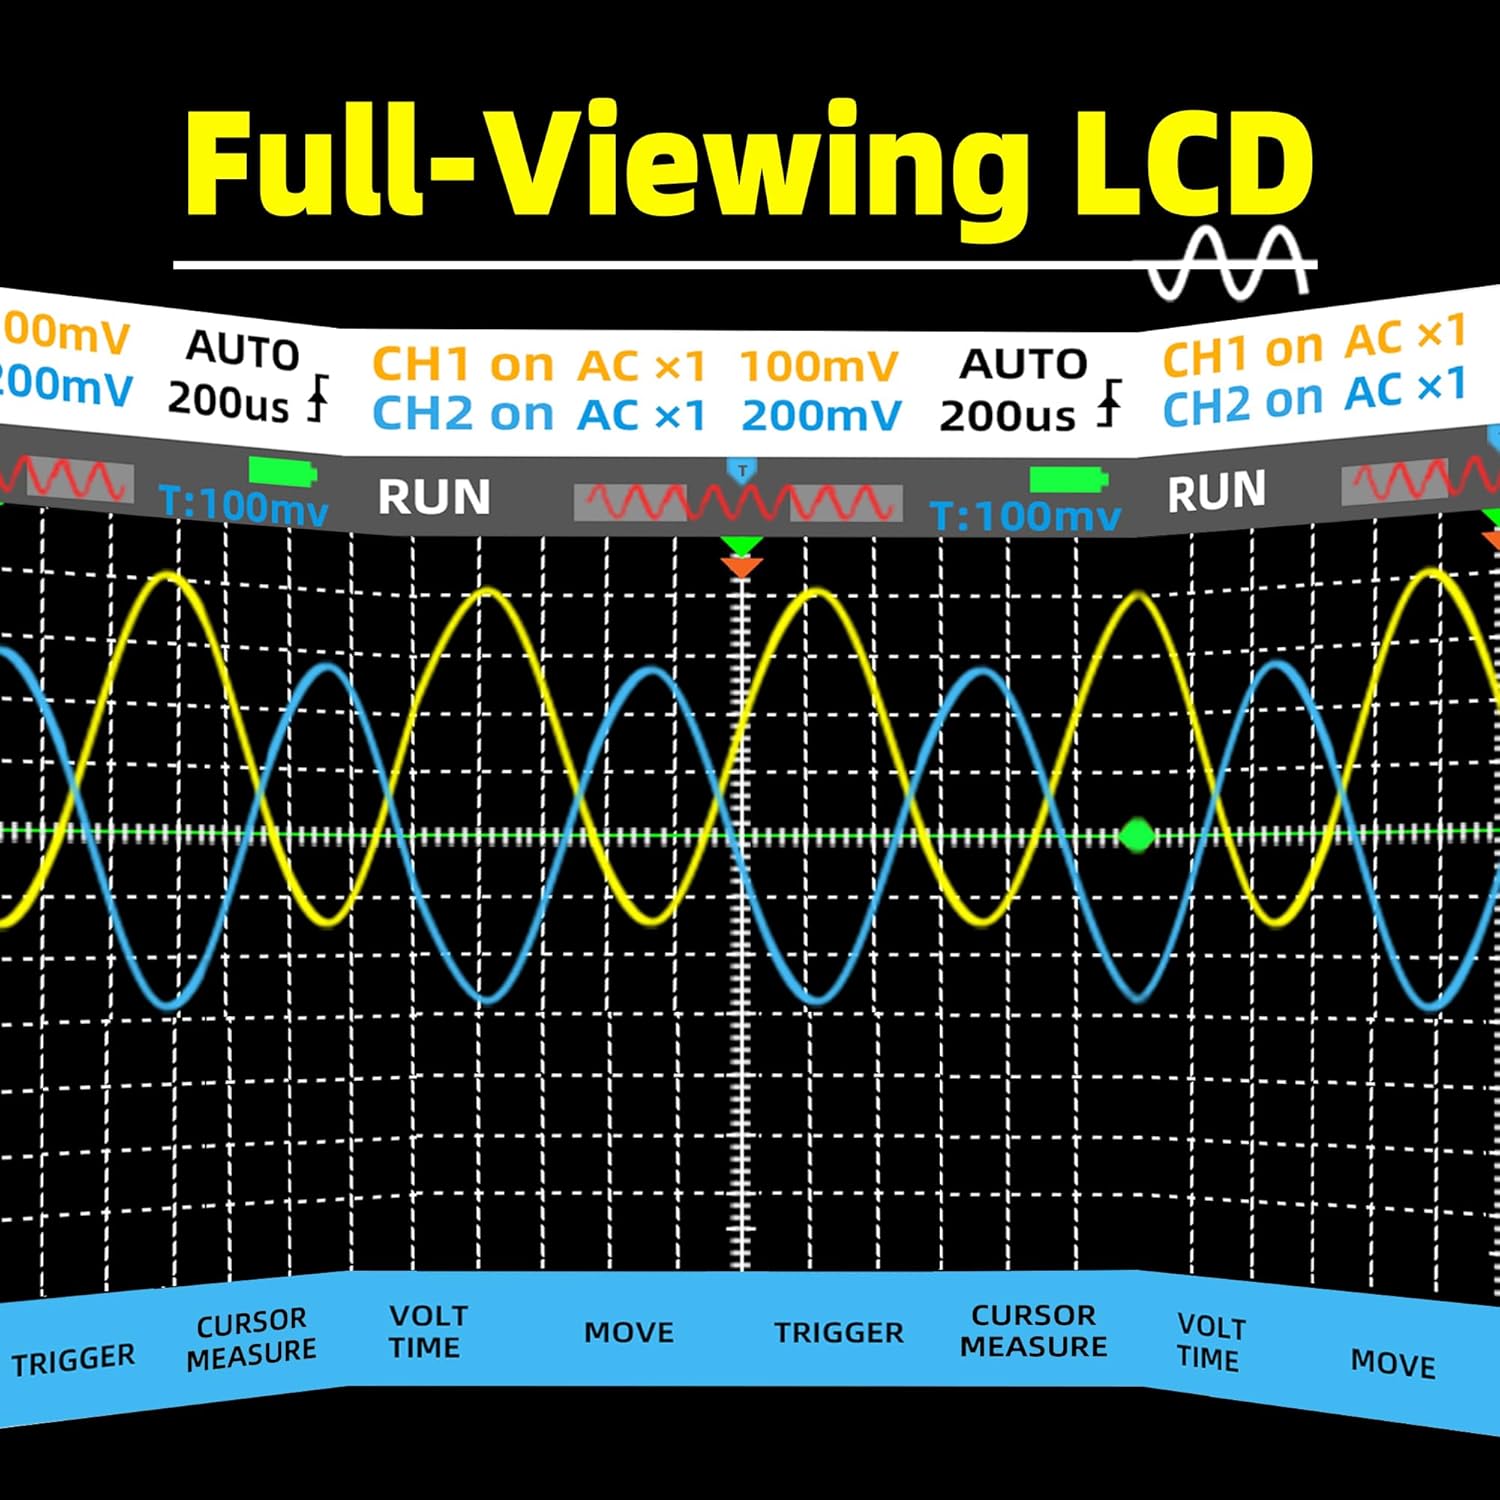
Figure 4.2: The full-viewing LCD provides clear visibility from various angles.
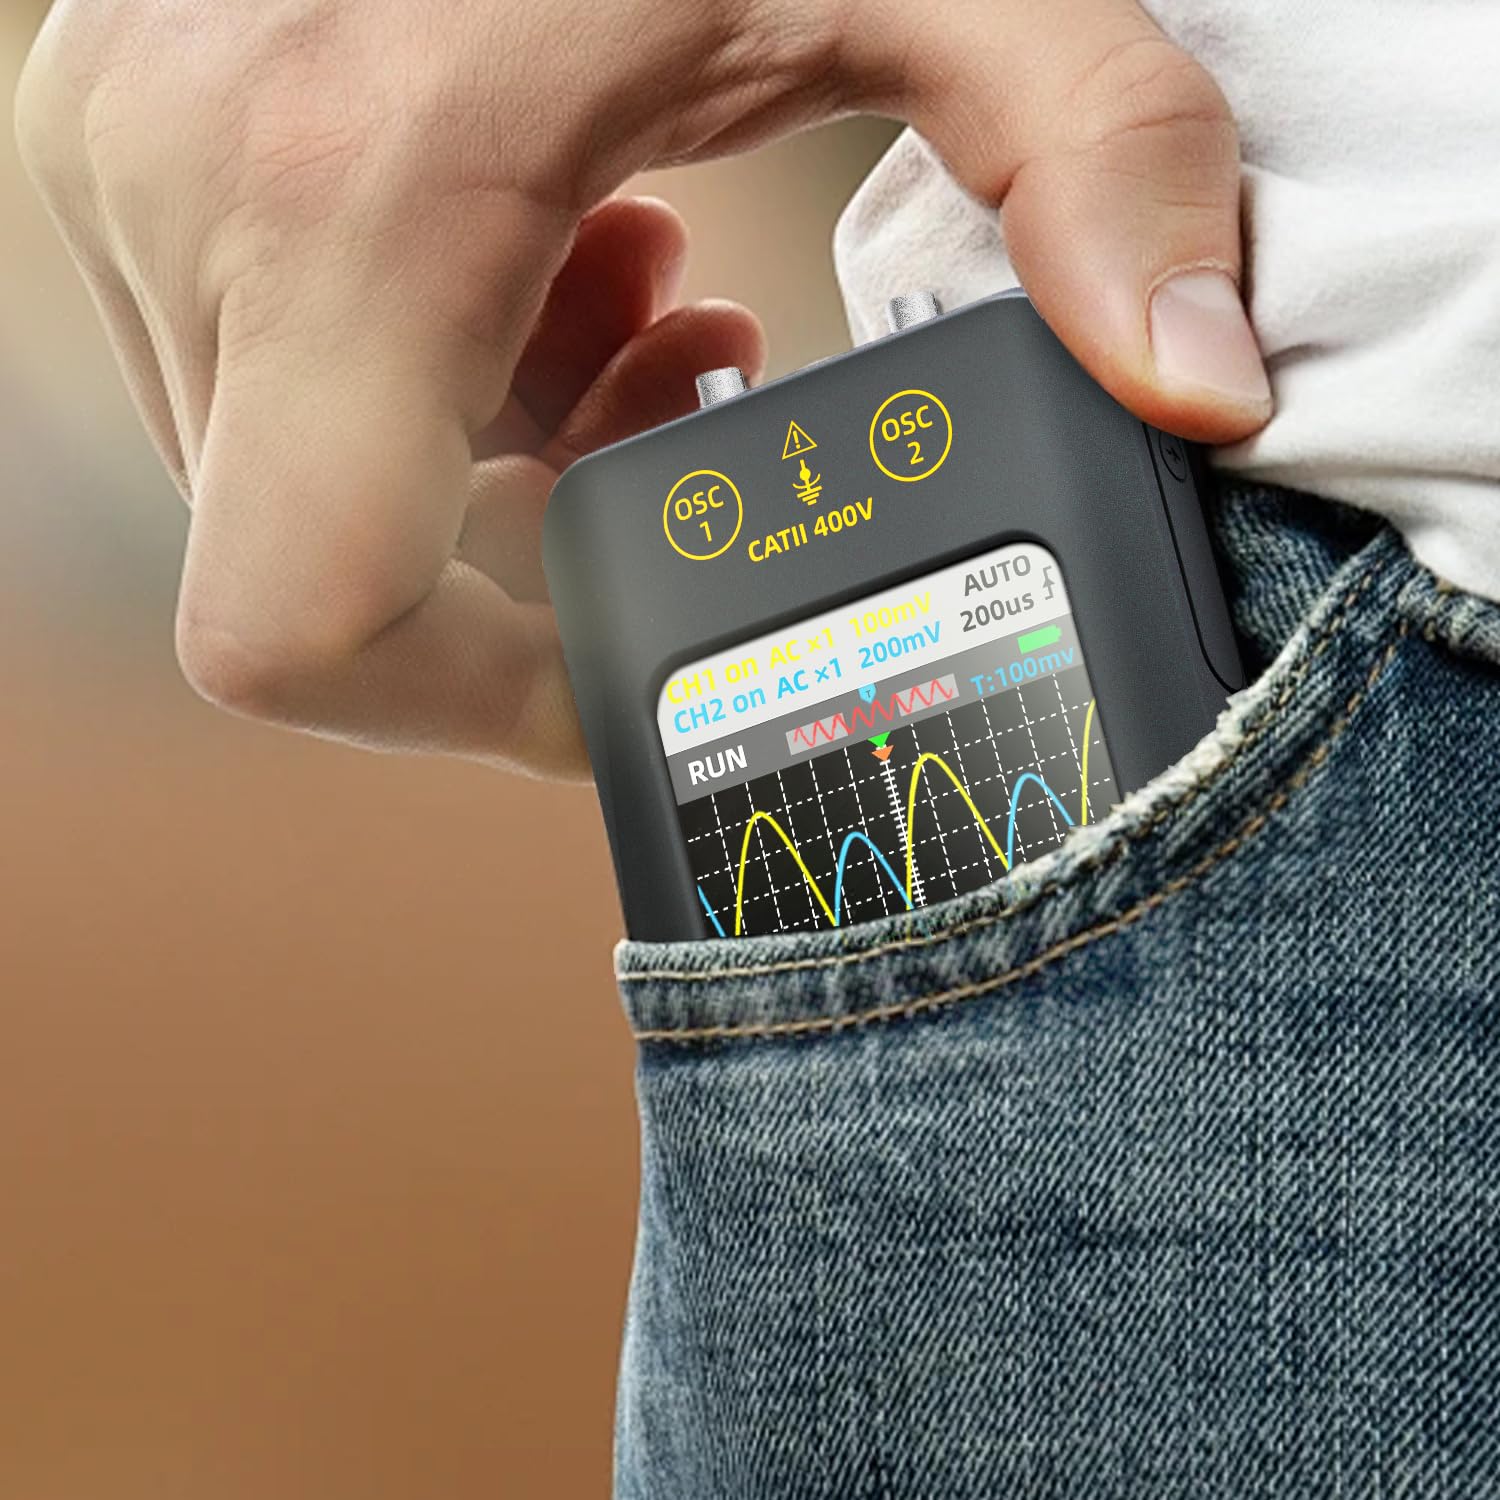
Figure 4.3: The compact design of the BSIDE O2 makes it highly portable.
5. Setup
5.1. Charging the Battery
The BSIDE O2 is equipped with a 3000mAh rechargeable Li-ion battery. Before first use, it is recommended to fully charge the device.
- Connect the provided USB-C charging cable to the charging port on the device.
- Connect the other end of the cable to a standard USB power adapter (not included) or a computer USB port.
- The charging indicator on the device will show the charging status. Once fully charged, the indicator will change or turn off.

Figure 5.1: The device is powered by a 3000mAh rechargeable battery.
5.2. Connecting Probes
To perform measurements, connect the oscilloscope probes to the input channels (OSC 1, OSC 2) at the top of the device.
- Align the BNC connector of the oscilloscope probe with the input port (OSC 1 or OSC 2).
- Push the connector in and twist clockwise to secure it.
- Ensure the probe is firmly connected before making any measurements.
6. Operating Instructions
6.1. Power On/Off
Press and hold the power button located on the side of the device to turn it on or off.
6.2. Oscilloscope Function
The device defaults to oscilloscope mode upon startup. Use the touch screen and function wheel for navigation and parameter adjustments.
- Channel Selection: Tap 'CH1' or 'CH2' on the screen to enable/disable channels.
- Vertical Sensitivity (Volts/Div): Adjust the vertical scale using the touch screen controls or the function wheel.
- Horizontal Time Base (Sec/Div): Adjust the horizontal scale to view different time durations of the waveform.
- Trigger Settings: Configure trigger mode, level, and slope to stabilize the waveform display.
- Measurement Parameters: The screen displays various waveform parameters such as Vpp, Vmax, Vmin, Vavg, RMS, Duty Cycle, and Frequency.
- AUTO Button: Press 'AUTO' for automatic waveform scaling and triggering.

Figure 6.1: The 3.98-inch touch screen allows for intuitive control and display of waveforms.

Figure 6.2: The oscilloscope in operation, measuring signals from a circuit.
6.3. DDS Signal Generator Function
The integrated DDS signal generator can produce various test signals.
- Access the signal generator function through the main menu or a dedicated button/option.
- Select the desired waveform type: sine wave, square wave, triangle wave, full wave, half wave, sawtooth wave, or DC wave.
- Adjust the frequency (0-2MHz) and output amplitude (0.1-3V) using the touch screen or function wheel.
- For square waves, the duty cycle can be adjusted from 1% to 99%.
6.4. Data Storage and Export
The device allows for saving measurement data and exporting it to a computer.
- Use the on-screen options to save waveform data or screenshots.
- Connect the device to a computer using the provided USB-C cable.
- The device will appear as a removable storage device. You can then copy the saved data files to your computer.

Figure 6.3: Connecting the oscilloscope to a computer for data export.
6.5. Official Product Video
Video 6.1: Demonstration of the BSIDE O2 Dual Channel Oscilloscope's features and operation, including waveform display, touch screen interaction, and signal generation capabilities.
7. Maintenance
Proper maintenance ensures the longevity and accuracy of your BSIDE O2 oscilloscope.
- Cleaning: Use a soft, dry cloth to clean the device. For stubborn dirt, a slightly damp cloth with mild detergent can be used, ensuring no liquid enters the device. Do not use abrasive cleaners or solvents.
- Storage: Store the device in its carrying case in a cool, dry place when not in use. Avoid extreme temperatures and direct sunlight.
- Battery Care: To prolong battery life, avoid fully discharging the battery frequently. If storing for an extended period, charge the battery to about 50% every few months.
- Probe Care: Handle oscilloscope probes carefully. Avoid bending or stressing the cables excessively. Calibrate probes periodically if necessary.
8. Troubleshooting
If you encounter issues with your BSIDE O2, refer to the following common problems and solutions:
| Problem | Possible Cause | Solution |
|---|---|---|
| Device does not power on. | Low battery; Power button not pressed correctly. | Charge the device fully. Press and hold the power button for a few seconds. |
| No waveform displayed. | Probe not connected; Incorrect input settings (Volts/Div, Time/Div); No signal input; Trigger not set correctly. | Ensure probes are securely connected. Adjust vertical and horizontal scales. Verify signal source. Adjust trigger level and mode, or use AUTO. |
| Waveform is unstable or noisy. | Improper grounding; External interference; Incorrect trigger settings. | Ensure proper grounding. Minimize external electromagnetic interference. Adjust trigger settings (e.g., trigger source, slope, level). |
| Touch screen unresponsive. | Temporary software glitch; Screen protector interference. | Restart the device. Ensure screen is clean and dry. If using a screen protector, ensure it is properly applied or remove it for testing. |
| Cannot export data to PC. | Incorrect USB cable; Driver issue; Device not in data transfer mode. | Use the provided USB-C cable. Ensure the device is recognized by the computer. Check device settings for data transfer mode. |
If the problem persists after trying these solutions, please contact BSIDE customer support.
9. Specifications
Detailed technical specifications for the BSIDE O2 Dual Channel Handheld Oscilloscope.
| Parameter | Specification |
|---|---|
| Display | 3.98 inch TFT touchscreen |
| Bandwidth | 50MHz |
| Channel | 2 |
| Real-time Sample Rate | 250MSa/s |
| Input Impedance | 1MΩ,@16pf |
| Maximum Input Voltage | 300V (DC+AC peak) |
| Horizontal SEC Range | 100ns/div - 20s/div |
| Vertical Sensitivity | 20mV/div - 10V/div |
| Output Waveforms (DDS) | Sine wave, square wave, triangle wave, full wave, half wave, sawtooth wave, DC wave |
| Frequency Range (DDS) | 0-2MHz |
| Output Amplitude (DDS) | 0.1-3V |
| Square Wave Duty Cycle (DDS) | 1%-99% |
| Power | 3000mAh Rechargeable Li-ion battery |
| Dimensions | 170 x 80.9 x 23.9 mm (6.69 x 3.19 x 0.94 inches) |
| Weight | 268g (9.45 ounces) |
10. Warranty and Support
BSIDE products are manufactured to high quality standards. For warranty information, technical support, or service inquiries, please refer to the warranty card included in your package or visit the official BSIDE website. Please retain your proof of purchase for warranty claims.
Related documentsO2 Dual Channel Oscilloscope Touchscreen

Ask a question about this manual
Ask about setup, troubleshooting, compatibility, parts, safety, or missing instructions. Manuals+ will review the question and use this page’s manual context to help answer it.