
Bestoo 71" H - 1 Door
Bestoo 71" H Metal Storage Locker User Manual
Model: 71" H - 1 Door | Brand: Bestoo
Introduction
This manual provides detailed instructions for the assembly, operation, and maintenance of your Bestoo 71" H Metal Storage Locker. Please read this manual thoroughly before assembly and use to ensure proper function and longevity of your product.

Image: Bestoo 71" H Metal Storage Locker in an office environment, showcasing its design and utility.
Safety Information
- Ensure all parts are present and undamaged before assembly. Do not proceed with assembly if any parts are missing or damaged.
- Assemble the locker on a soft, clean surface to prevent scratches.
- Always use appropriate tools and follow the assembly steps carefully.
- Do not overload the shelves or hooks. Refer to specifications for weight limits.
- For stability, place the locker on a level surface. Consider anchoring to a wall for added safety, especially in areas with children or pets.
- Keep keys in a safe place and out of reach of children.
Package Contents
Verify that all components listed below are included in your package. If any parts are missing, please contact customer support.
- Locker Panels (Top, Bottom, Sides, Back, Door)
- Adjustable Shelves
- Clothes Hooks
- Locking Mechanism with 2 Keys
- Assembly Hardware (Screws, bolts, etc.)
- Instruction Manual (this document)

Image: Close-up view of key components: label clip, two keys, ventilation holes, stainless steel hinges, and clothes hook.
Setup and Assembly
Assembly is required for this metal storage locker. Please follow the steps outlined in the included installation instructions. An assembly video is also available for visual guidance.
Tools Required:
- Screwdriver (Phillips head recommended)
- Wrench (if applicable for bolts)
- Gloves (recommended to protect hands during assembly)
Assembly Steps:
- Unpack all components and verify against the package contents list.
- Identify the base panel and side panels. Attach the side panels to the base using the provided hardware.
- Install the back panel.
- Attach the top panel.
- Insert the adjustable shelves into the desired positions. Ensure they are securely seated.
- Mount the door, ensuring the hinges are properly aligned and secured.
- Install the locking mechanism and test with the provided keys.
- Attach the clothes hooks to the interior of the locker as desired.

Image: Visual guide illustrating the straightforward assembly process.
Assembly Video:
Video: Official assembly guide for the Bestoo 1 Door Metal Locker. This video demonstrates the step-by-step process for setting up your locker.
Operating Instructions
Using the Lock:
The locker is equipped with a key-operated locking system. Insert one of the provided keys into the lock on the door and turn it to secure or unlock the cabinet. Always ensure the door is fully closed before locking.
Adjusting Shelves:
The internal shelves are adjustable to accommodate various item sizes. To adjust a shelf, carefully lift it from its current position and reposition it into the desired slots on the side panels. Ensure the shelf is level and securely seated before placing items on it.
Utilizing Storage Space:
The locker provides ample storage for various items. Use the top hooks for hanging clothes or accessories. The shelves are suitable for folded garments, documents, or other personal belongings. The bottom section can be used for shoes or larger items.
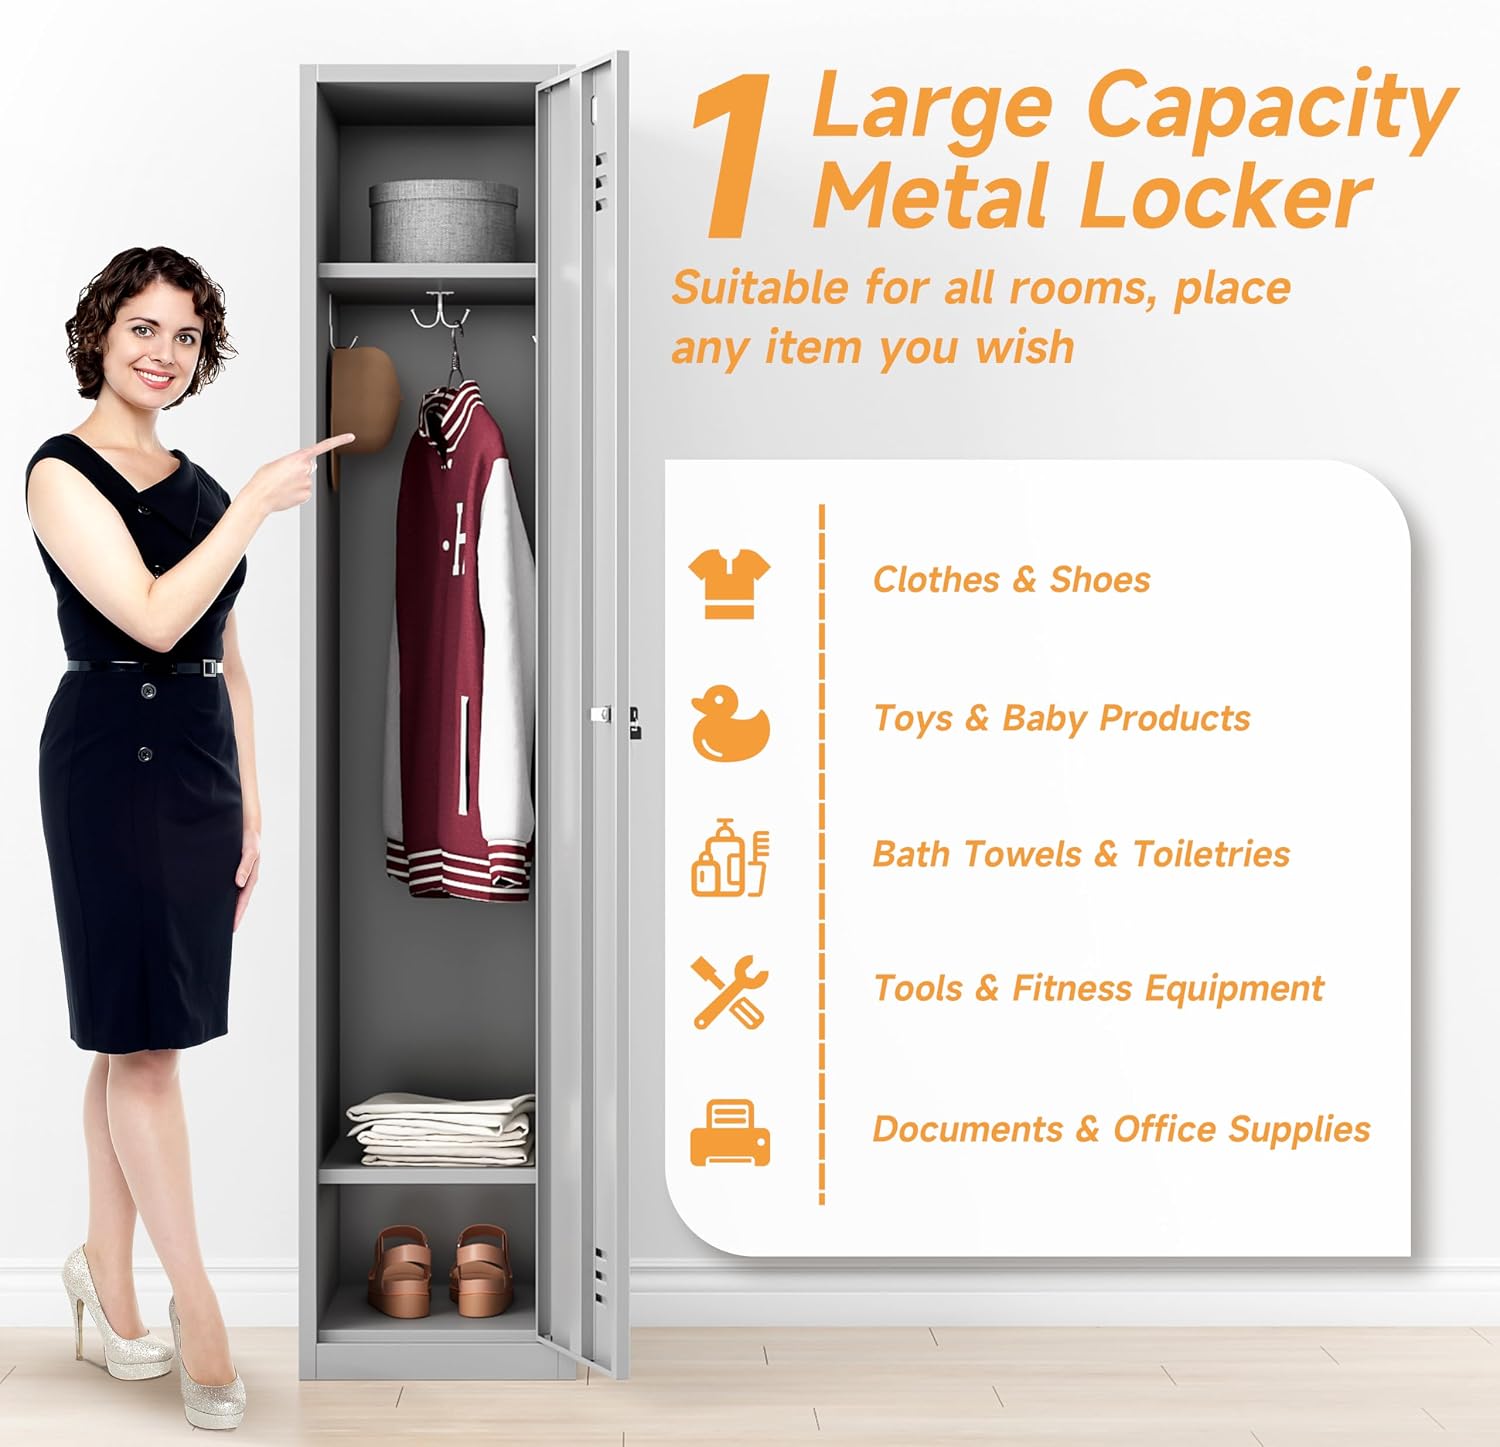
Image: Illustration of the locker's large capacity, suitable for clothes, shoes, toys, toiletries, tools, and documents.
Maintenance
Cleaning:
The powder-coated metal surface is designed for easy cleaning. Wipe the locker with a soft, damp cloth and a mild detergent. Avoid abrasive cleaners or harsh chemicals, as these can damage the finish. Dry thoroughly after cleaning to prevent water spots.
Rust Prevention:
While the locker is moisture- and rust-proof, prolonged exposure to excessive humidity or water should be avoided. Ensure the locker is placed in a dry environment. Promptly clean any spills or moisture.
Lock Care:
Periodically check the lock mechanism for smooth operation. If the lock becomes stiff, a small amount of graphite lubricant can be applied to the keyhole.
Troubleshooting
| Problem | Possible Cause | Solution |
|---|---|---|
| Door does not close properly. | Misaligned hinges, obstruction, or uneven floor. | Check hinge alignment and tighten screws. Ensure no items are blocking the door. Verify the locker is on a level surface. |
| Key is difficult to turn in lock. | Dust or debris in the lock mechanism, or lack of lubrication. | Apply a small amount of graphite lubricant to the keyhole. Avoid forcing the key. |
| Locker feels unstable. | Uneven floor, loose assembly hardware. | Ensure the locker is placed on a flat, level surface. Tighten all assembly screws. Consider wall anchoring for added stability. |
Specifications
- Brand: Bestoo
- Model: 71" H - 1 Door
- Color: Grey
- Material: Metal (Powder Coated Steel, Alloy Steel back)
- Product Dimensions (D x W x H): 17"D x 15"W x 71"H (43.18 cm D x 38.1 cm W x 180.34 cm H)
- Item Weight: Approximately 41 pounds (18.6 kg)
- Number of Doors: 1
- Number of Shelves: 1 (adjustable)
- Lock Type: Key Lock (2 keys included)
- Features: Lockable, Card Slot, Ventilation Holes, Clothes Hooks
- Installation Type: Freestanding

Image: Diagram illustrating the product dimensions (H71" x W15" x D17").
Warranty and Support
For any questions, missing parts, or support needs regarding your Bestoo Metal Storage Locker, please contact the seller directly through your purchase platform. Please refer to your purchase documentation for specific warranty details, as these may vary.
For general inquiries about Bestoo products, you may visit the Bestoo Store on Amazon.
Related documents71" H - 1 Door

Ask a question about this manual
Ask about setup, troubleshooting, compatibility, parts, safety, or missing instructions. Manuals+ will review the question and use this page’s manual context to help answer it.