
1. Product Overview
The Fansbe Tech A26 is a portable karaoke machine designed for entertainment. It features dual speakers, two wireless microphones, various sound effects, and dynamic LED lighting. This manual provides instructions for its proper use and maintenance.

Image 1.1: The Fansbe Tech A26 Portable Karaoke Machine, showcasing its compact design, integrated microphones, and central LED light display.

Image 1.2: Overview of the Fansbe Tech A26 Karaoke Machine's key features, including powerful speakers, portability, and diverse connectivity.
2. Package Contents
Please verify that all items are present in the package:
- 1 x Portable Karaoke Machine (Main Unit)
- 2 x Wireless Microphones
- 1 x Adjustable Shoulder Strap
- 1 x USB Charging Cable (Type-C)
- 1 x User Manual (This Document)
3. Setup Instructions
3.1 Initial Charging
Before first use, fully charge the karaoke machine and both wireless microphones.
- Connect the provided USB Type-C charging cable to the charging port on the karaoke machine and to a compatible USB power adapter (not included). The charging indicator will illuminate.
- Insert each wireless microphone into its designated charging slot on the karaoke machine. Ensure they are seated correctly. The microphone charging indicators will illuminate.
- Allow approximately 3 hours for the main unit and 1 hour for the microphones to fully charge. The indicators will change or turn off once charging is complete.
3.2 Powering On/Off
- To Power On the Main Unit: Locate the power switch on the karaoke machine and slide it to the "ON" position.
- To Power Off the Main Unit: Slide the power switch to the "OFF" position.
- To Power On Microphones: Press and hold the power button on each microphone until the indicator light illuminates.
- To Power Off Microphones: Press and hold the power button on each microphone until the indicator light turns off.
3.3 Microphone Pairing
The wireless microphones are designed to automatically pair with the karaoke machine when both are powered on. If pairing does not occur automatically:
- Ensure both the karaoke machine and microphones are fully charged and powered on.
- Keep the microphones within close proximity (within 50 feet) of the karaoke machine during initial pairing.
- If issues persist, power cycle both the machine and microphones.

Image 3.1: The two wireless microphones, highlighting their design and Type-C charging capability.
4. Operating Instructions
4.1 Connecting to Audio Sources
The A26 karaoke machine supports multiple audio input methods:
- Bluetooth 5.0:
- Power on the karaoke machine. It will automatically enter Bluetooth pairing mode.
- On your smartphone or tablet, enable Bluetooth and search for available devices.
- Select "A26" (or similar name) from the list to connect. A confirmation sound will indicate successful pairing.
- TF Card (MicroSD): Insert a TF card (up to 32GB) containing MP3 audio files into the designated TF card slot. The machine will automatically switch to TF card mode and begin playback.
- USB Flash Drive: Insert a USB flash drive (up to 32GB) containing MP3 audio files into the USB port. The machine will automatically switch to USB mode and begin playback.

Image 4.1: Control panel and connectivity ports, illustrating options for USB, TF card, and Type-C charging.
4.2 Main Unit Controls
The main unit features several buttons for controlling playback and effects:
- PLAY/PAUSE (▶❚❚): Press to play or pause the current track.
- MODE: Press to switch between Bluetooth, TF Card, and USB input modes.
- PREVIOUS / VOLUME- (◀◀ / V-): Short press for previous track; long press to decrease volume.
- NEXT / VOLUME+ (▶▶ / V+): Short press for next track; long press to increase volume.
- TONE: Adjusts the tone of the music.
- REVERB: Adjusts the reverb effect for the microphones.
- LIGHT: Cycles through different LED lighting modes.
- VOCAL CUT: Removes or reduces original vocals from a track (functionality may vary depending on the audio source).
4.3 Microphone Controls
Each wireless microphone has dedicated controls:
- Power Button: Press and hold to power on/off.
- Volume Up (VOL+): Increases microphone volume.
- Volume Down (VOL-): Decreases microphone volume.
- Sound Effects (EFF): Press to cycle through 6 distinct sound effects: Echo, Original, Male, Female, Child, and Monster voices.
- Vocal Cut: (If present on mic) Similar to the main unit, removes or reduces original vocals.

Image 4.2: Visual representation of the five distinct sound effects available for microphone use.
4.4 LED Lighting Effects
The karaoke machine features dynamic LED lights with multiple modes:
- Multi-color Rotation: Lights cycle through various colors.
- Single-color Rotation: Lights rotate in a single color.
- Single-color Breathing: Lights fade in and out with a single color.
- Single-color Steady: Lights remain constant in a single color.
- Press the "LIGHT" button on the main unit to activate or cycle through these modes.
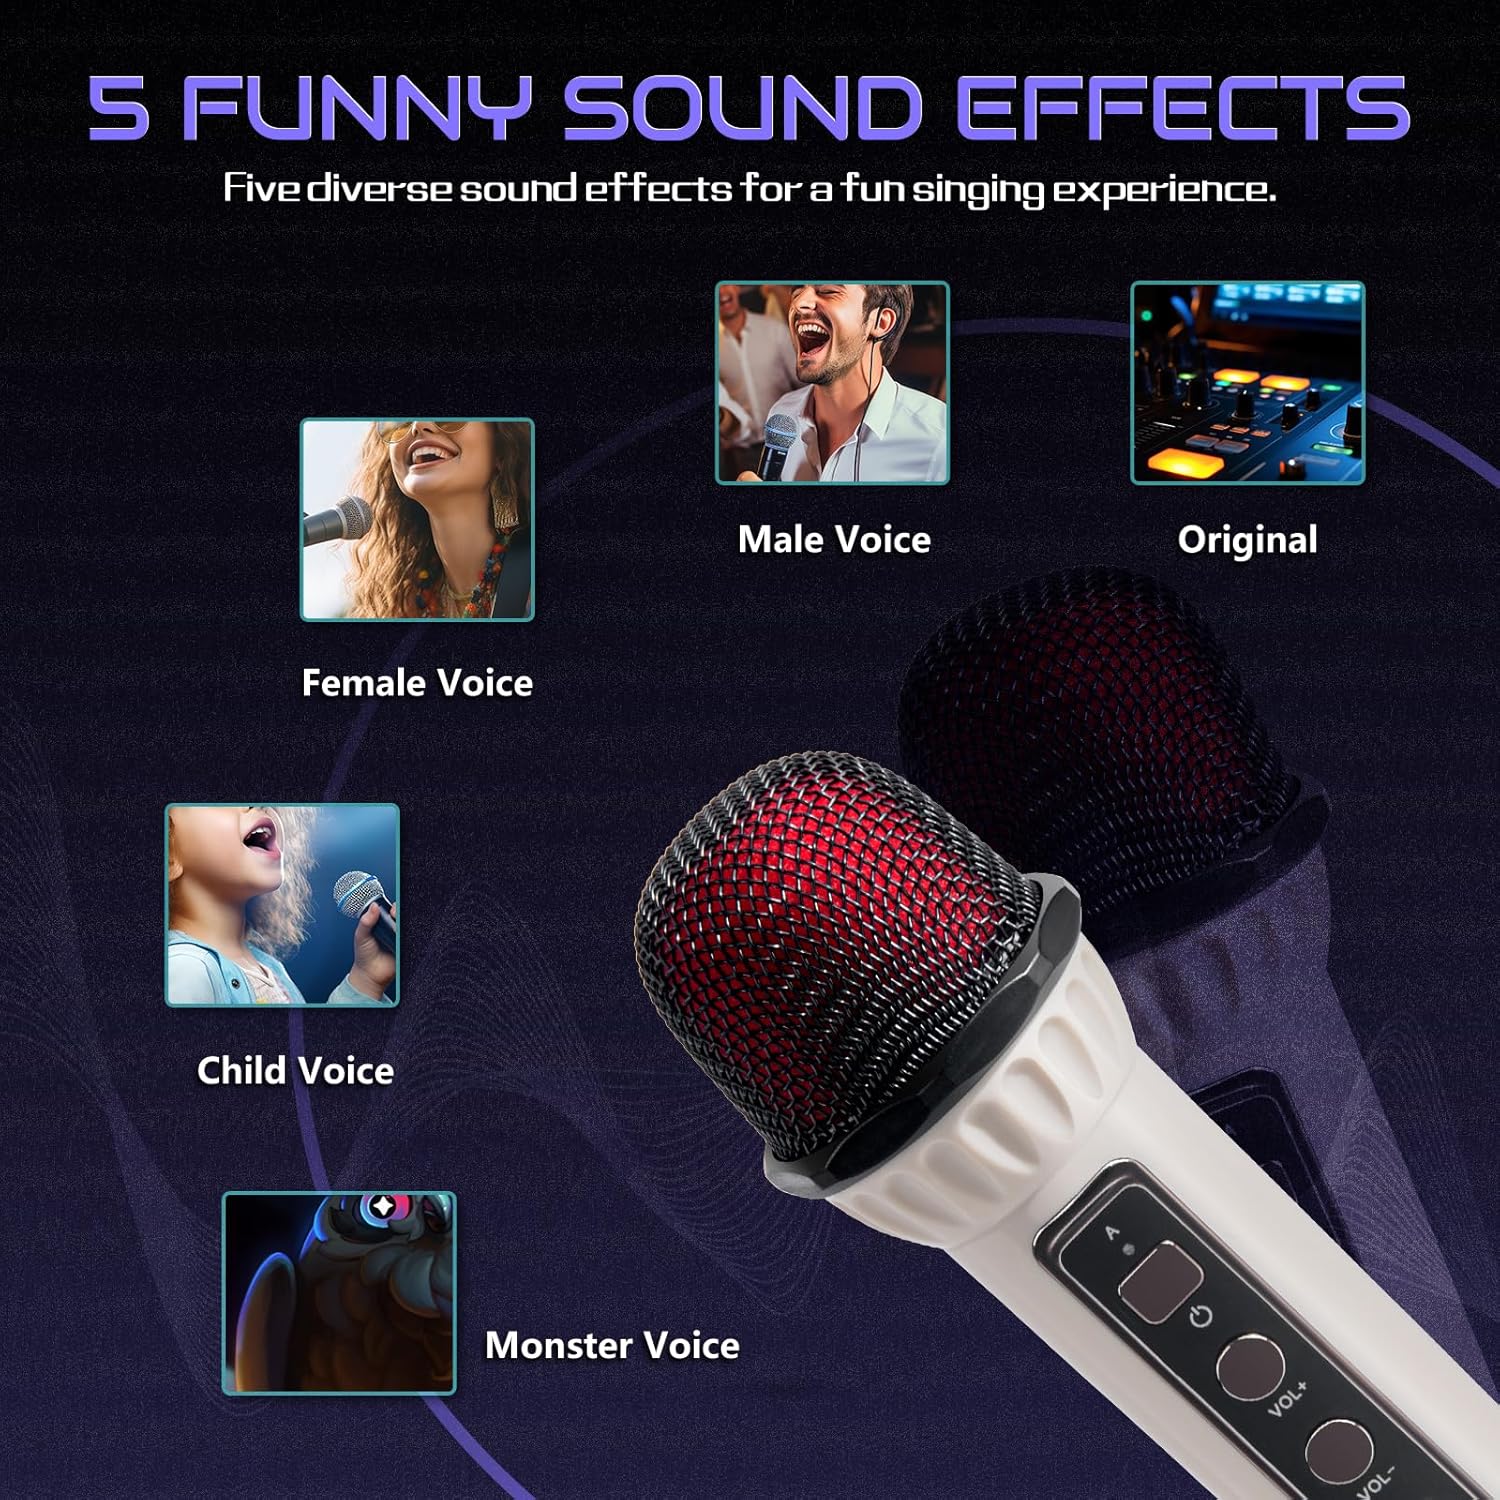
Image 4.3: The karaoke machine's LED light bar showcasing various dynamic lighting effects.
5. Maintenance
5.1 Cleaning
- Wipe the exterior of the karaoke machine and microphones with a soft, dry cloth.
- Do not use abrasive cleaners, solvents, or harsh chemicals, as these may damage the surface.
- Avoid getting moisture into any openings or ports.
5.2 Battery Care
- To prolong battery life, avoid fully discharging the device frequently.
- Charge the device regularly, even if not in use, to maintain battery health.
- Store the device in a cool, dry place when not in use for extended periods.
5.3 Storage
When storing the karaoke machine, ensure it is powered off and the microphones are securely placed in their charging slots. Use the adjustable shoulder strap for convenient transport and storage.

Image 5.1: The compact size of the karaoke machine, suitable for both indoor and outdoor use, shown with its shoulder strap.
6. Troubleshooting
| Problem | Possible Cause | Solution |
|---|---|---|
| No sound from speaker. | Volume too low; device not powered on; no audio source connected; audio source paused. | Increase volume on both the karaoke machine and the connected audio source. Ensure the machine is powered on. Verify Bluetooth connection or TF/USB media playback. Check if the audio source is paused. |
| Microphone not working. | Microphone powered off; low battery; not paired; microphone volume too low. | Ensure microphone is powered on and fully charged. Check if it's paired with the main unit. Increase microphone volume using the VOL+ button. |
| Bluetooth connection fails. | Machine not in pairing mode; device too far; interference; previously paired device. | Ensure the machine is in Bluetooth mode. Move your device closer to the karaoke machine. Turn off Bluetooth on other nearby devices. Forget the device from your phone's Bluetooth list and try pairing again. |
| LED lights not working. | Lights turned off; malfunction. | Press the "LIGHT" button on the main unit to activate or cycle through light modes. If still not working, contact support. |
| Poor sound quality / Distortion. | Volume too high; audio source quality; microphone too close to speaker. | Reduce volume on both the machine and audio source. Ensure the audio file quality is good. Maintain a reasonable distance between the microphone and speaker to prevent feedback. |
7. Specifications
| Feature | Detail |
|---|---|
| Model Number | A26 |
| Brand | Fansbe Tech |
| Dimensions (L x W x H) | 4.85 x 11.8 x 8.19 inches |
| Item Weight | 3.74 pounds |
| Connectivity | Bluetooth 5.0, USB, Micro TF Card |
| Max TF/USB Capacity | 32GB |
| Speaker Count | 2 |
| Battery Type | Lithium Ion (2 required, included) |
| Charging Port | USB Type-C |
| Main Unit Charge Time | Approx. 3 hours |
| Microphone Charge Time | Approx. 1 hour |
| Continuous Use Time | Approx. 3-4 hours (speaker and microphone) |
| Special Features | Portable, LED Lighting Effects, Voice Changing Effects, Vocal Cut |

Image 7.1: Internal speaker design, illustrating the dual 15W speakers for enhanced audio output.
8. Warranty and Support
8.1 Warranty Information
Fansbe Tech products are manufactured with quality and care. For specific warranty details regarding your A26 Portable Karaoke Machine, please refer to the warranty card included in your original packaging or visit the official Fansbe Tech website.
8.2 Customer Support
If you encounter any issues or have questions not covered in this manual, please contact Fansbe Tech customer support. Our team is available to assist you.
- Online Support: Visit the Fansbe Tech Store on Amazon for FAQs and contact options.
- Email Support: Refer to your product packaging or warranty card for the dedicated customer service email address.
- Please have your model number (A26) and purchase details ready when contacting support.
