
1. Introduction
This manual provides comprehensive instructions for the safe and proper installation, operation, and maintenance of your maXpeedingrods 3-inch Front & Rear UTV Lift Kit. Please read this manual thoroughly before beginning installation to ensure correct procedures and to prevent damage to the product or vehicle.
1.1 Product Compatibility
This lift kit (Model KJ1155) is designed for the following Polaris Ranger UTV models:
- Polaris Ranger Fullsize 570 (2013-2016)
- Polaris Ranger Fullsize 570 XP (2016-2021)
- Polaris Ranger XP 900 / XP 900 CREW (2013-2021)
- Polaris Ranger XP 1000 / XP 1000 CREW (2017-2021)
- Polaris Ranger 1000 Diesel / 1000 Diesel CREW (2015-2021)
Important Note:
- This kit is NOT compatible with Polaris Ranger XP 1000 Northstar HVAC Edition (2017-Present).
- This kit is NOT compatible with models equipped with an electric dump bed.
2. Safety Information
Always prioritize safety during installation and operation. Failure to follow safety guidelines can result in injury or damage to the vehicle.
- Wear appropriate personal protective equipment (PPE), including safety glasses and gloves.
- Ensure the vehicle is securely supported on jack stands before working underneath it. Do not rely solely on a jack.
- Disconnect the battery before performing any electrical work.
- Follow all torque specifications provided by the vehicle manufacturer for fasteners.
- If you are unsure about any step, consult a qualified mechanic.
- After installation, perform a thorough inspection of all components and test drive the vehicle in a safe area.
3. Package Contents
Verify that all components are present and undamaged before beginning installation.
- Installation Hardware
- Installation Guide (this document)
- Front Lift Brackets (4 pieces)
- Rear Lift Brackets (4 pieces)
- Associated Bolts and Spacers
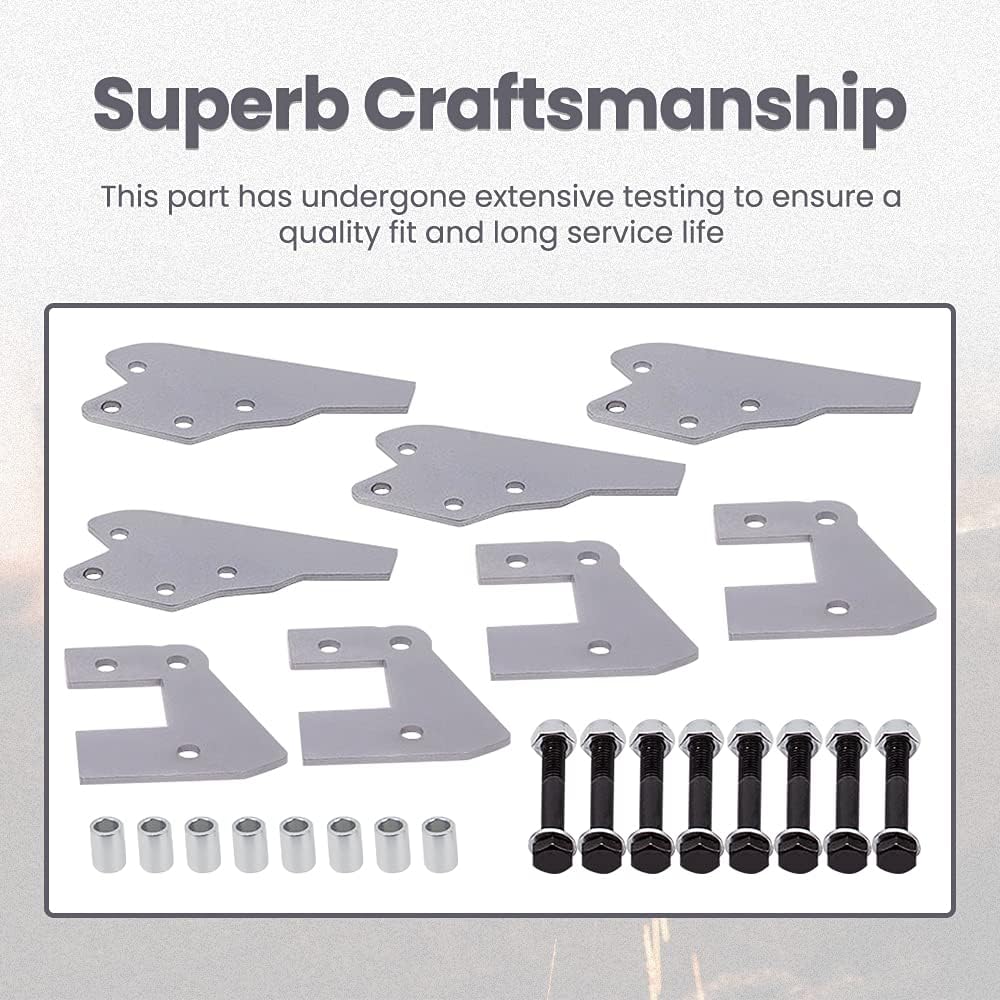
Image 3.1: Contents of the maXpeedingrods 3-inch UTV Lift Kit. This image displays the various components included in the kit, such as the front and rear lift brackets, bolts, and spacers, laid out for inspection.
4. Product Specifications
| Feature | Detail |
|---|---|
| Brand | maXpeedingrods |
| Model Number | KJ1155 |
| Lift Height | 3 inches (Front & Rear) |
| Material | Thick Carbon Steel |
| Product Dimensions | 6.89 x 6.3 x 3.35 inches |
| Item Weight | 8.42 pounds |
| Installation Type | Bolt-On (No cutting or drilling required) |

Image 4.1: Key features of the 3-inch lift kit. This image highlights the construction from thick carbon steel, precise laser cutting, and the bolt-on installation method.
5. Installation Guide
This section outlines the steps for installing the 3-inch front and rear UTV lift kit. It is recommended to have basic mechanical knowledge and tools for this installation.
5.1 General Preparation
- Park the UTV on a flat, level surface.
- Engage the parking brake.
- Place wheel chocks behind the rear wheels (when working on the front) or front wheels (when working on the rear).
- Loosen the lug nuts on the wheels to be removed, but do not remove them yet.
- Safely lift the UTV using a jack and support it with jack stands under the frame. Ensure the vehicle is stable.
- Remove the wheels.
5.2 Front Lift Kit Installation
- Remove the Shock: Carefully unbolt and remove the existing front shock absorbers from their mounting points.
- Install Front Brackets: Attach the new front lift brackets to the upper shock mounting points on the UTV frame. Ensure proper orientation as per the kit design.
- Screw Nuts: Secure the brackets using the provided hardware (bolts and nuts). Do not fully tighten at this stage.
- Adjust & Reinstall Shocks: Reattach the original shock absorbers to the lower mounting points of the newly installed lift brackets. Adjust the position as needed to align the bolts, then tighten all nuts and bolts to the manufacturer's specified torque.

Image 5.1: Visual guide for front lift kit installation. This image shows the four main steps: removing the shock, installing the front brackets, securing with nuts, and adjusting/reinstalling the shocks.
5.3 Rear Lift Kit Installation
- Remove the Shock: Similar to the front, carefully unbolt and remove the existing rear shock absorbers from their mounting points.
- Install Rear Brackets: Attach the new rear lift brackets to the upper shock mounting points on the UTV frame. Ensure correct orientation.
- Adjust & Reinstall Shocks: Reattach the original shock absorbers to the lower mounting points of the newly installed rear lift brackets. Adjust and tighten all nuts and bolts to the manufacturer's specified torque.
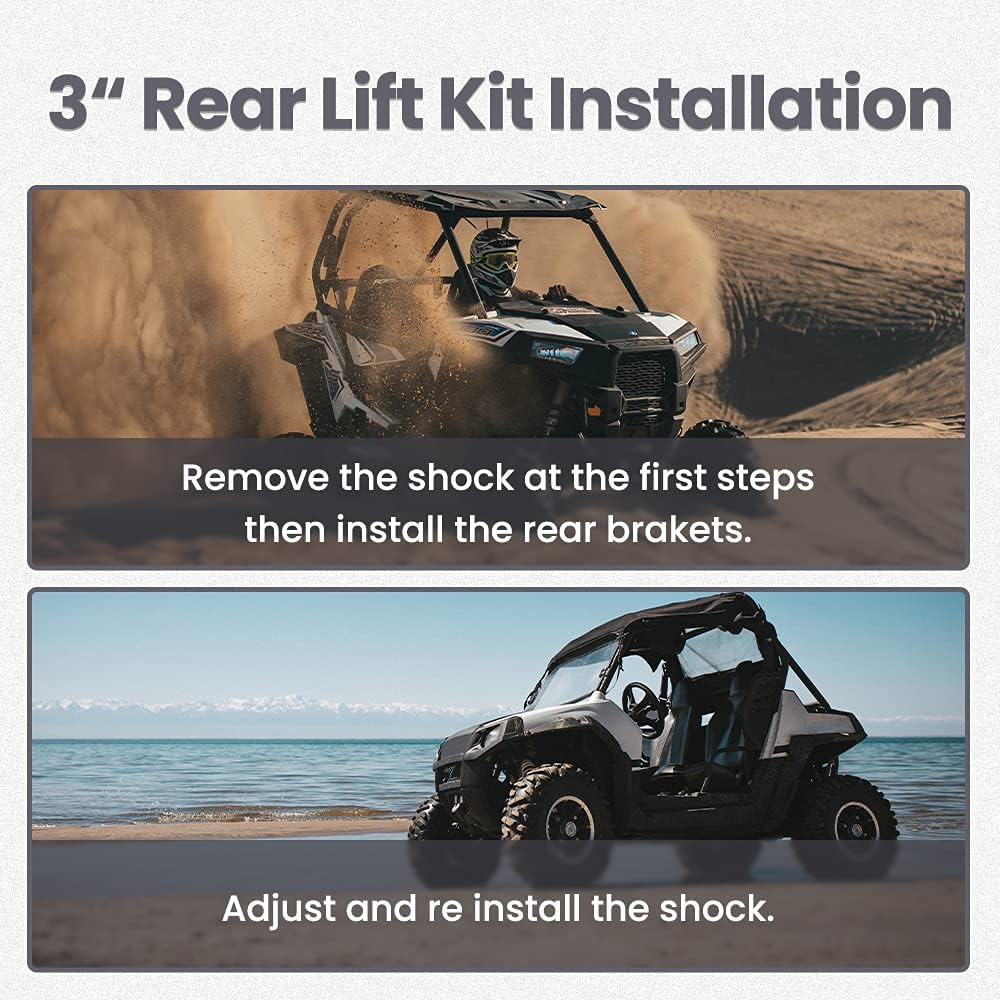
Image 5.2: Visual guide for rear lift kit installation. This image illustrates the process of removing the rear shock, installing the rear brackets, and then adjusting and reinstalling the shock.
5.4 Post-Installation
- Reinstall the wheels and tighten lug nuts to vehicle manufacturer specifications.
- Lower the UTV safely to the ground.
- Perform a final check of all installed components to ensure they are secure.
- It is recommended to have a professional alignment performed after installing any suspension modifications.

Image 5.3: Comparison of a UTV before and after the 3-inch lift kit installation. The "After" image shows increased ground clearance, allowing for larger tires and improved off-road capability.
6. Operation Considerations
After installing the lift kit, your UTV will have increased ground clearance and may accommodate larger tires. Be aware of the following operational considerations:
- Center of Gravity: A lifted UTV will have a higher center of gravity, which can affect stability, especially during sharp turns or on uneven terrain. Exercise caution.
- Tire Clearance: The 3-inch lift allows for fitting up to 28.5-inch tires without rubbing. Always check for adequate clearance with any new tire size.
- Off-Road Capability: The increased ground clearance enhances off-roading capability, making it easier to navigate tough terrains like snow or muddy roads.
- Handling: While designed to maintain a comfortable ride, minor changes in handling characteristics may be noticed. Drive cautiously until familiar with the vehicle's new dynamics.
7. Maintenance
Regular inspection and maintenance are crucial for the longevity and safe operation of your lift kit and UTV.
- Regular Inspection: Periodically inspect all bolts, nuts, and brackets for tightness and signs of wear or damage. Re-torque fasteners as necessary.
- Component Condition: Check the condition of the lift brackets for any cracks, bends, or corrosion.
- Suspension Components: Inspect other suspension components (shocks, control arms, bushings) for wear, as a lift kit can alter stress points.
- Cleaning: Keep the lift kit components clean, especially after off-road use, to prevent dirt and debris buildup.
8. Troubleshooting
This section addresses common issues that may arise during or after installation.
- Difficulty Aligning Bolts: Ensure the vehicle is properly supported and the suspension is relaxed. Slight manipulation of the suspension components may be necessary to align bolt holes. Do not force bolts.
- Unusual Noises After Installation: Recheck all fasteners for proper torque. Inspect for any components rubbing against each other.
- Uneven Lift: Verify that the correct brackets are installed on the correct corners (front/rear, left/right) and that all components are seated correctly.
- Reduced Ride Comfort: While the kit is designed to maintain comfort, significant changes in tire size or pressure can affect ride quality. Check tire pressure and consider shock adjustments if available.
If you encounter issues not covered here, please contact maXpeedingrods customer support.
9. Warranty and Support
maXpeedingrods provides comprehensive support for its products.
- Warranty: This product comes with a 1-year limited warranty for quality-related issues from the date of purchase.
- Technical Support: Lifetime technical support is available.
- Contact: For any questions, technical assistance, or warranty claims, please contact maXpeedingrods customer service. Refer to your purchase documentation for contact details.