
1. Introduction
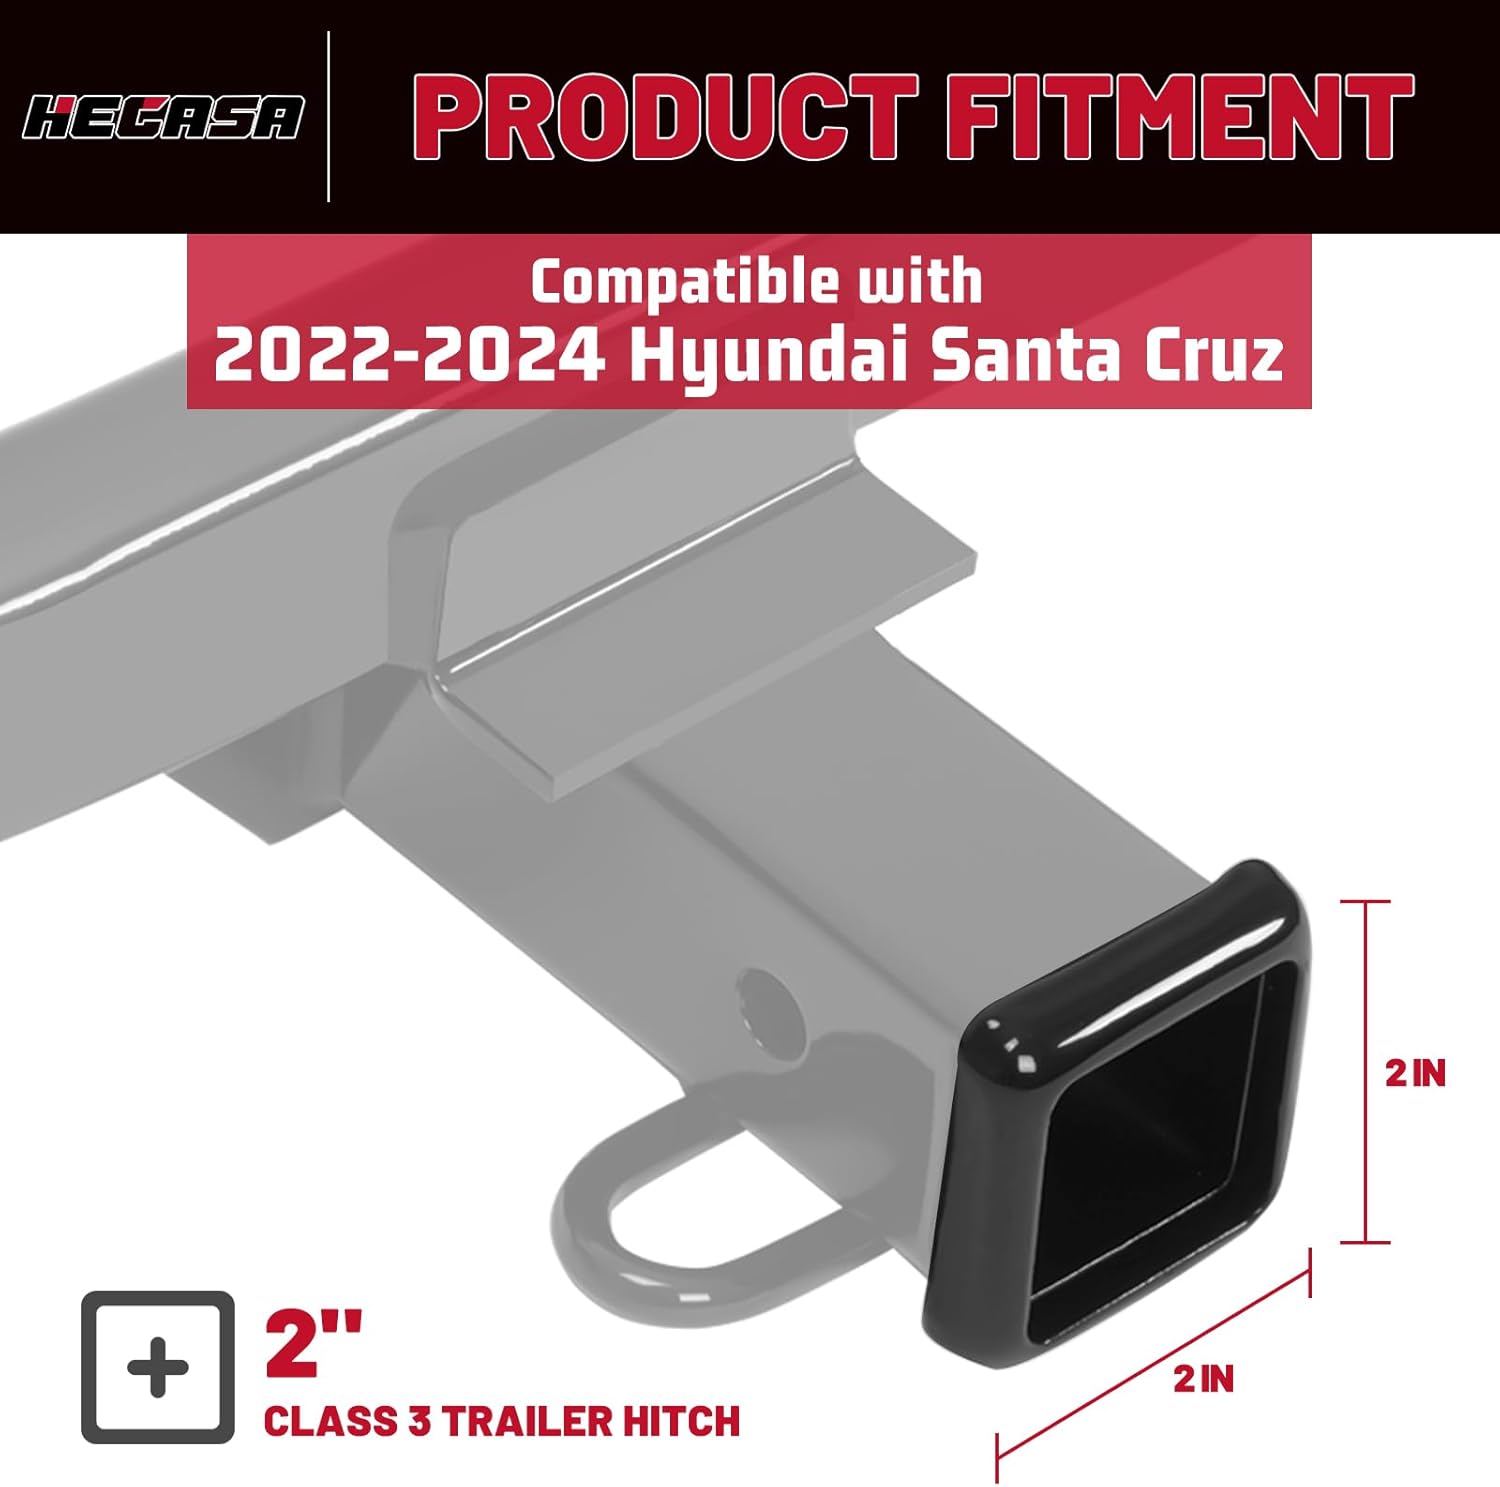
This manual provides detailed instructions for the proper installation, operation, and maintenance of your HECASA Class 3 Trailer Hitch, Model NN2162. This hitch is specifically designed for 2022-2024 Hyundai Santa Cruz vehicles, offering a 2-inch receiver for various towing applications. Please read this manual thoroughly before installation and use to ensure safety and optimal performance.
2. Safety Information
WARNING: Failure to follow these safety guidelines may result in serious injury, property damage, or death.
- Always refer to your vehicle's owner's manual for specific towing capacities, recommendations, and safety precautions.
- Do not exceed the lowest weight rating of any component in your towing system, including the vehicle, trailer hitch, trailer, and any towing accessories.
- Ensure all fasteners are tightened to the specified torque values. Re-check all fasteners periodically, especially after the first few uses and before each towing trip.
- Wear appropriate personal protective equipment, such as safety glasses and gloves, during installation.
- Never work under a vehicle supported only by a jack. Always use sturdy jack stands on a level surface.
- Ensure the vehicle is in park with the parking brake engaged before beginning installation.
- Keep hands and clothing clear of moving parts and pinch points during installation.
3. Product Overview
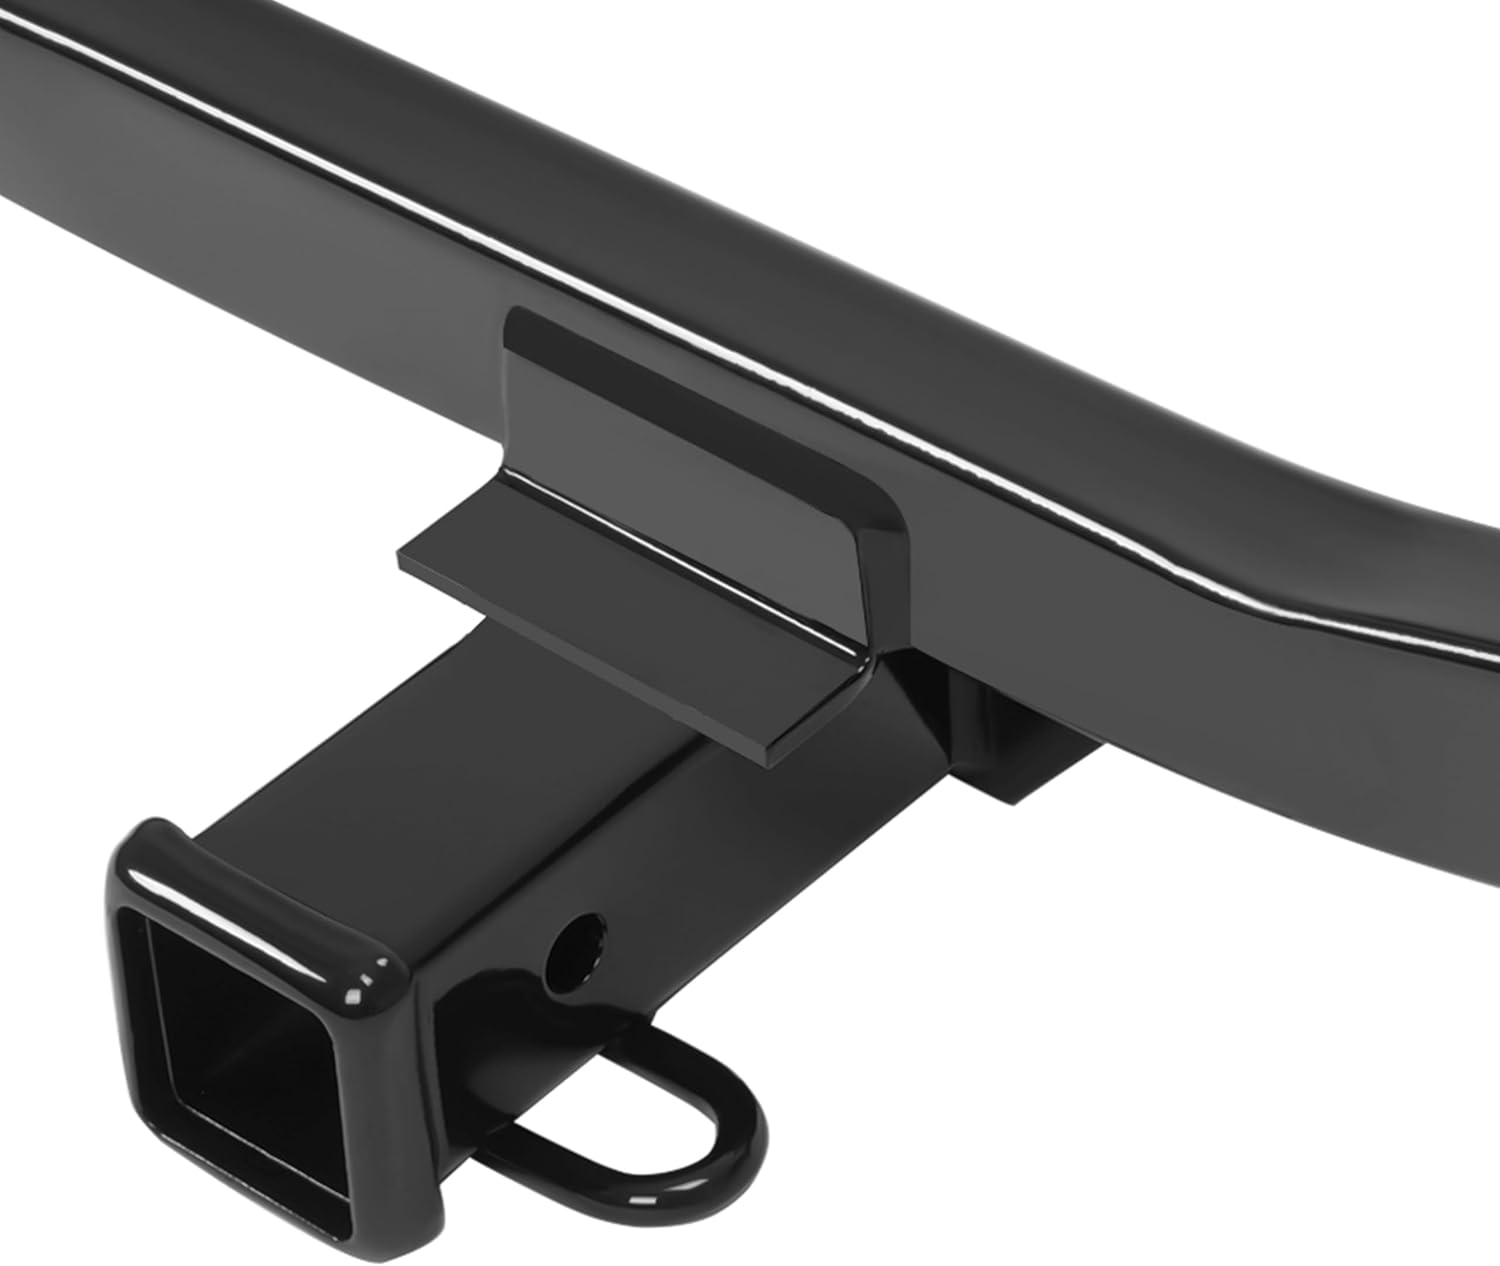
The HECASA Class 3 Trailer Hitch (Model NN2162) is a robust towing accessory constructed from alloy steel with a black powder-coated finish for durability and corrosion resistance. It features a 2-inch receiver, compatible with a wide range of towing accessories.


4. Package Contents
Verify that all components listed below are present and undamaged before beginning installation. If any parts are missing or damaged, contact HECASA customer support immediately.
- 1 x HECASA Class 3 Trailer Hitch (Model NN2162)
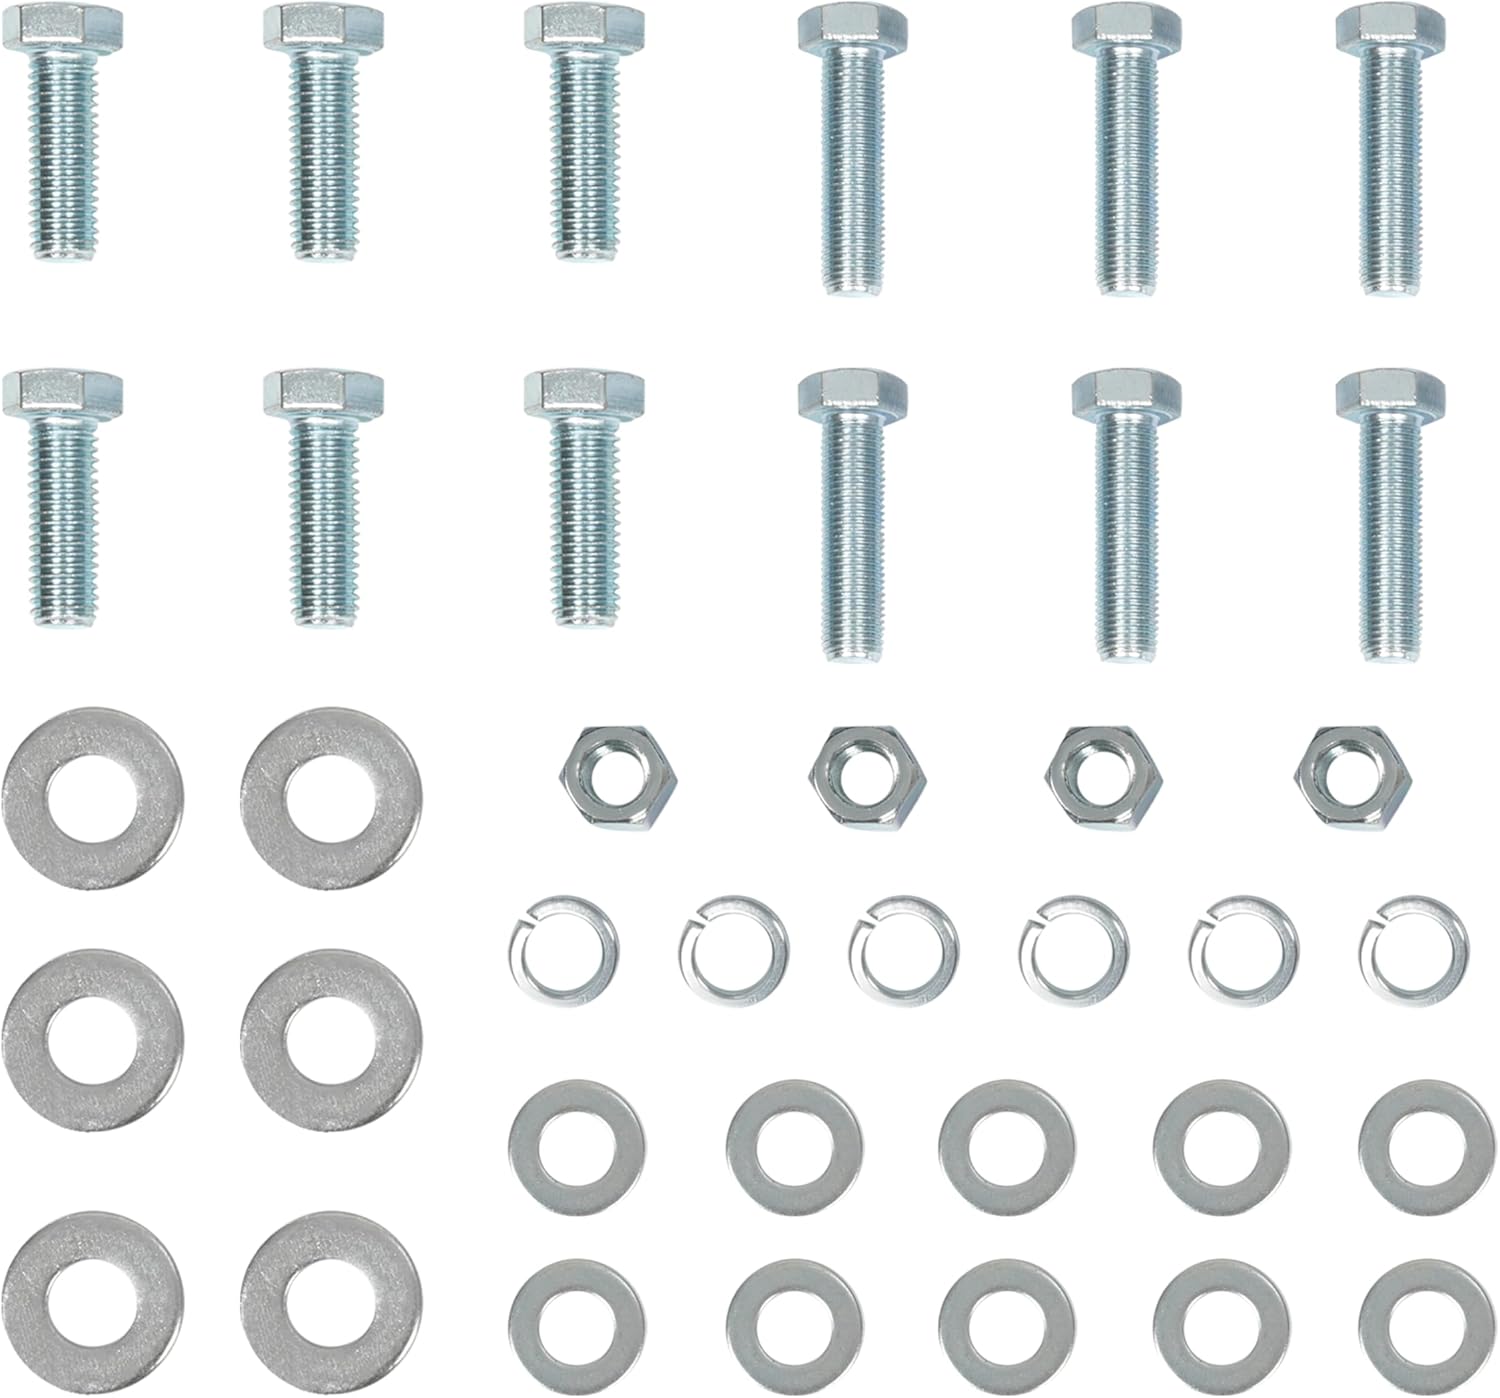
- Mounting Hardware Kit (bolts, washers, nuts)

5. Installation Instructions (Setup)
Installation typically requires basic mechanical skills and tools. For best results, it is recommended to have a second person assist with positioning the hitch. Refer to your vehicle's service manual for specific torque specifications for chassis components.
Tools Required:
- Socket Wrench Set
- Torque Wrench
- Safety Glasses
- Gloves
- Jack and Jack Stands (or vehicle lift)
- Pry Bar (optional, for exhaust manipulation)
Installation Steps:
- Prepare the Vehicle: Park the vehicle on a level surface, engage the parking brake, and turn off the engine. For easier access, it may be necessary to lower the spare tire and/or temporarily lower the exhaust system. Consult your vehicle's manual for instructions on these procedures.
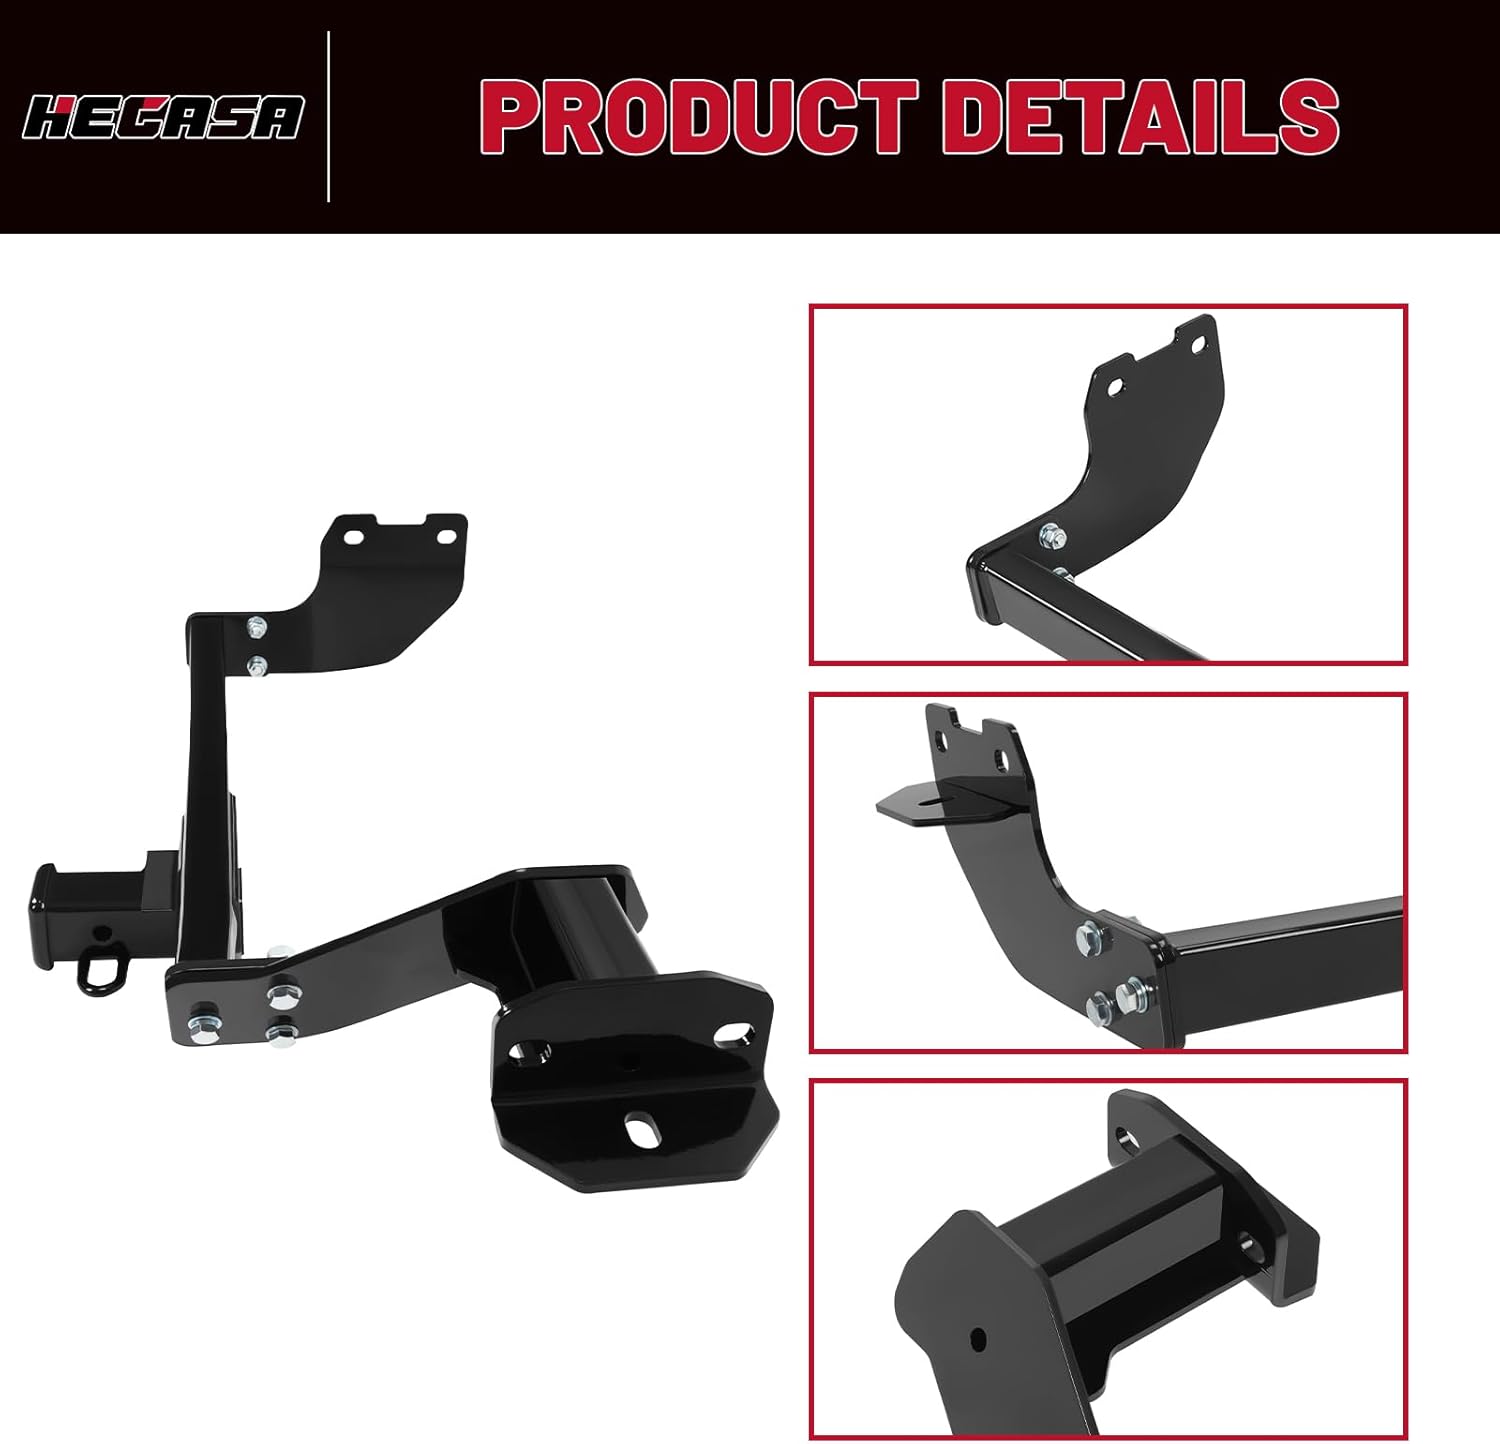
- Locate Mounting Points: Identify the factory mounting points on the vehicle's frame. These are typically pre-drilled holes designed for hitch installation.
- Position the Hitch: Carefully lift the trailer hitch into position, aligning the mounting holes on the hitch with the factory mounting points on the vehicle frame. This step may require assistance.
- Install Hardware: Insert the provided bolts, washers, and nuts through the aligned holes. Hand-tighten all fasteners to hold the hitch in place.
- Tighten Fasteners: Using a torque wrench, progressively tighten all fasteners to the vehicle manufacturer's recommended torque specifications for hitch mounting bolts. If specific values are not available, a general guideline for Grade 8 bolts of this size is often used, but always prioritize vehicle manufacturer specifications. Ensure even tightening across all bolts.
- Reinstall Components: If the spare tire or exhaust system was lowered, reinstall them according to your vehicle's manual.
- Final Inspection: Double-check all connections to ensure they are secure. Verify that the hitch is properly aligned and does not interfere with any vehicle components.

6. Operating Instructions
Once the trailer hitch is securely installed, follow these guidelines for safe operation:
- Connect Trailer: Insert the trailer ball mount into the 2-inch receiver tube and secure it with a hitch pin and clip. Ensure the pin is fully engaged.
- Secure Trailer: Attach the trailer coupler to the trailer ball. Ensure the coupler is properly latched and locked. Cross the safety chains from the trailer and attach them to the safety chain loops on the hitch.
- Electrical Connections: Connect any necessary trailer wiring to the vehicle's electrical system. Test all trailer lights (running lights, brake lights, turn signals) before driving.
- Weight Distribution: Distribute the trailer load evenly, ensuring proper tongue weight. Refer to your trailer and vehicle manuals for recommended tongue weight percentages.
- Pre-Trip Inspection: Before each trip, inspect the hitch, ball mount, hitch pin, safety chains, and electrical connections for any signs of wear, damage, or looseness.
7. Maintenance
Regular maintenance will extend the life of your trailer hitch and ensure safe towing.
- Periodic Inspection: Regularly inspect the hitch for any signs of rust, cracks, bends, or other damage. Pay close attention to weld points and mounting areas.
- Fastener Check: Re-torque all mounting bolts periodically, especially after the first 500 miles of towing and before long trips. Vibrations during driving can cause fasteners to loosen over time.
- Cleaning: Clean the hitch with mild soap and water. Avoid harsh chemicals that could damage the powder-coated finish.
- Lubrication: Apply a thin layer of grease to the inside of the receiver tube and to the hitch pin to prevent rust and ensure smooth operation.
- Rust Prevention: If the powder coating is chipped or scratched, touch up the area with rust-inhibiting paint to prevent corrosion.
8. Troubleshooting
Here are some common issues and their potential solutions:
- Hitch Does Not Fit:
Solution: Double-check the product compatibility with your specific vehicle year, make, and model (2022-2024 Hyundai Santa Cruz). Ensure no vehicle components are obstructing the installation path. - Loose Components After Installation:
Solution: Re-torque all mounting bolts to the specified values. If bolts continue to loosen, inspect for damaged threads or incorrect hardware. - Excessive Noise During Towing:
Solution: Inspect the ball mount and hitch pin for proper fit. Ensure the trailer coupler is securely latched. Check for any loose components on the hitch or trailer. - Rust or Corrosion:
Solution: Clean the affected area thoroughly. If it's surface rust, sand lightly and apply rust-inhibiting paint. For severe corrosion, consider replacement. Regular maintenance helps prevent this.
9. Specifications
| Feature | Specification |
|---|---|
| Brand | HECASA |
| Model Number | NN2162 |
| Vehicle Compatibility | 2022-2024 Hyundai Santa Cruz |
| Hitch Class | Class 3 |
| Receiver Size | 2 Inch |
| Material | Alloy Steel |
| Finish Type | Powder Coated |
| Maximum Towing Capacity (Pull Force) | 5000 Pounds |
10. Warranty Information
HECASA products are manufactured to high-quality standards. This product is covered by a limited warranty against defects in materials and workmanship. For specific warranty terms and conditions, please refer to the warranty documentation included with your purchase or contact HECASA customer support.
11. Support
If you have any questions regarding the installation, operation, or maintenance of your HECASA Class 3 Trailer Hitch, please contact our customer support team:
- Website: Visit the official HECASA website for FAQs and support resources.
- Email: Refer to your purchase documentation for customer service email.
- Phone: Refer to your purchase documentation for customer service phone number.
Please have your model number (NN2162) and purchase information ready when contacting support.