
1. Introduction
This manual provides detailed instructions for the proper use, setup, operation, and maintenance of your Muddy Laser Rangefinder 500 Yard (Model: MUD-LR500). Please read this manual thoroughly before using the device to ensure optimal performance and safety.
The Muddy LR500 Laser Range Finder is designed for accurate distance measurement, featuring 5x magnification and a 500-yard range detection capability. It is built to withstand various environmental conditions with an IPX7 waterproof rating. Users can select between yards and meters for measurement units. Key functionalities include a battery indicator, low reflection mode, and scan mode, all contributing to quick and precise target ranging.
2. Product Overview
2.1 Key Features
- 500-yard Range: Capable of measuring distances up to 500 yards.
- 5X Magnification: Provides clear and magnified views of distant targets.
- 24mm Lens: Ensures sufficient light gathering for bright images.
- IPX7 Waterproof Rating: Designed to withstand immersion in water, offering robust protection against the elements.
- Battery Indicator: Displays current battery level.
- Low Reflection Mode: Improves accuracy in challenging light conditions.
- Scan Mode: Allows for continuous measurement as you pan across multiple targets.
- Unit Switching: Easily switch between yards and meters.
- Power Source: Operates on 2 AAA batteries (not included).
2.2 Components
Familiarize yourself with the main components of your Muddy LR500 Laser Rangefinder:

This image shows the Muddy LR500 Laser Rangefinder from a front-side angle, highlighting the objective lens, laser aperture, and the "LR 500" model designation. The Muddy brand logo is visible on the top surface.

This image provides a direct front view of the Muddy LR500 Laser Rangefinder, clearly showing the objective lens and the laser aperture. The device's compact and ergonomic design is also visible.
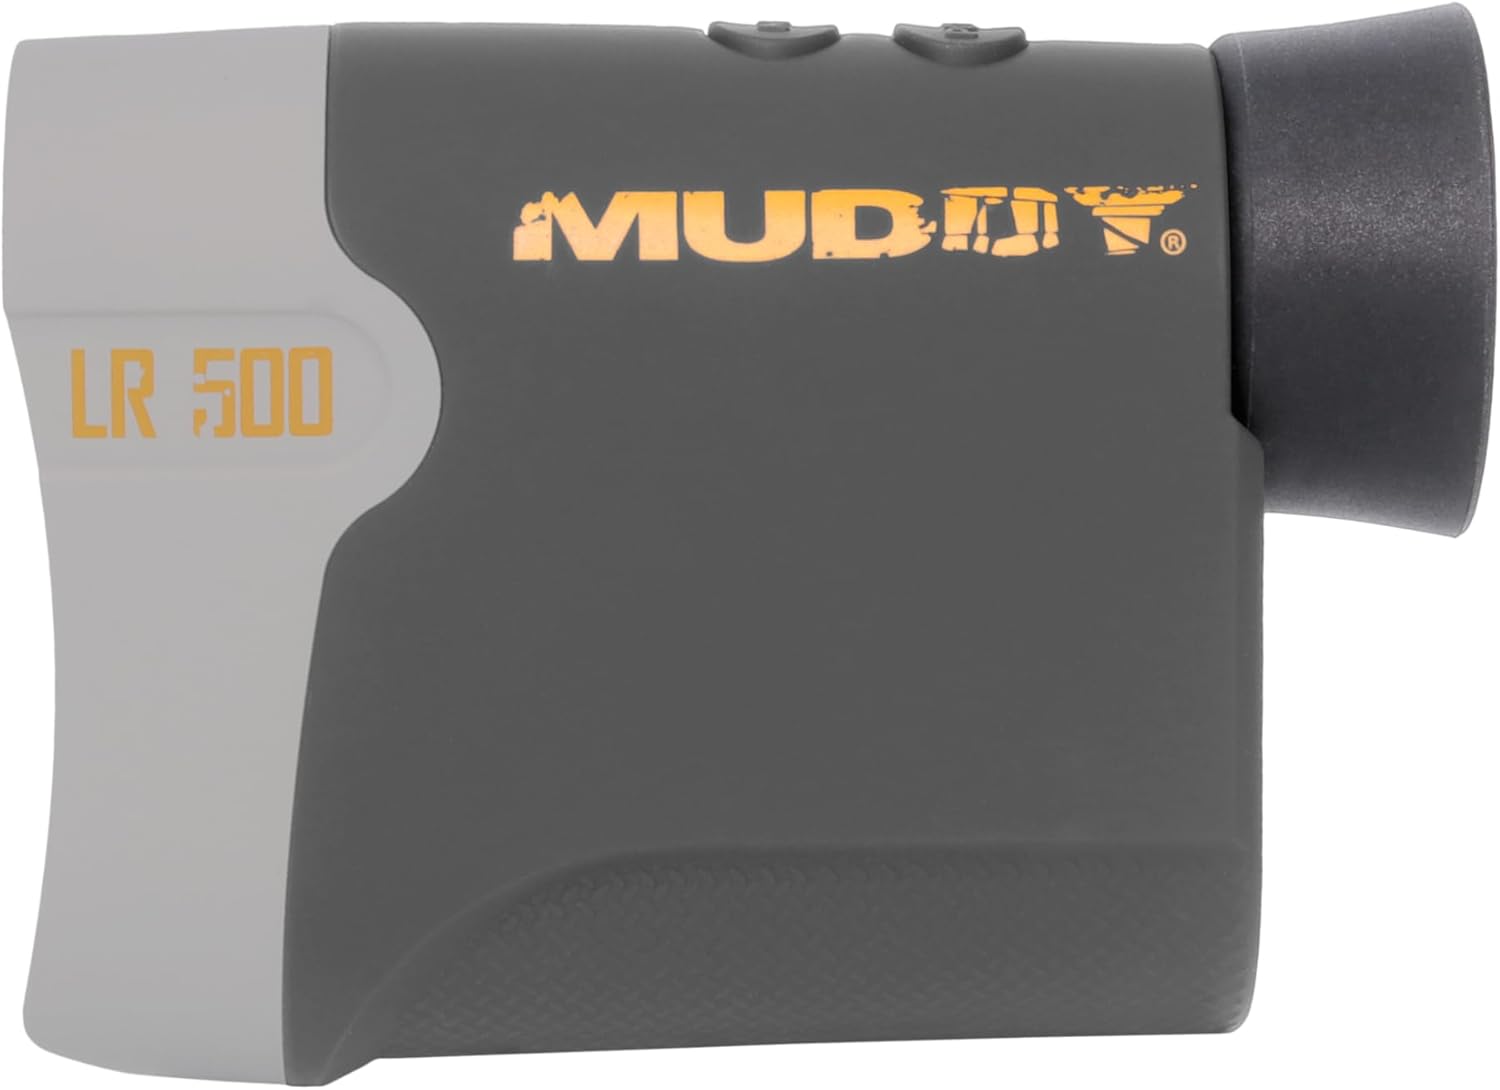
This image displays the Muddy LR500 Laser Rangefinder from a side perspective, showing the eyepiece, control buttons on the top, and the overall profile of the device. The "LR 500" model text is visible on the side.
- Eyepiece: For viewing the target and display.
- Objective Lens: The front lens that gathers light from the target.
- Laser Aperture: Emits and receives the laser beam for distance measurement.
- Power/Measure Button: Activates the device and initiates measurements.
- Mode Button: Cycles through different measurement modes and settings.
- Battery Compartment: Located on the side, holds the AAA batteries.
- Strap Loop: For attaching a wrist strap or lanyard.
3. Setup
3.1 Battery Installation
- Locate the battery compartment cover on the side of the rangefinder.
- Slide or unlatch the cover to open the compartment.
- Insert two (2) AAA batteries, ensuring correct polarity (+/-) as indicated inside the compartment.
- Close the battery compartment cover securely until it clicks into place.
Note: Batteries are not included with the rangefinder. Use new, high-quality alkaline AAA batteries for best performance.
4. Operating Instructions
4.1 Power On/Off
- To power on the device, press the Power/Measure Button once. The display will illuminate.
- The device will automatically power off after approximately 30 seconds of inactivity to conserve battery life.
4.2 Changing Measurement Units (Yards/Meters)
- With the device powered on, press and hold the Mode Button for approximately 3 seconds.
- The unit of measurement (Y or M) displayed in the viewfinder will change. Release the button when your desired unit is shown.
4.3 Single Measurement Mode
- Power on the rangefinder.
- Look through the eyepiece and aim the reticle at your desired target.
- Press the Power/Measure Button once. The measured distance will be displayed in the viewfinder.
4.4 Scan Mode
Scan mode allows for continuous measurement as you pan across multiple targets or a moving target.
- Power on the rangefinder.
- Press and hold the Power/Measure Button.
- While holding the button, slowly pan the rangefinder across your desired area or target. The distance readings will update continuously in the display.
- Release the Power/Measure Button to stop scanning.
4.5 Low Reflection Mode
This mode is designed to provide more accurate readings in conditions where the target has low reflectivity, such as dark, non-reflective surfaces.
- To activate Low Reflection Mode, cycle through the modes using the Mode Button until the corresponding indicator appears in the display (refer to your device's specific display icons).
- Once activated, proceed with single or scan measurements as described above.
5. Maintenance
5.1 Cleaning
- Lenses: Use a soft, clean optical cloth to gently wipe the lenses. Do not use abrasive materials or harsh chemicals. A lens cleaning solution designed for optics can be used sparingly if needed.
- Body: Wipe the body of the rangefinder with a soft, damp cloth. Avoid using solvents or strong detergents.
5.2 Storage
- When not in use for extended periods, remove the batteries to prevent leakage and damage to the device.
- Store the rangefinder in a cool, dry place, away from direct sunlight and extreme temperatures.
- Keep the device in its protective case (if included) to prevent scratches and impacts.
6. Troubleshooting
| Problem | Possible Cause | Solution |
|---|---|---|
| Device does not power on. |
|
|
| Inaccurate or inconsistent readings. |
|
|
| Display is dim or flickering. |
|
|
7. Specifications
| Feature | Detail |
|---|---|
| Brand | MUDDY |
| Model Number | MUD-LR500 |
| Measuring Range | 500 yards |
| Magnification | 5x |
| Objective Lens Diameter | 24mm |
| Water Resistance Level | IPX7 (Waterproof) |
| Power Source | 2 x AAA Alkaline Batteries (not included) |
| Product Dimensions | 1"L x 1"W x 1"H (Approximate) |
| Item Weight | 2.97 pounds |
| Color | Multi |
| Material | Blend |
| Sport | Archery |
| UPC | 888151024829 |
| Manufacturer | GSM Outdoors |
8. Warranty and Support
8.1 Warranty Information
The Muddy Laser Rangefinder 500 Yard is covered by a manufacturer's warranty. For specific details regarding warranty coverage, terms, and conditions, please refer to the documentation provided with your product or visit the official Muddy Outdoors website. The warranty description is generally "See Manufacturer".
8.2 Customer Support
If you encounter any issues or have questions not addressed in this manual, please contact Muddy Outdoors customer support. You can typically find contact information on the official Muddy Outdoors website or through your retailer.
For more information about Muddy products, visit the Muddy Store on Amazon.
