
Introduction
This manual provides detailed instructions for the setup, operation, maintenance, and troubleshooting of your EAGLE PEAK 10x20 ft Custom Printed Aluminum Canopy Tent. Please read all instructions carefully before assembly and use to ensure safe and proper operation. Keep this manual for future reference.
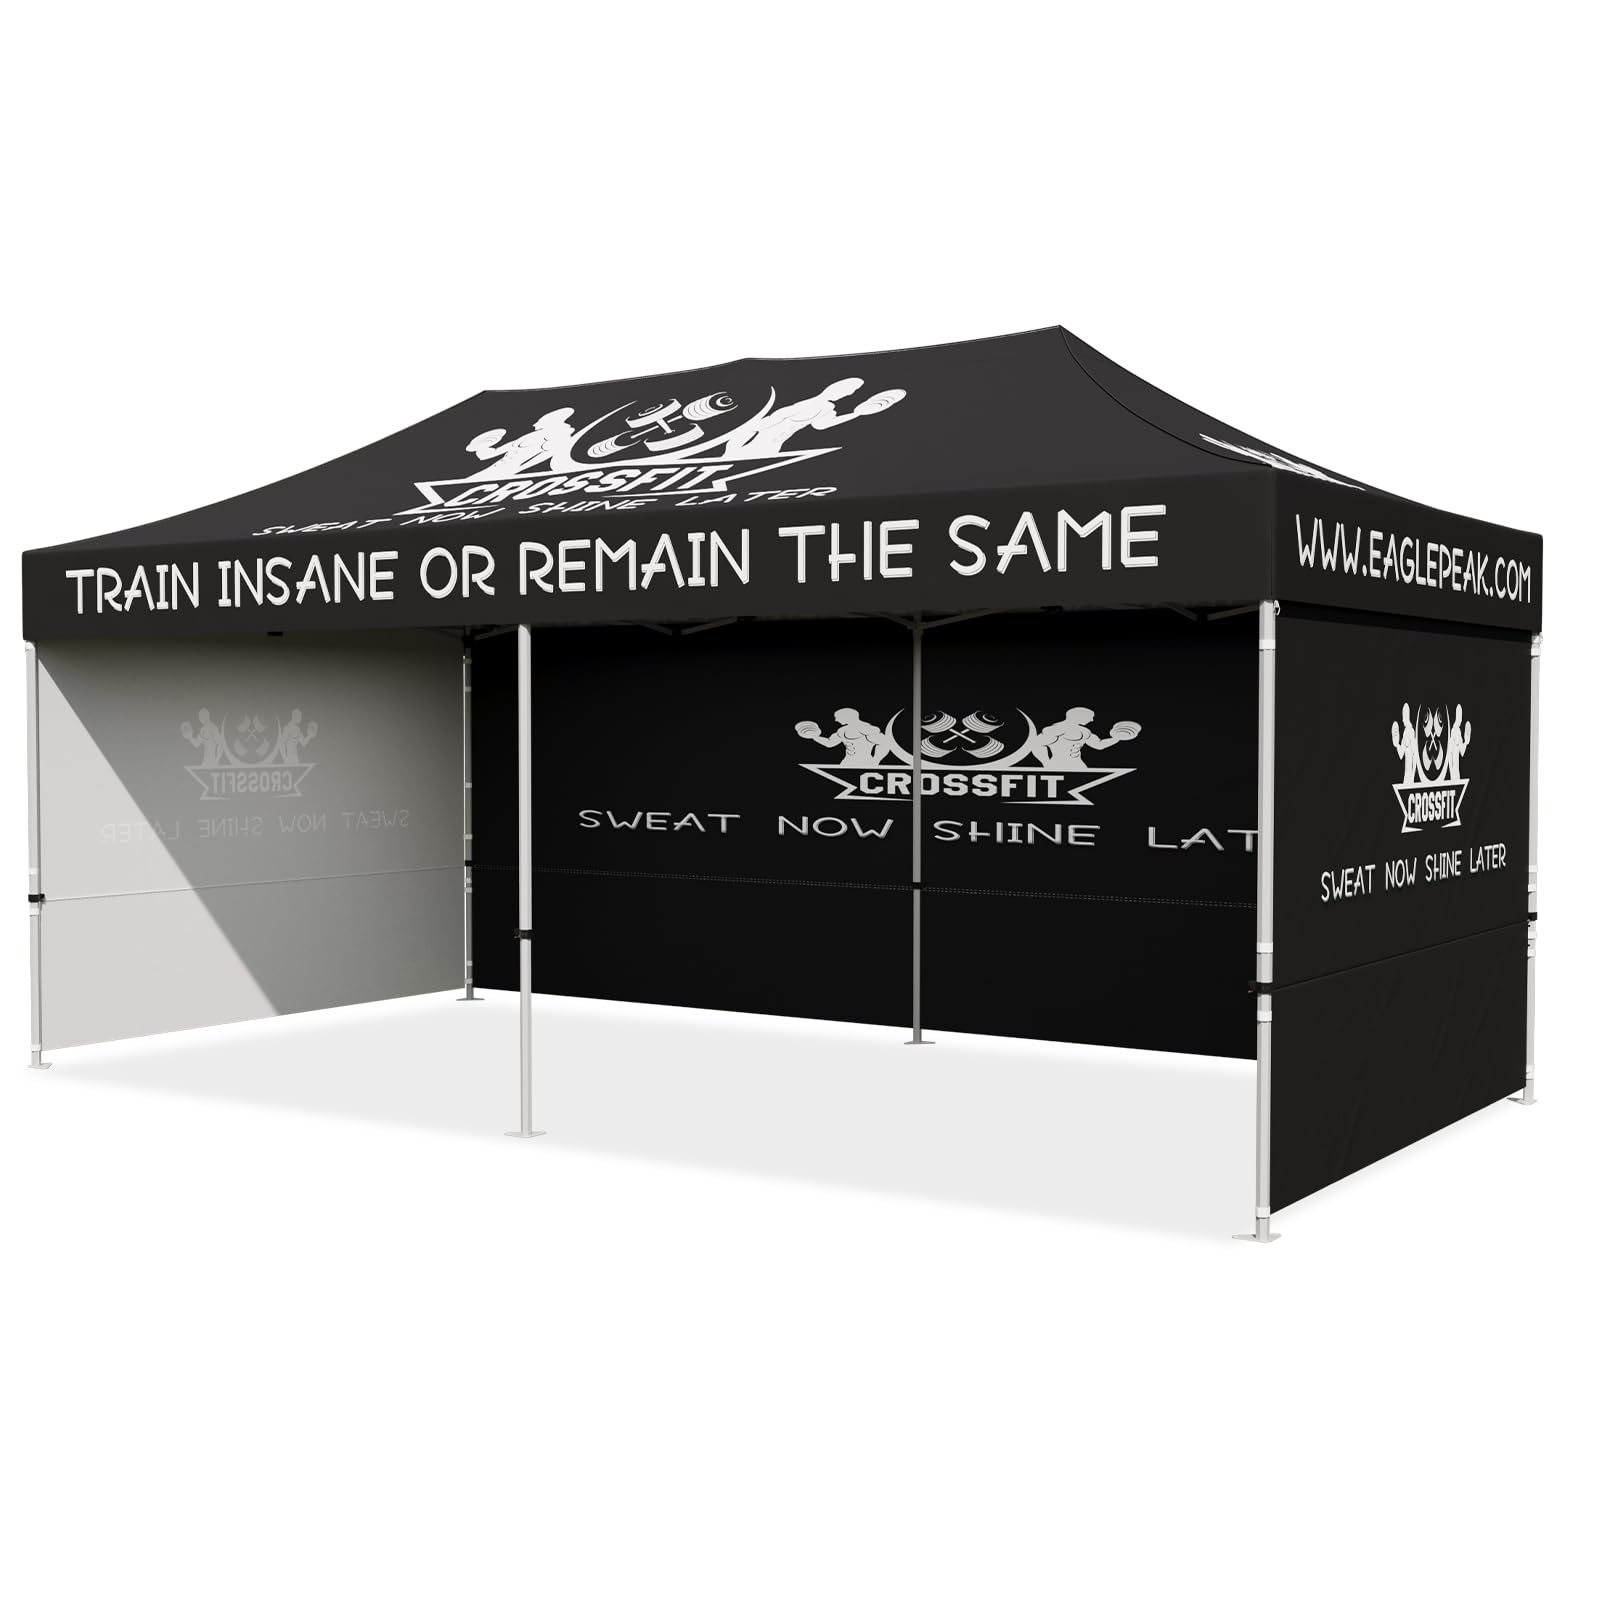
Image: The EAGLE PEAK 10x20 ft Custom Printed Aluminum Canopy Tent, fully assembled with a custom design.
Setup Instructions
Follow these steps to correctly set up your canopy tent. It is recommended that two or more people assist with the setup process.
- Step 1: Partially Open the Frame. Place the frame on a flat, level surface. With a person at each end, gently pull the outer legs apart until the frame is partially open.
- Step 2: Attach the Canopy Top. Unfold the canopy fabric and drape it over the partially opened frame. Secure the canopy top to the frame using the integrated Velcro straps, ensuring a snug fit, especially at the corners.
- Step 3: Lock the Frame. Continue pulling the outer legs apart until the frame is fully extended and the eave connections lock into place. Ensure all frame components are securely engaged.
- Step 4: Adjust the Height. Press the push-button adjusters on each leg and raise the canopy to your desired height. Ensure all legs are extended to the same height for stability.
- Step 5: Attach Sidewalls (Optional). If using sidewalls, attach them to the canopy top and legs using the integrated Velcro or hook-and-loop fasteners.
- Step 6: Secure the Canopy. Use the provided stakes and guy ropes to anchor the canopy to the ground, especially in windy conditions. This ensures stability and prevents the canopy from lifting.
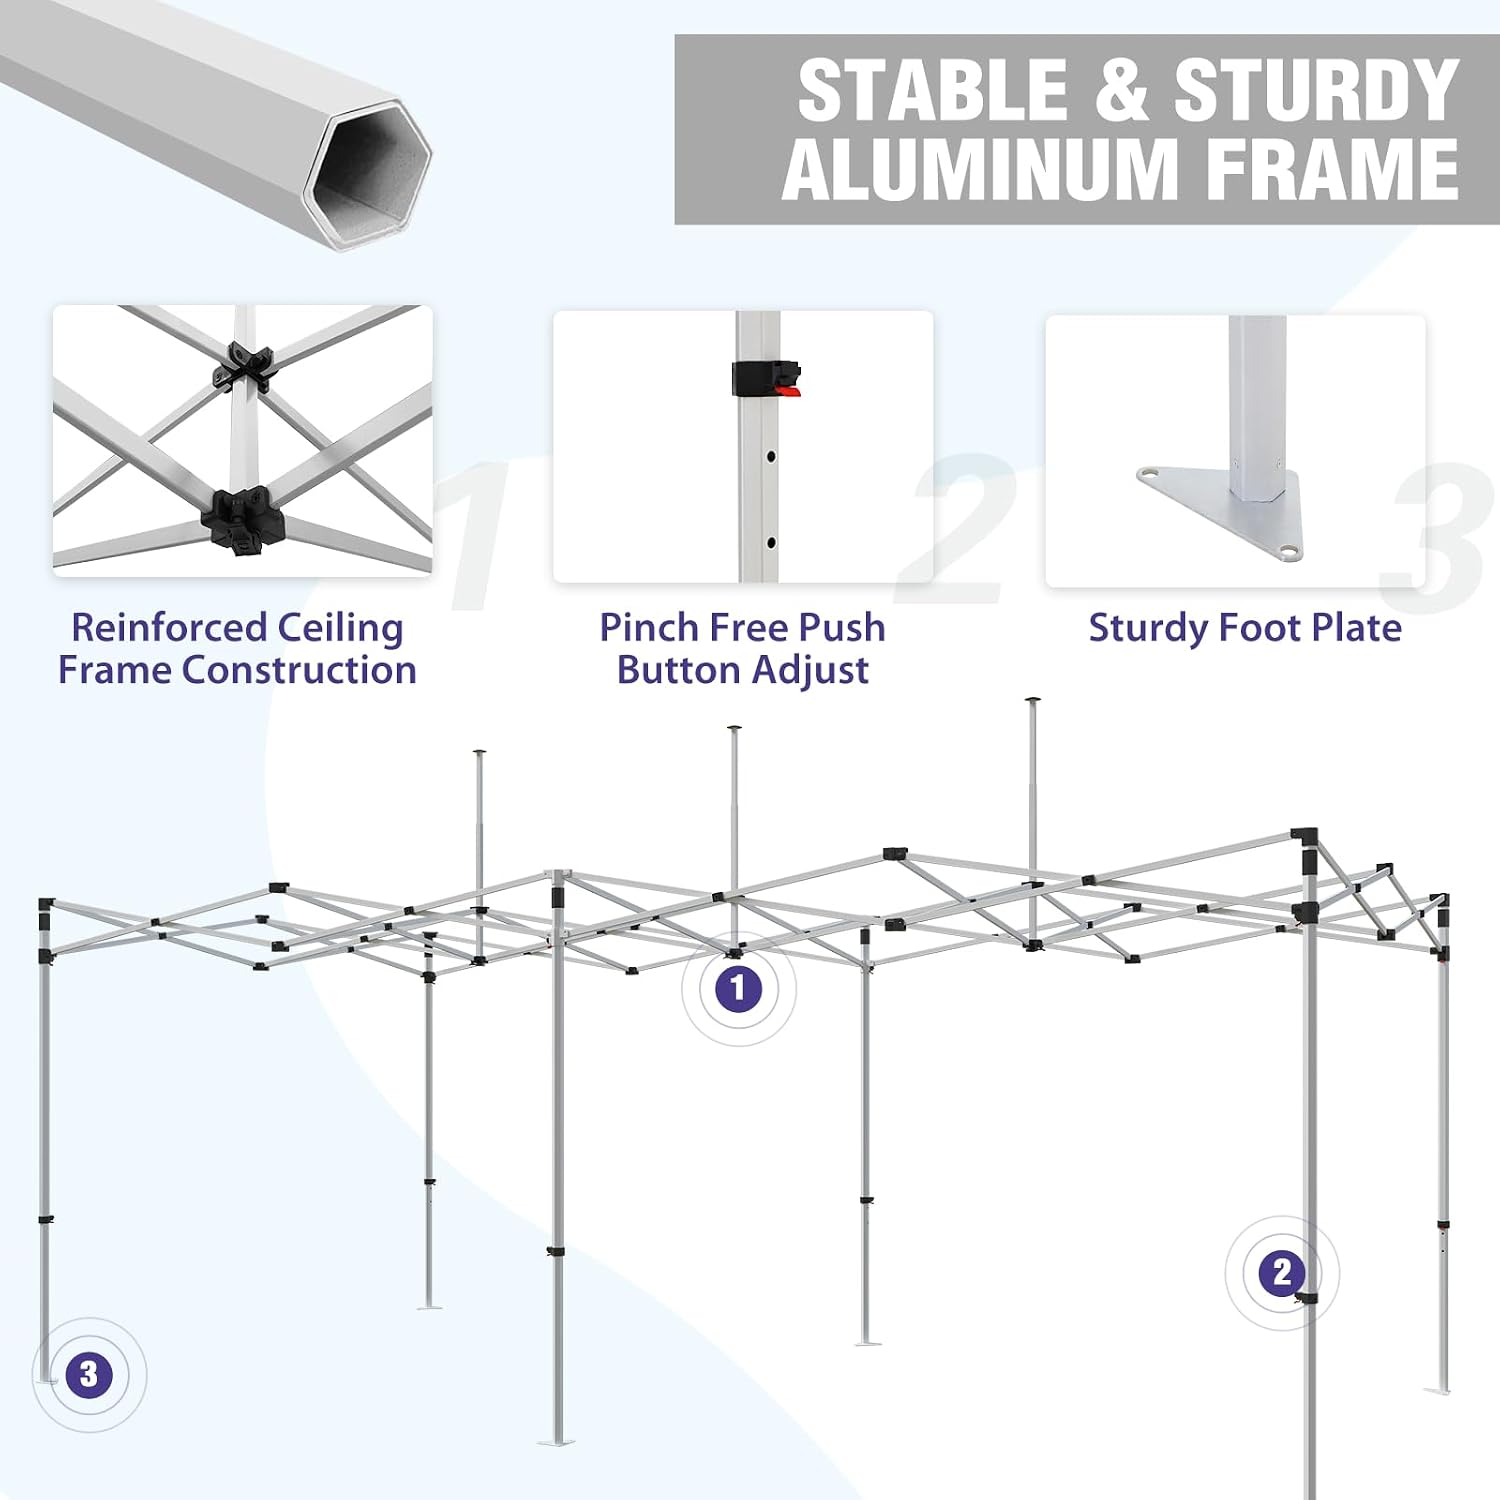
Image: A partially opened aluminum canopy frame, ready for the next step of assembly.

Image: Detail of the canopy frame showing reinforced ceiling construction and a pinch-free push button for height adjustment.
Image: Detail of the canopy frame showing reinforced ceiling construction and a pinch-free push button for height adjustment.

Image: A visual guide illustrating different sidewall configurations, including no walls, one full wall, one full and two half walls, and three full walls.
Operation Guidelines
Your EAGLE PEAK canopy tent is designed for temporary outdoor use. Observe the following guidelines for optimal performance and safety:
- Weather Conditions: While the canopy top is waterproof and UV protected, avoid using the tent in extreme weather conditions such as heavy rain, strong winds, or snow. Disassemble and store the tent during adverse weather to prevent damage.
- Stability: Always use the provided stakes and guy ropes to secure the canopy to the ground. For additional stability, consider using sandbags or weights on the legs.
- Clearance: Ensure there is adequate clearance around the canopy to prevent contact with obstacles or structures.
- Fire Safety: Keep all heat sources and open flames away from the canopy fabric. The fabric meets NFPA 701 and CPAI-84 flame resistant standards, but it is not fireproof.
Care and Maintenance
Proper care and maintenance will extend the life of your canopy tent.
- Cleaning the Canopy Top: Clean the 600D polyester canopy fabric with mild soap and water. Do not use harsh detergents or abrasive cleaners, as these can damage the custom printing and PU coating. Rinse thoroughly and allow to air dry completely before storage.
- Cleaning the Frame: Wipe the aluminum frame with a damp cloth to remove dirt and debris. Ensure all moving parts are free of obstructions.
- Storage: Always ensure the canopy top and frame are completely dry before folding and storing. Store the tent in its roller bag in a cool, dry place away from direct sunlight and extreme temperatures.
- Inspection: Regularly inspect the frame for any signs of damage, bending, or loose connections. Check the canopy fabric for tears, fraying, or damage to the seams. Address any issues promptly to prevent further damage.

Image: Detailed view highlighting the heavy-duty eave connection, durable 600D PU fabric, custom dye sublimation printing, and double-stitched heat-sealed seams for waterproof performance.
Troubleshooting
If you encounter any issues with your canopy tent, refer to the following common problems and solutions:
| Problem | Possible Cause | Solution |
|---|---|---|
| Frame difficult to open/close | Frame components are stiff or misaligned. | Ensure all joints are clean. Apply a silicone-based lubricant to moving parts if necessary. Ensure no fabric is caught in the frame. |
| Canopy top does not fit properly | Canopy top is not centered or fully stretched. | Ensure the frame is fully extended and locked. Re-center the canopy top and pull it taut, securing all Velcro straps. |
| Canopy is unstable | Not properly anchored or legs are uneven. | Always use stakes and guy ropes. Ensure all legs are set to the same height. Add weights to the legs for extra stability. |
| Water pooling on canopy top | Insufficient tension or improper setup. | Ensure the canopy top is pulled taut and secured evenly. Adjust leg heights if necessary to create proper slope for water runoff. |
Product Specifications
Key specifications for your EAGLE PEAK 10x20 ft Custom Printed Aluminum Canopy Tent:
| Feature | Detail |
|---|---|
| Brand | EAGLE PEAK |
| Model | 10x20 Platinum Package |
| Product Dimensions (L x W x H) | 234.6" x 118.1" x 133" (19.5 ft x 10.0 ft x 11.08 ft) |
| Frame Material | Heavy-duty 40mm Hexagonal Aluminum |
| Canopy Material | 600D Polyester with Pigmented PU Back Coating |
| Water Resistance Level | Waterproof |
| Ultraviolet Light Protection | Yes |
| Flame Resistance | Certified to NFPA 701 and CPAI-84 standards |
| Assembly Required | No (Pop-up design) |
| Included Accessories | 1 Commercial 40mm Aluminum Frame, 1 Custom Canopy Top, 3 Full Walls, 1 Roller Bag, 8 Stakes, 4 Guy Ropes |

Image: A detailed diagram illustrating the overall dimensions of the 10x20 ft canopy tent, including its height, width, and length, as well as the packed dimensions of the roller bag. Icons indicate UV protection and waterproof capabilities.
Warranty and Support
EAGLE PEAK stands behind the quality of its products.
- Frame Warranty: The commercial 40mm aluminum frame is covered by a 3-year warranty.
- Printed Top Warranty: The custom printed canopy top is covered by a 1-year warranty.
- Customer Support: For any questions, concerns, or warranty claims, please contact our professional service team. Refer to your purchase documentation for specific contact details or visit the official EAGLE PEAK website.