
Introduction
This manual provides detailed instructions for the setup, operation, and maintenance of your Xflyee 17-inch Digital Wall Clock. Please read this guide thoroughly before use to ensure optimal performance and longevity of your device.
Video: An overview of the Xflyee 17-inch Large Digital Wall Clock, highlighting its features and remote control functionality.
Package Contents
- Xflyee 17-inch Digital Wall Clock
- Remote Control
- Power Adapter (Corded Electric)
- Mounting Template
- 4 AAA Batteries (for memory backup, included)
Product Features
- 17-inch Large Display: Clear and easy-to-read digits for time, date, day of week, and temperature.
- Bluetooth Time Synchronization: Automatically sets and syncs time with your smartphone (iOS and Android compatible).
- Auto-Dimming Function: Built-in light sensor adjusts display brightness automatically. Manual brightness adjustment also available.
- Remote Control: Convenient operation from up to 32 feet away.
- Multi-functionality: Includes clock, alarm, and timer modes (count-up/count-down).
- Automatic Daylight Saving Time (DST) Adjustment: Seamlessly transitions for DST changes.
- Memory Backup: Uses 4 AAA batteries (included) to retain time settings during power outages.
- Dual Placement Options: Suitable for wall mounting or desk placement using the integrated stand.
Setup
1. Power Connection
Connect the provided power adapter to the clock's power input port and plug it into a standard AC outlet. The clock requires continuous power for operation. The included AAA batteries serve as a memory backup for settings during power interruptions.
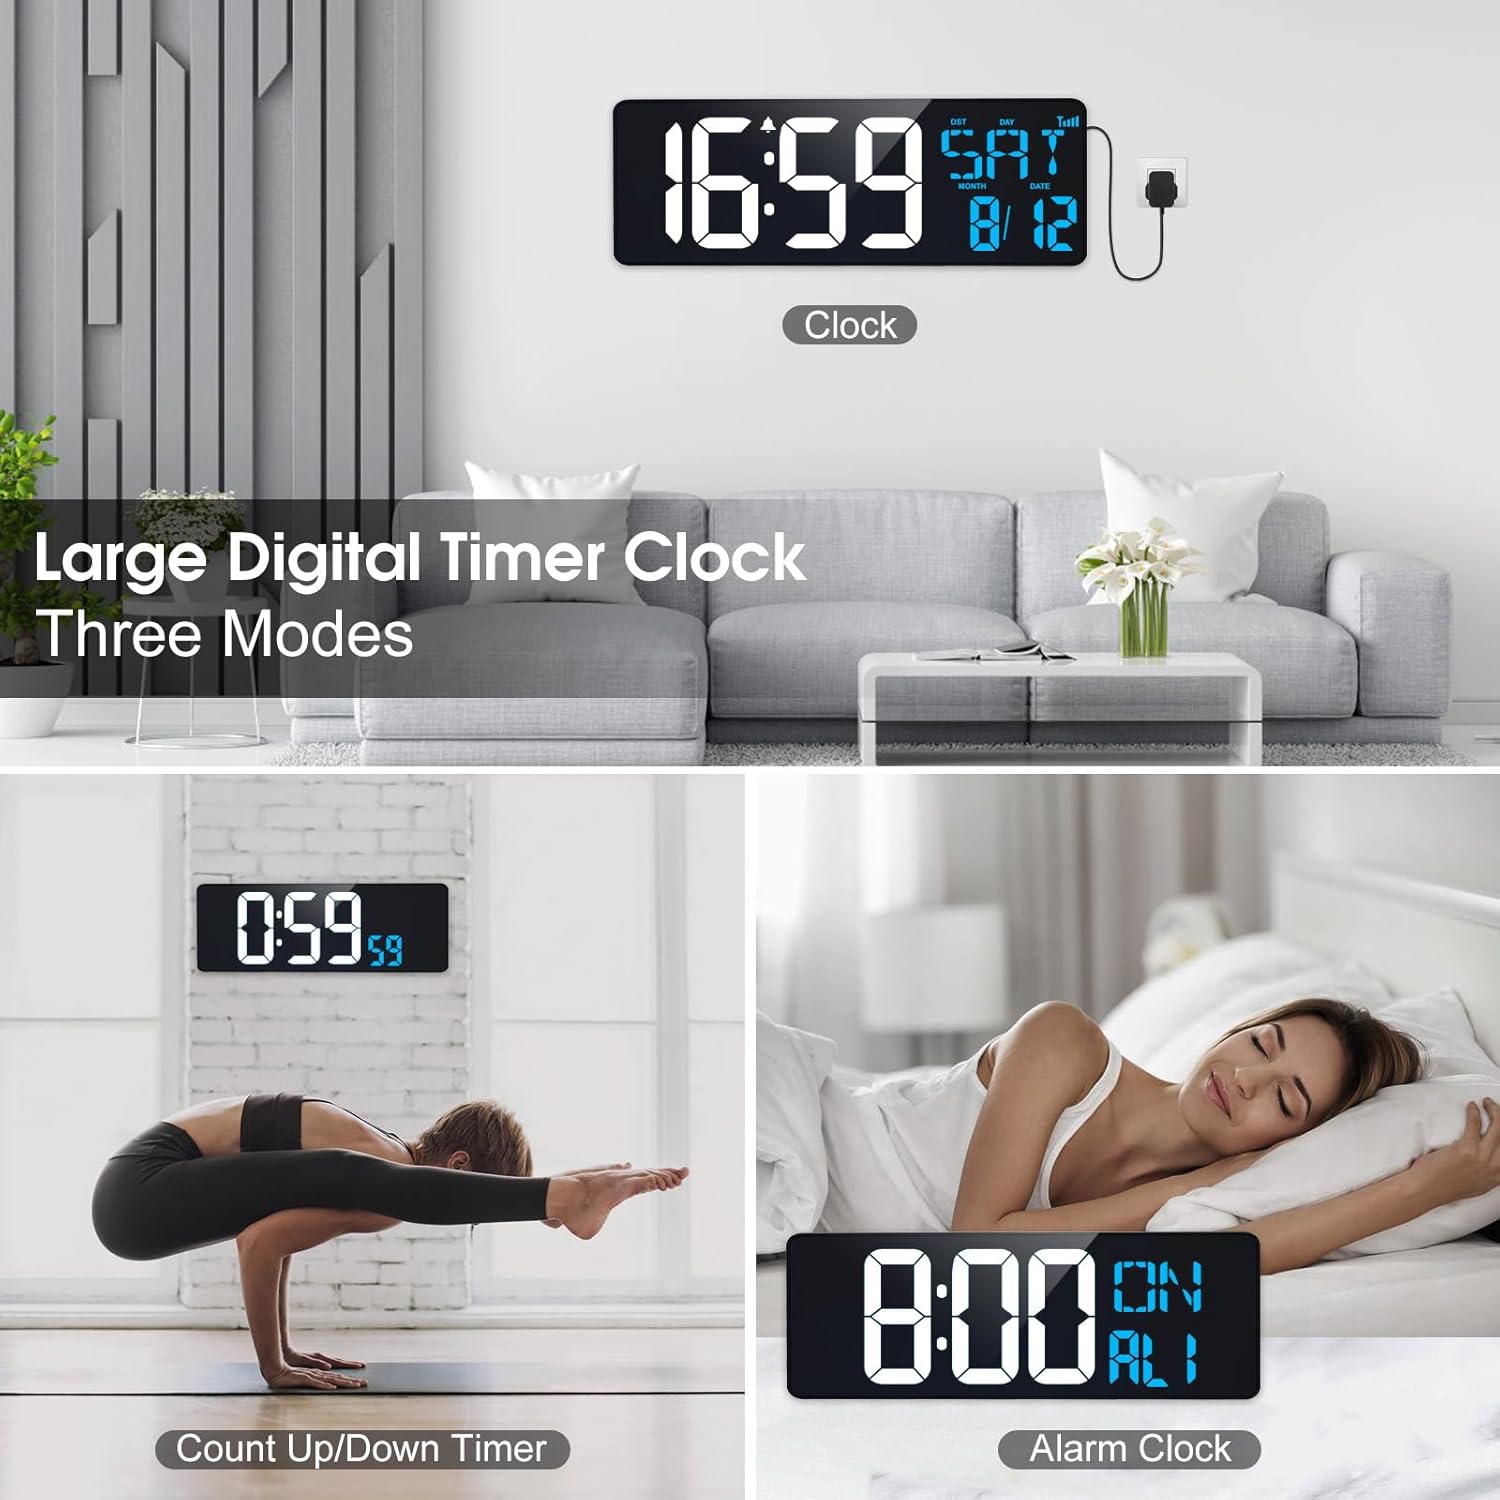
Image: The power adapter being connected to the back of the digital wall clock. The clock also has a stand and manual control buttons visible.
2. Remote Control Battery Installation
The remote control requires batteries (included). Open the battery compartment on the back of the remote and insert the batteries, ensuring correct polarity.
3. Bluetooth Time Synchronization (Recommended)
For the most accurate time setting, use the Bluetooth synchronization feature with your smartphone.
- Activate Bluetooth on your smartphone and on the clock. The clock's signal reception symbol will flash.
- On your phone, search for and select the Bluetooth device named "LED CLOCK".
- Confirm the pairing on your phone.
- Once paired, the clock will automatically synchronize its time and date with your phone.
Video: Demonstrates the Bluetooth pairing process for automatic time setting on the Xflyee Digital Clock using a smartphone.

Image: A visual guide illustrating the four steps to pair the digital clock with a smartphone via Bluetooth for time synchronization.
4. Manual Time Setting (Alternative)
If Bluetooth pairing is not desired, you can manually set the time using the remote control or the side buttons on the clock.
- Press the SET button on the remote or the clock.
- Use the HR, MIN, SEC buttons (or corresponding side buttons) to adjust the time.
- Press SET again to confirm and move to the next setting (e.g., date, year).
Operating Instructions
1. Display Modes
The clock can display time in 12-hour or 24-hour format, and temperature in Celsius or Fahrenheit.
- Press the 12-24HR button on the remote to switch between 12-hour and 24-hour time formats.
- Press the °C/°F button on the remote to switch between Celsius and Fahrenheit temperature display.

Image: The digital clock showing different display styles for time (12H/24H) and temperature (°C/°F).
2. Brightness Adjustment
The clock offers both automatic and manual brightness control.
- Auto-Dimming: The built-in light sensor automatically adjusts the display brightness based on ambient light. This feature can be toggled on/off using a switch on the back of the clock.
- Manual Adjustment: Use the V+ and V- buttons (with lightbulb icon) on the remote to manually increase or decrease the brightness level. The display can also be turned off completely.

Image: The digital clock demonstrating five levels of brightness, from full illumination to completely off, controlled manually or automatically.
3. Alarm Function
The clock supports multiple alarm settings.
- Press the ALARM SET button on the remote.
- Use the HR and MIN buttons to set the desired alarm time.
- Press ALARM SET again to confirm and activate the alarm.
- To turn off an alarm, press ALARM SET until "OFF" is displayed for the specific alarm.
- The clock also features a snooze function.

Image: The digital clock illustrating its three alarm modes (Everyday, Monday-Friday, Weekend) and a 9-minute snooze feature, part of a larger image showing multiple clock functions.
4. Timer Function (Count-Up/Count-Down)
The clock includes a versatile timer for various activities.
- Press the TIMER button on the remote to enter timer mode.
- Use the HR, MIN, SEC buttons to set the desired count-down time.
- Press TIMER ST/SP to start or pause the timer.
- To reset the timer, press TIMER RESET.
- For count-up, simply start the timer without setting a specific time.
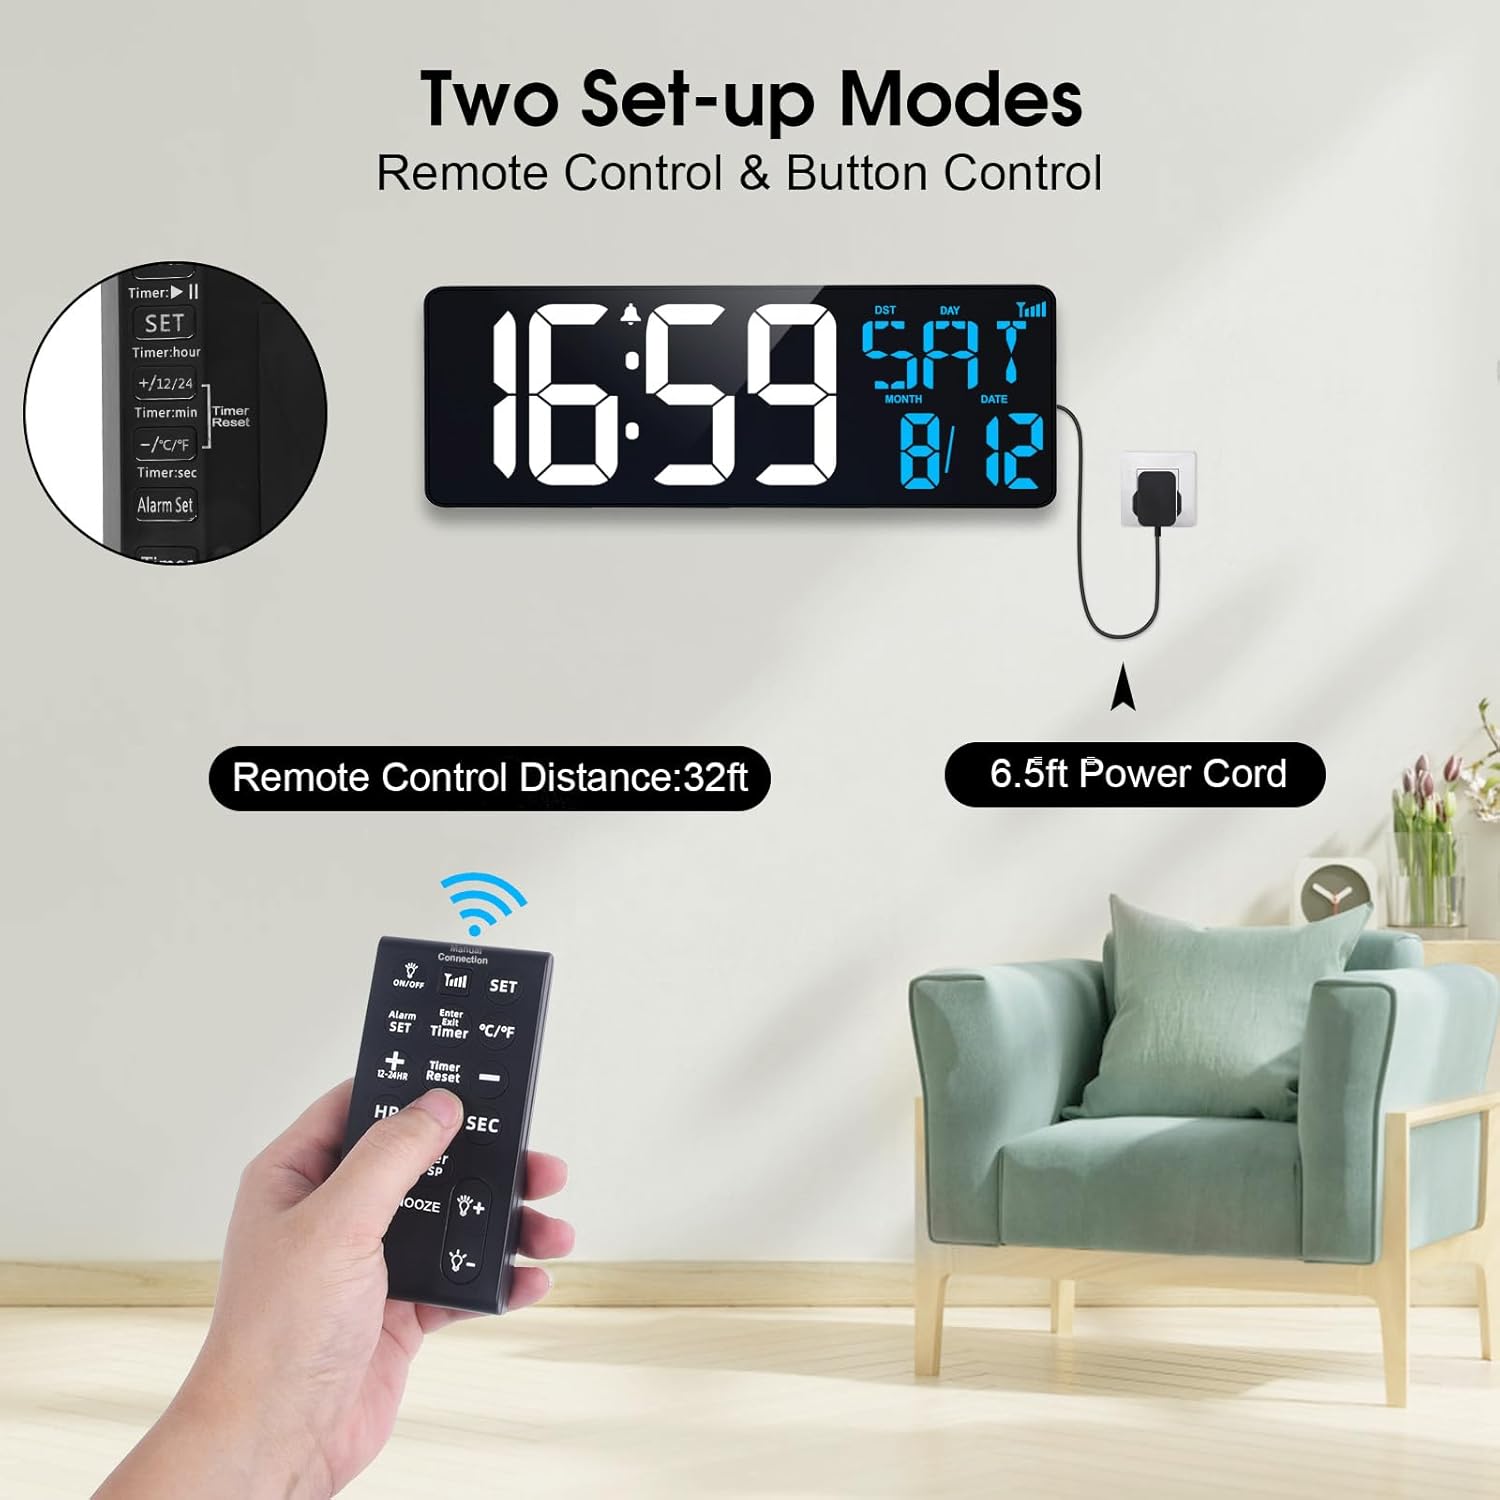
Image: The digital clock in timer mode, illustrating both count-down (e.g., for cooking) and count-up (e.g., for exercise) functionalities.
5. Daylight Saving Time (DST)
The clock automatically adjusts for Daylight Saving Time. No manual intervention is required for this feature.

Image: The digital clock demonstrating its automatic adjustment for Daylight Saving Time, showing how it changes for 'Fall Back' and 'Spring Forward'.
Mounting Options
The Xflyee Digital Wall Clock can be either wall-mounted or placed on a desk or table.
- Wall Mounting: Use the provided mounting template to mark the positions for screws on the wall. Secure the clock using the keyhole slots on its back.
- Desk Placement: Extend the integrated stand on the back of the clock to prop it up on any flat surface.

Image: The digital clock displayed in two placement methods: wall-mounted and on a desk using its built-in stand.
Specifications
| Feature | Detail |
|---|---|
| Brand | Xflyee |
| Model Number | 080 |
| Display Type | Digital |
| Color | Blue + White (Ice Blue variant) |
| Product Dimensions | 16.9"W x 7"H |
| Power Source | Corded Electric |
| Memory Batteries | 4 AAA batteries required (included) |
| Special Features | Adjustable Brightness, Alarm, Auto Dimmable, Large Display, Snooze, Bluetooth Sync, DST |
| Mounting Type | Wall Mount |
| Frame Material | Acrylonitrile Butadiene Styrene |
Troubleshooting
- Clock not turning on: Ensure the power adapter is securely connected to both the clock and a working power outlet. Check if the outlet has power.
- Display is too dim/bright: Adjust brightness manually using the remote control or check the auto-dimming switch on the back of the clock.
- Bluetooth pairing issues: Ensure Bluetooth is enabled on both your phone and the clock. Make sure the clock is within range of your phone. If issues persist, try restarting both devices.
- Time is incorrect after power outage: The internal AAA batteries should maintain time settings. If not, ensure batteries are correctly installed and have sufficient charge. Re-sync via Bluetooth or set manually.
- Remote control not working: Check if the remote control batteries are correctly installed and not depleted. Ensure there are no obstructions between the remote and the clock's sensor.
Maintenance
- Cleaning: Wipe the clock's surface with a soft, dry cloth. Avoid using abrasive cleaners or solvents.
- Battery Replacement: Replace the AAA backup batteries periodically (e.g., annually) to ensure settings are retained during power interruptions.
- Placement: Avoid placing the clock in direct sunlight or near heat sources, as this may affect display longevity and temperature readings.
Warranty and Support
The Xflyee Digital Wall Clock comes with a Lifetime Warranty as specified by the manufacturer. For any post-purchase issues or support, please contact Xflyee LLC directly. Even if the return window has passed, the manufacturer is committed to providing a satisfactory solution.
Seller: Xflyee LLC
For further assistance, refer to the official Xflyee store on Amazon: Xflyee Store